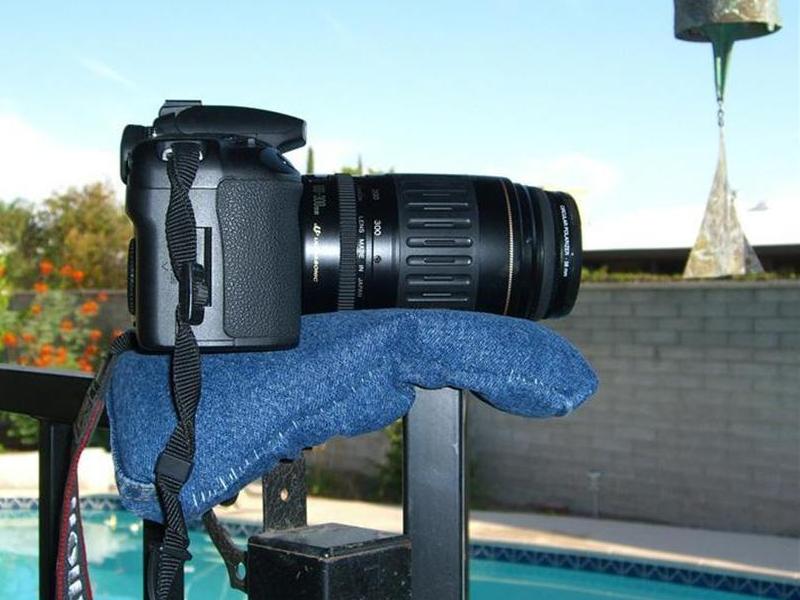
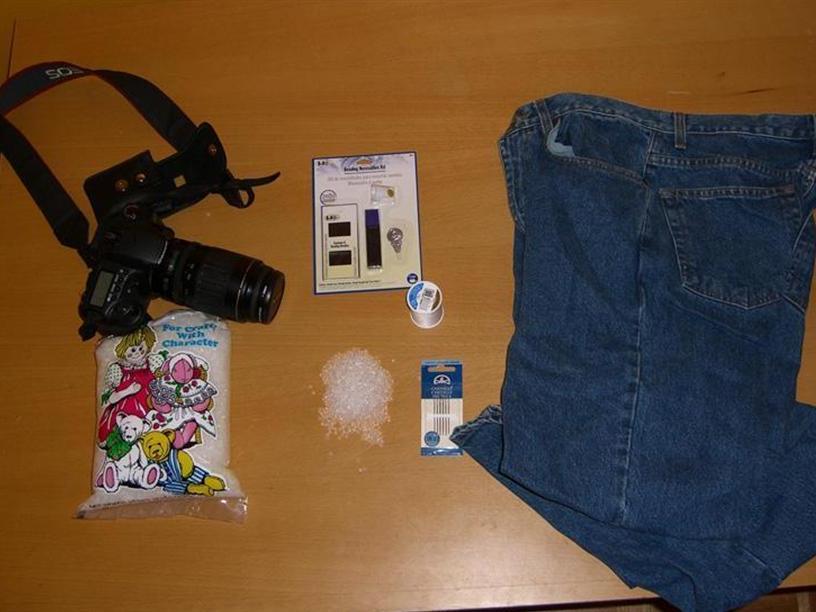
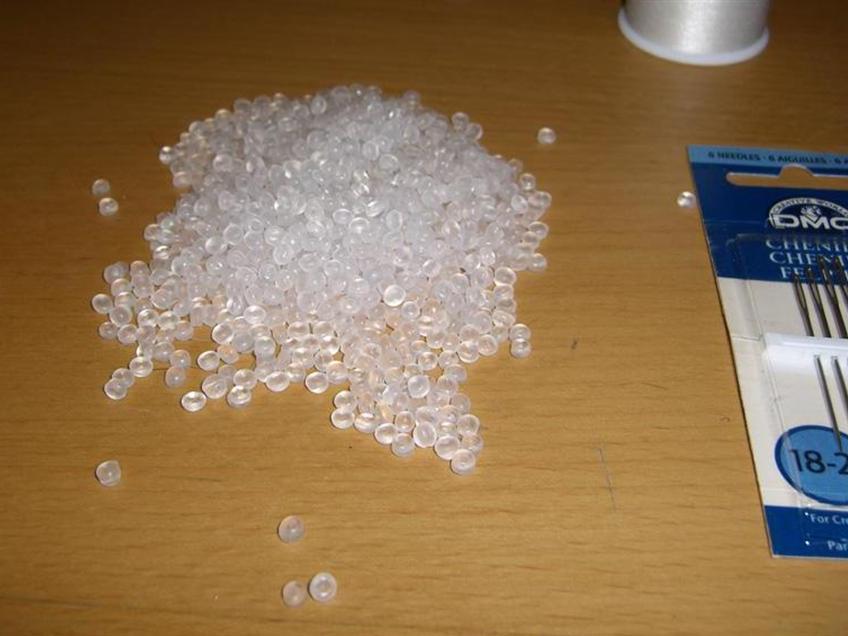
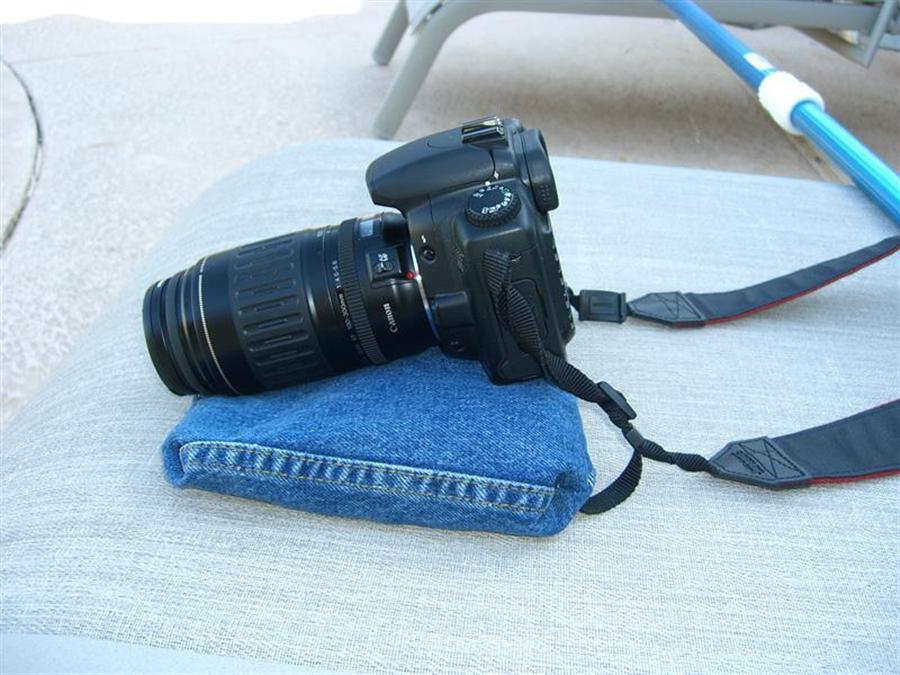
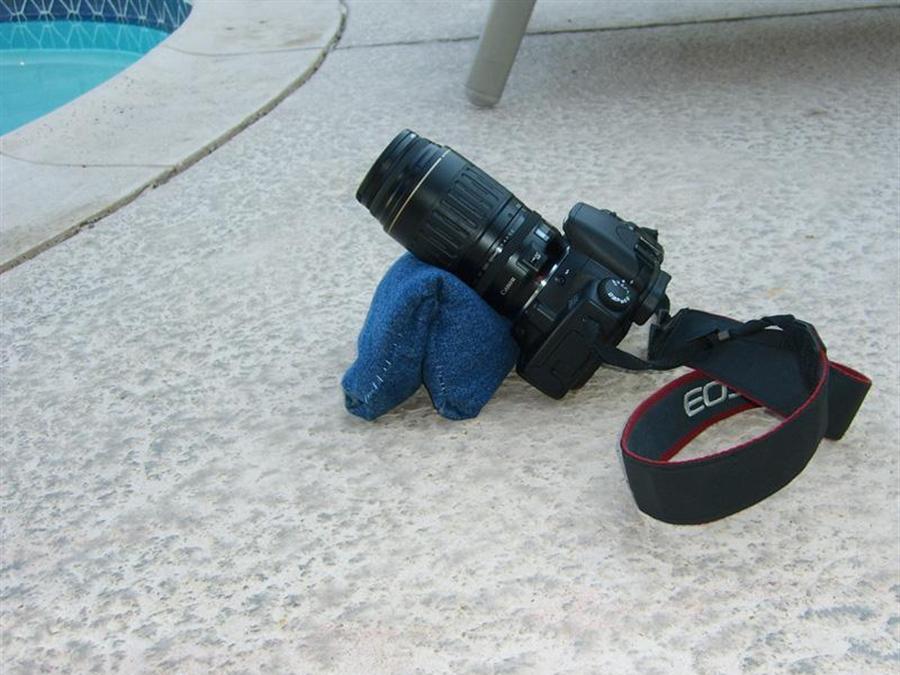
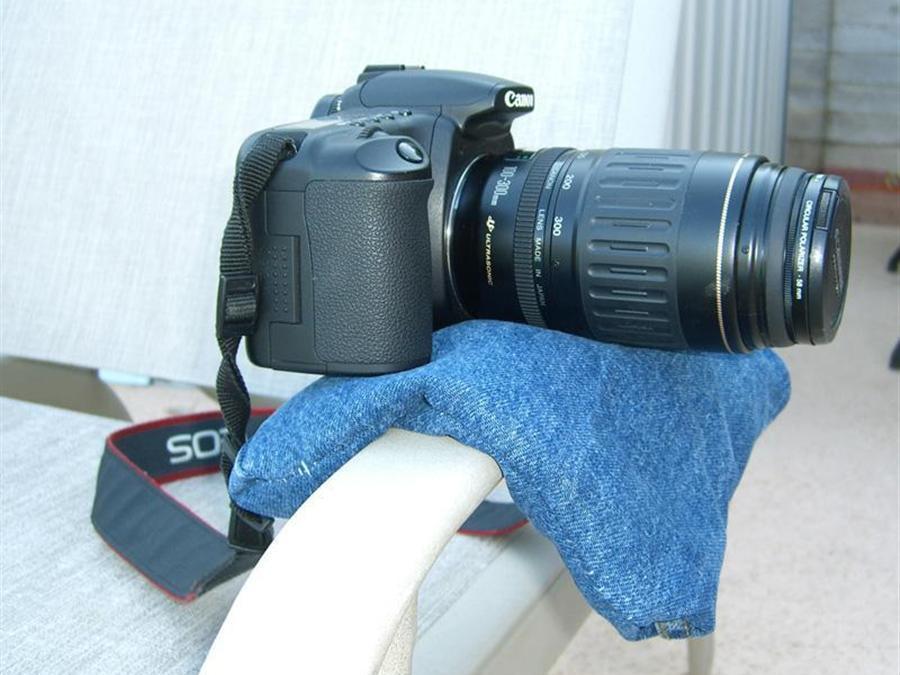
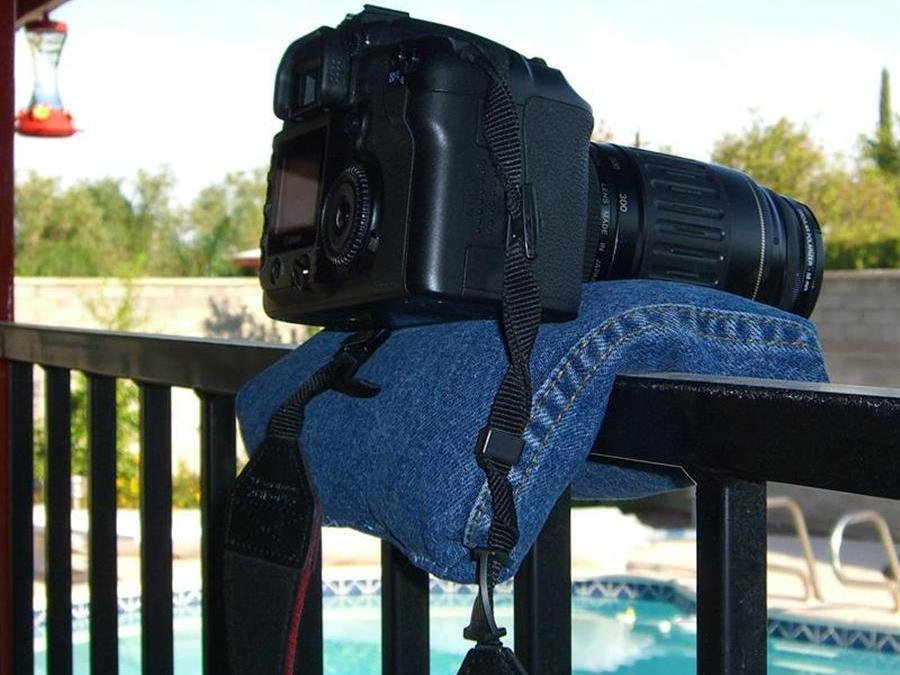
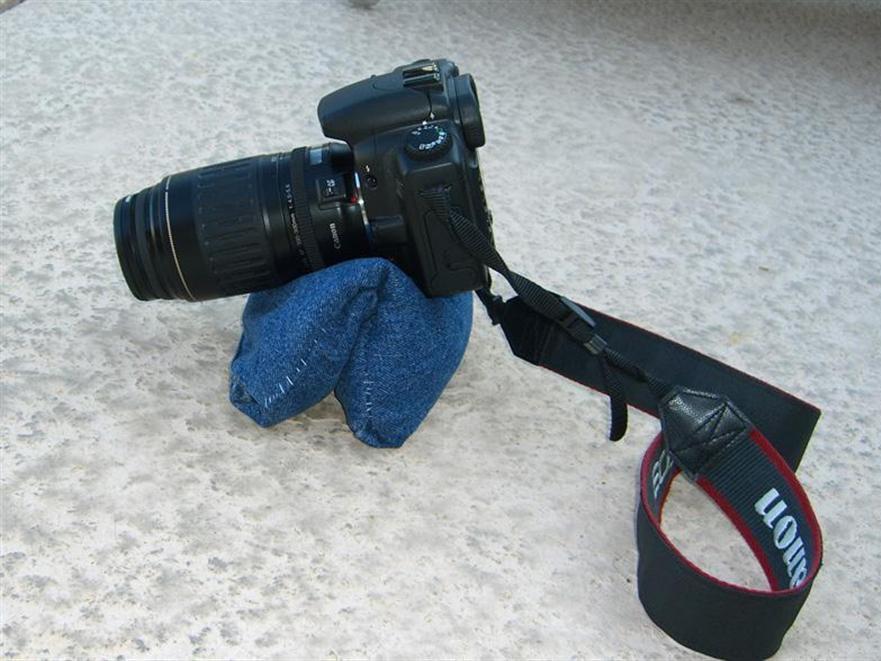
I decided to use plastic bead-filler because beans or rice will rot if the bag gets wet. I forgot to take interim pics of the whole process. Too many pins !!$&## and broken threads to stop and shoot pics! Below are the test shots the next morning….
In general, cut two squares of fabric about a half-inch larger than you want your finished beanbag to be. (Refer to the photos for a good starting size.) Pin the “right” sides of the fabric together and stitch around the edges leaving a gap about an inch or two wide at one side. Turn the beanbag right side out through this gap and fill the bag with your chosen filler.
Try not to overfill or underfill the bag. Too much filler will make the bag too rigid and it won’t conform properly to the camera and the surfaces you place it on. Too little filler and the bag won’t give enough support to the camera, particularly when placed over a railing as shown here. You may need to experiment a bit to find the right amount of filler to use. You can hold the bag closed temporarily with a binder clip or a couple of spring clothespins.
When the amount of filler seems right, hand-stitch the opening closed to seal the beanbag.
