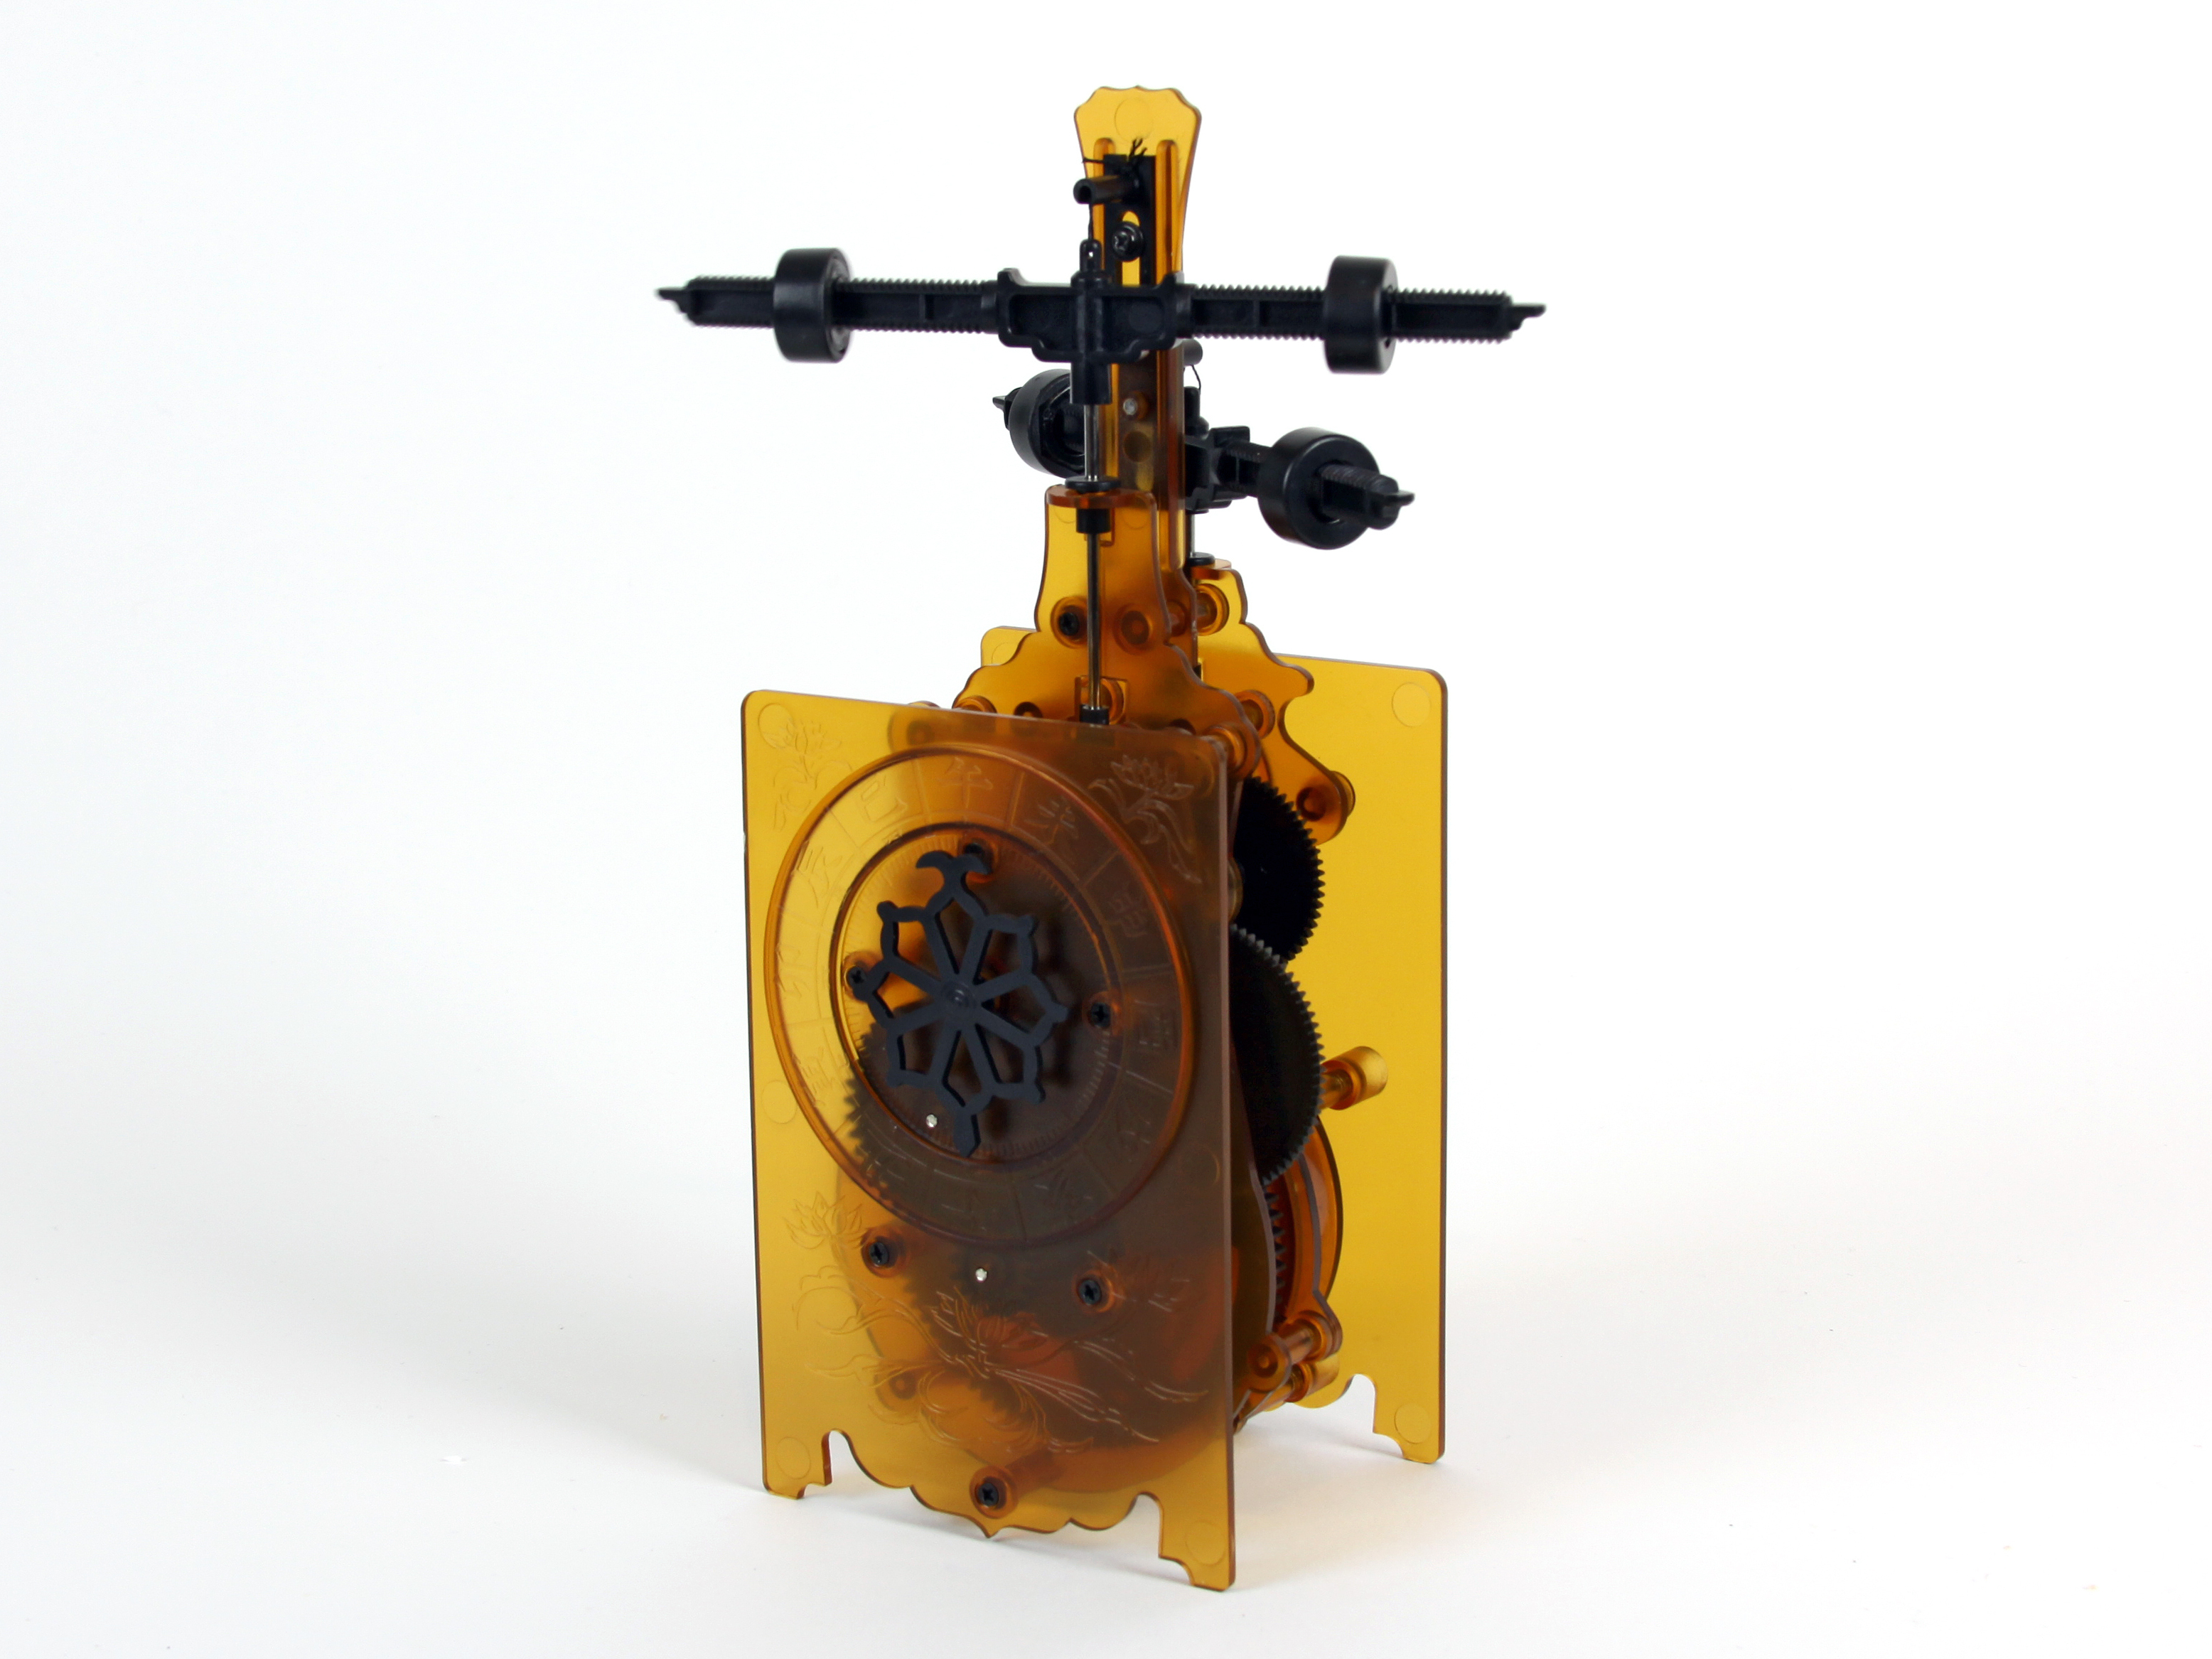
The kit comes with illustrated instructions that are fairly easy to follow. However, there are a few tips and tricks that this guide will cover, making the build process really easy.

This is not a detailed step-by-step. Those can be found in the magazine included with the kit. This guide points out some of the more important issues when building the kit.

What will the next generation of Make: look like? We’re inviting you to shape the future by investing in Make:. By becoming an investor, you help decide what’s next. The future of Make: is in your hands. Learn More.

Project Steps

Open up the box, and check your parts against the parts list in the included magazine.

All the steps (and numbering) will directly correlate to the steps in the included magazine.

1.1 shows the location of the spring system. This part is used to switch between the timing mechanism for 9 – 3 and 3-9. (see instructions)

1.2 shows the cam mechanism assembly. Simple!

1.3 Gear assemblies attached to the winding mechanism.

1.4 The entire assembly is screwed to the center plate.

If you plan on hooking up an Arduino, this is the time to add the metal strips as per the directions. I did not add them.

2.1 Additional gears are added

Make sure the arrow on the gear faces the “notch” in the “other” gear. I have no other way of explaining this. Take a look at the picture to see what I mean.

3.1 Add the faceplate.

And remove the pin (shown in picture) that held all the gears together (see instructions).

4.1 Now you can attach the spring mechanism with 3 small screws in the back.

5.1 This little mechanism switches the rotating weights based on the time of day.

It’s easy to assemble.

Make sure the “square” part of the assembly is in the “rectangular” opening in the longer piece. Again, refer to the instructions.

It is NOT completely assembled in the first picture. It is in the 2nd!

Next, attach the entire assembly to the clock body with 1 screw that has an integral washer.

6.1 It says to add the screws to this piece. I did, but found it easier to remove them and add them in a later step.

6.2 Now you can assemble 1 of the timing weights. Match the shorter one with the part as in picture 2.

6.3 Attach the retaining plate (arrow up).

6.3 continued

Next, attach the weight system with the longer rod to the plastic piece pictured.

And add the retaining clip (arrow up).

6.4 find the arrow on the escapement gear.

6.5 assemble all 3 gears as per the instructions. Make sure the arrow is lined up with the opening on the plastic plate.

6.6 Connect both assemblies together.

6.7 Do not forget to add the 3rd piece of plastic. This is used to hang the weights.

6.8 Now you need to hang the weights.

Thread the included nylon string through the top of the weight;

Next, through the hole in the plastic hanger;

Followed by threading it under the hanger and out the top.

We will tie them later.

7.1 Attach the weight system to the clock body with 3 screws.

8.1 Insert the square bar into the spring mechanism

and attach the back plate and cap (not pictured).

9.1 Adjust the height of each weight mechanism.

You need to look inside the clock at the part that raises and lowers each mechanism (picture 1)

The rod of the weight should be 1mm above that part (when it is in the horizontal position).

If it is not in the horizontal position, use a screw driver to “flip it” horizontally. Adjust the corresponding weight to be 1mm above it by tying a knot in the string and adjusting the plastic weight hanger. (Look at the instructions; it’s easier than it sounds!)

Flip the mechanism again and adjust the other weight.

10.1 Add the dial

Wind it up and enjoy.

I waited until I heard a large “clunk;” at that point I adjusted the dial to be 9pm.

To adjust the time: Hold the clock upside down and let the spring mechanism spin. You can hold the large gear on the side to stop it when the time is correct.