A Cold junction
In 1798, Jean Charles Athanase Peltier was just 13 years old and although he came from a poorly educated family in rural France, people already were beginning to notice the youngster’s intellectual talents.
Besides being an avid reader of nearly any book he could get hold of, Peltier showed an aptitude for fixing clocks. His family was too poor to continue his general education so his father apprenticed him to a clockmaker. Young Peltier found his master, Monsieur Brown, to be extremely unpleasant and extraordinarily controlling. Brown forbade Peltier to educate himself in anything apart from clockmaking. But at night Peltier would clandestinely read by candlelight. That is, until Brown discovered him and removed all candles from his room. Even then, Peltier attempted to read at his window by the light of the full moon. Again Brown found him out and stopped him
from doing even that. That was the last straw: “Ça suffit!” Peltier cried and stole away for Paris.
Life was better in Paris. He found work with perhaps the best-regarded watchmaker in all of France: Abraham Louis Brequet. Peltier worked steadily for Brequet until 1815 when he came into a sizeable inheritance through his wife’s mother. This financial freedom gave him the opportunity to move beyond clockmaking. For the first time in his life, Peltier could devote himself to what he loved most: learning. He read everything he could get his hands upon: the fiction of Voltaire, the philosophy of Rousseau, but most of all, books on science.
With each book Peltier read, he became more curious. He soon went beyond reading and began to carry out experiments. Few scientists tackled so many different fields with such enthusiasm. He dissected animals, observed the night sky, investigated chemical processes, and forecasted the weather, among a dozen other pursuits. But the contributions for which he is best remembered today are his experiments with electricity.
In 1834, Peltier found that when he caused electrical current to flow through a circuit made from two different conductors, something remarkable happened at the points where the dissimilar wires connect. Depending on the direction of the current flow, one junction got hot and the other grew cold. The more voltage applied, the hotter and colder things got.
This phenomenon is now known as the Peltier effect and is the key idea in the design of many precision instruments, satellites, heat pumps, dehumidifiers, and even wine coolers.
The scientific principles behind the Peltier effect are complex, but in a nutshell, they work like this: For a given voltage, the amount of energy that electrons possess as they travel through conducting wires is different depending on the electrical conductor material. At the electrical junctions between different types of conductors, the smooth flow of electrons is interrupted, causing the equivalent of an electron traffic jam. At one side of the jam, electrons expel excess energy to the surroundings so they can enter the new conductor. Here it gets hot. At the other junction, the electrons do the opposite: forced to absorb energy from their surroundings, they make that side cold.
It wasn’t long before engineers and scientists figured out that this ultra-simple circuit (merely a couple of different wire types soldered together and a battery) had a lot of interesting uses. With only a voltage source and two types of conductors, it is possible to make an electrical device that heats and cools, with no moving parts.
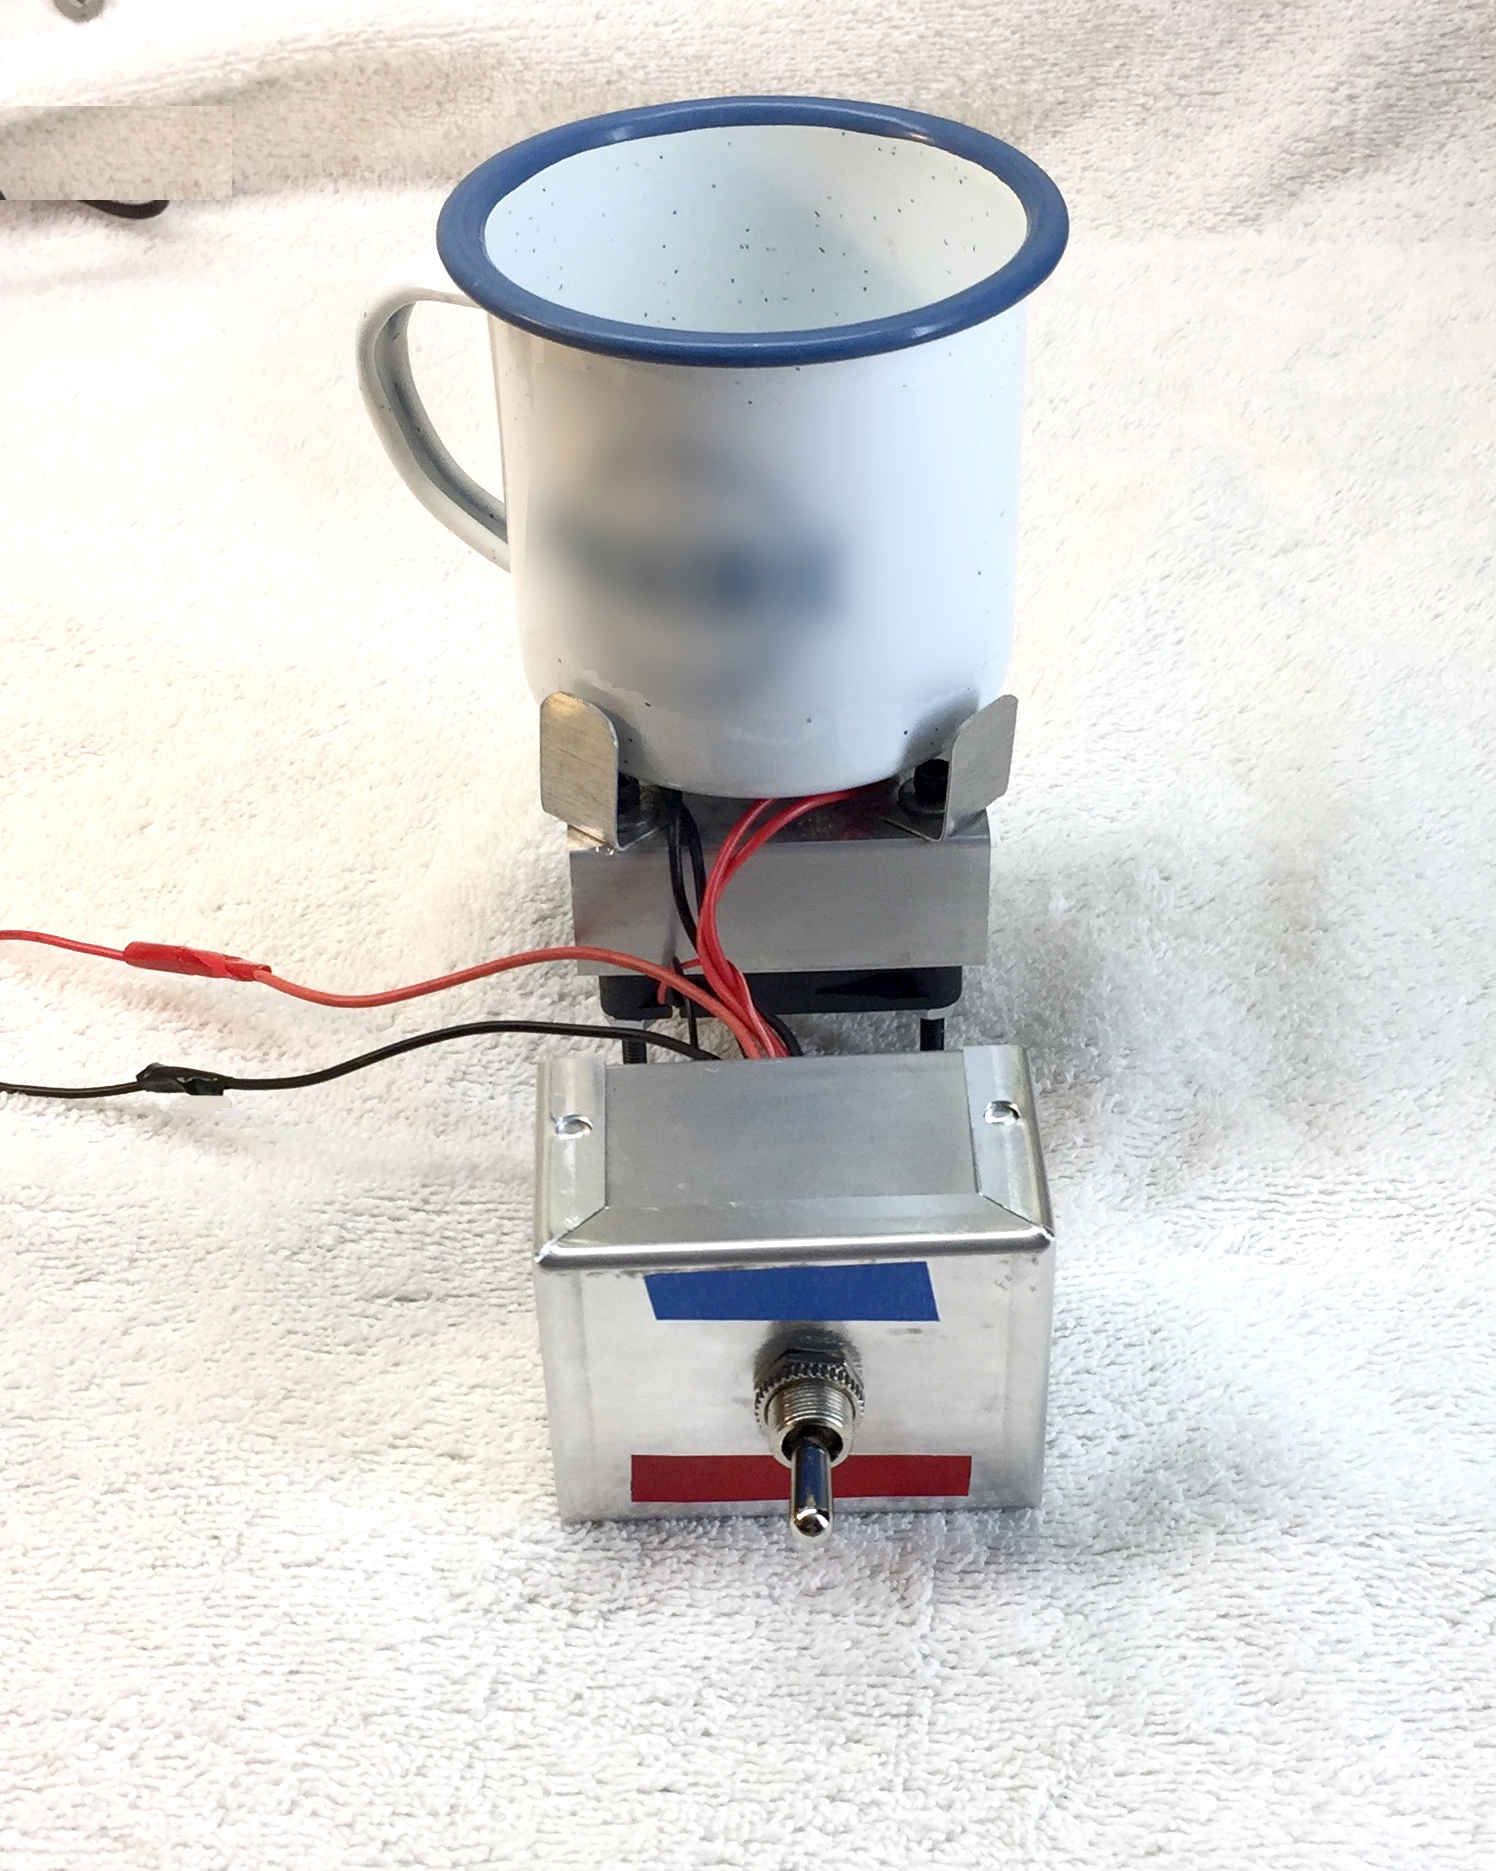
In this edition of Remaking History, we’ll use Monsieur Peltier’s thermoelectric principle to construct a desktop drink coaster that can both heat and cool a cup — your choice — at the flip of a switch.
GO AHEAD — BE HOT AND COLD
To use your Peltier Coaster, plug the wall transformer into a power outlet and flip the switch to the up position. Hold your hand near the top surface of the Peltier module to detect whether it becomes cold. Flip the switch to the down position to check that it heats.
If your coaster does not heat or cool, check your connections and make sure the device is wired correctly.
Metal cups work best with the Peltier Coaster. Enjoy your warm — or cold — beverage!
MORE PELTIER-EFFECT PROJECTS
The Amazing Seebeck Generator
The Seebeck effect is Peltier’s in reverse: Get 5V power from a candle flame. A classic from Make: Volume 15.
Peltier-Cooled Cloud Chamber
Atomic punks — build a DIY cloud chamber to make radioactive particles and gamma rays visible.
Chilled Drinkibot
Peltier + pump = chill and dispense your favorite bevvie, temp-controlled by an Adafruit Trinket.


