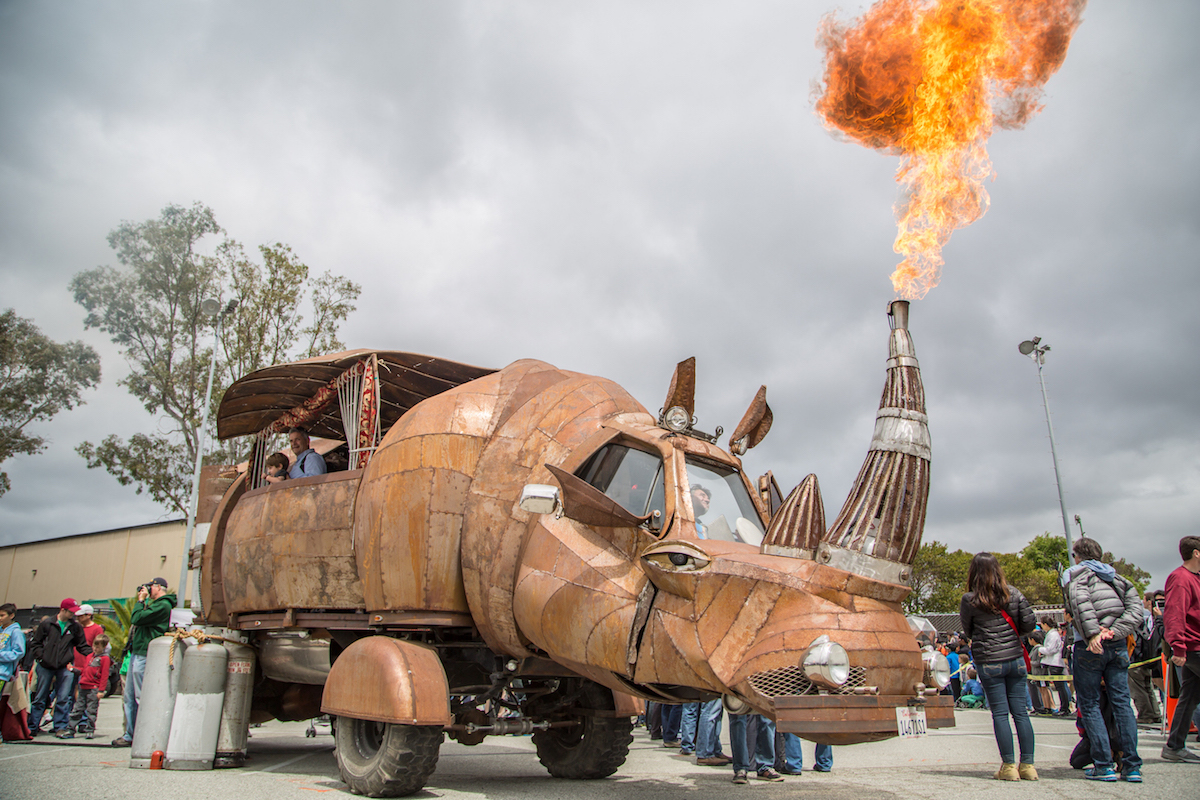
Make your project come to life with fire! Photo by Hep Svadja
This article is adapted from Make: Fire, available at the Maker Shed and fine bookstores.

Most propane projects built by makers (and the ones in my book) require only a basic low-pressure source. This can be made from standard parts found in big-box hardware stores, local plumbing supply companies, or on the internet. This source will provide propane vapor at approximately ½ (0.5) psi and allow you to safely build low-pressure fire projects that will introduce you to skills like correctly assembling gas-rated fittings and brazing.

Photo by Tim Deagan
Photo by Tim Deagan
 
Figure B. Low-pressure source block diagram.

I’m specifying high-pressure hose even though this is a low-pressure source, because I believe it’s dangerous to have a mix of high- and low-pressure hoses in your propane gear. The high-pressure hose works fine for low pressure but the reverse is most definitely not true. So it’s better to invest a little more and know that your hoses work for all situations.

Figure A
Figure A. Low-pressure source schematic diagram.

Throughout my book, I present a schematic and block diagram for every project. The schematic (Figure A) conveys the essential function; the block diagram the specific parts (Figure B). You can also use the block diagram as an assembly guide.

You can learn more about working with fire in “Getting Started with Propane and Fire Effects.

What will the next generation of Make: look like? We’re inviting you to shape the future by investing in Make:. By becoming an investor, you help decide what’s next. The future of Make: is in your hands. Learn More.

Project Steps

1.

Start by taping and threading both ends of the ⅜” male-male brass adapter (F1). Tighten one end into the outlet of the low pressure regulator
(R1) and the other end into the ball valve (V1).

2.

Tape the male-female brass bushing (F2) with yellow Teflon tape and thread it into the ball valve.

3.

Tape the male-female brass bushing (F2) with yellow Teflon tape and thread it into the ball valve.

3.

Tape the male threaded end of the hose (G2) and thread it into the bushing on the end of the ball valve.

4.

Put your safety glasses on. Verify that the ball valve is turned off.

5.

Attach the regulator’s QCC fitting to the propane cylinder without Teflon tape. If your regulator has a large plastic grip around the fitting, it is threaded by hand.
If there’s no hand grip, tighten with a wrench, but do not overtighten; some regulators won’t supply propane at all if overtightened.

6.

Open the cylinder valve all the way and then back off about a half turn.

7.

Using a little soapy water in your spray bottle, spray the fittings from the cylinder to the ball valve (Figure C). Check for bubbles. If you see any, depressurize and tighten the joint until they stop. A valuable addition is a ⅜” flare plug to cap the end of the hose; this will allow you to test the ball valve-to-hose connections as well.

Figure C
Figure C. Photo by Tim Deagan

5.

Close the cylinder valve all the way and then open the ball valve to vent the line.

That’s all there is to constructing a low-pressure source for all kinds of fun flame projects!