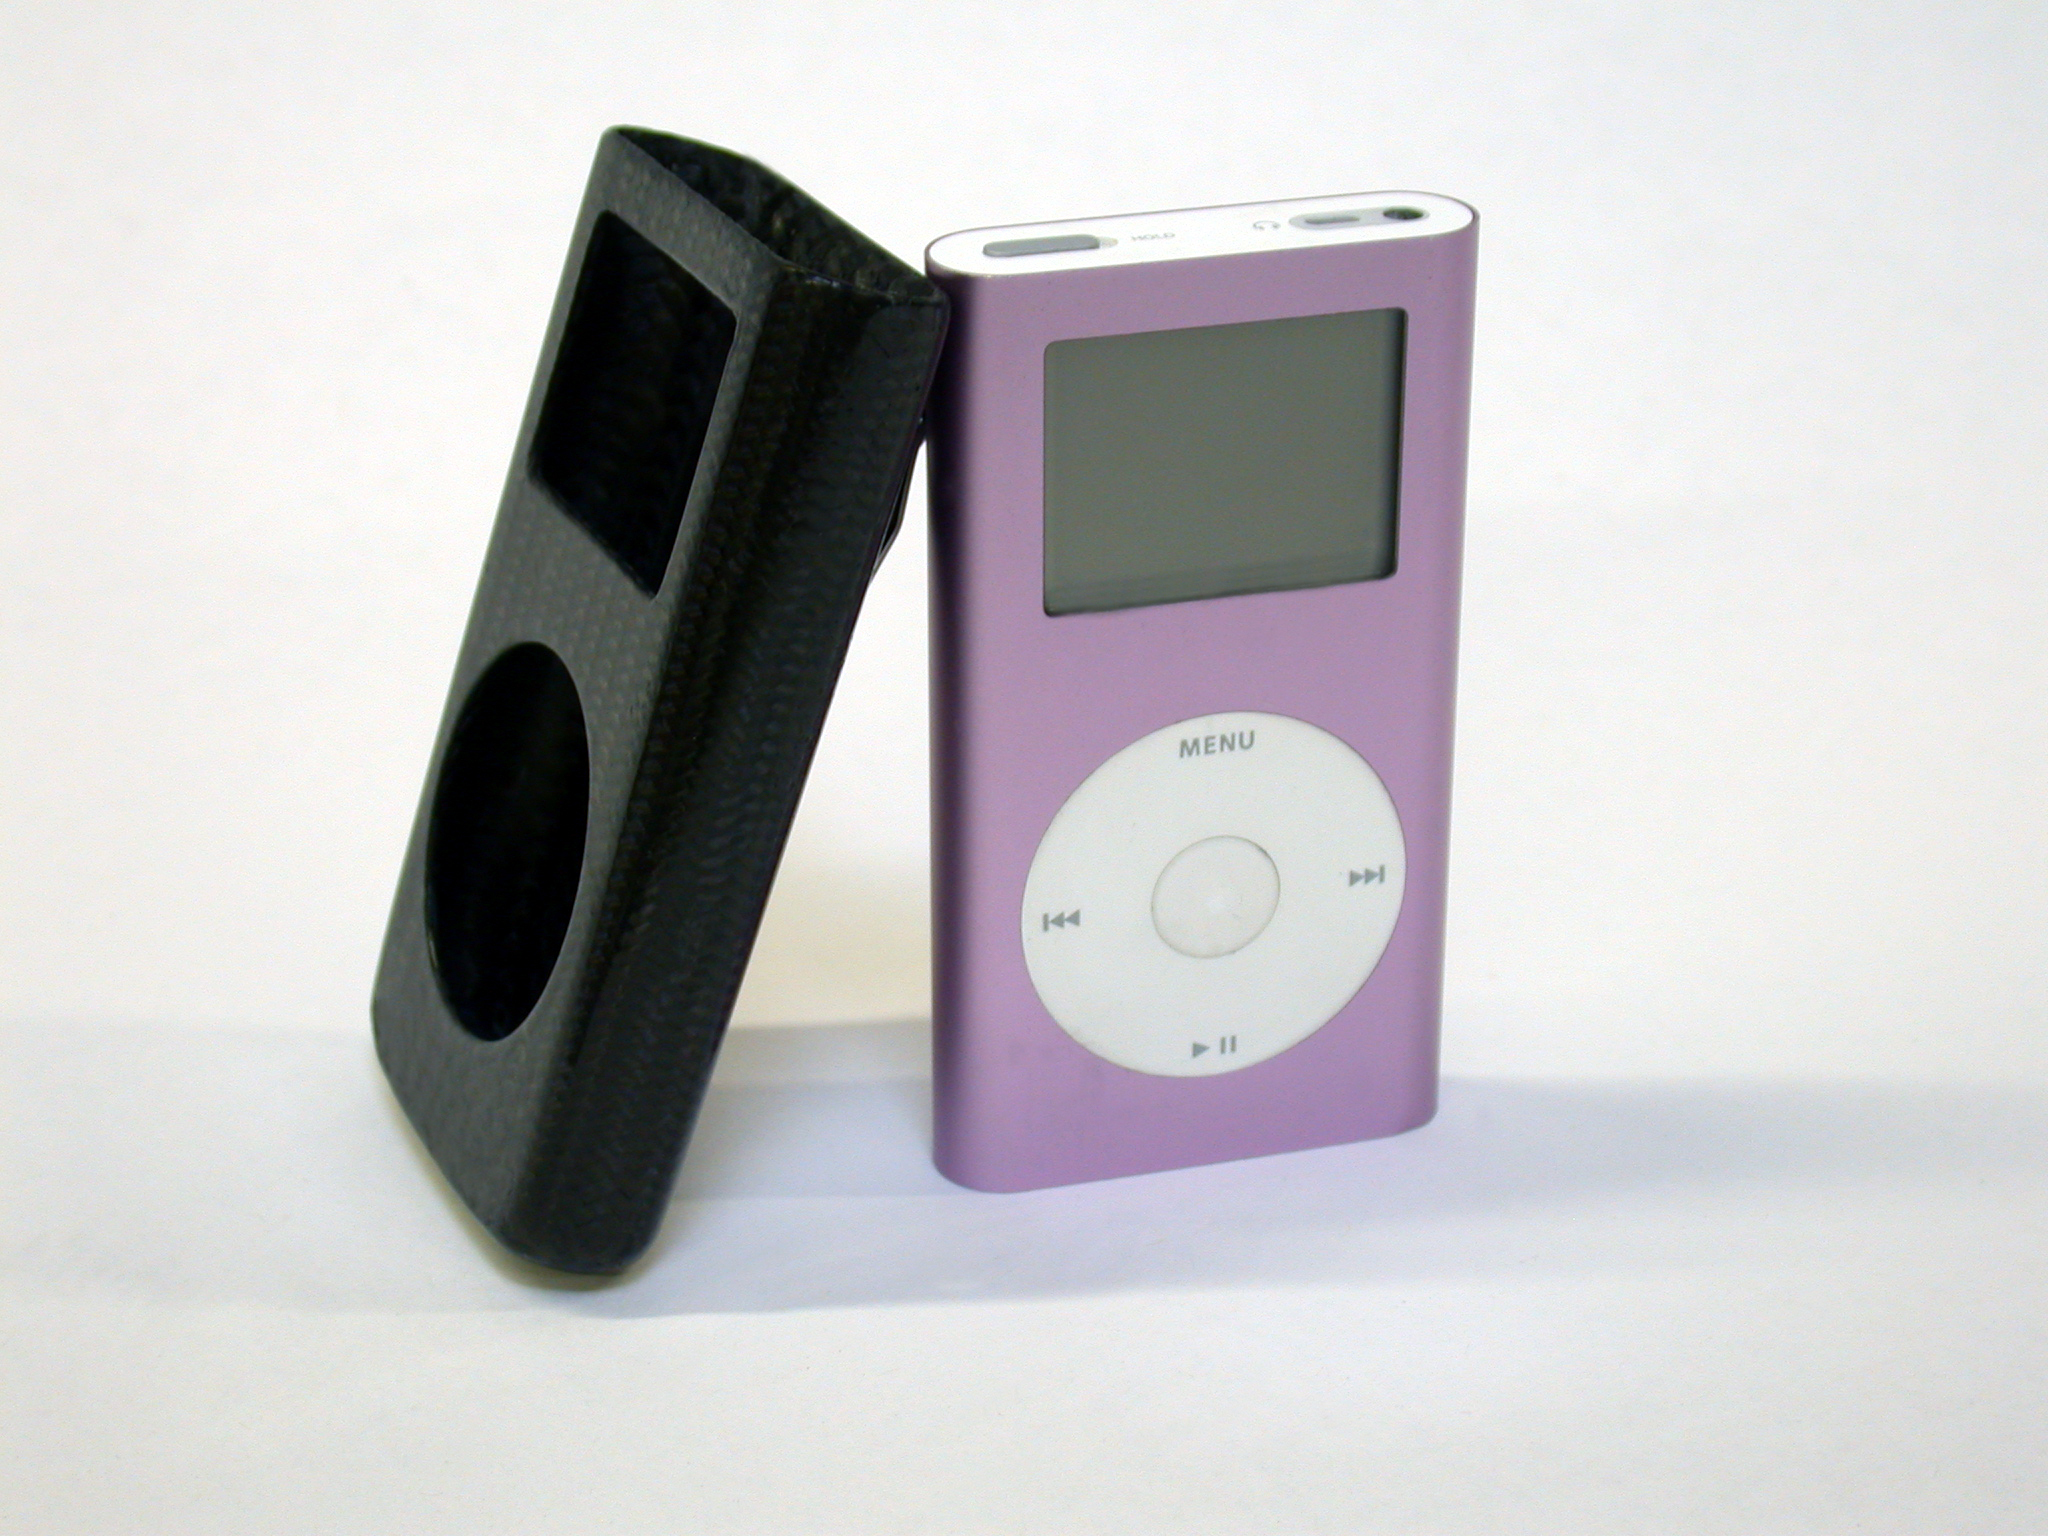
It seems as though nearly everything “high performance” these days boasts some amount of carbon fiber in its construction. Originally used in aerospace, carbon fiber has moved into the mainstream and can be found in luxury automobiles, mountain bikes, and sports equipment.

Some laptops and cellphones even use printed decals to simulate this lightweight material’s cutting-edge look. The good news is that you don’t need a state-of-the-art manufacturing facility to work with carbon fiber composites. In fact, you can do it at home.

This article discusses some of the basics of carbon fiber construction and explains how to create a carbon fiber iPod case. All you need are some basic woodworking tools and skills, and the right materials. And because the same process also applies to fiberglass and Kevlar composites, these skills give you multiple ways of boosting your future projects to a new level!

Understanding Carbon Fiber

Composites are created from two or more dissimilar materials that act together as one. While concrete and plywood are technically composites, the term composite in industry has come to refer to reinforcement fibers held together in a resin matrix and formed in a mold. Carbon fiber is one of several textiles used in this class of materials. When joined together through a procedure called a layup, the fiber and the resin form a material with properties that exceed those of either constituent material.

As a rule of thumb, composites offer their greatest strength in the direction the fibers run — similar to how wood is strongest along the grain. Because of this, you can “tune” a composite’s strength characteristics by controlling and combining the directions of the fibers. If you want strength over the length of a part, simply align the fibers lengthwise. Likewise, if you’re making a tube that needs torsional (twisting) strength, it’s best to arrange the fibers helically, like springs, weaving them together with opposite rotations.

The bulleted section below describes the three most common forms of manufactured fibers: woven, unidirectional, and filament. Each general type can be produced from carbon, fiberglass, aramid (Kevlar), boron, basalt, and several other materials, which are chosen according to their particular physical properties.

  • Woven (aka “cloth”)
    • Comes in rolls and resembles the thick nylon fabric used in trampolines. Weave styles vary according to the fibers’ directional alignment, drape (how well the cloth conforms to mold surfaces), and wet-out (how easily the fibers can be infiltrated by resin).
  • Unidirectional
    • Comes in rolls and resembles a very fine, wide paintbrush. Composed of parallel fibers that are intermittently joined over their width by thin resin-coated fibers that keep the strands aligned into an easily usable form.
  • Filament (aka “roving” or “tow”)
    • Comes on reels as continuous strands of fibers, loosely gathered into a thread. It can be easily unwound and placed wherever necessary in a layup.

Resin is available in hundreds of different types, each with its own chemical and physical characteristics. In general, polyester, epoxy, and vinylester liquid resins are the most widely used in composite constructions.

You can also buy pre-preg fiber, which already has the resin mixed in. Pre-preg is easier and less messy to use, and it doesn’t waste resin, but it’s also more expensive, is more difficult to obtain, has a limited shelf life, and comes in limited resin types. Most pre-preg comes shipped cold and must be used immediately, or can be frozen (to retard curing) but must be used soon. Another type, elevated-temperature cure pre-preg, ships normally and is cured in an oven or autoclave. Molding a composite using pre-preg is known as a form of dry layup, while starting with separate fiber and resin is called wet layup.

When constructing high-performance composites, designers attempt to do several things at once: orient the fibers for highest strength, inhibit delamination (the peeling apart of fibers), and ensure dimensional accuracy. In addition, they try to minimize voids and bubbles in the composite, which weaken the structure, and keep the resin-to-fiber ratio down to somewhere between 50/50 and 40/60, which is the optimal range for strength and lightness. Many automotive enthusiasts who purchase carbon fiber hoods for their cars complain that they often weigh more than the original steel. This arises from too much resin, either in a thick, glossy top coating called a flood coat, or in a generally poor layup.

What will the next generation of Make: look like? We’re inviting you to shape the future by investing in Make:. By becoming an investor, you help decide what’s next. The future of Make: is in your hands. Learn More.

Project Steps

Making the case.

We’re going to create our own composite iPod cover using wet layup, and compression-mold it by using C-clamps. This relatively low-tech method proves successful for making flat shapes out of sheets of material. For shallow rounded forms, you can compress the shapes under plastic bags filled with sand, clamped between wooden boards. Since the iPod has a simple rectangular shape, we can create a nicely consolidated, smooth-surfaced shell by using an internal mold (or mandrel) with blocks clamped on its large sides.

Although this demonstration explains how to make a case for an iPod mini, you can use this same method to make a hard, lightweight case for practically any device that has a uniform cross-section over its length.

These instructions include a metal belt clip for the case. If you don’t want the clip, just skip the steps that involve the screws, the T-nuts, and the metal strip.

Prepare the mandrel.

Use calipers to take close measurements of the iPod and determine the mandrel size. To guarantee a snug (but not too tight) fit for the iPod, the mandrel’s width and thickness should measure .02″ to .04″ more than the iPod’s actual dimensions. The iPod mini is only slightly over ½” thick, so you can form a mandrel easily using a ½” thick piece of medium-density fiberboard (MDF) that has been bulked up with tape to the correct dimensions.

If you anticipate taking your iPod in and out of the case frequently, you should line the interior walls of the case with felt or velvet to keep the iPod from getting scratched. In this case, it’s advisable to oversize the mandrel even more to account for the thickness of the lining.

For the mandrel’s height, add 1″ to the height of the iPod. This translates to a total height of 4.75″, which will allow enough extra carbon fiber material for clean trimming of the final part.

Cut the mandrel to size, making sure that it’s very straight along its length, so it will slide out of the hardened composite after curing. You can ensure a straight edge by cutting the MDF using a fence on either a table saw or band saw.

Then use a router with a ¼” round-over bit to replicate the fillets (rounded edges) along the sides of the iPod.

In order to form the bottom of the case cleanly, the mandrel needs to have a slight flange for the carbon fibers to wrap around. Create this flange by marking its location 1″ from the bottom of the mandrel, then cutting a 1/8″ deep groove around the mandrel with a band saw. Trim off the excess on the flange with the band saw by using a block to hold it squarely in place.

Wrap tape over the mandrel if necessary, to build it up to the desired dimensions.

Be careful to keep out any wrinkles or bubbles.

Create a removable sheath for the mandrel by wrapping it with either polyethylene sheeting taped to itself, or with clear packing tape. I created a tight, removable sheathing by wrapping the packing tape around the mandrel sticky side up, and then wrapping it again sticky side down.

Cut 2 clamping blocks out of MDF scrap, making them the same dimensions as the mandrel, without the extra 1″ of length. Cover the blocks with packing tape to keep them from adhering to the composite during cure.

Make the belt clip.

If you’re adding the belt clip to your case, mark and drill two 1/8″ diameter holes on one of the clamping blocks, in the location and spacing that you want for the clip’s screw mounts.

Mark and drill holes in the mandrel at locations that match the ones drilled in the clamping block. These are pilot holes for the set screws that hold the T-nuts during layup and cure, so make them slightly smaller than the screws’ diameter.

Tighten the set screws into the mandrel so they are exposed at least ¼” above the surface.

Apply a very thin coating of petroleum jelly to the set screws to keep the resin from locking them in place during curing.

Use pliers to flatten the spikes found on the T-nuts. The slightly jagged nubs that are left will grab into the composite later and help keep the T-nuts from rotating when you insert the screws.

Lay up the composite.

Cut 2 equal lengths of the carbon sleeve, long enough to allow a little extra material to hang over each end of the mandrel.

Carefully slide one length of sleeving over the mandrel, and wiggle the fibers around the set screws so that they lay flat against the mandrel with the screws poking through. Screw the T-nuts onto the set screws and pack a small amount of modeling clay into the top of each to prevent resin from filling in the hole.

Mix up the epoxy according to the manufacturer’s directions. Wearing latex or nitrile gloves, apply it generously to the sleeve, working it between the fibers with your fingers to ensure total wet-out.

Pull the second layer of sleeve over the mandrel, and, as with the first sleeve, work the fibers around the T-nuts so that the nuts poke through and the fabric lays flat.

Work more epoxy into this second layer until it is also completely saturated.

Tug carefully on either end of the sleeves to straighten any undulations in the fiber weave, and smooth it down as much as possible to ensure clean aesthetic results.

Place the clamping blocks on either side of the layup and mandrel with the holes in the drilled clamping block matching the locations of the T-nuts.

Apply the C-clamps carefully and tighten them down while trying to minimize shifting in the fiber. Wrap a rubber band around the lip of the flange to pull the fiber around the edges.

Smooth away any excess resin from the layup with your gloved fingers; this will save surface finishing time later. Allow the layup to cure overnight.

Finish the case.

Remove the clamps and pry off the clamping blocks with a flat-blade screwdriver. Use a Dremel with a rotary file bit or cut-off wheel to trim the excess ends from the composite.

Make sure to use a dust mask; carbon fiber and epoxy produce some nasty dust. Also wear gloves and use caution, because cured carbon fiber slivers are even more heinous than those produced by fiberglass.

Unscrew the set screws from the T-nuts. Use a hammer and a small scrap of wood to knock out the mandrel from the flange.

Pull the plastic sheathing out from inside the case and then trim the case down to size with a Dremel. File and sand the case as needed to create a smooth surface.

Wet sandpaper works best when smoothing carbon fiber surfaces, and also keeps dust to a minimum. Take care to keep from sanding through one layer into the other, as this will look unsightly and weaken the case.

Precisely measure and mark the locations of the screen and buttons on the case (a 1½” diameter circle template will mark the thumbwheel nearly perfectly). Use the Dremel to cut the holes, and finish the edges with a file and sandpaper.

Paint the case with several spray coats of clear lacquer to give it a professional finish.

Finish the belt clip.

Use sheet metal snips to cut the stainless steel strip down to 3″ long, then smooth and round the edges and corners with a file. Then drill holes at one end of the clip with spacing to match the T-nuts.

Use a vise to put 2 slight widthwise bends in the strip, one ½” from the end with the screw holes, and the other in the opposite direction, ¼” from the other end.

Mount the clip to the case with the button-head socket cap screws. Your case is now finished and ready for use.

Conclusion

This primer first appeared in MAKE Volume 09, page 164.