Two solar eclipses are coming to America: October 14, 2023, and April 8, 2024. When a total solar eclipse happens, the moon completely blocks the sun, making the sun’s corona briefly visible. This is a rare cosmic treat to observe! But you can’t safely look directly at the sun, even with sunglasses — you need an eclipse viewer.

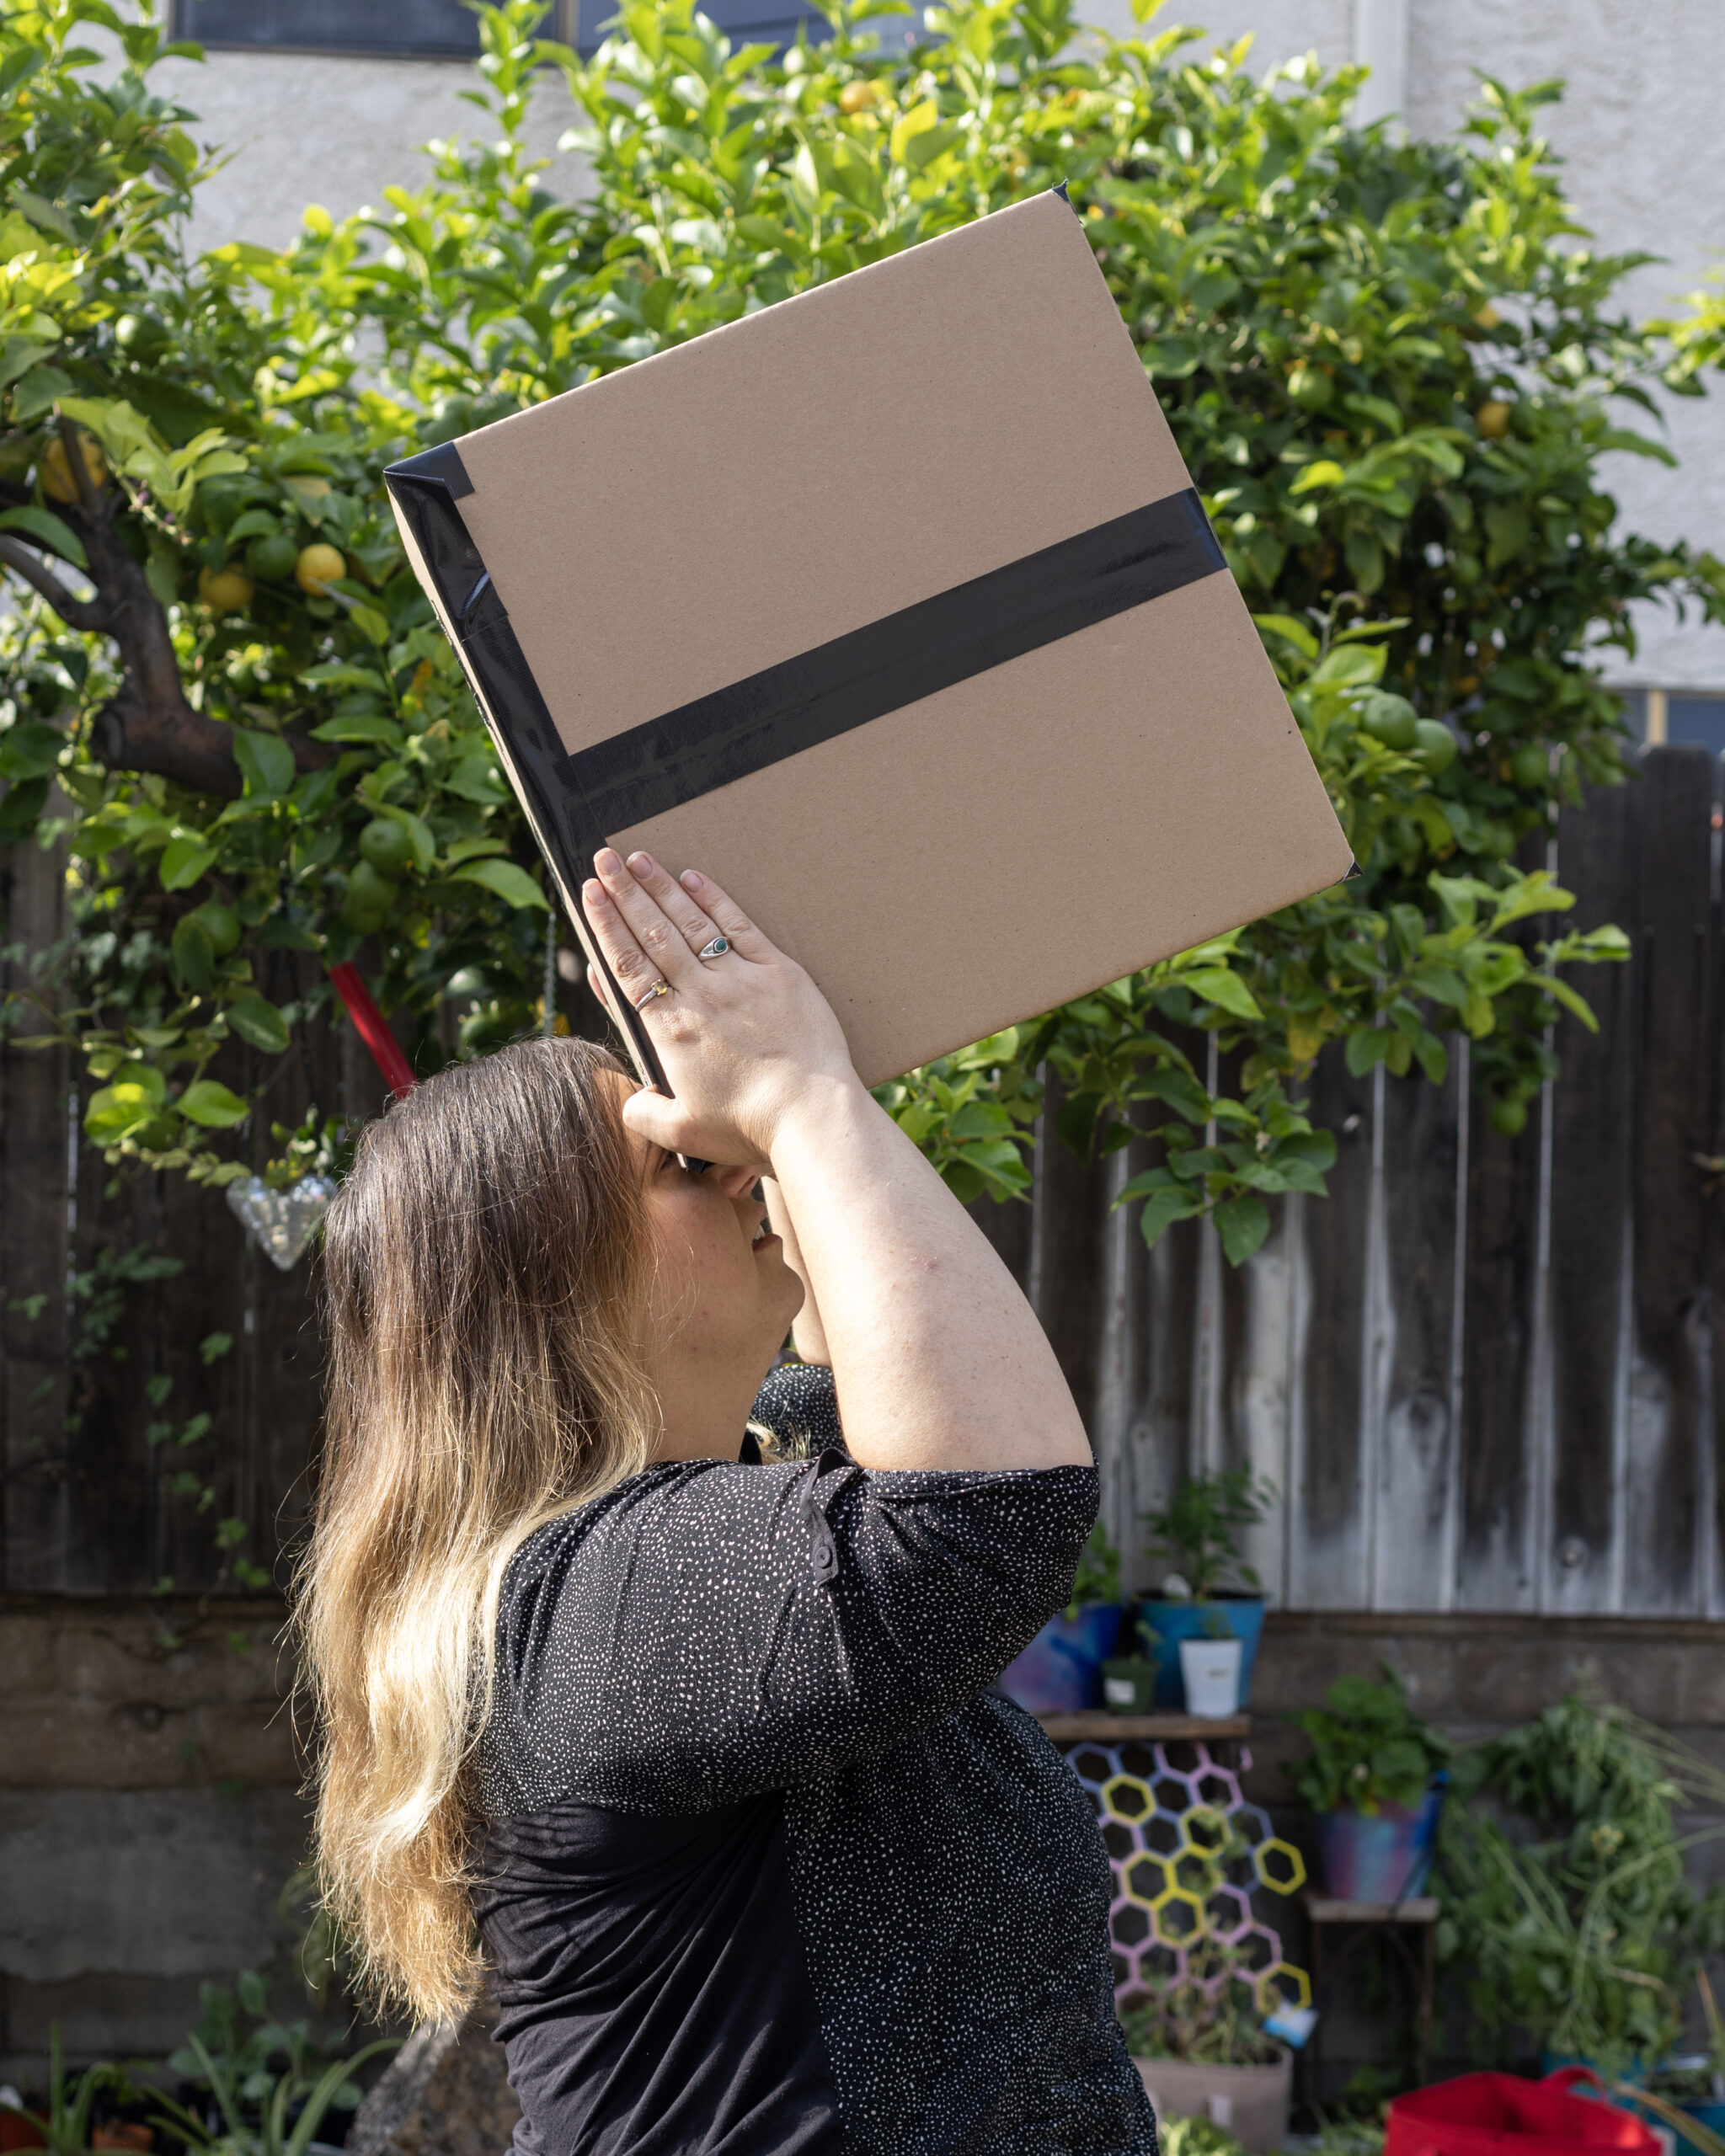
Here’s one that’s easy to make from stuff you have around the house: a box pinhole projector. It’s like a pinhole camera, except your eyes are the film and your brain is your photobook.

What will the next generation of Make: look like? We’re inviting you to shape the future by investing in Make:. By becoming an investor, you help decide what’s next. The future of Make: is in your hands. Learn More.

Project Steps

FIND A BOX

Look for a biggish box. The longer your projection is, the larger the projected image of the sun will be. If you use a box as long as your forearm or longer on four sides, you’ll have great results!

CUT HOLES IN THE BOX

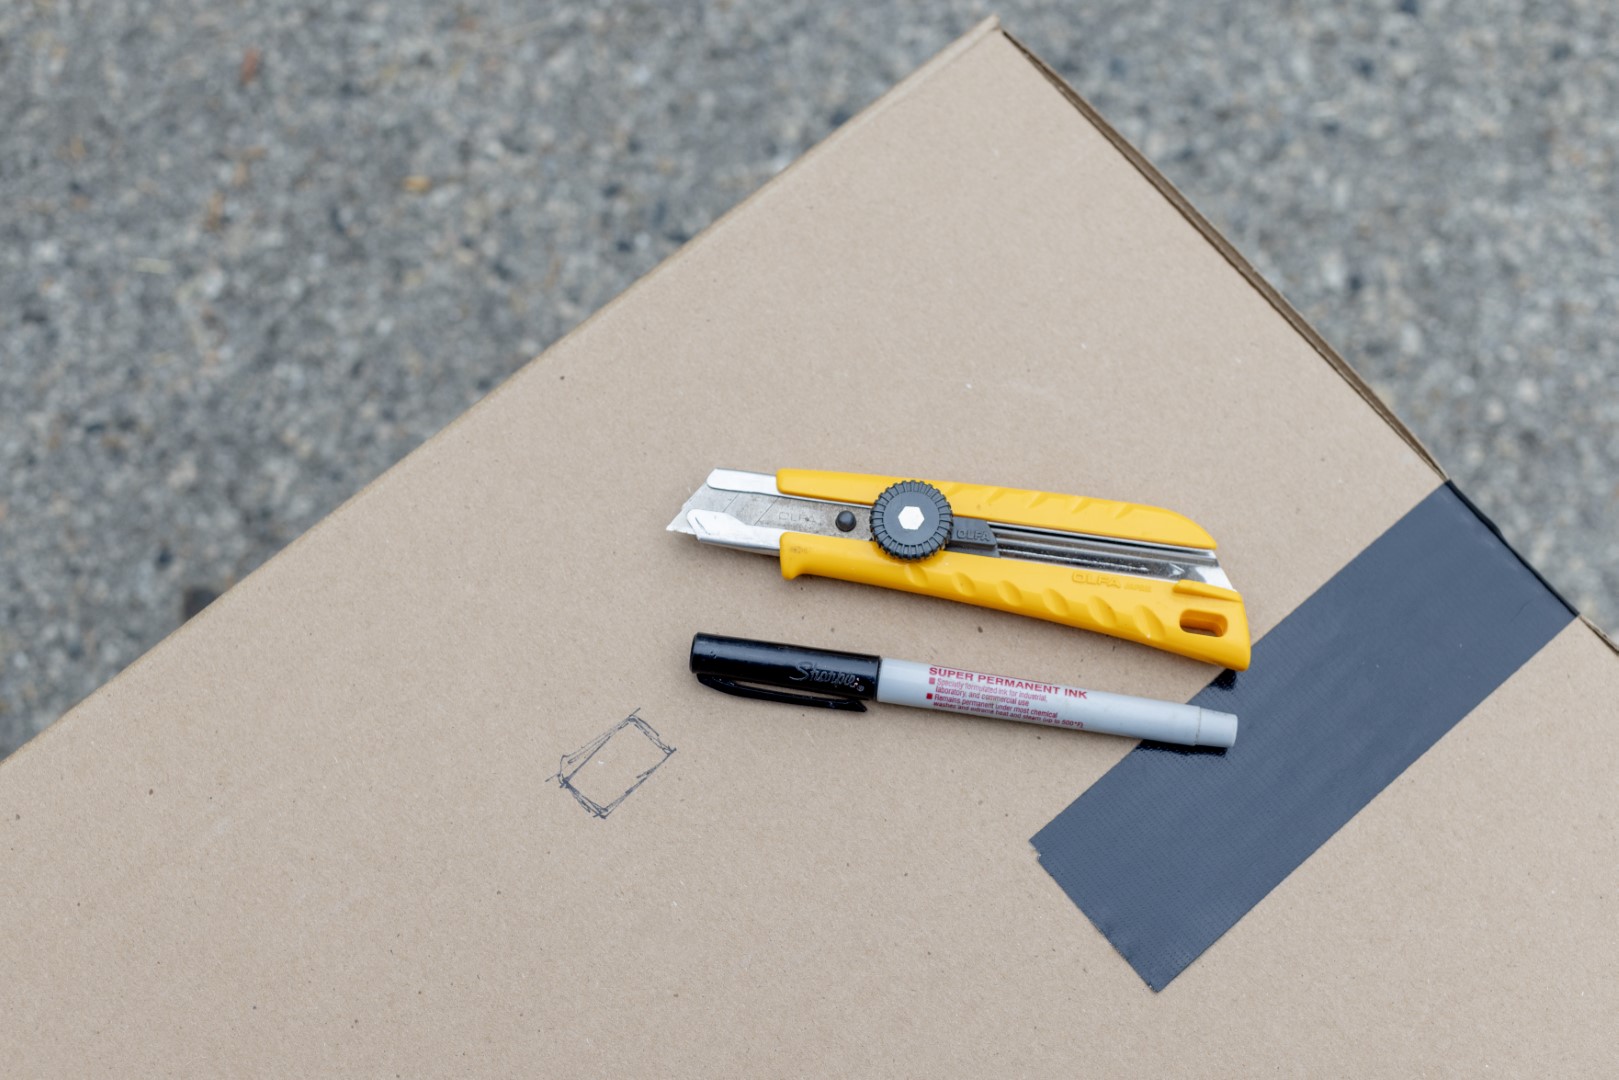
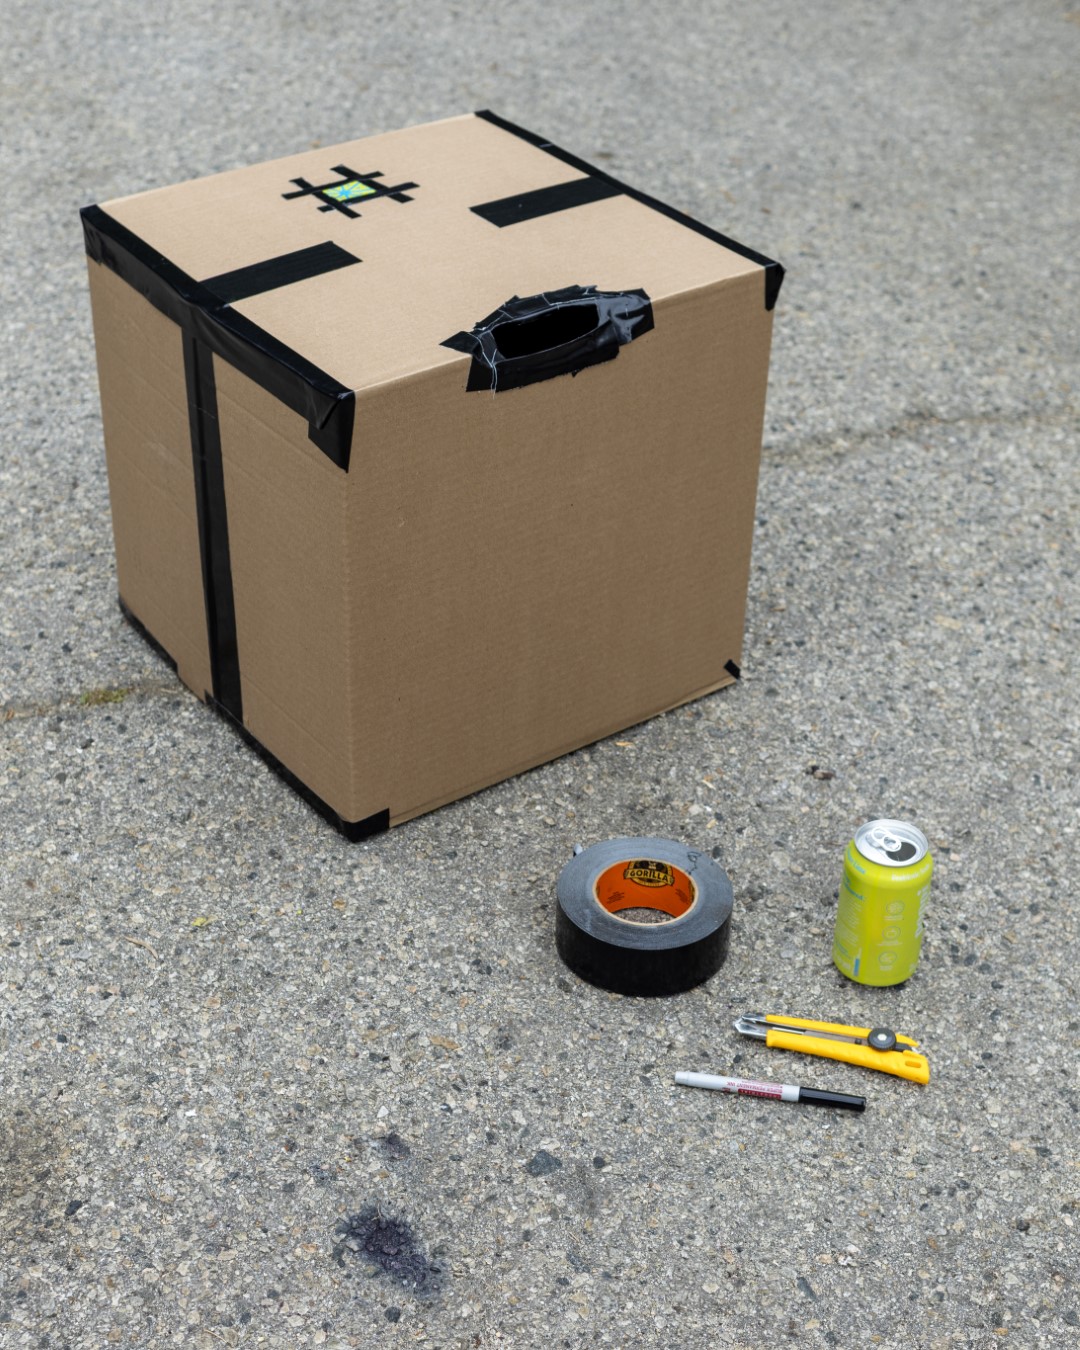
Cut a small rectangular hole in the box, just above center on the short side of the box (Above ). This is where you will attach the pop can “lens” of the viewer.

On the box edge below, add a hole for your eyes. The hole should be slightly smaller than the width of your head, but if you cut it too large (like we did initially) you can add some tape back to the sides of your hole to darken the viewer and fit it to the sides of your face.

MAKE THE PINHOLE "LENS"

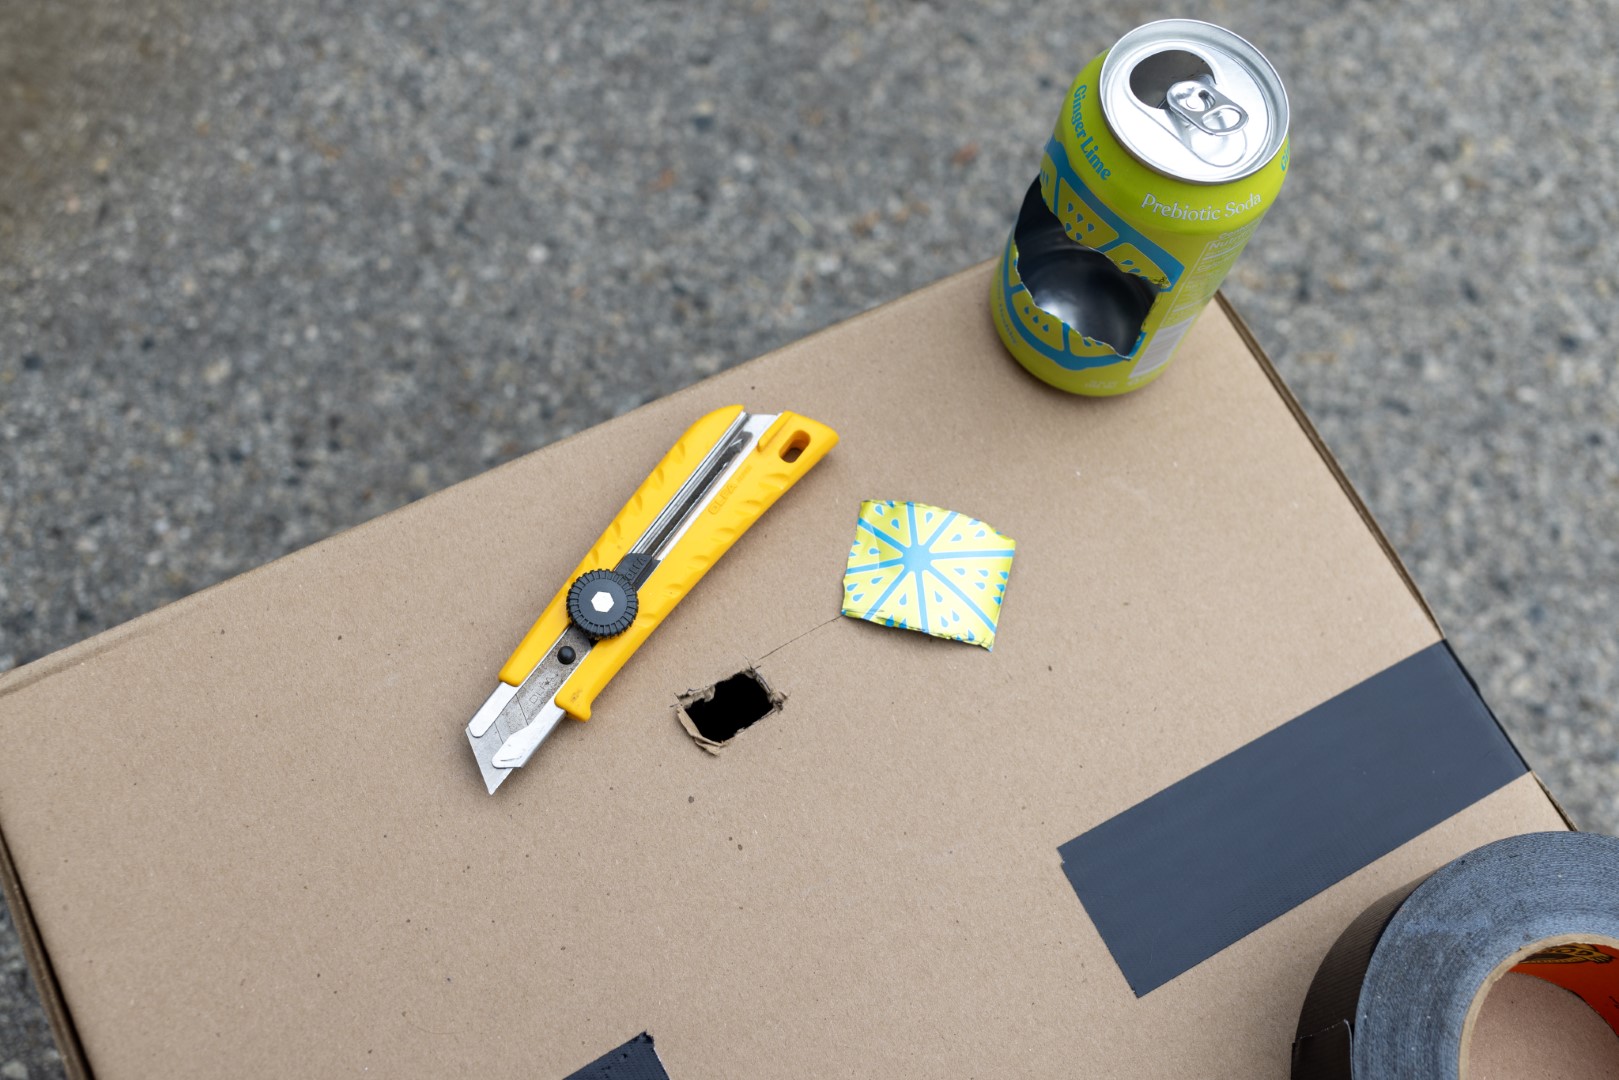
Using your box knife, cut from the pop can a square of aluminum that’s slightly larger than the square hole you previously cut in the viewer box (Below).

You can also try to make a lens with layers of aluminum foil and scissors if you like, but I find that this lens is too delicate and flimsy when transporting the viewer. If you do use foil, try and get it as taut and flat as you can.

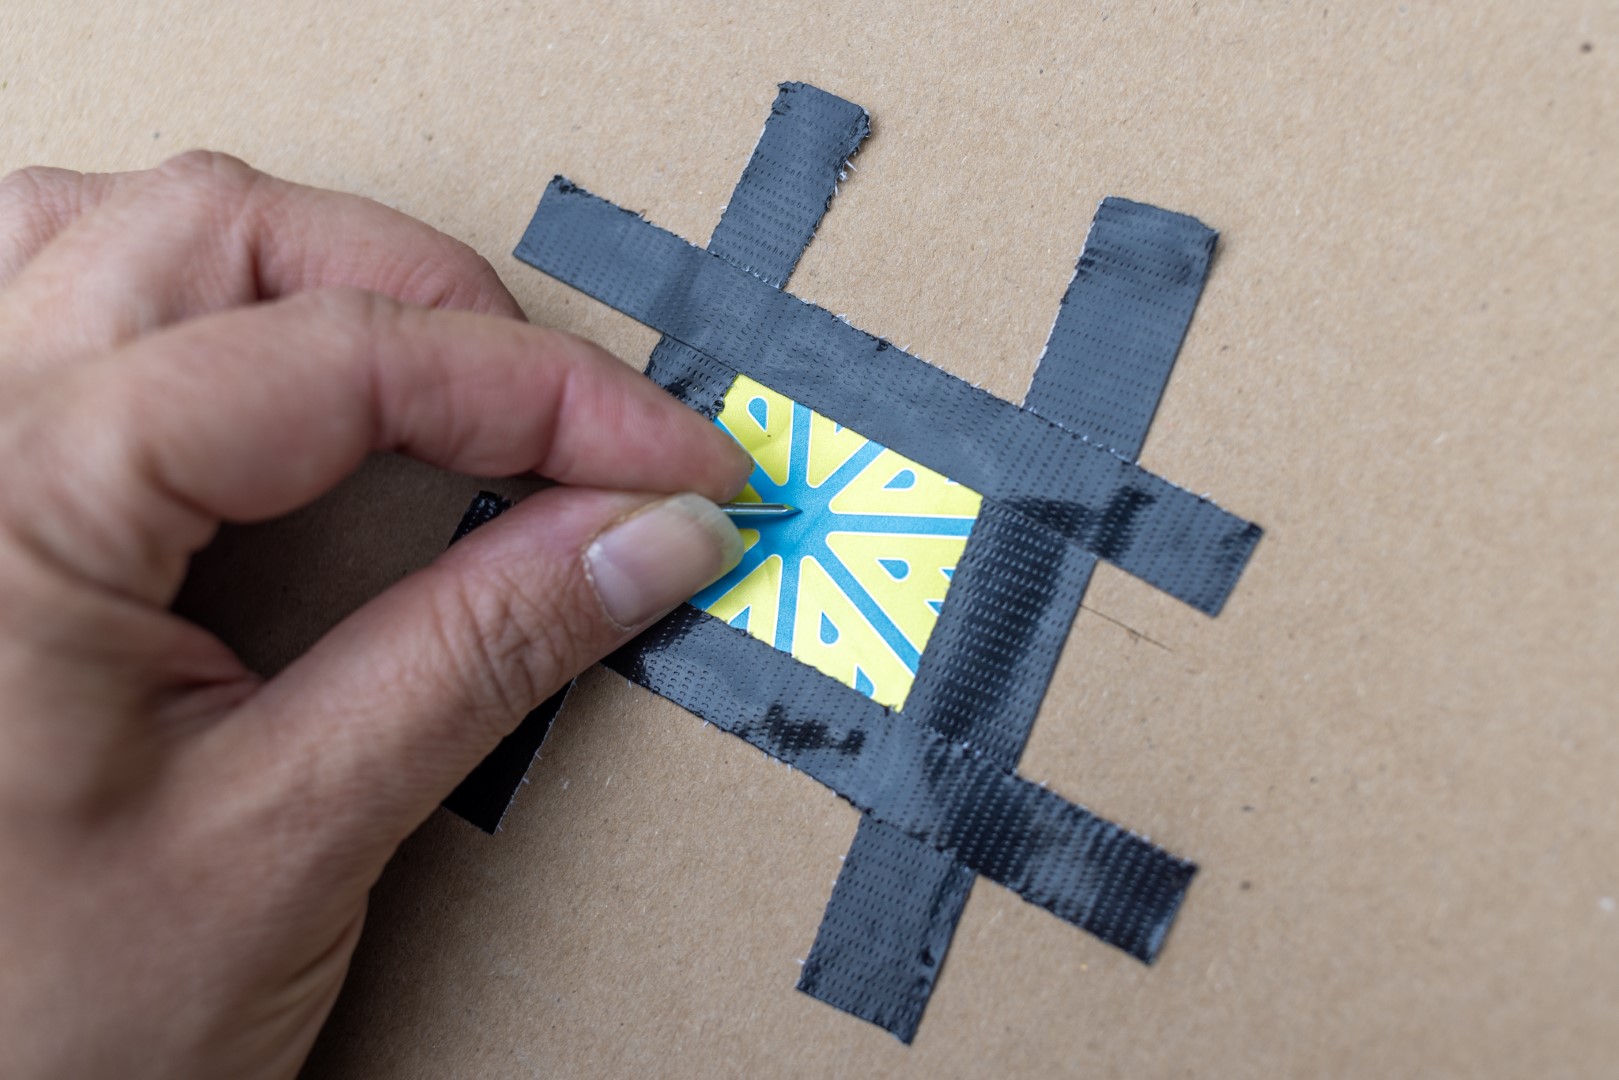
After the lens is cut, tape the aluminum over the rectangular hole in the box with opaque tape.

Using a thumbtack or tiny nail, poke a tiny hole in the aluminum (Above). This hole should be very small, not even the full diameter of the tack or nail used to puncture the aluminum. Hooray! You just made a rudimentary camera obscura!

FIX LIGHT LEAKS

When you have the viewer pulled up to your eyes, you won’t want any light leaks ruining your view. I was able to block all the light leaks with black duct tape, but you can also use electrical tape or gaffer’s tape. Any completely opaque tape, or enough layers of semi-opaque tape, can help solve your light leaks (Above).

CREATE A VIEWING PLANE (OPTIONAL)

By taping a sheet of white paper on the inside of the projection side of the box you can create a clearer viewing plane than just the regular brown cardboard.

Think of how films are projected at the movie theater. Theaters aren’t projecting on a soft, dark surface, they use a taut, plain white background. A sheet of paper can also make it easier to take photos of the projection with a digital camera from inside the box.

Conclusion

GO SUN SEEKING!

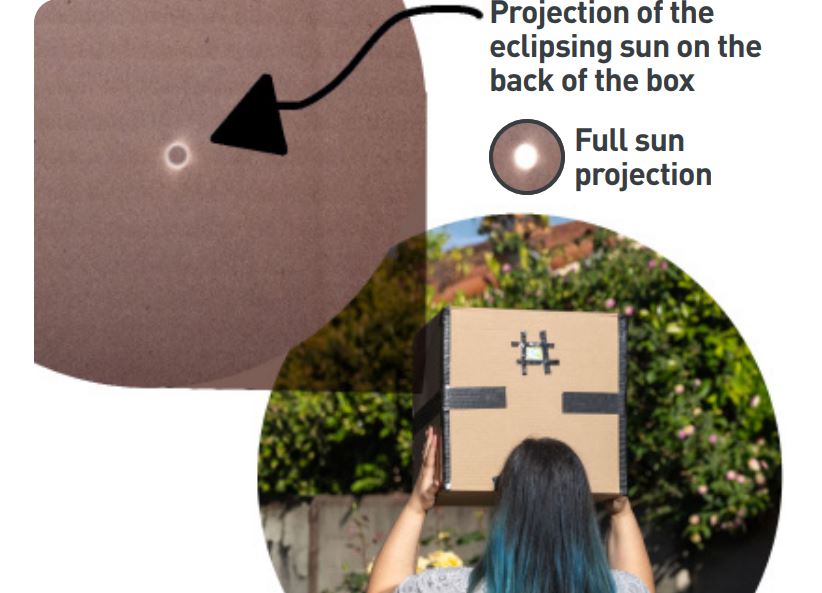
Raise the box viewer to your eyes and stand with your back to the sun. Position the viewer until the bright dot of the sun comes into view. At eclipse time, you’ll see the moon’s shadow slowly block out the sun (above). Enjoy making DIY science memories in the sun!