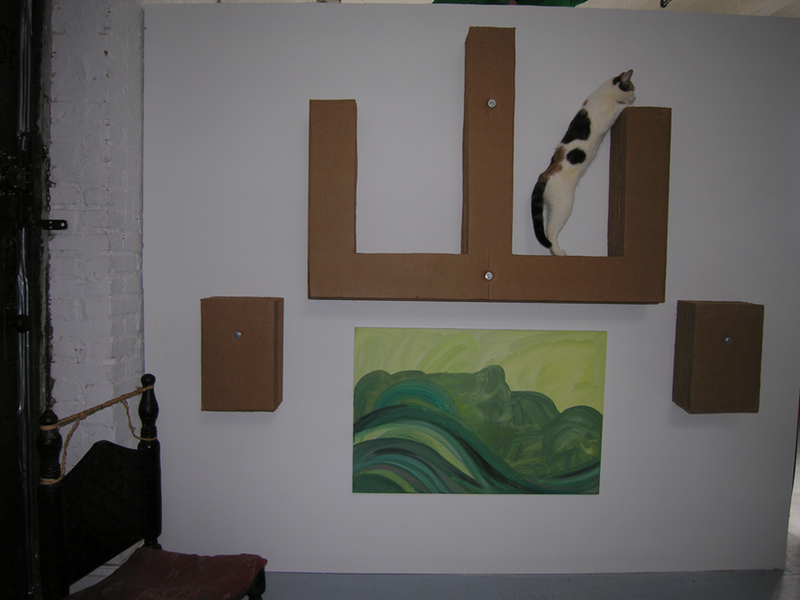
To determine your Castle location, find the studs in your wall. An electronic stud detector is a wonderful thing, and if you know someone who has one, by all means borrow it. I used the more primitive divining method of knocking at the walls.
Note: you’ll need different supplies depending on the type of wall. If your wall has aluminum studs (as ours did), you’ll need only the supplies listed, plus a wood bit. If you’re working with a brick-and-concrete wall, you’ll need to drill holes with a masonry bit, then use a hammer to insert lag shields measuring 2″×1¾”, to serve as anchors for the lag bolts.
Use a pencil to mark the wall where the Castle’s top edge will go, and use a level (this is a large item, and if it’s not level, it will look sadly amateurish). It’s important that the Castle be attached solidly to the wall so it doesn’t wobble; if it moves when Kitty first jumps on it, she won’t feel safe jumping on it again.
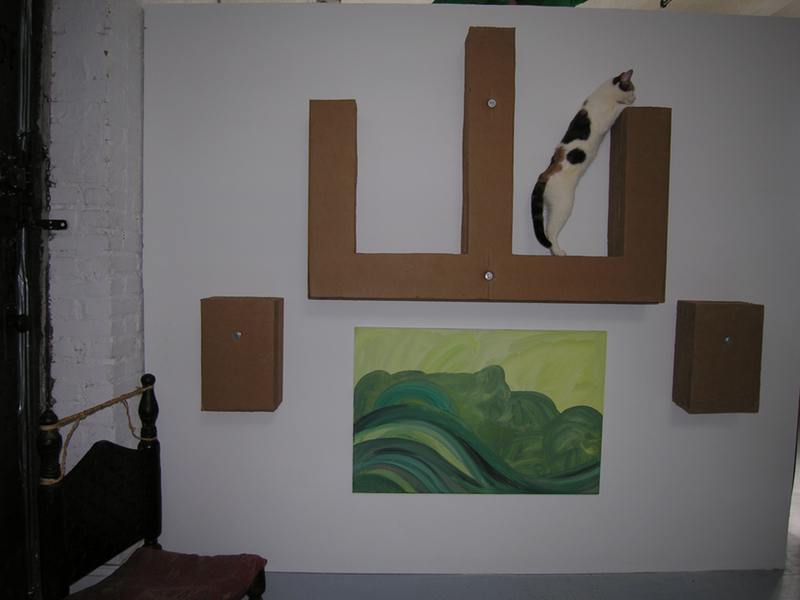
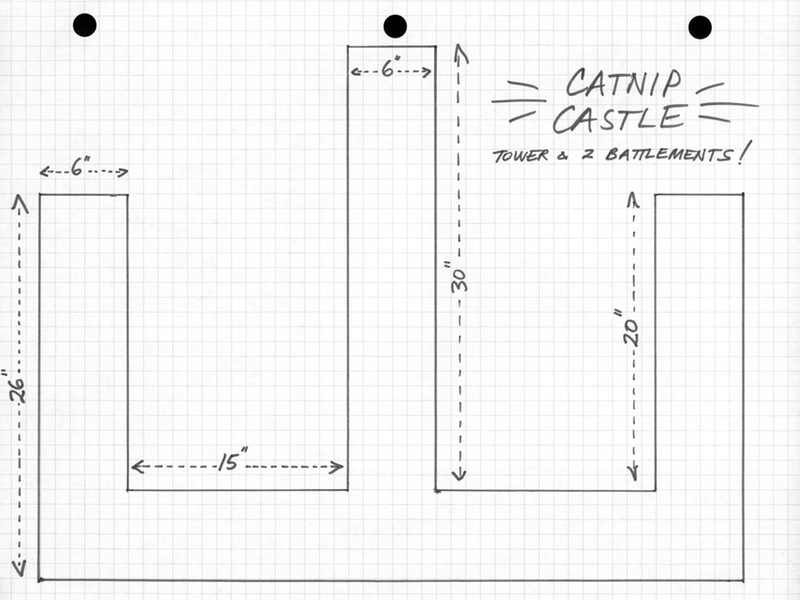
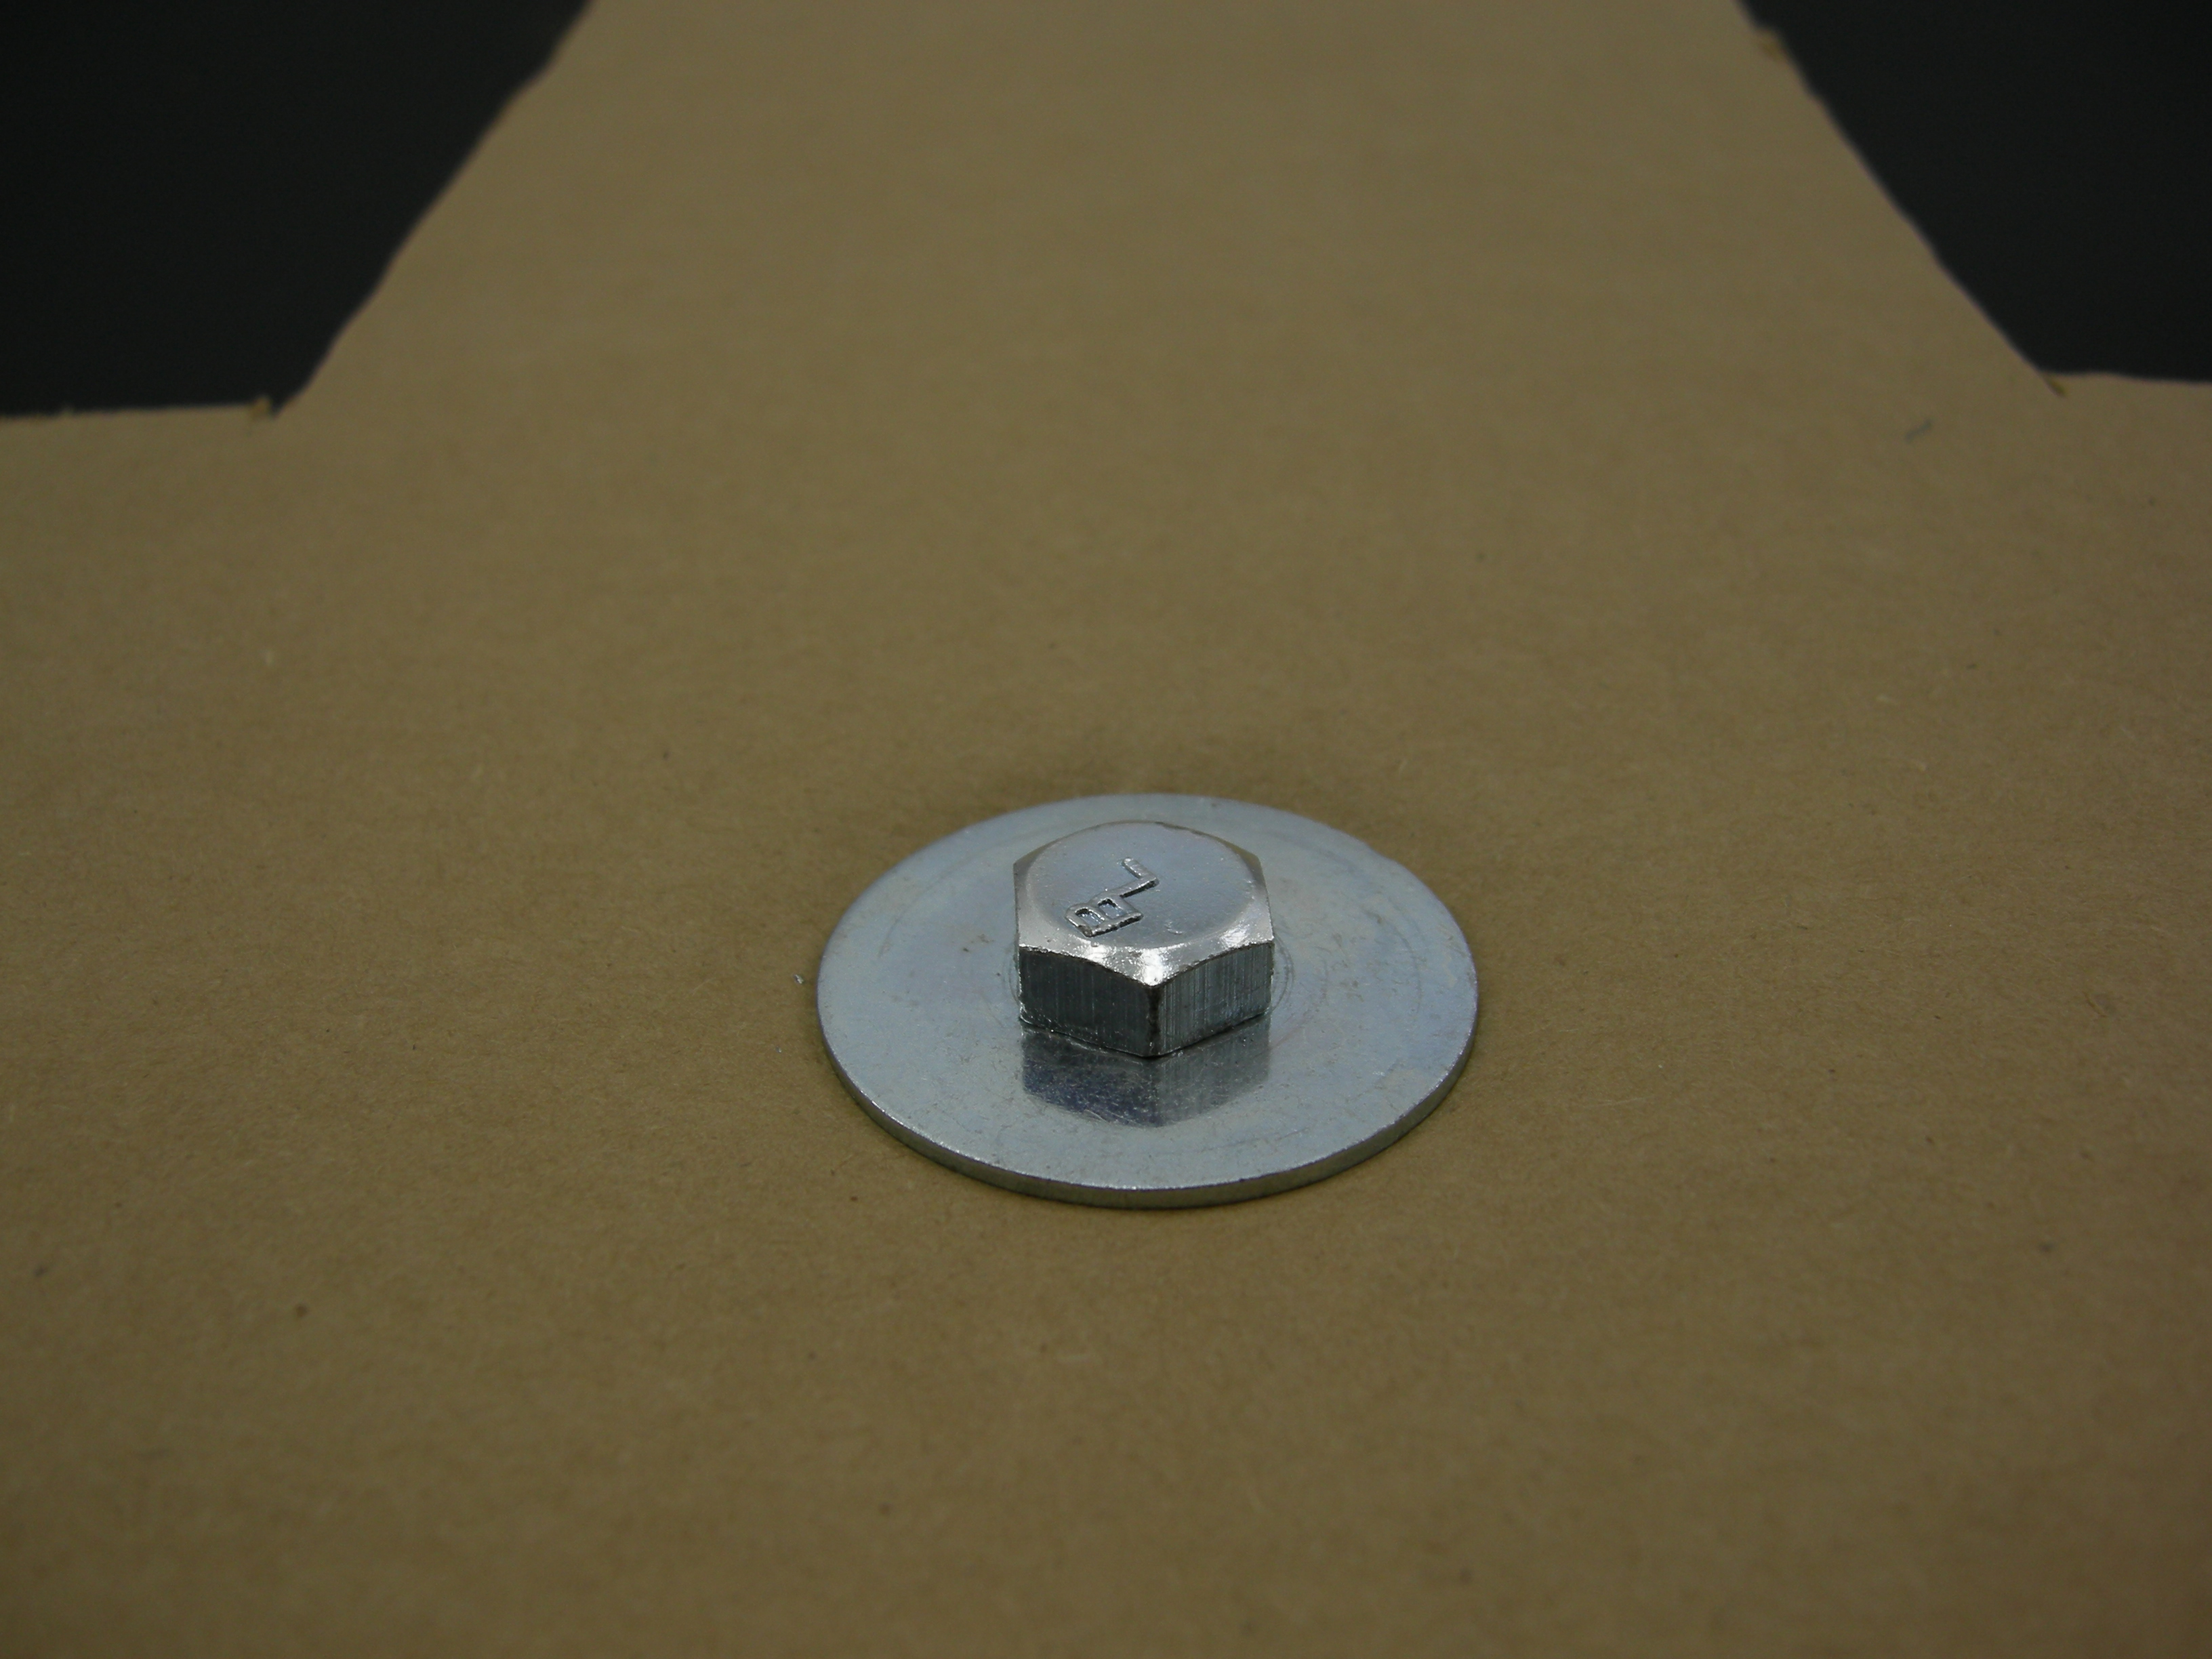
For petite Mademoiselle, I centered 2 bolts on the central tower plus one for each stepping block. (For a heavier cat or multiple cats, 2 bolts per stepping block are recommended, plus one centered on each battlement.)
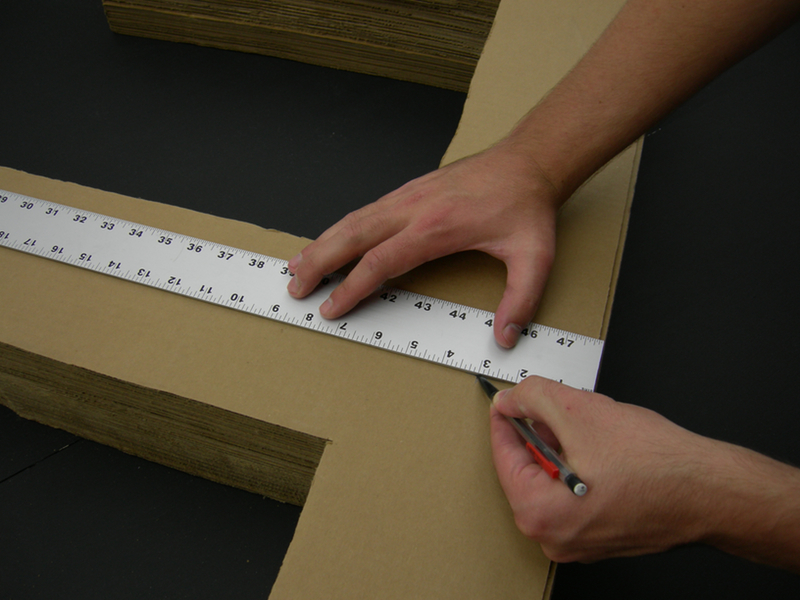
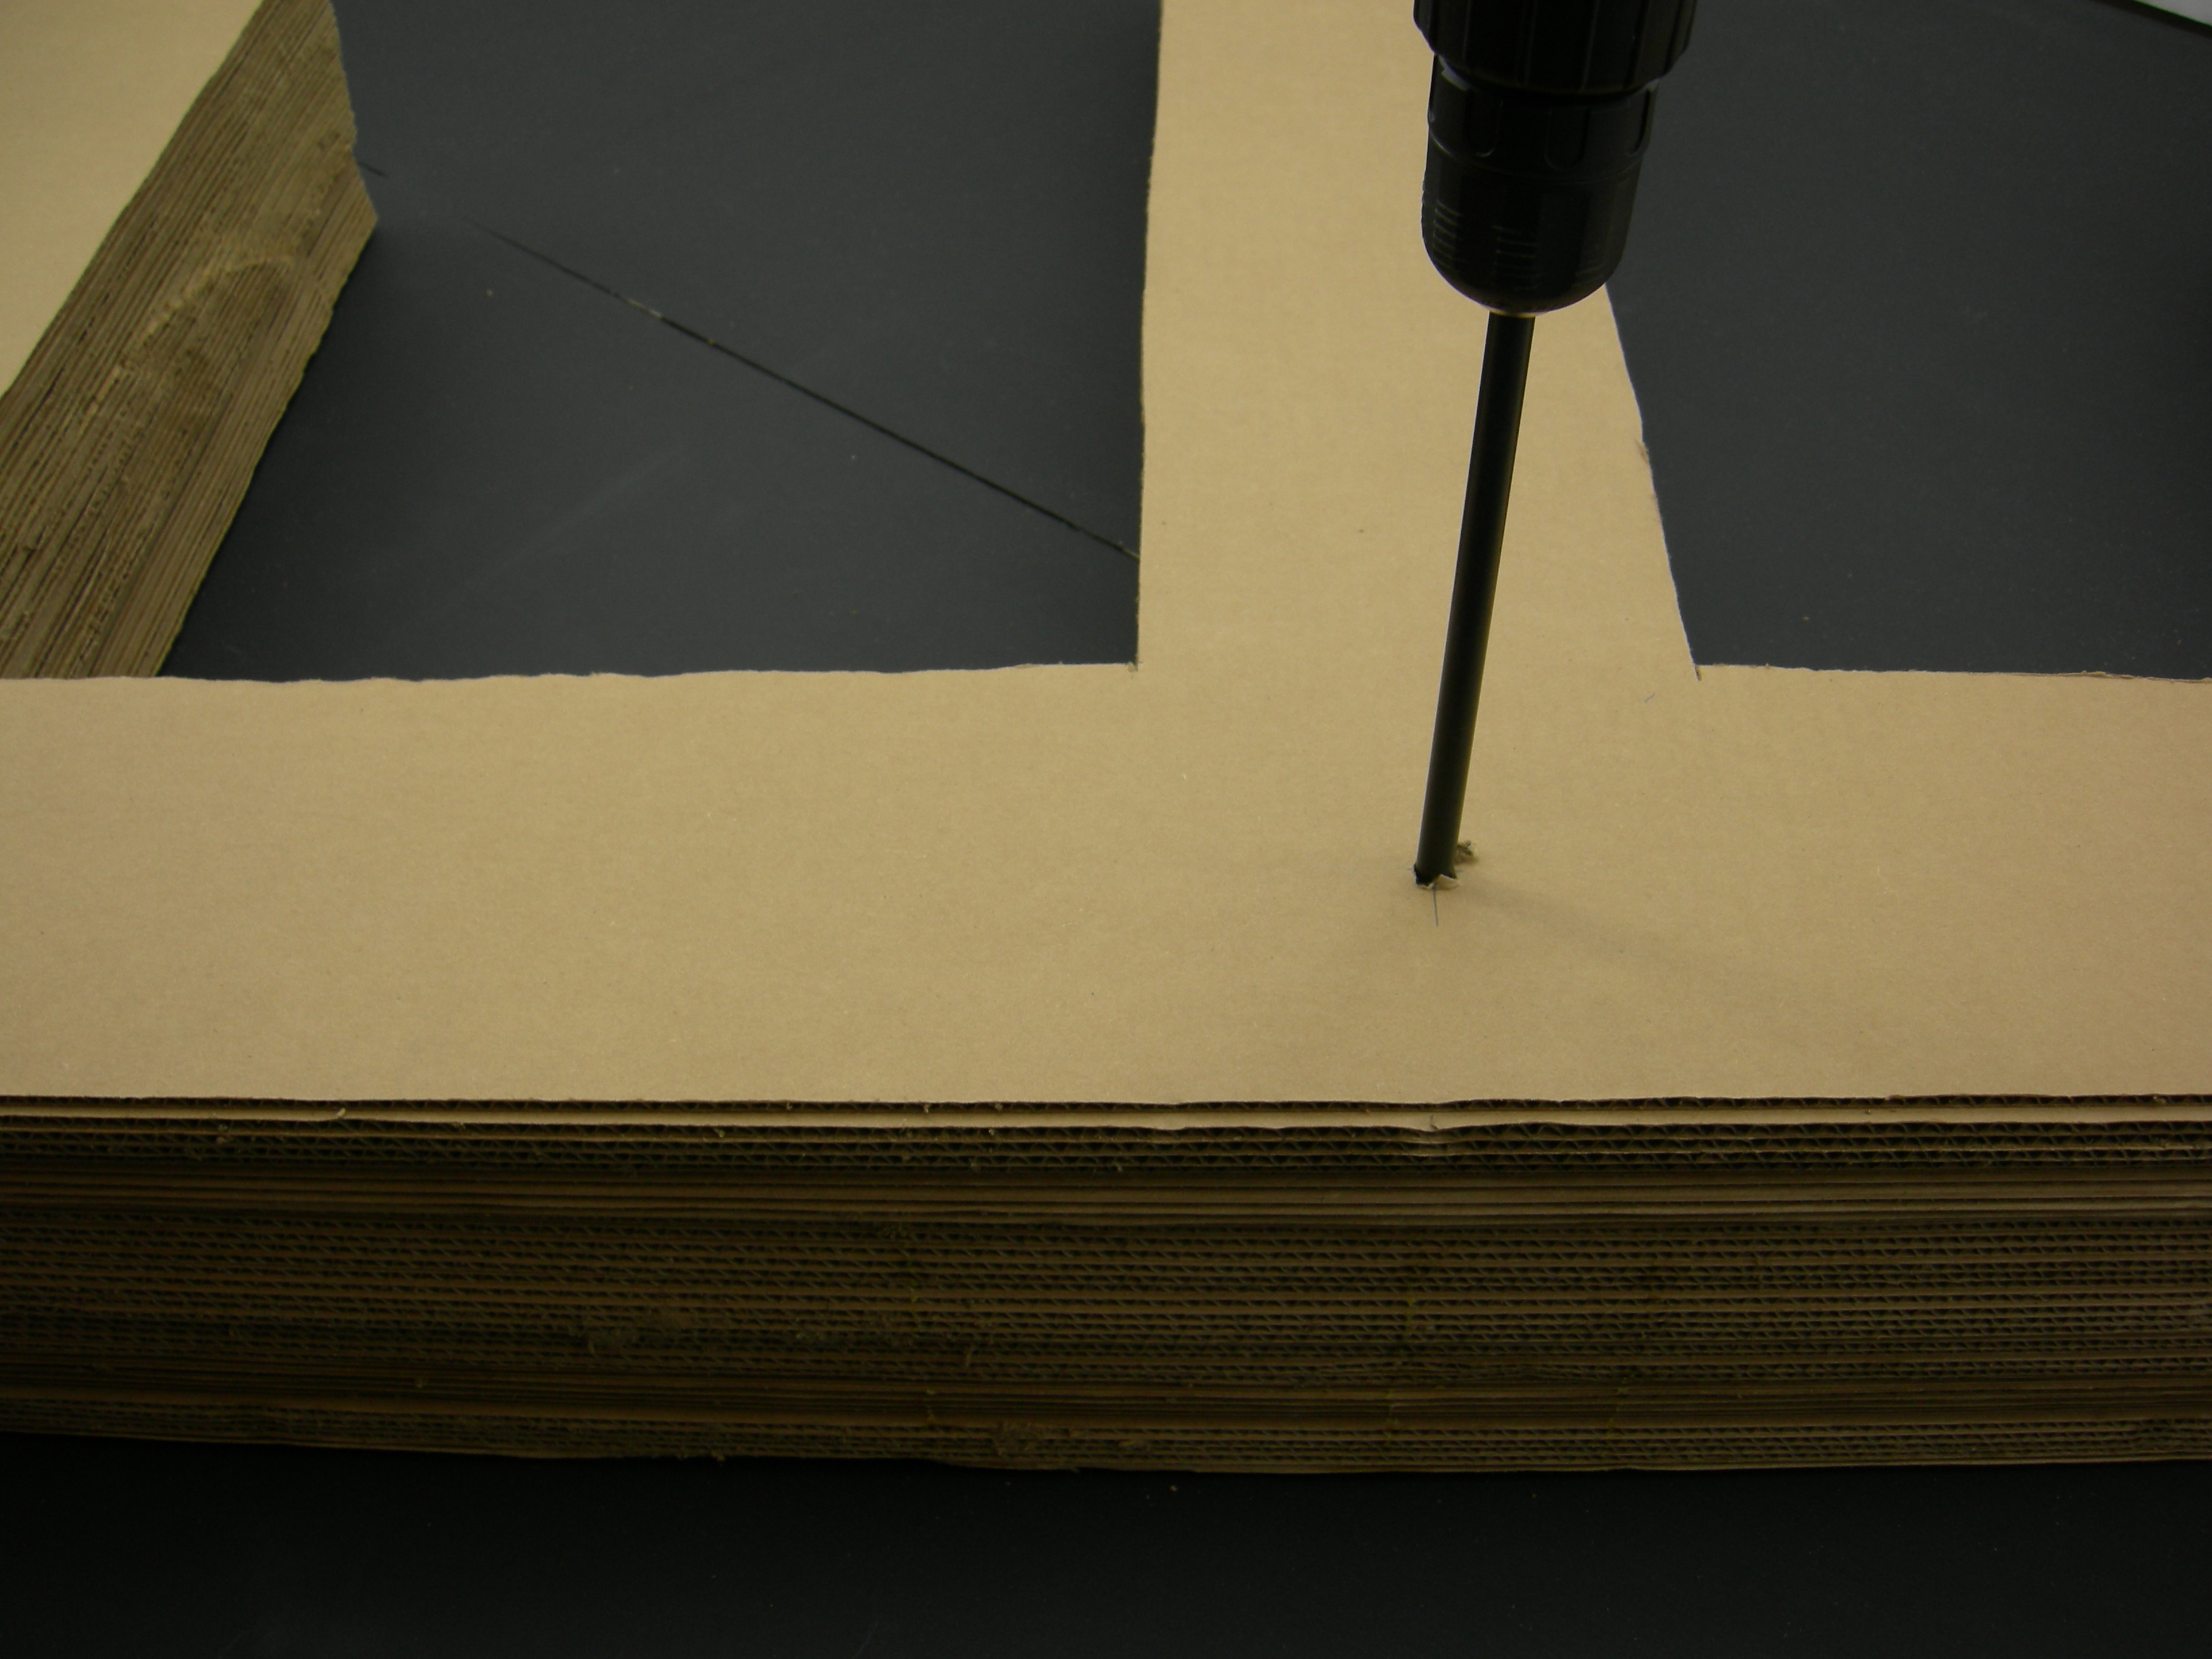
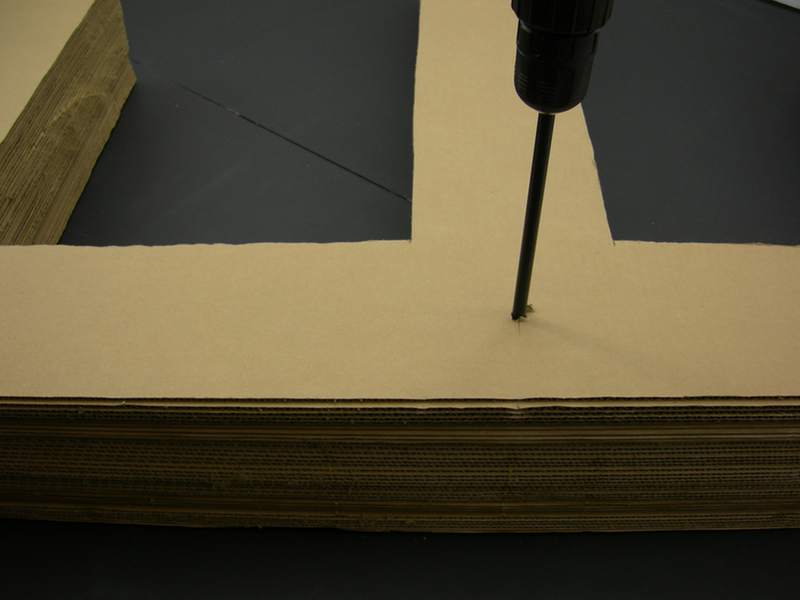
Use a pencil to mark the first drill hole 3″ up from the bottom of the tower, and the second one 10″ from the tower top, aligned with the top of the battlements.
For the stepping blocks, avoid placing your drill hole at the center, or the block is liable to spin around and deter Kitty. I centered it 3″ down from the top (narrow) edge.


