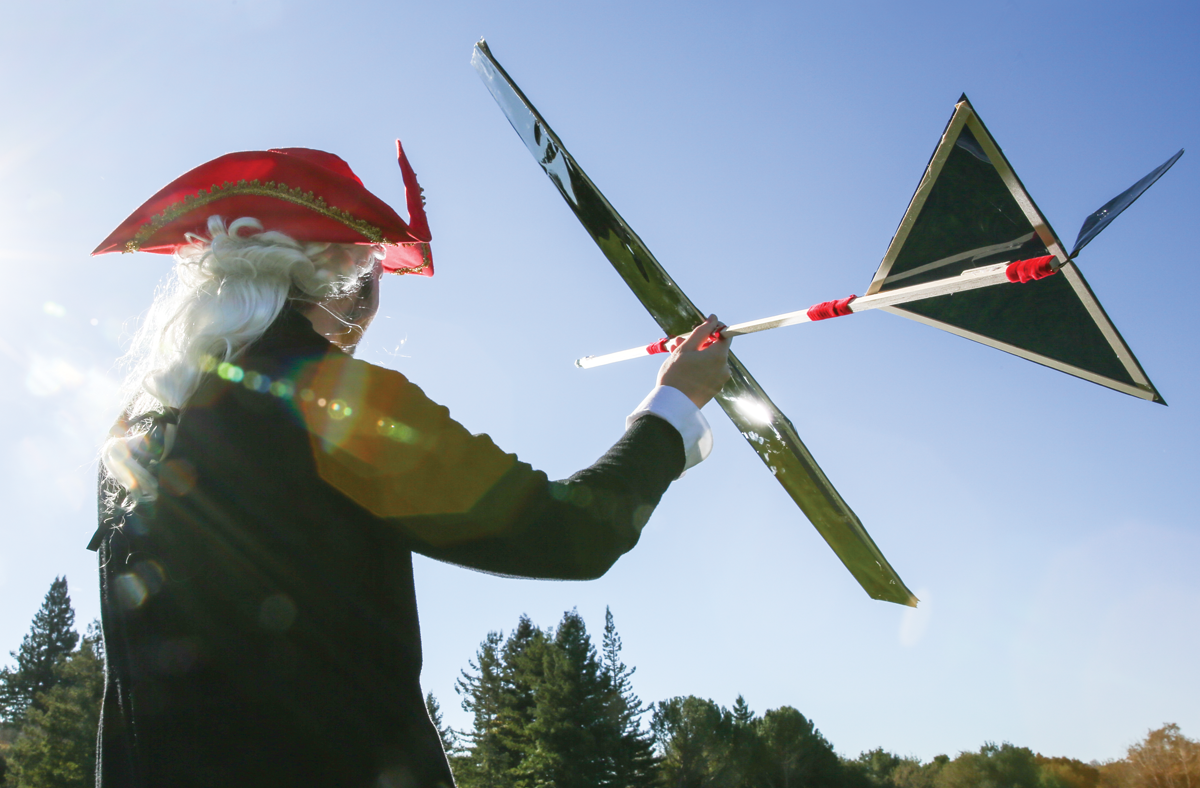
The title “The Father of Aeronautics” could be bestowed on a lot of different people, but I’d give it to englishman George Cayley (1773–1857), Sixth Baronet of Brompton. Sir George was a gifted inventor who made his mark on ballistics, civil and biomedical engineering, and mathematics. But without doubt his greatest achievements were in aeronautical engineering.
Cayley did most of his work on flying machines around the turn of the 19th century, 100 years before the Wright brothers. At the time, there was no engine light enough or powerful enough to get a vehicle airborne, so Cayley’s most significant inventions were unpowered gliders. Nonetheless, his work was monumental: In 1799, he developed the modern concept of the airplane.
Cayley’s idea, like many others that changed the world, was extremely simple: He was the first to completely separate a flying machine’s propulsion systems from its lifting systems.
Before Cayley, everyone from Daedalus to da Vinci believed that flapping was the pathway to the air. Flight had been attempted, unsuccessfully, in ornithopters, aircraft that flapped their wings like birds in flight. (See Rubber Band Ornithopter, MAKE Volume 08) In Cayley’s concept, lift was provided by a fixed sail whose surface was held taut by air pressure.
In 1804, Cayley designed, built, and successfully flew the first recognizable airplane-like thing: a small bamboo and paper monoplane glider. More or less modern in appearance, it featured a fuselage, a kite-shaped wing, an adjustable tail and back fins to control the direction of flight, and a moveable weight to adjust the glider’s trim or center of gravity. It was the first man-made object that incorporated the control and aerodynamic concepts of today’s airplanes, and probably the first aircraft in history able to make significant glides. This thing actually flew!
Cayley also recognized that many forces operate simultaneously upon a body in flight. The ideas of thrust, lift, weight, and drag, now the cornerstones of aeronautical engineering, were first articulated by Cayley.
About 50 years later, Cayley returned to glider design and built a really big one. Towed aloft behind a galloping horse, it was big enough to carry his coachman on a 200-yard flight, making it the world’s first successful manned glider.
Build a Cayley Glider
Let’s build a glider very similar to Cayley’s 1804 design. (I’ve swapped his low-aspect- ratio sail for a high-aspect-ratio wing because, truth be told, the original doesn’t fly all that well.)
The wing and tail are attached with thread or ribbons, and may be moved about on the fuselage stick to obtain the best flight characteristics. The key to making this glider is to shape the upper wing surface to make an airfoil — a curved surface that creates a pressure differential above and below, thus providing lift. You’ll make the curve using common zip ties.


