Additional Materials Required:
- Roller Guides
- Soil Loading Drawer
- Wide Cylinder Supports
- Drawer Members
- 3/4″x2″ Bolts (16)
- 3/4″ Nuts (16)
- 3/4″ Washers (16)
- 1/2″ Washer (2)
- 1/2″ Lock Washer (2)
- 1/2″ Nut (2)
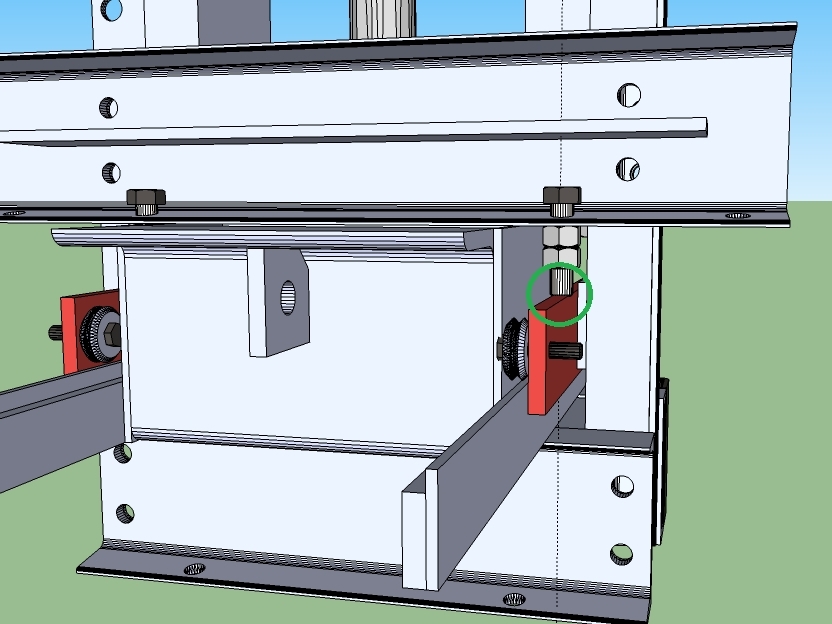
Fit the drawer members on your Compressed Earth Brick Press.


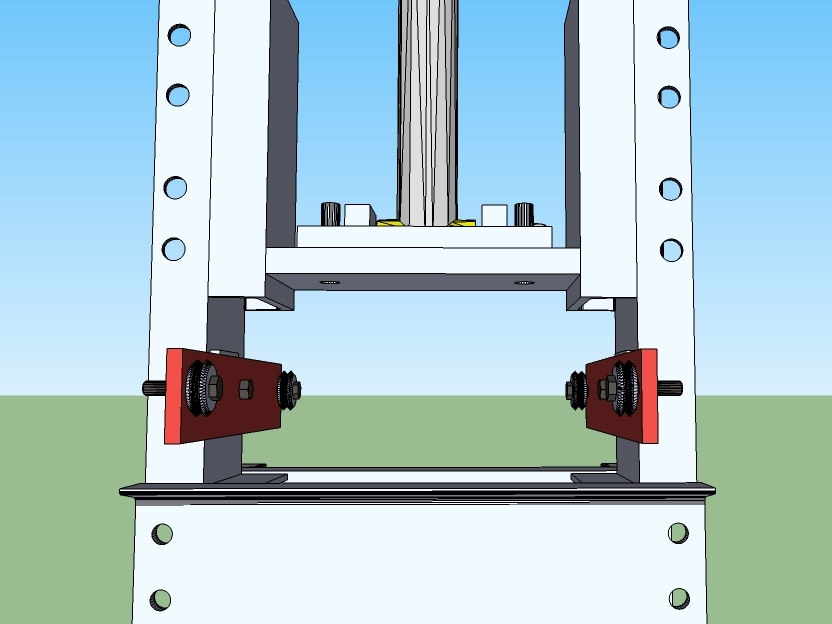
Install the Roller guides as shown in the illustration. One side should have a 1/2″ spacer, and the other should have a 3/8″ spacer plate.
Tighten the bolts snug, but so that they can still move up and down.
Replace the drawer as if you’re going to stretch the cylinder again.
The roller bearings should be on top of the rails on the drawer, and be putting no pressure on the drawer.

Loosely bolt on the drawer members.
Adjust them horizontally so that the adjustment bolts are centered on the roller guides. See image.
Finger tighten the bolts on the drawer members, as they are sitting on top of the drawer.

Try to slide the drawer in and out. If the drawer gets stuck somewhere, investigate and find where it’s hitting. (It almost certainly will).
You’ll probably need to loosen one, or both of the drawer members and move it up a bit.
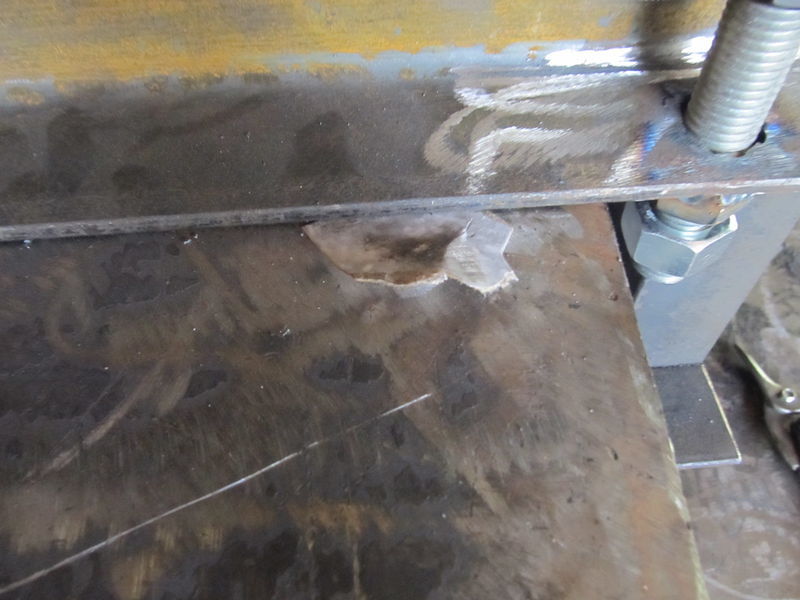
This can be done uniformly using cardboard shims. See photo. Place the shim between the drawer and the crossmember. Tighten the bolts again. Remove the shims by “jiggling” the drawer.
If it’s hitting a spacer, grind down the spacer.
If the drawer itself is prohibitive in some spots, it wasn’t grinded evenly. Grind down the high spots.

Once the drawer is properly adjusted, tighten these bolts all the way.
Make sure the drawer adjustment nuts are still centered on the roller guides.
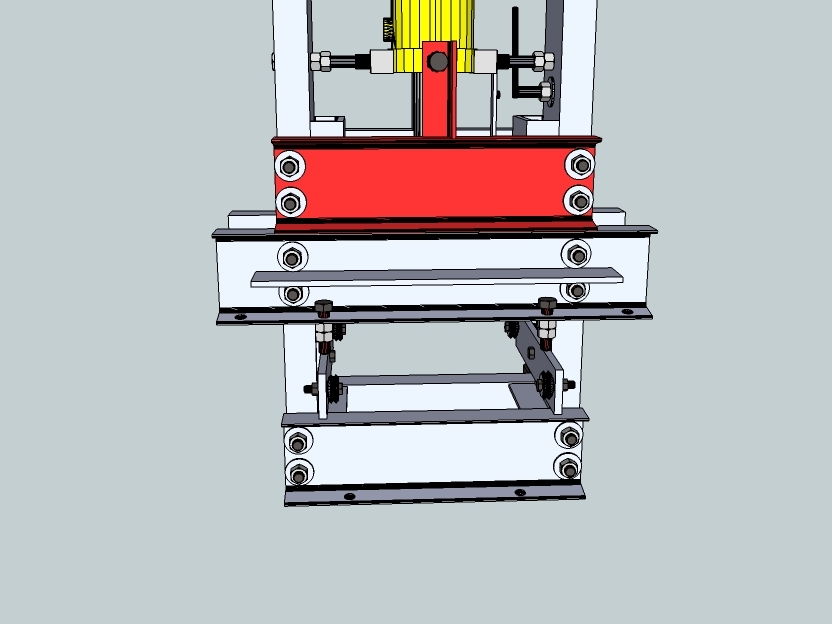
Tightly bolt the wide cylinder supports to the frame, leaving no gap between them and the drawer members.
Tighten the bolts at the top of the wide cylinder supports so they are touching the cylinder on each side. Tighten the lock nut.
Go back through the entire frame and make sure every bolt is tight.