

This guide explains the steps for:
- Leg Holders-Model
- Feet- Model
- Legs- Model
- Secondary Arms- Model
- Primary Arms- Left Primary Arm Model, Right Primary Arm Model
Additional Materials Required:
- 3/4″ Steel Nuts (14)
- 3/4″x1.5″ Bolts (14)
This page tells how to prepare the components which make up the support system.
This guide explains the steps for:
Additional Materials Required:
You will need 14 Leg Holders for the CEB. 12 will be used in this step. Save the remaining ones for later. Make all leg holders at once to save time.
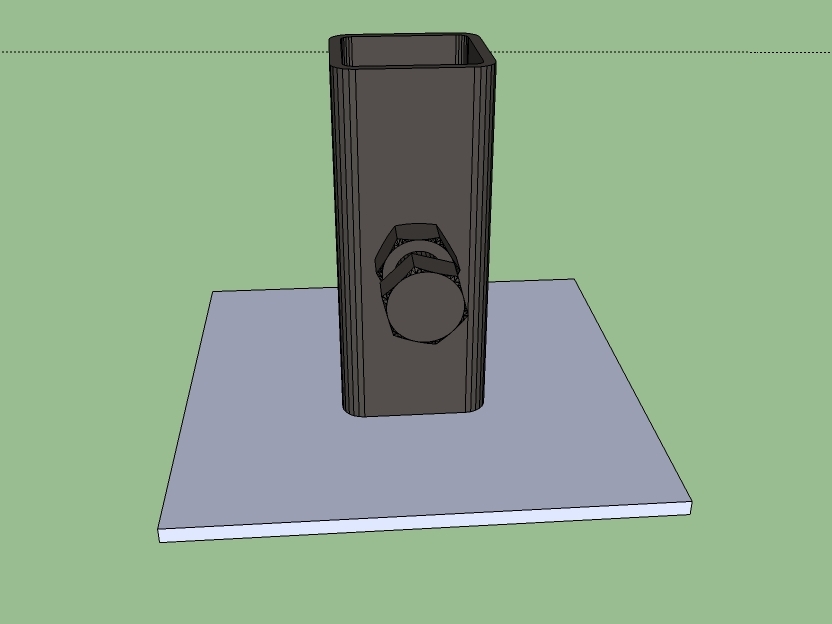
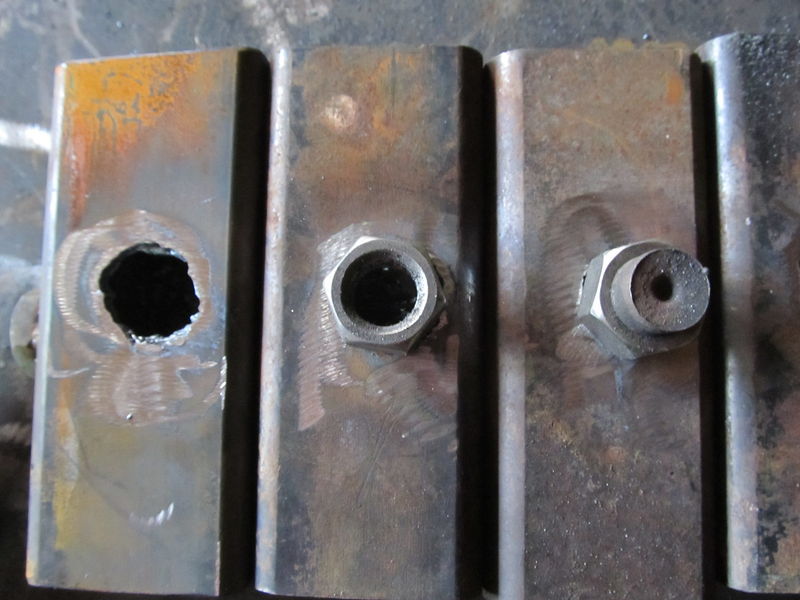
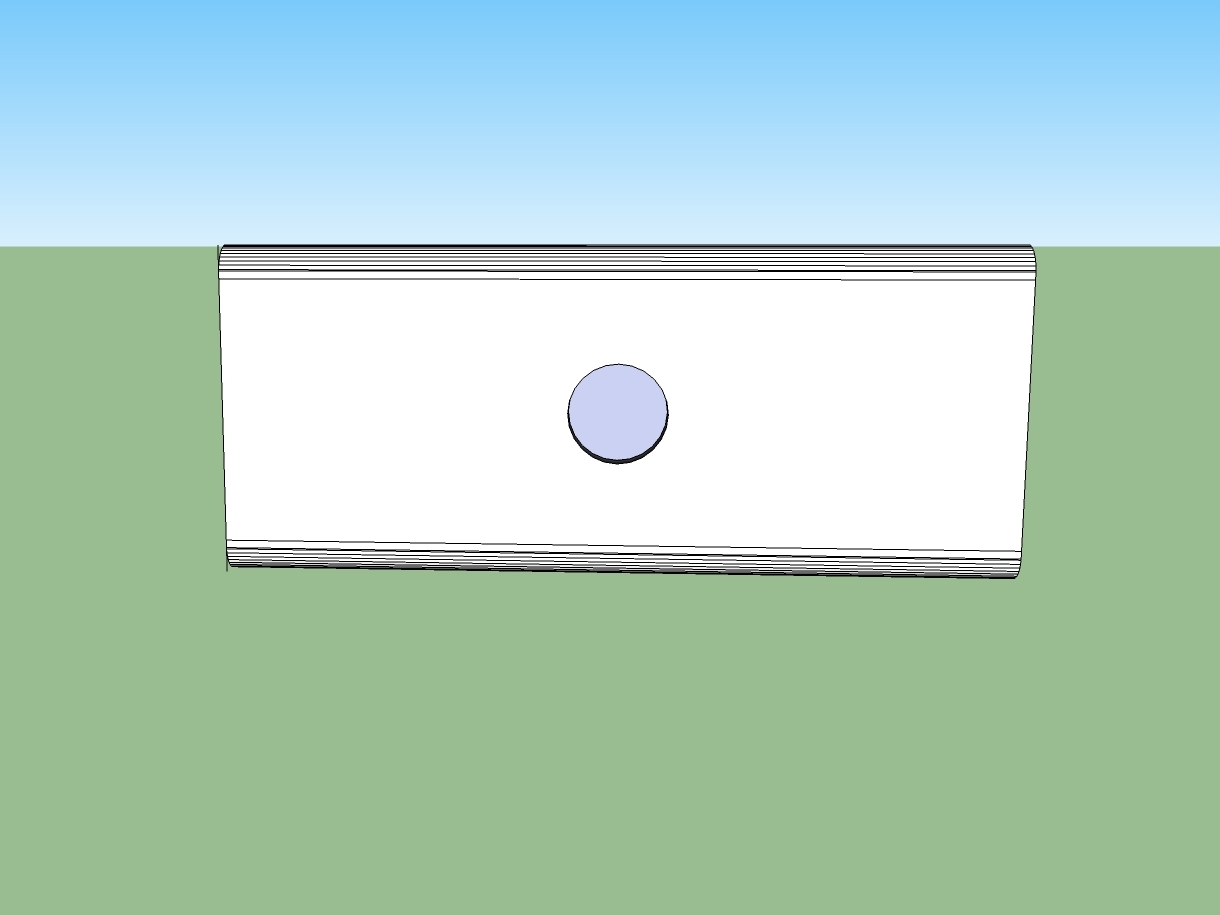
Torch a 3/4” hole in the center of one of the faces of the tubing; make sure it’s large enough for a 3/4” bolt.
It’s not crucial that the hole be centered. It just needs to be somewhere close to the center.
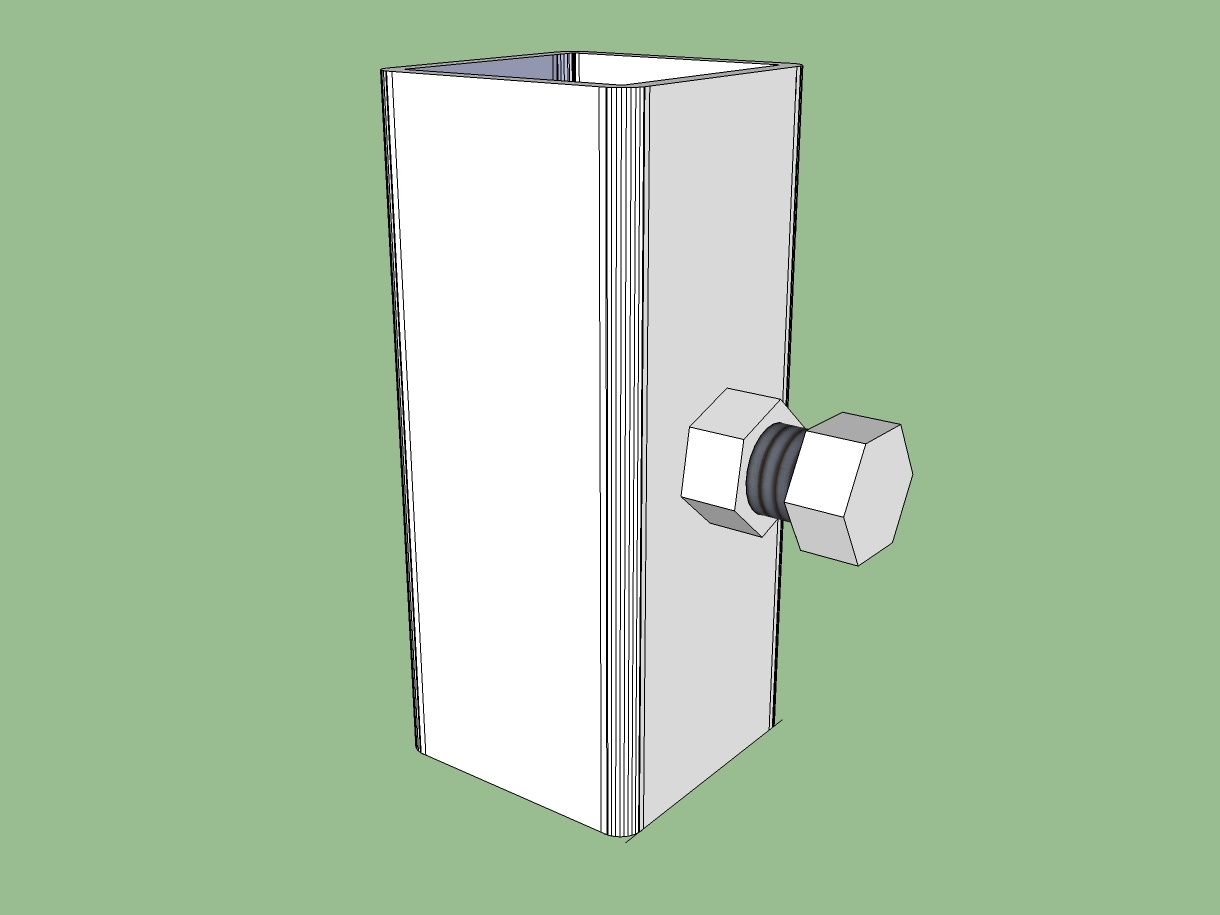
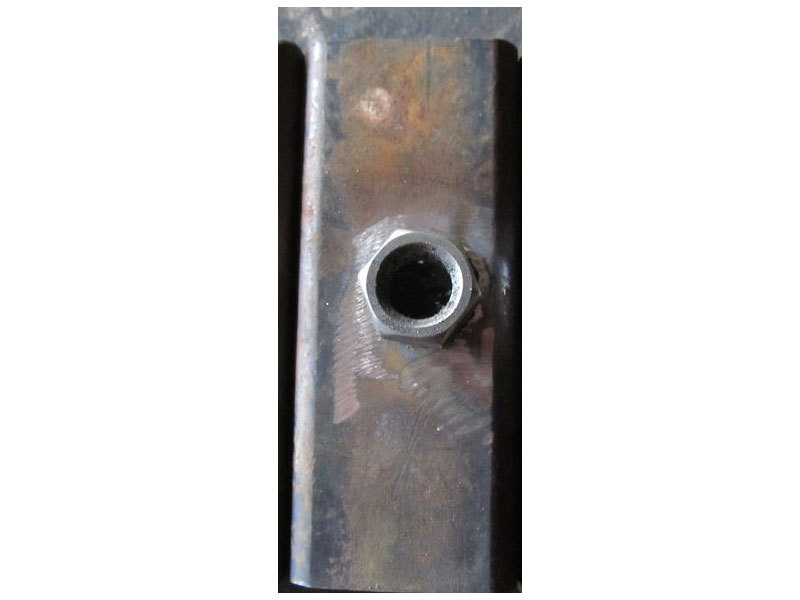
Weld the nut over the hole, ensuring the nut is level, and the hole is clear.
Make sure no spatter goes into the threads by covering the top of the nut.
Thread the bolt onto the nut.
You need to make 4 of these.
Center a leg holder on the 1/4x8x8 plate, ensuring it is square in all directions.
Weld it 100% to the plate.

You need two and they are exactly the same.
Punch the 3/4″ holes
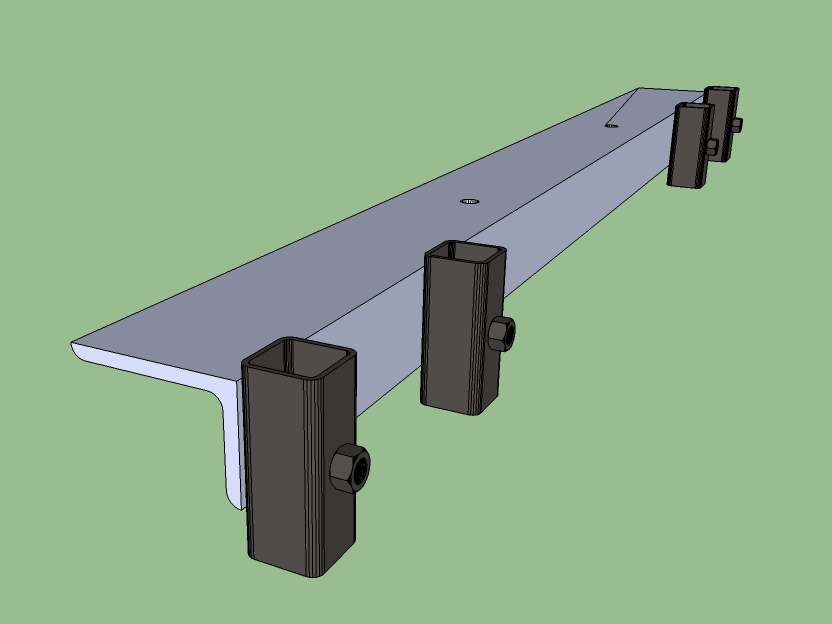
Place the leg holders in their proper locations.
They go on the 4″ side of the angle.
Make sure they are square with the angle iron and centered vertically.
Weld them to the angle.
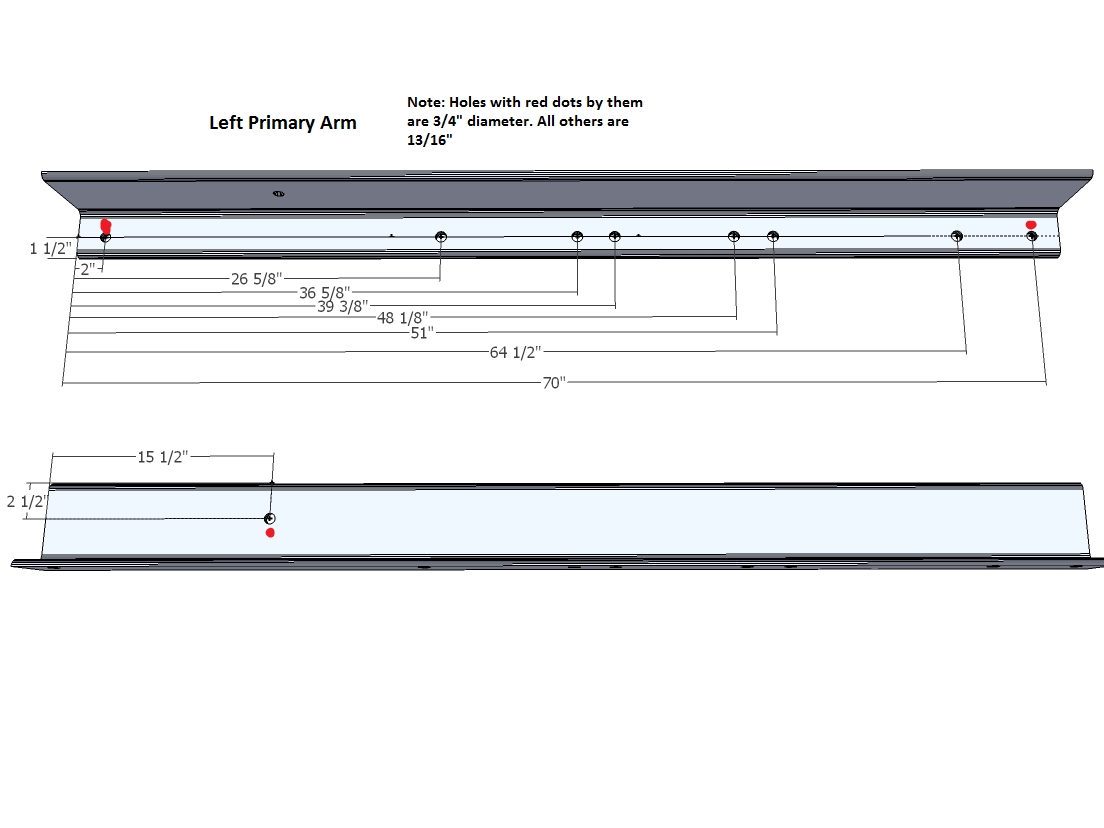
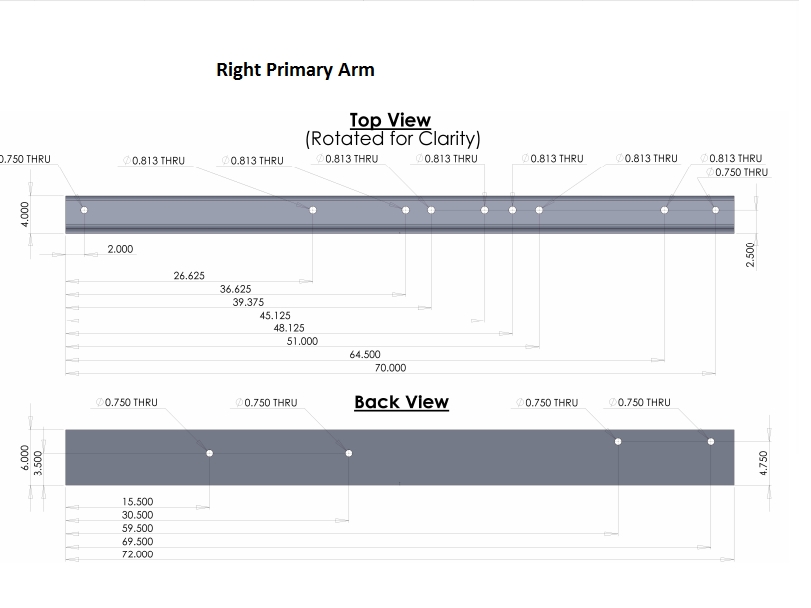
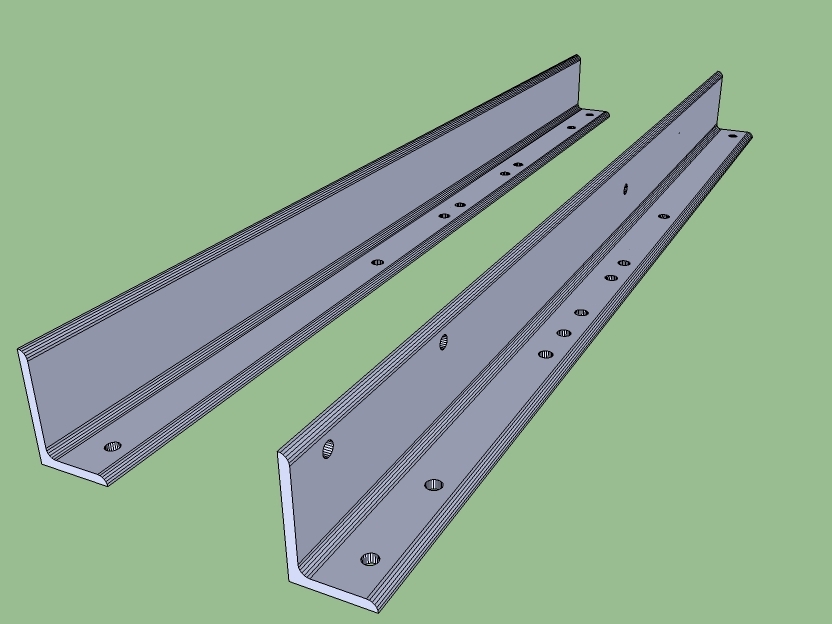
Mark all holes
Punch all holes.
Label each arm with either “right” or “left”
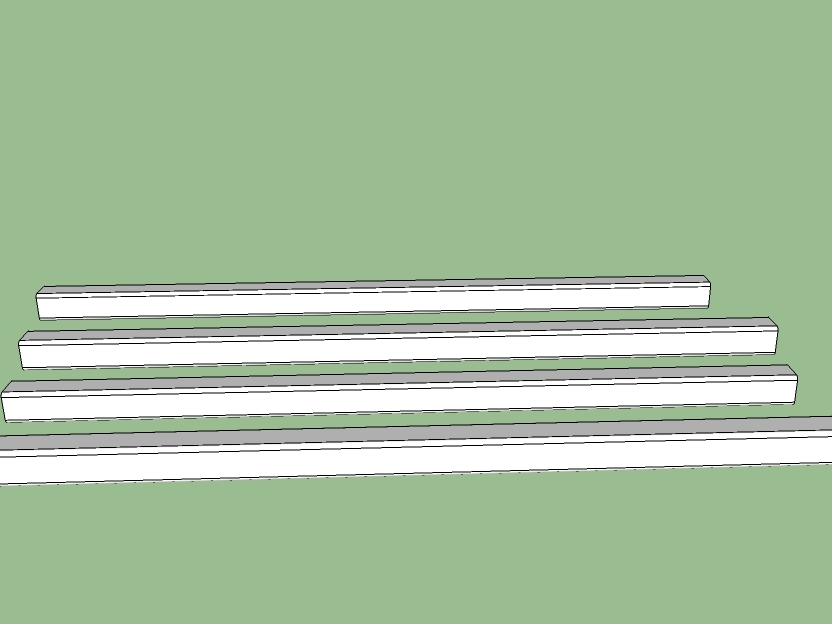
There are no steps for the legs, just cut them.


