Chukudu-1
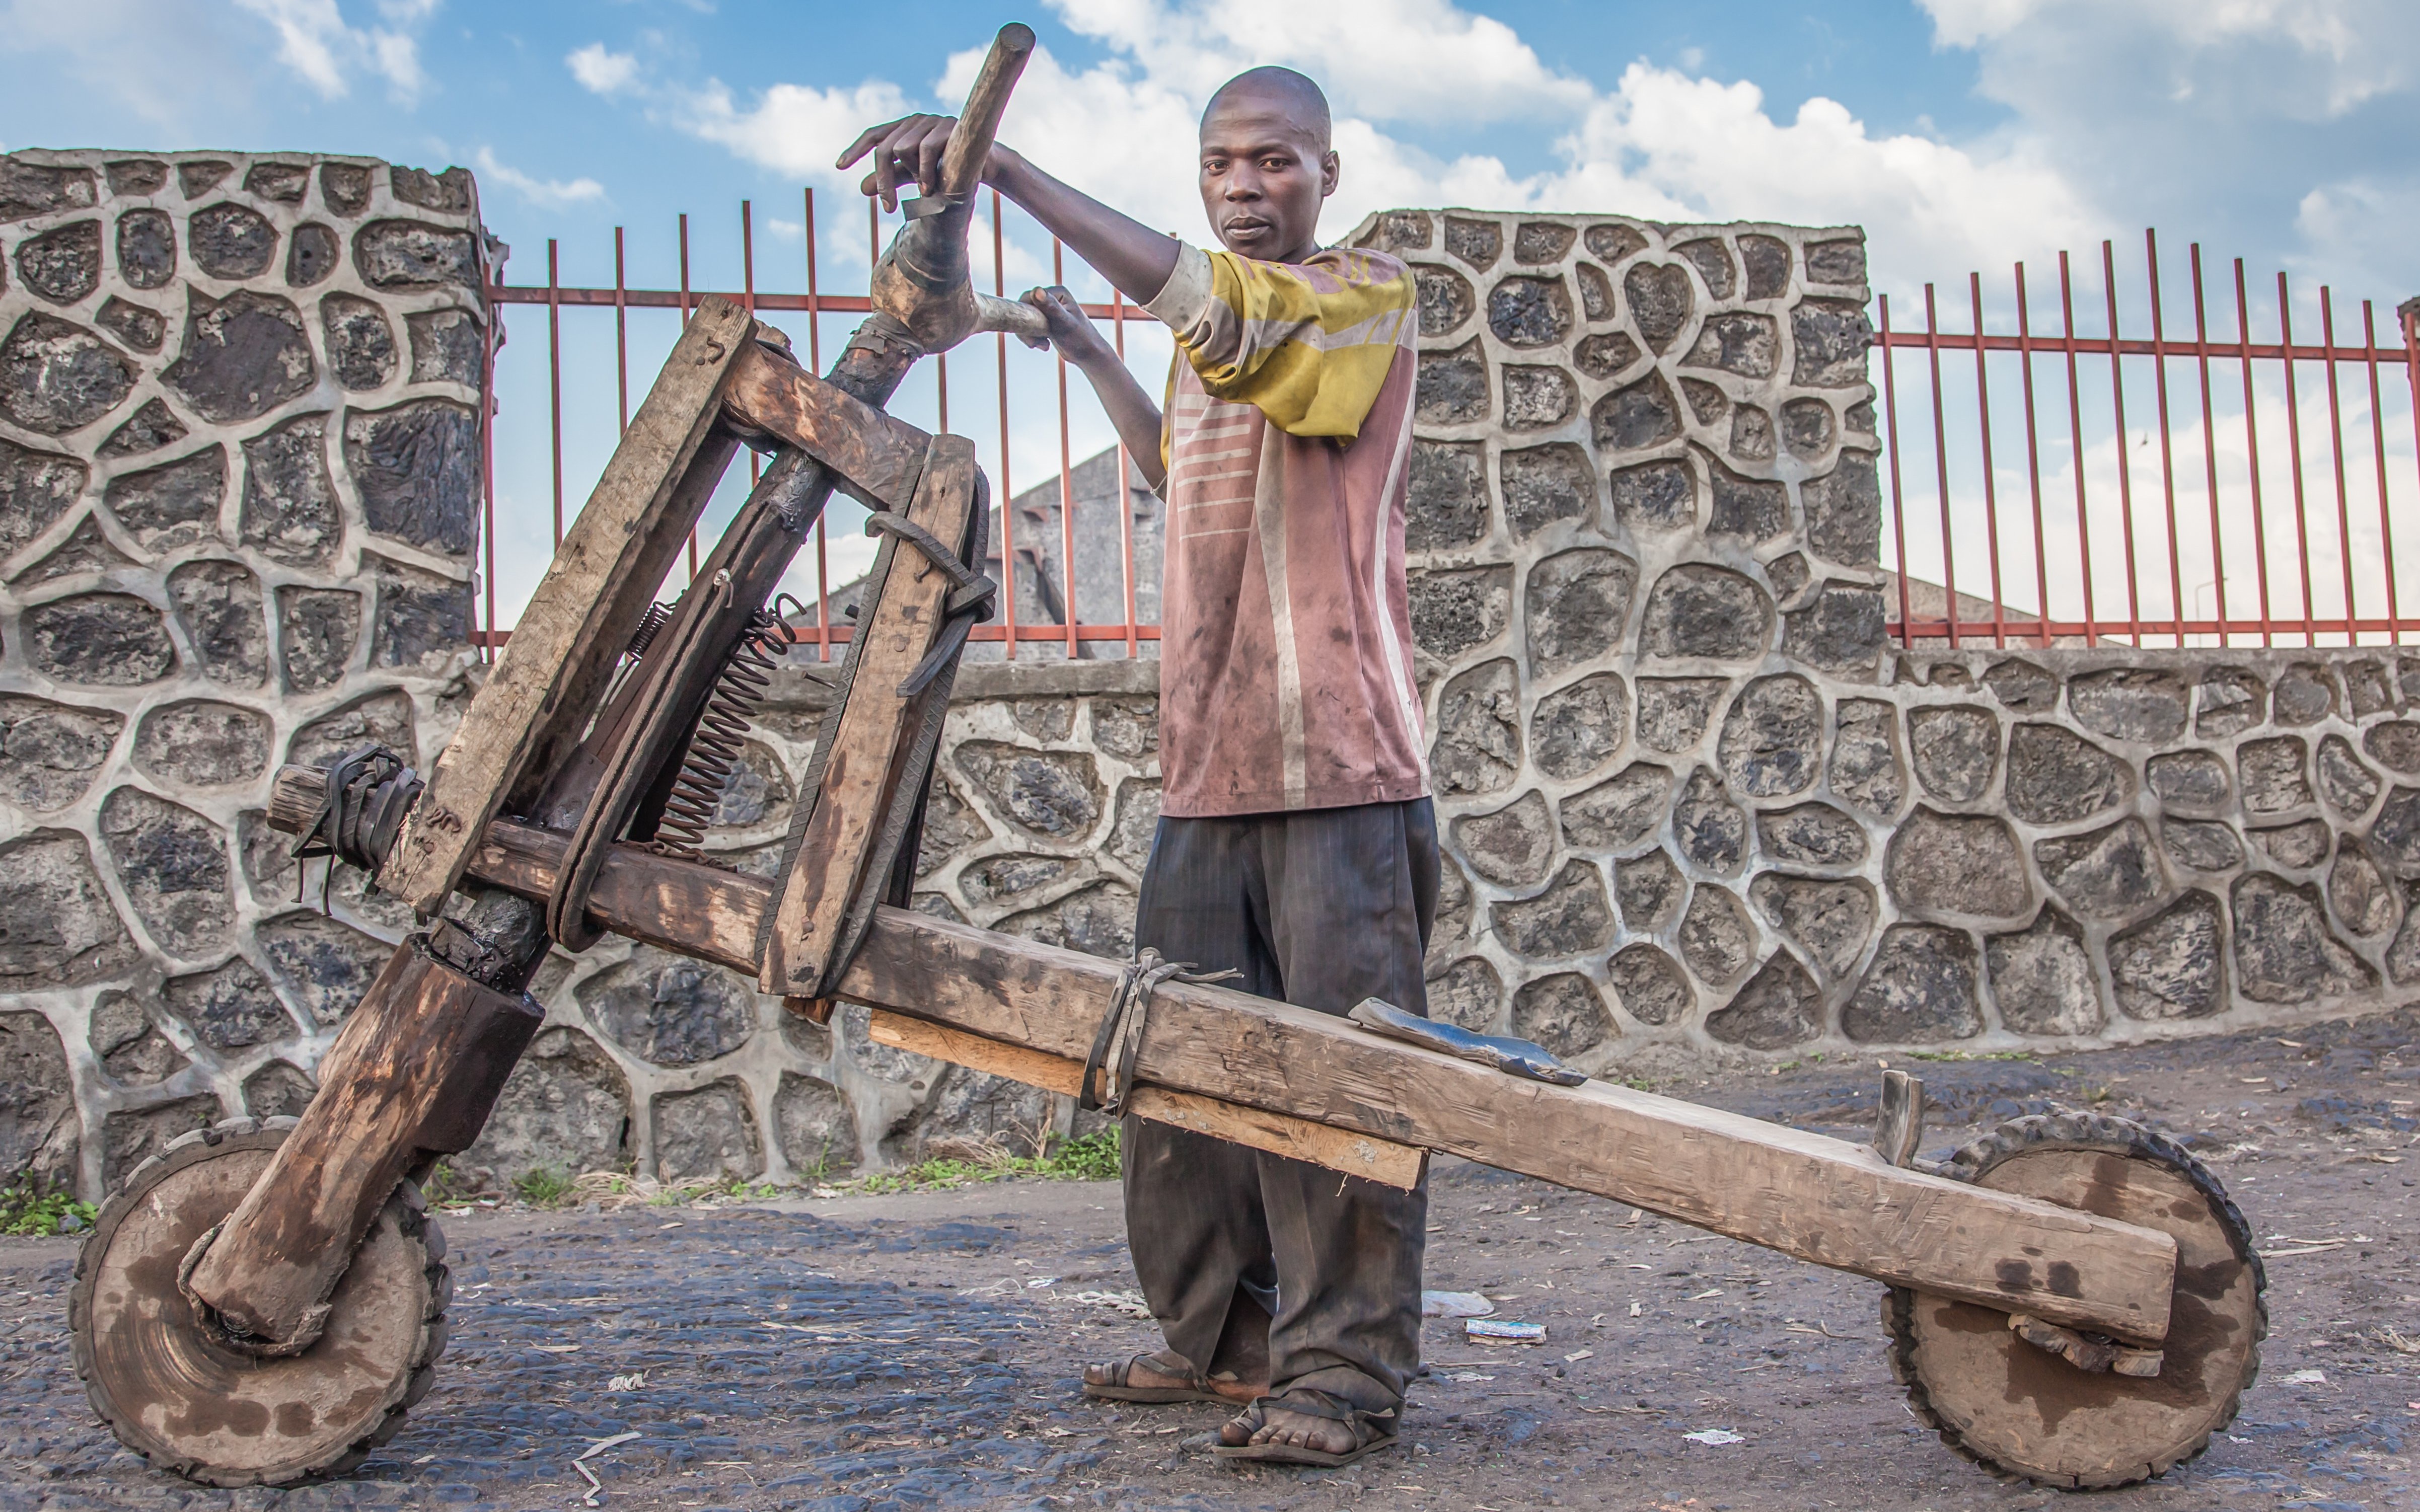
Photo by Hep Svadja.

For the last 20 years, two civil wars and prolonged violence have left much of the Democratic Republic of the Congo unsafe for many people. Since 1994, it’s estimated that 3 million people have been killed there.

In western Rwanda, just 60 kilometers away, sits the Kiziba refugee camp, where 18,000 Congolese wait hoping for peace so they can return to their homeland. Food and firewood rations are provided monthly by the United Nations, and the responsibility for moving these loads typically falls to young boys equipped with a handcrafted, all-wood scooter called a chukudu (choo-KOO-doo).

Often called the pickup truck of the Congo, chukudus can haul loads upwards of 500 pounds. They’re pushed up hills and ridden down the other side. Today, chukudu makers in Kiziba carve these scooters from eucalyptus trees with nothing but a machete.

2011121214525D0428ryangoebel
Image from Ryan Goebel.

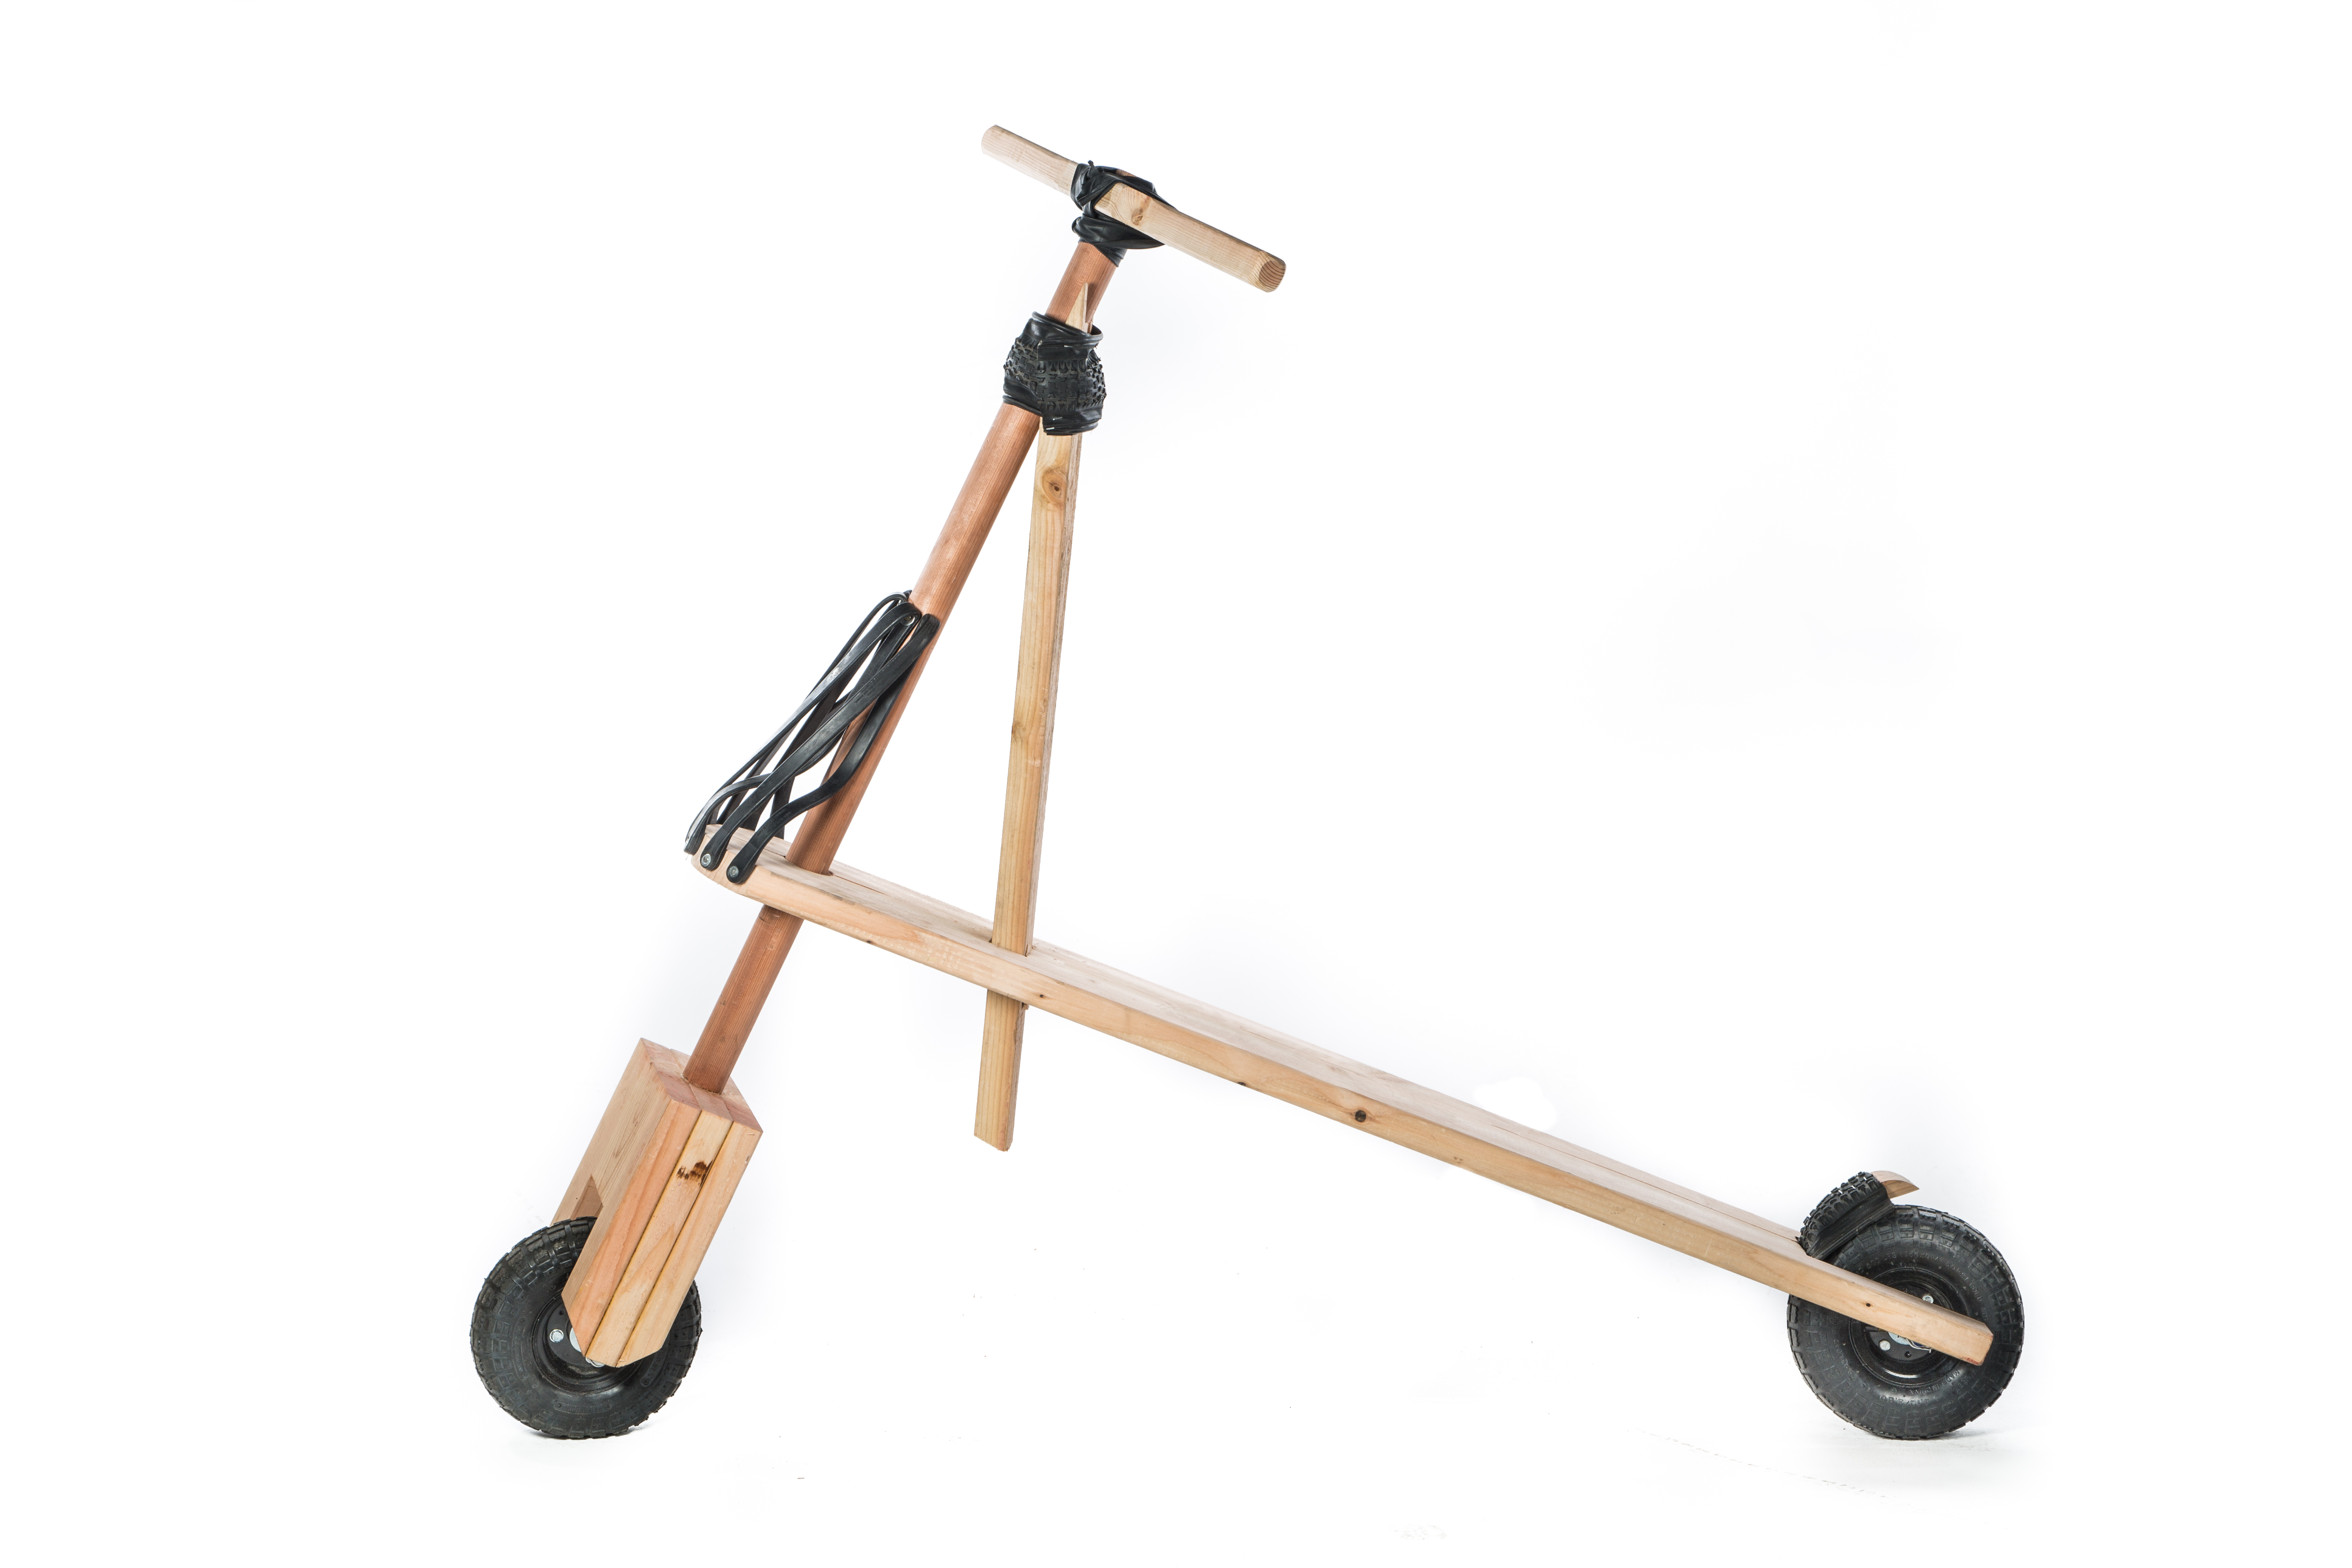
After my visit to the camp, I wanted to honor the ingenuity and resourcefulness of the Congolese refugees by building my own version of the chukudu. You too can build this simple and utilitarian scooter with ordinary lumber and hardware. It will take about a weekend to build this project and can cost about $100 – $200 depending on supplies you have on hand and what you can salvage.

assembly

component
Drawings by Aimé Nshimiyimana.

About the Designer

kiziba48 Aimé Nshimiyimana grew up in Kiziba refugee camp, where he studied auto mechanics and gained skills in drafting. Now 24, he walks 4 hours round trip to town each day, hoping to make a few dollars fixing cars with loaned tools. He wants badly to study at a university.

Nshimiyimana was my host as I visited the camp. He took me through the camp showing me his home, school, football field, market, clinic, and library. When I asked him about the chukudu, he enthusiastically started drawing these plans and explaining how they’re built. The plans here are an adaptation of his design.

To help Nshimiyimana and others like him complete their education, consider supporting the work of International Teams in Kiziba. Specify “Impact Rwanda – Kiziba Education” with your donation.

Build and build photos (below) by Andy Waters and Doug Bradbury
Component and assembly drawings by Aimé Nshimiyimana

What will the next generation of Make: look like? We’re inviting you to shape the future by investing in Make:. By becoming an investor, you help decide what’s next. The future of Make: is in your hands. Learn More.

Project Steps

Prepare the deck

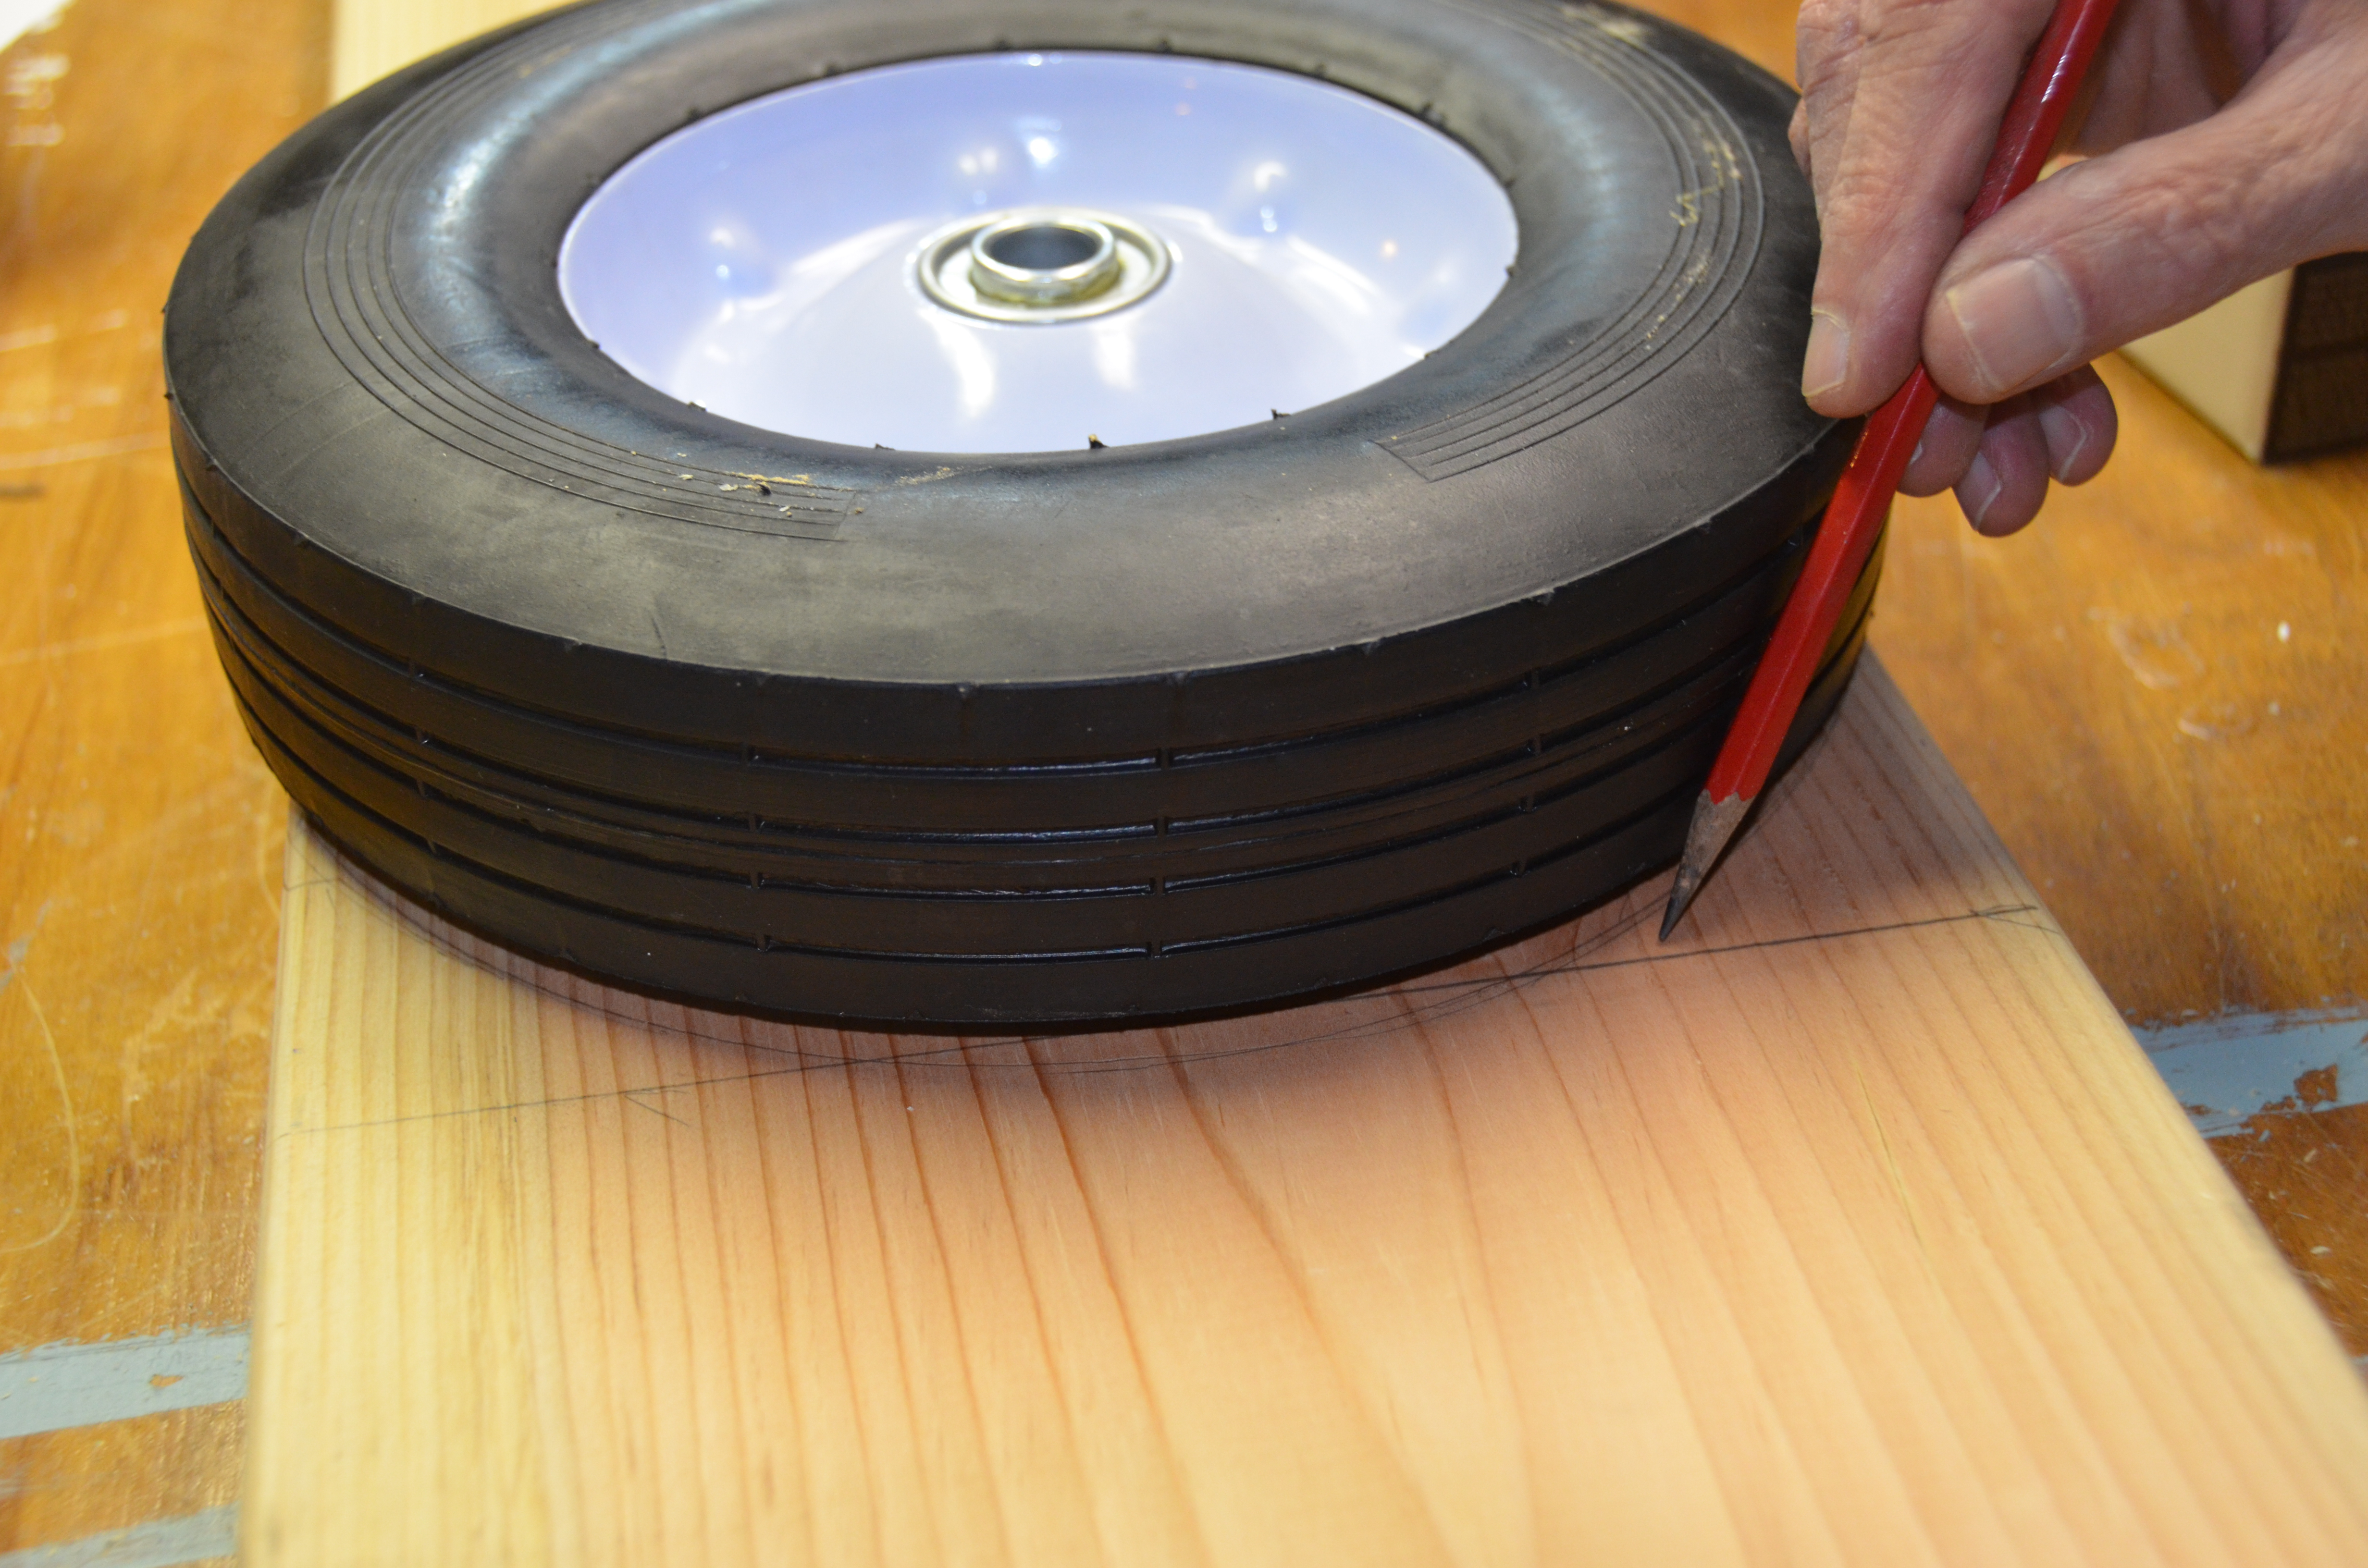
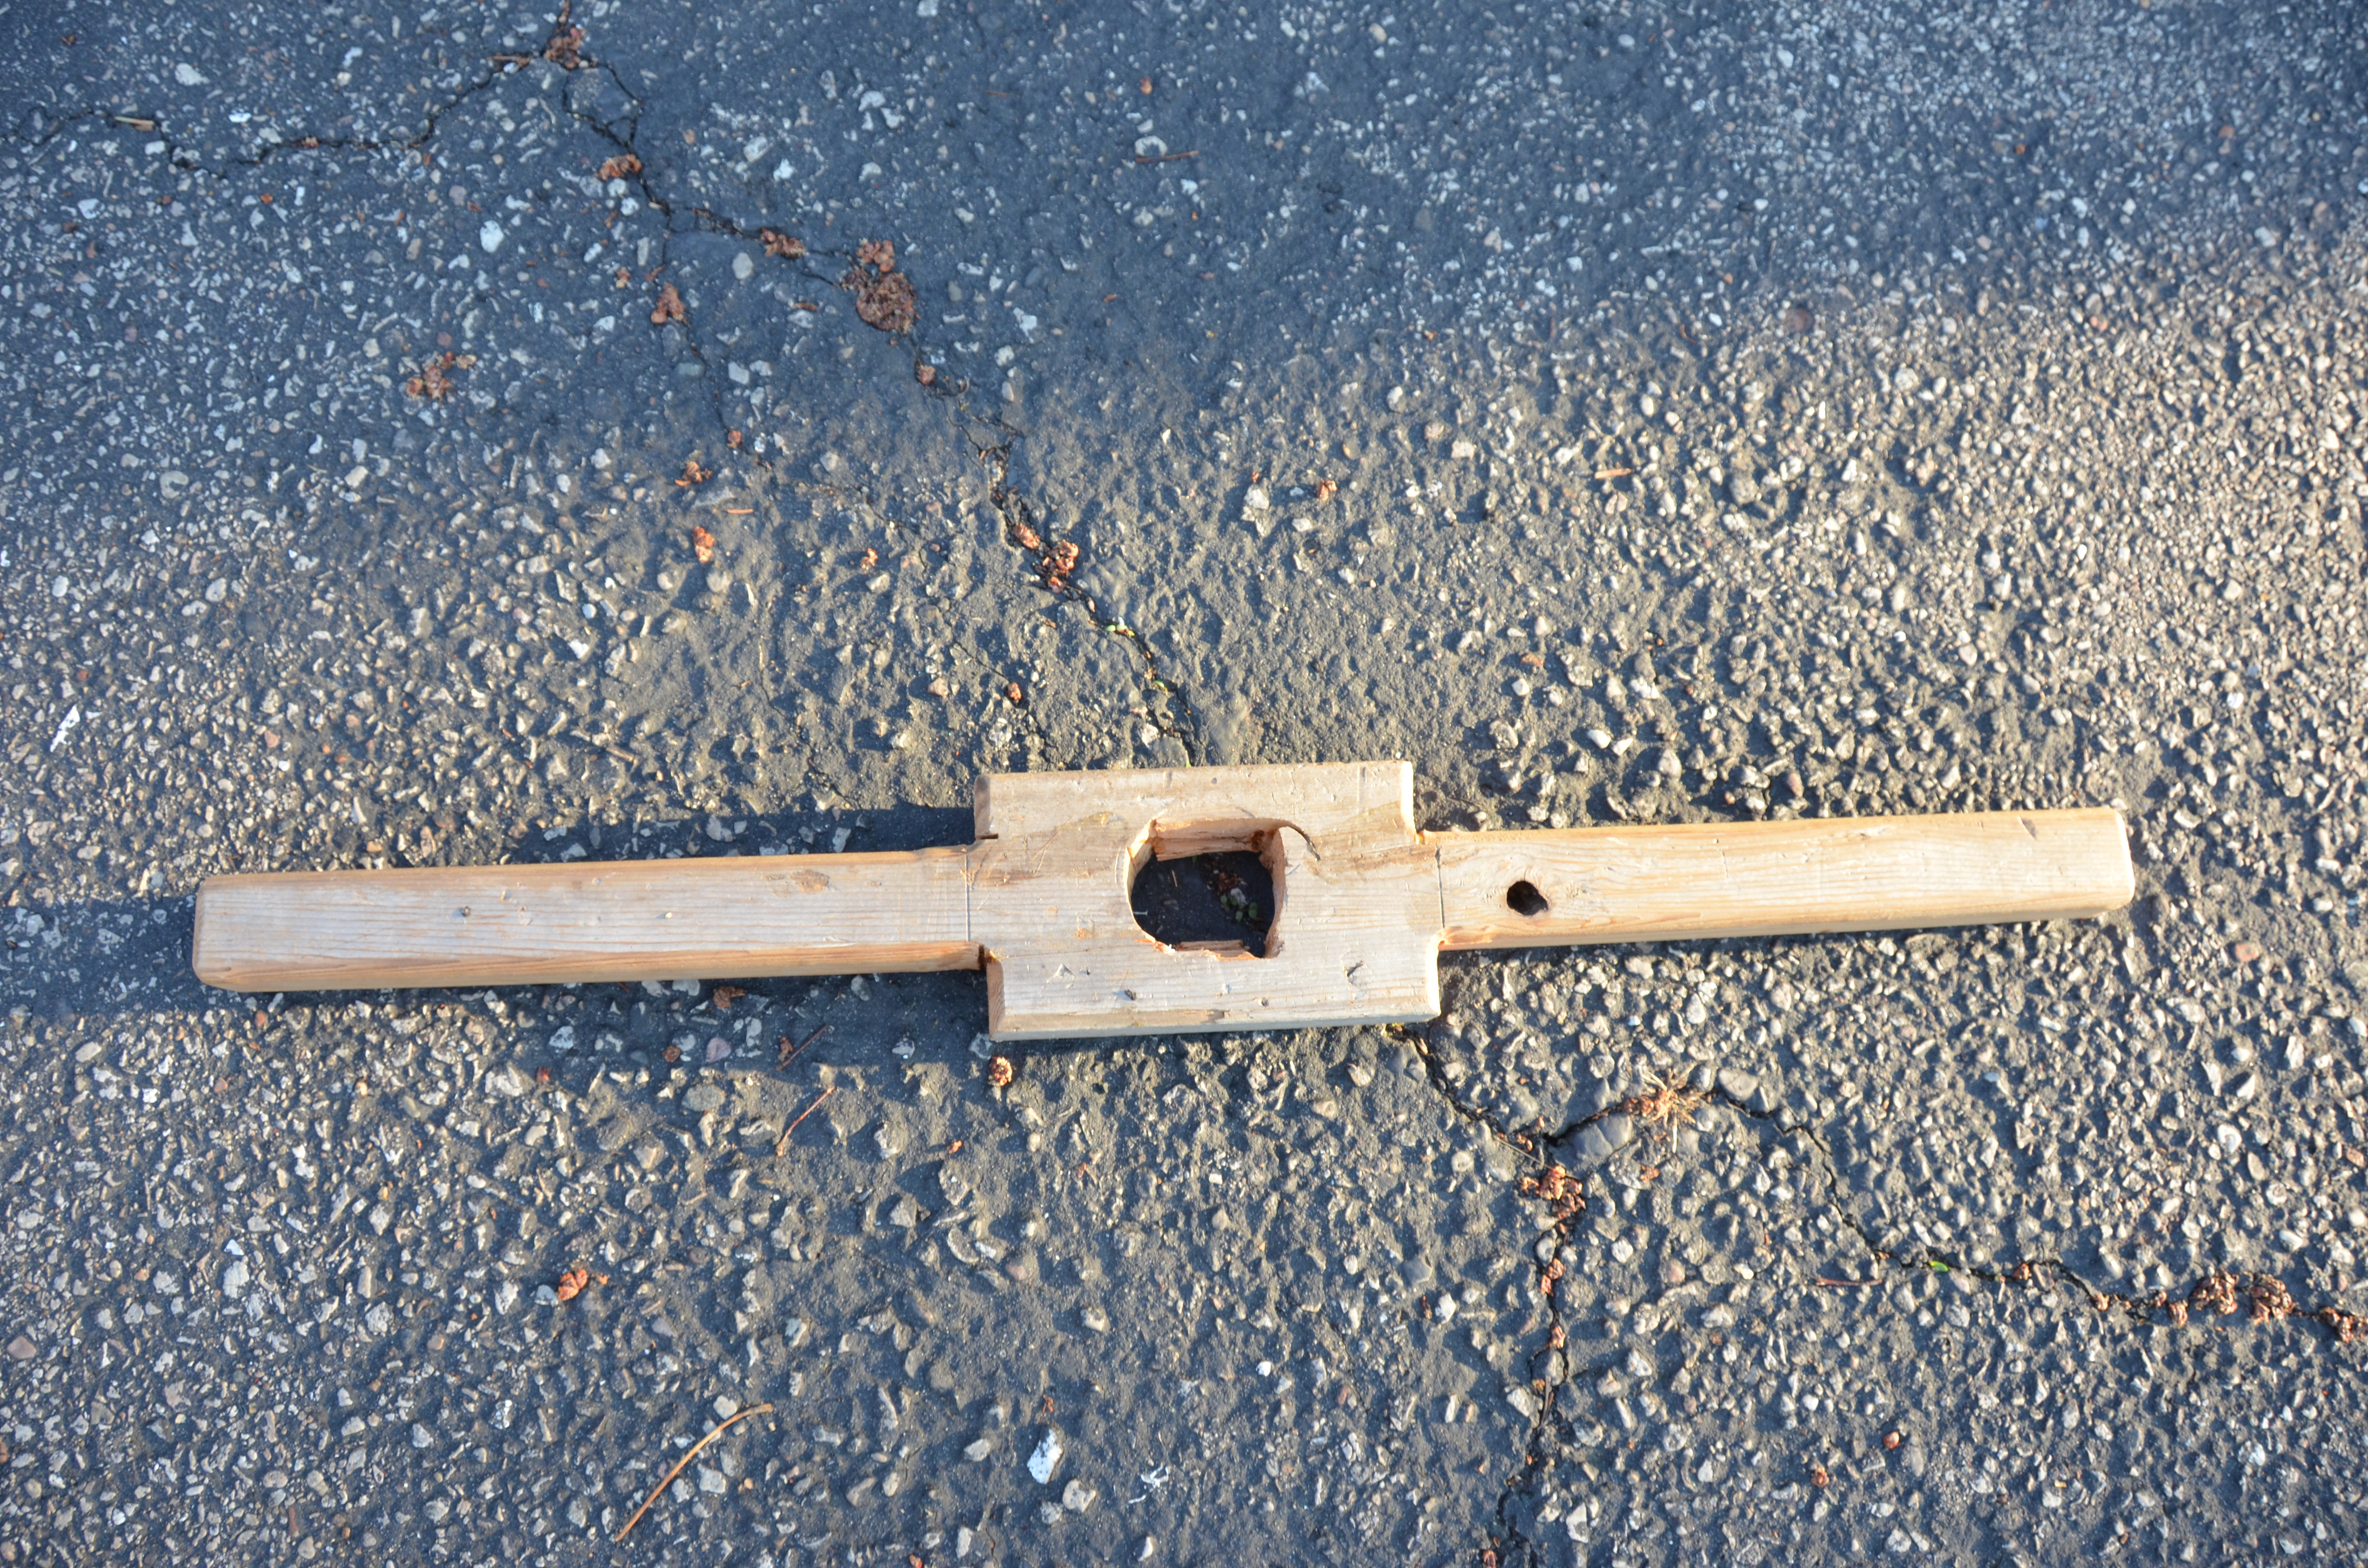
Cut the 2×10 to 5′ long and round the nose with a jigsaw, using a 10″ wheel as your template. Also mark the center of the board through the center of the wheel, then cut a 2″ hole on your mark.

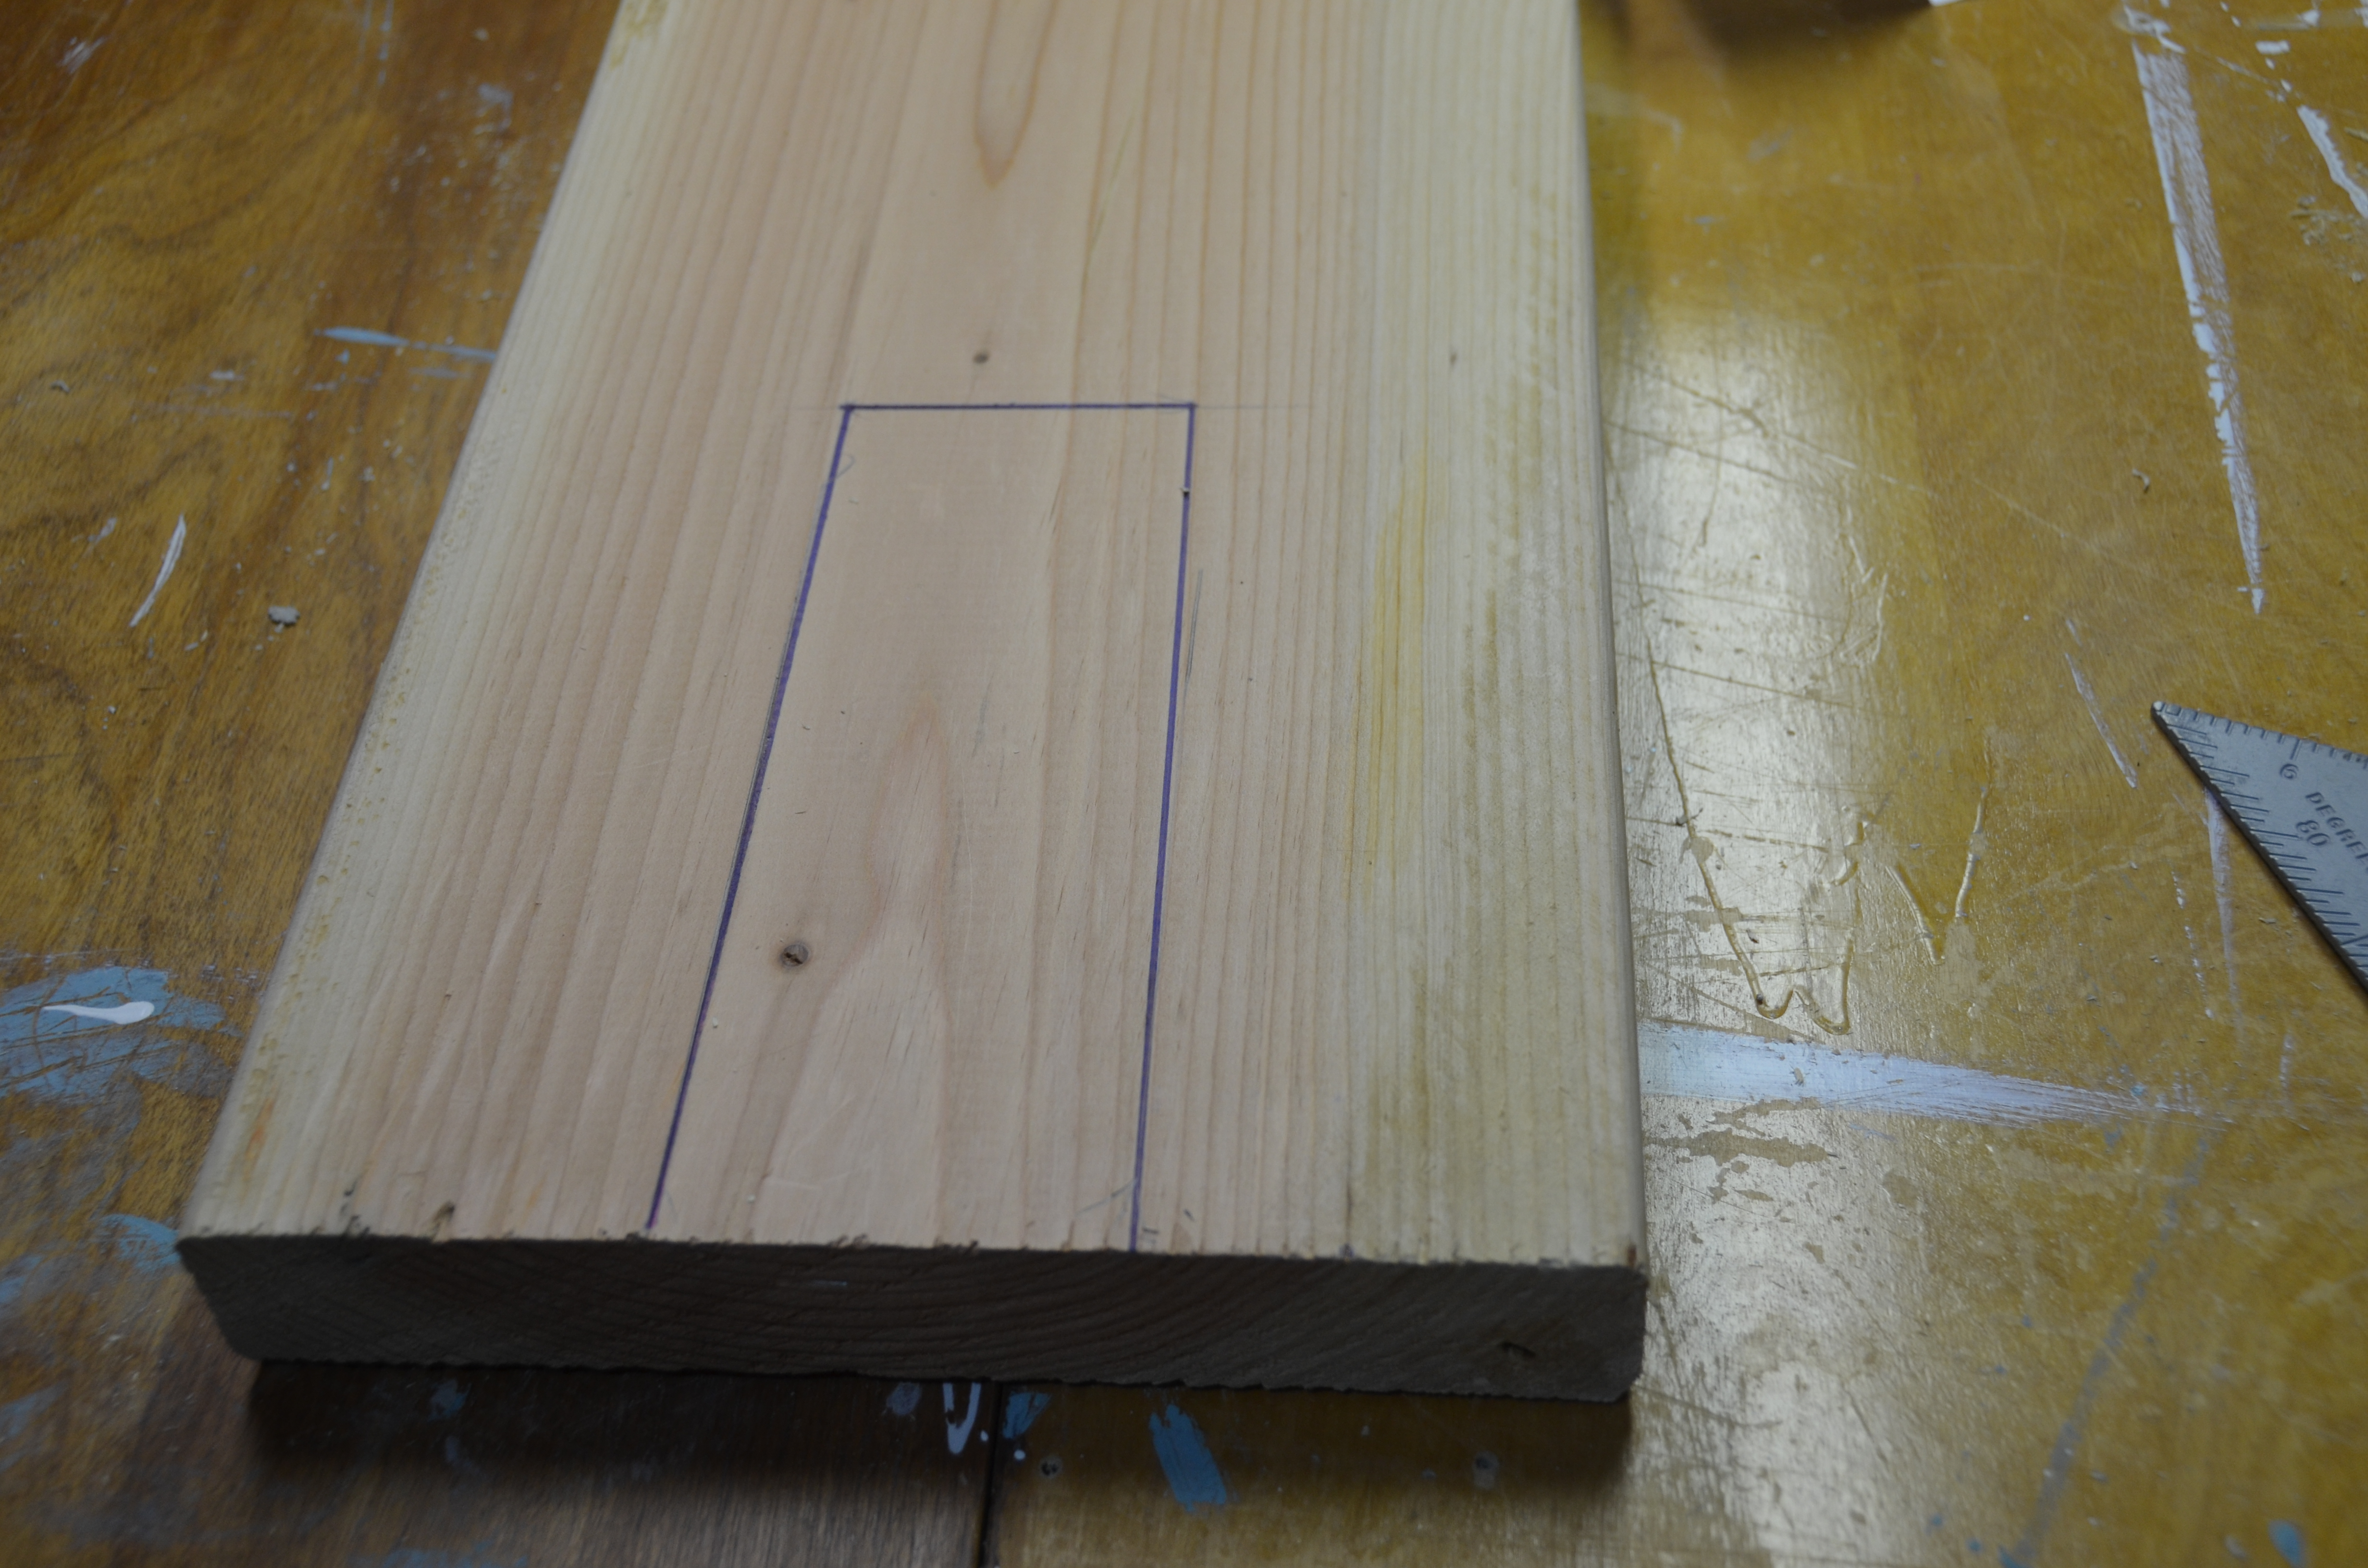
Cut an 8″×3″ notch centered in the rear end of the deck.

Optionally, use a router to cut a ¾” groove ¼” deep across the bottom of the deck, 2″ from the rear end. This groove helps keep the rear axle in place. Without a router, nailing and stapling will be sufficient.

Build the fork

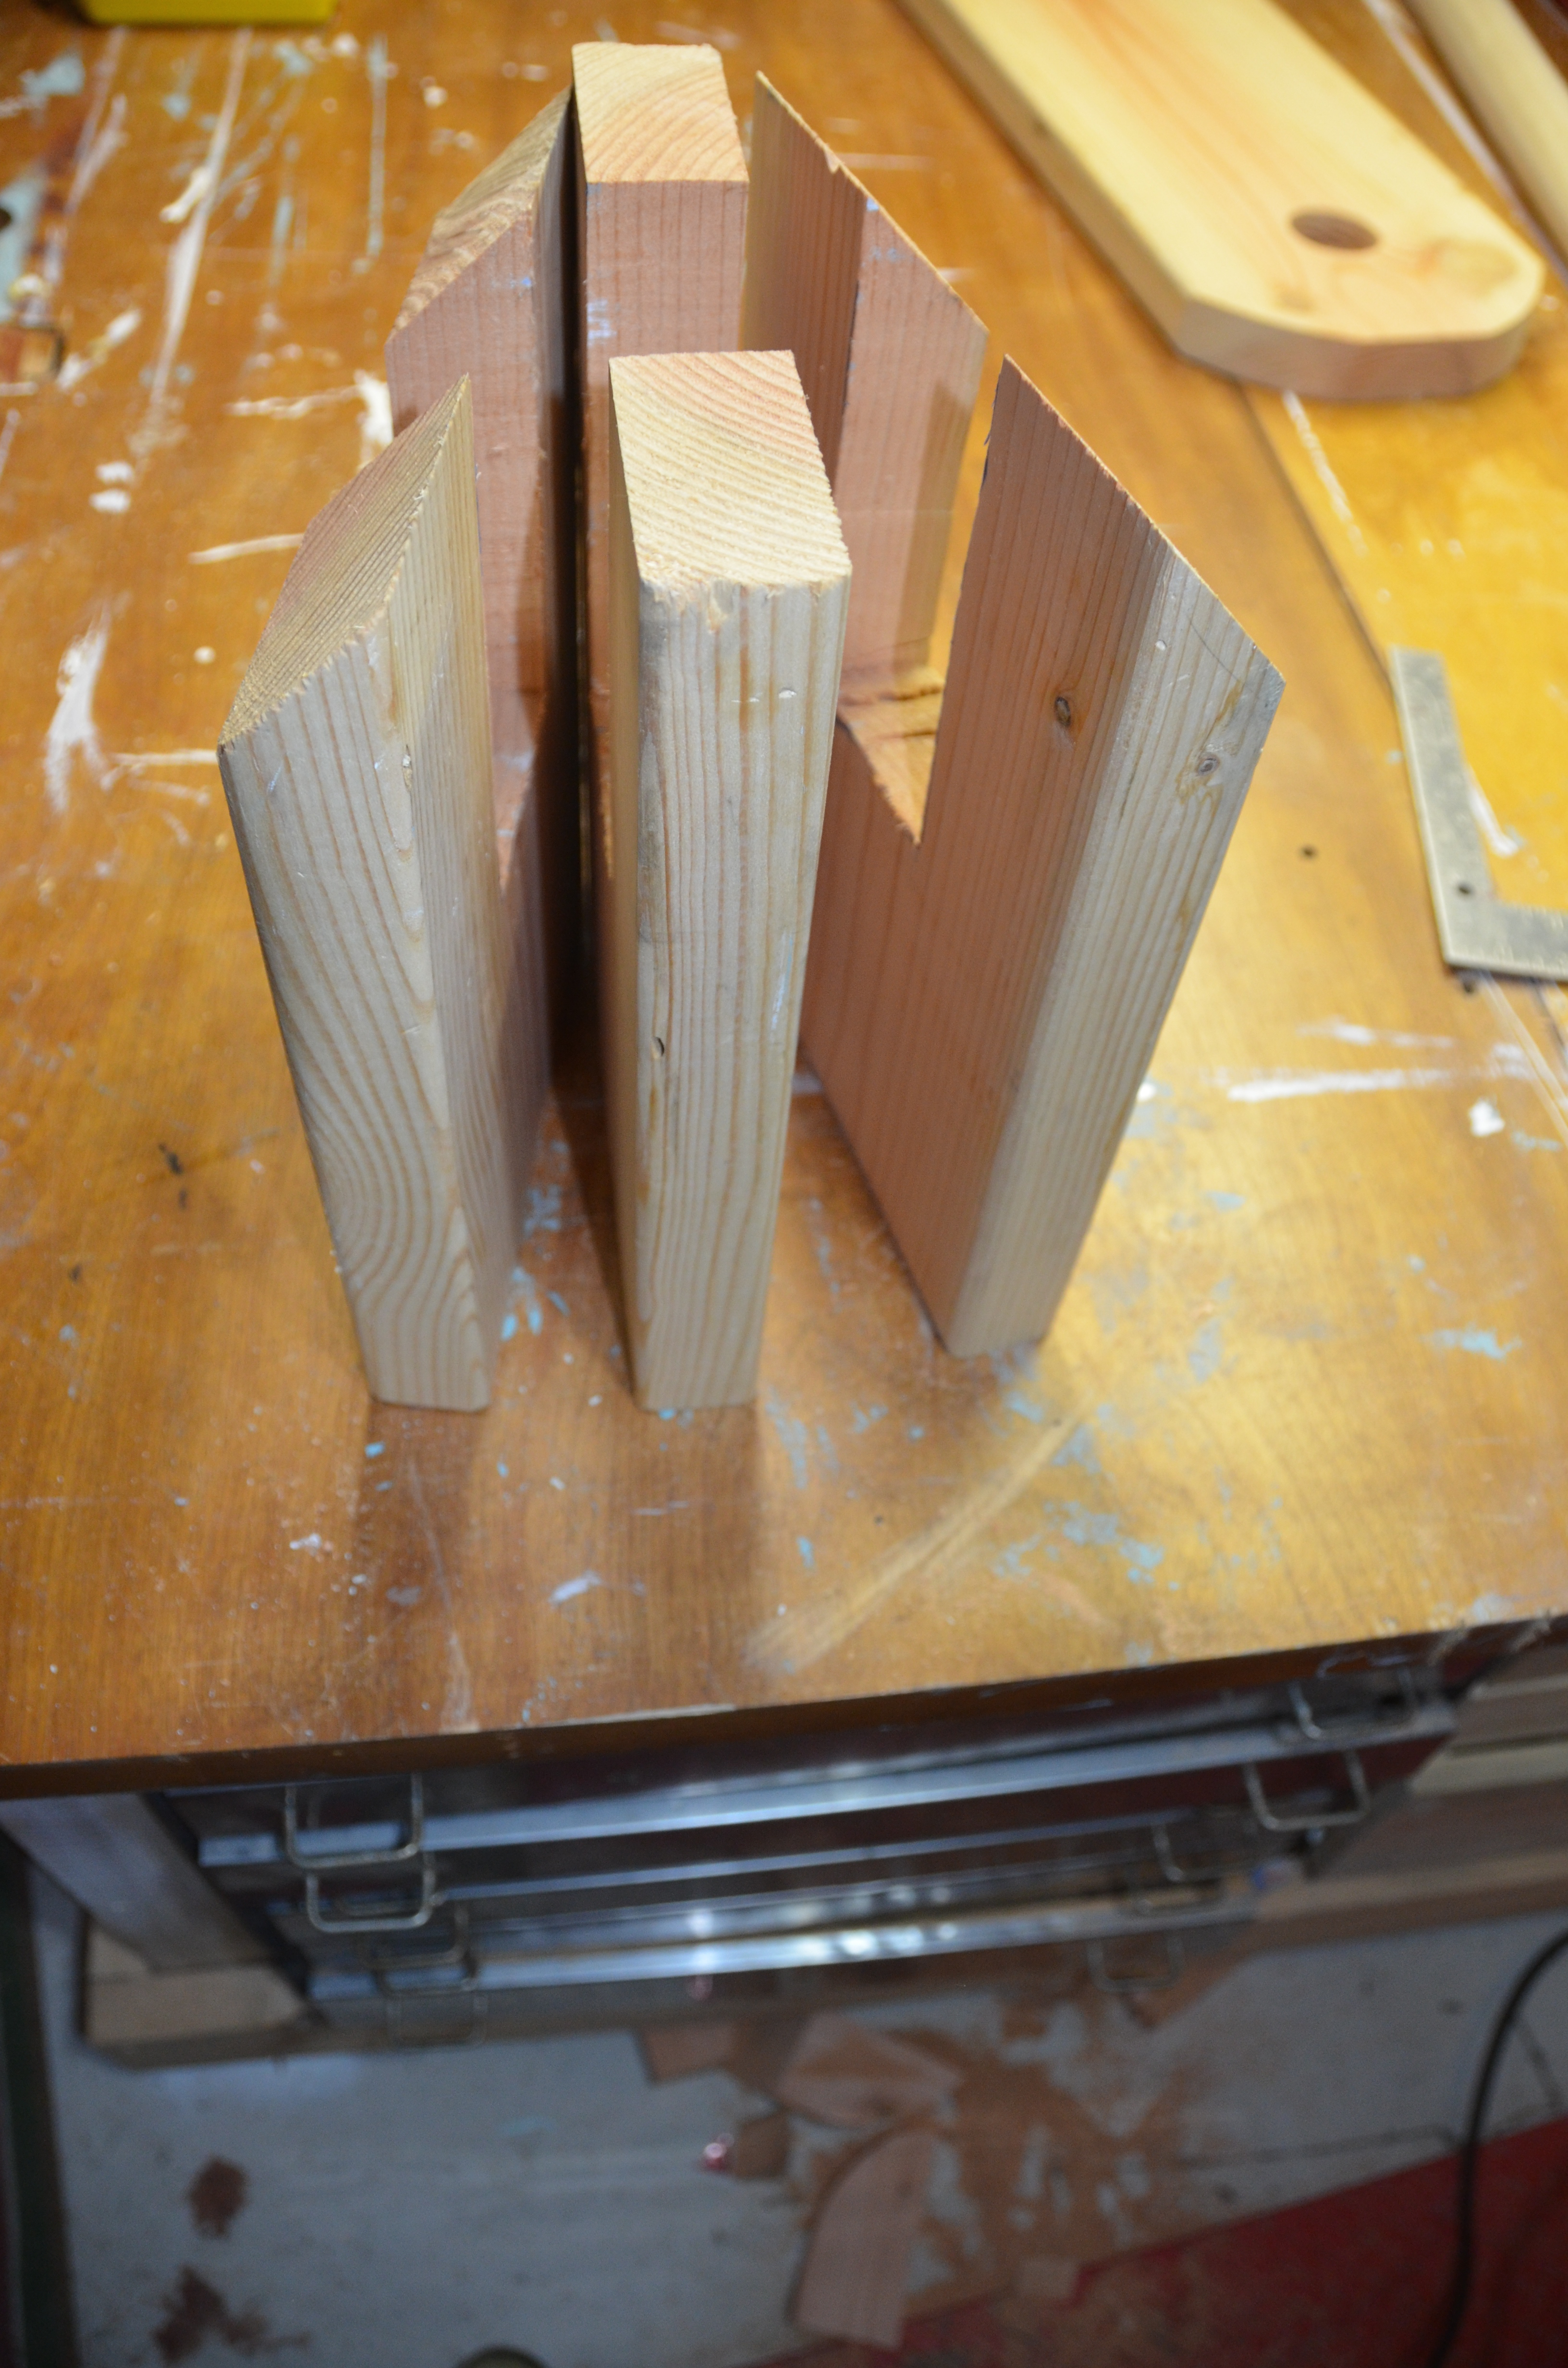
Cut three 12″ lengths of 2×10. Cut 2 of these at 45° on one end, for the outside pieces. Using a router or chisels, cut a ¾” groove ½” deep across the end of the middle piece, to accept the axle. Now cut matching 6″×3″ notches out of all 3 boards.

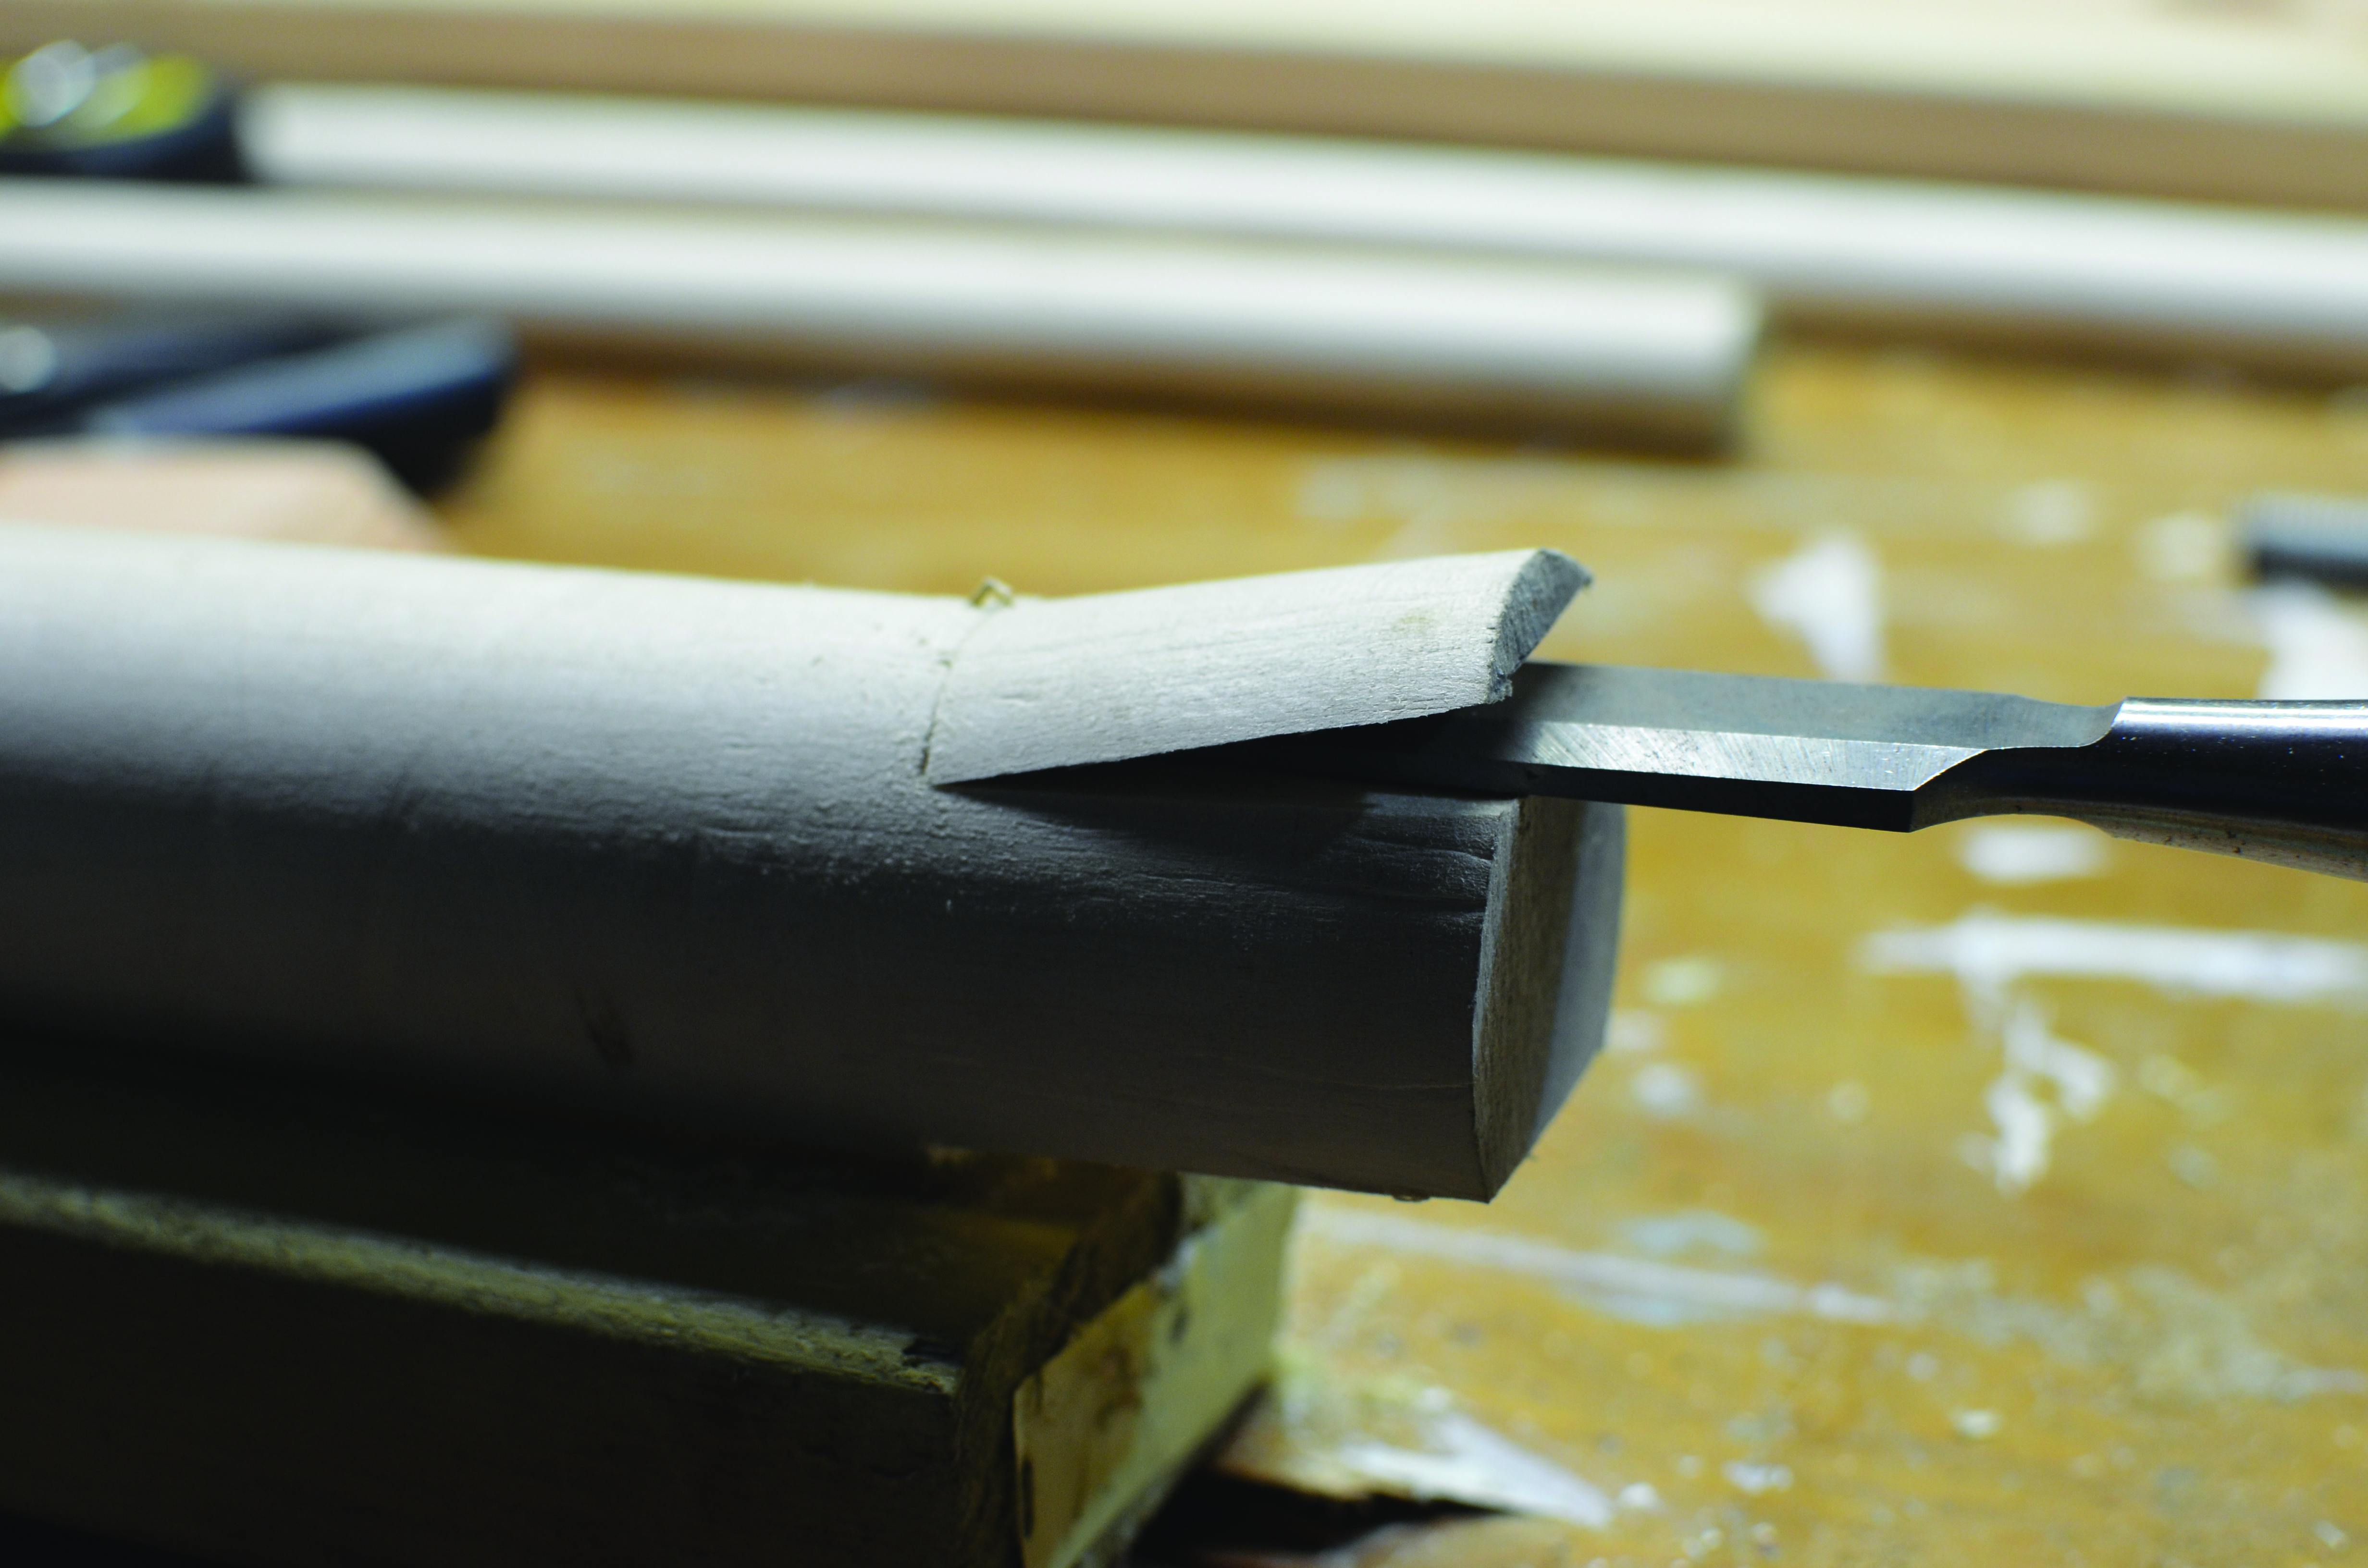
Square off one end of the 2″ dowel: Cut an 1/8″ groove on each side 3½” from the end, then use a hammer and chisel to split off all 4 sides, down to your grooves.

On the middle 2×10, cut a notch 3½” deep and 1¾” wide on the opposite end to accept the squared end of your steering shaft as tightly as possible.

At the other end of the steering shaft, square off just 2 sides, to accommodate the handlebars. Be sure the flat sides line up on both ends of the shaft.

Glue and clamp the three 2×10s together, sandwiching the steering shaft tightly in between. (If the shaft is too wide, reduce it a bit to fit.)

Prepare the steering shaft support

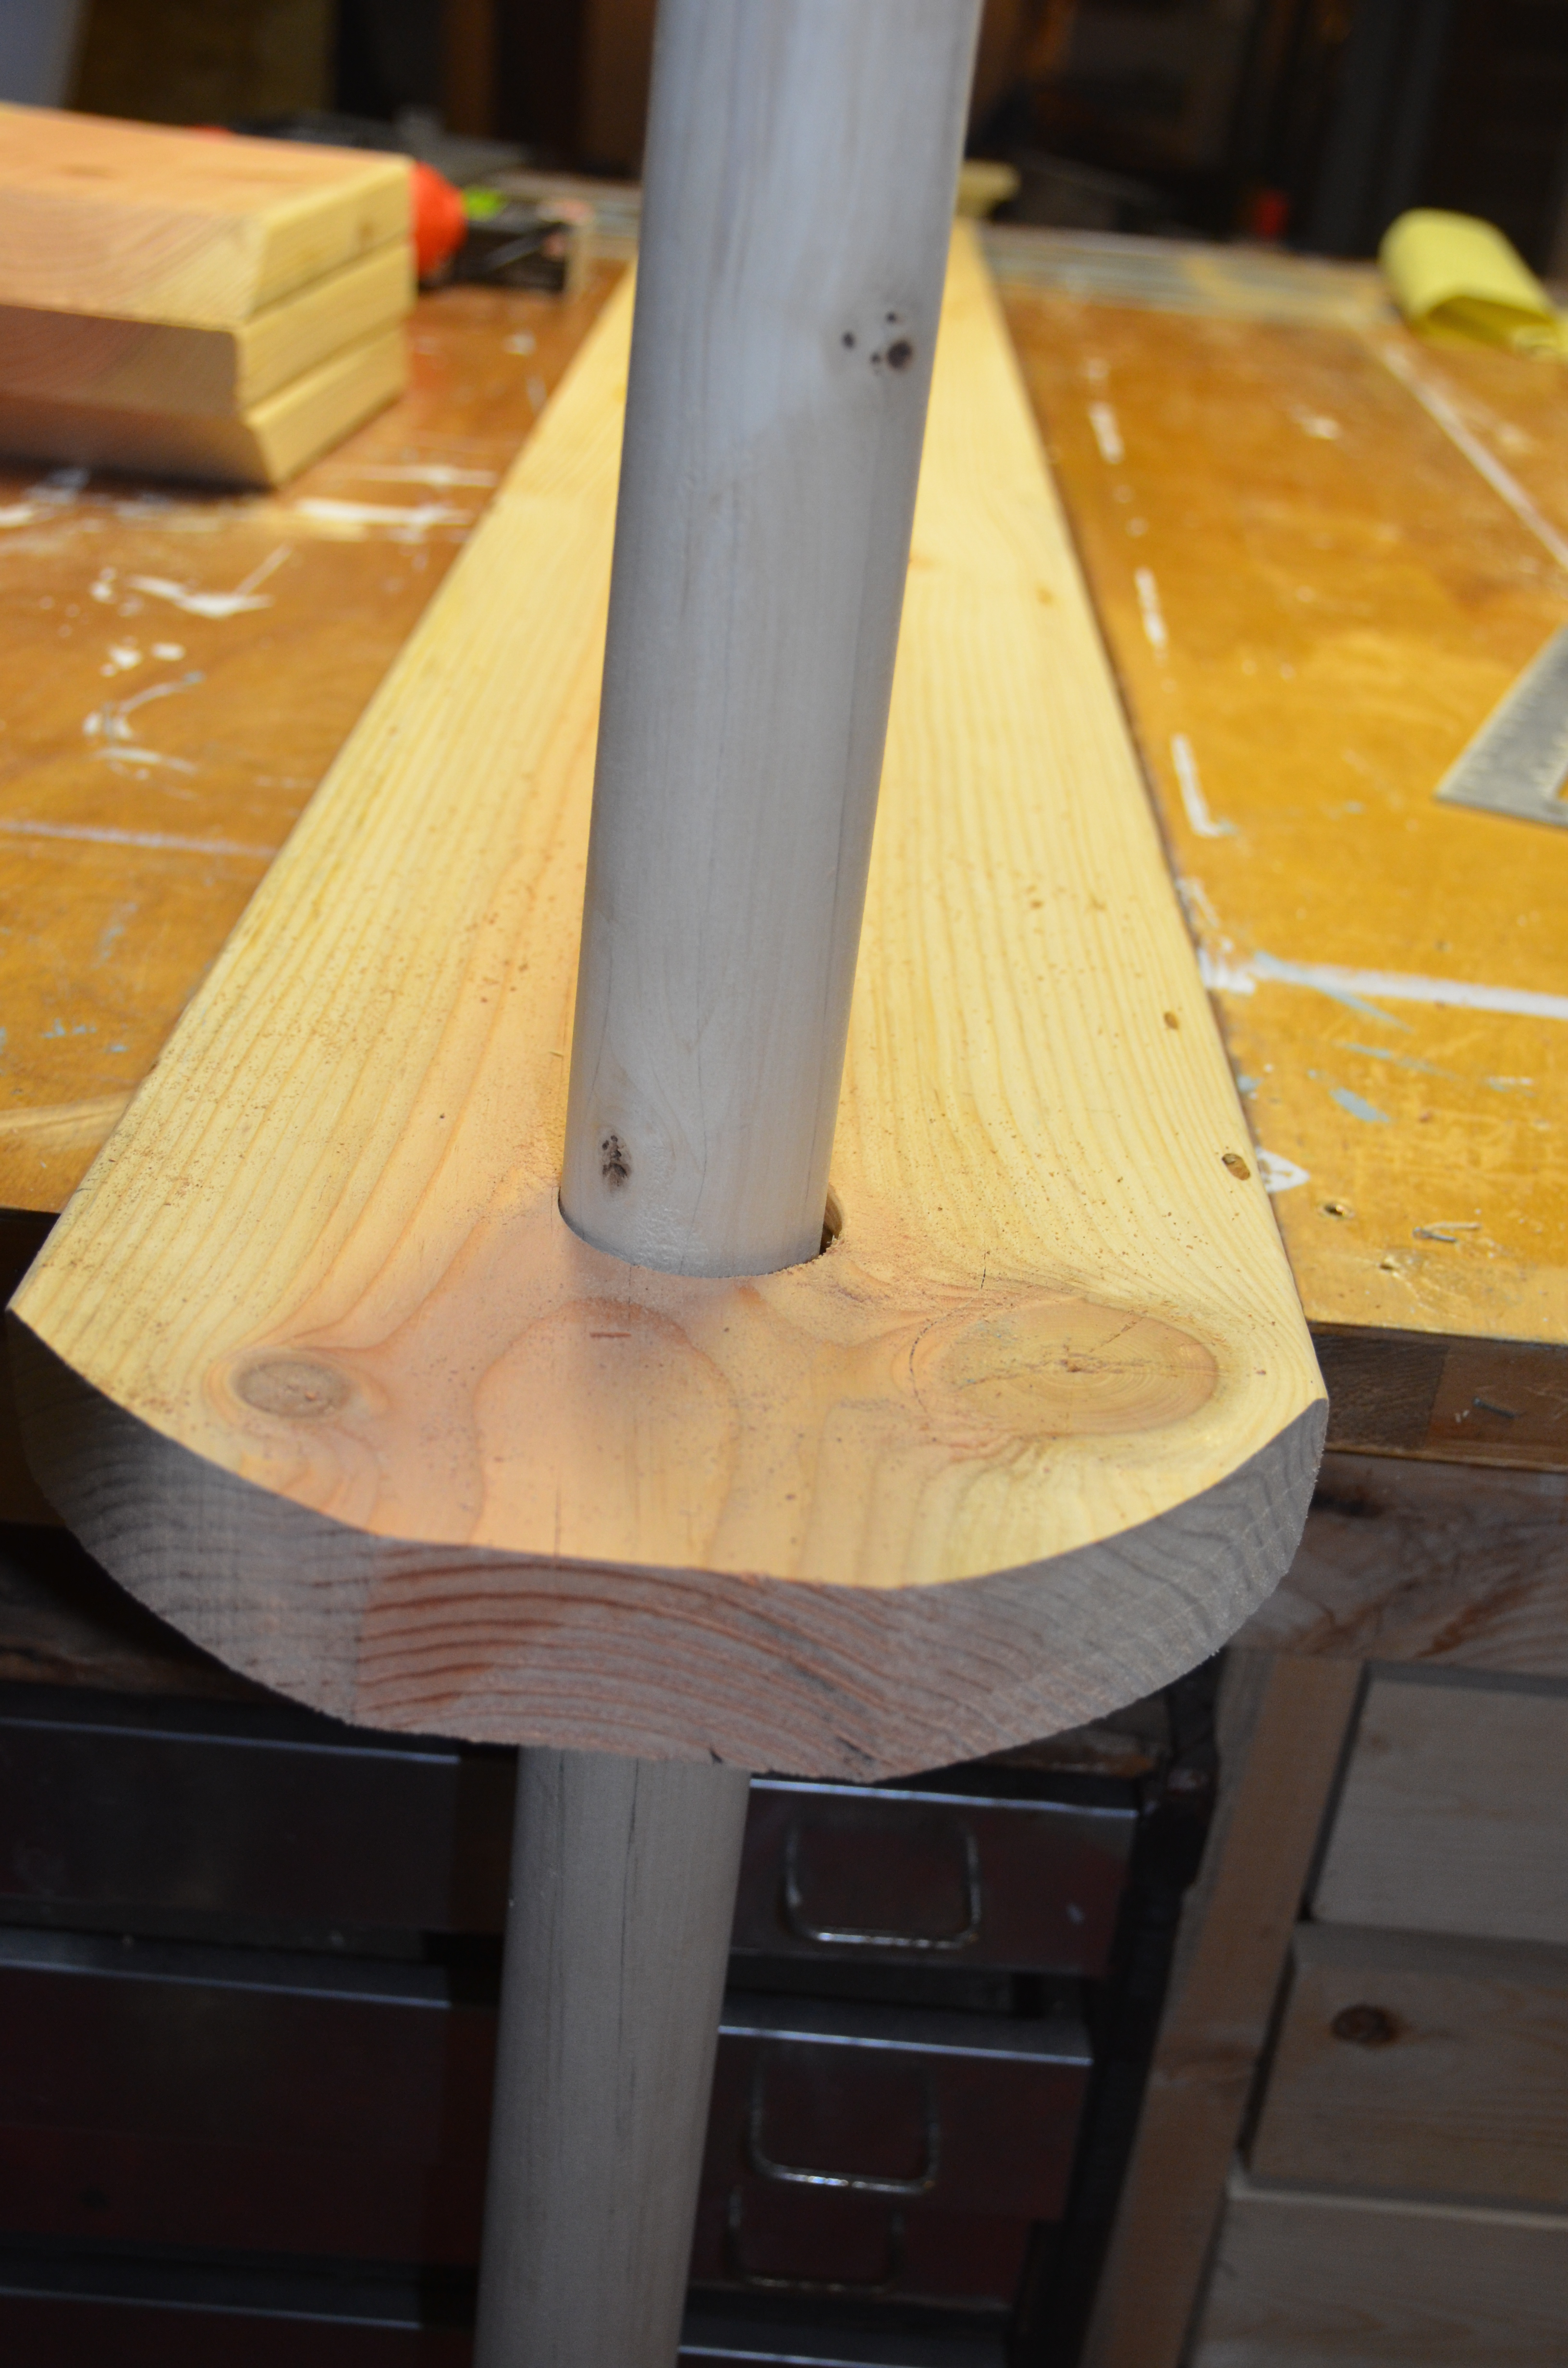
Cut a hole 3½”×1-7/8″ in the deck, at a 20° angle, to accommodate the 4′-long 2×4 so it meets the steering shaft 6″–8″ from the top. Mark the front edge of this hole 9″ behind the center of the steering shaft hole. A tight fit is important, so start small and widen as needed.

Now shape the support to hold the steering shaft: Cut a 70° miter at the top of the 2×4, then shape a concave in the front face using a router or chisels.

Install the support into the deck hole. If the hole is too big, you can pound in wedges or shims to tighten it. The support can stick through the bottom or be trimmed flush.

Shape the handlebars

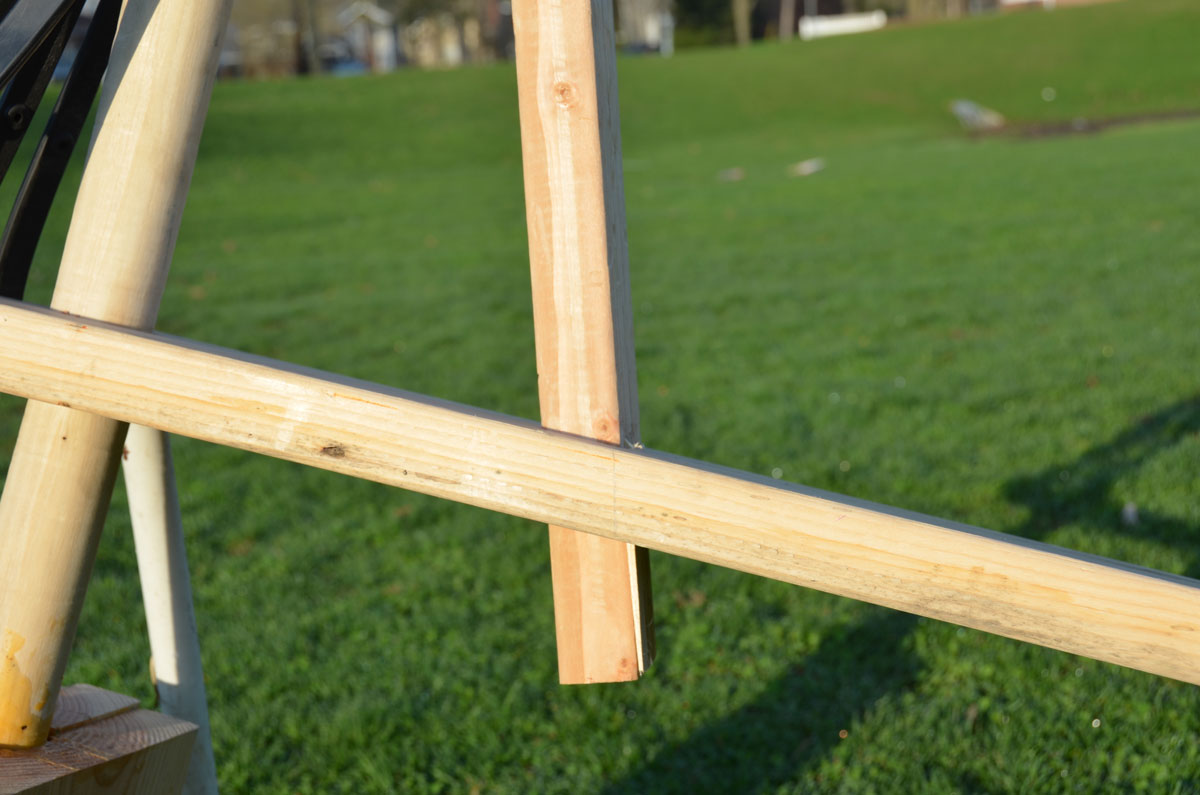
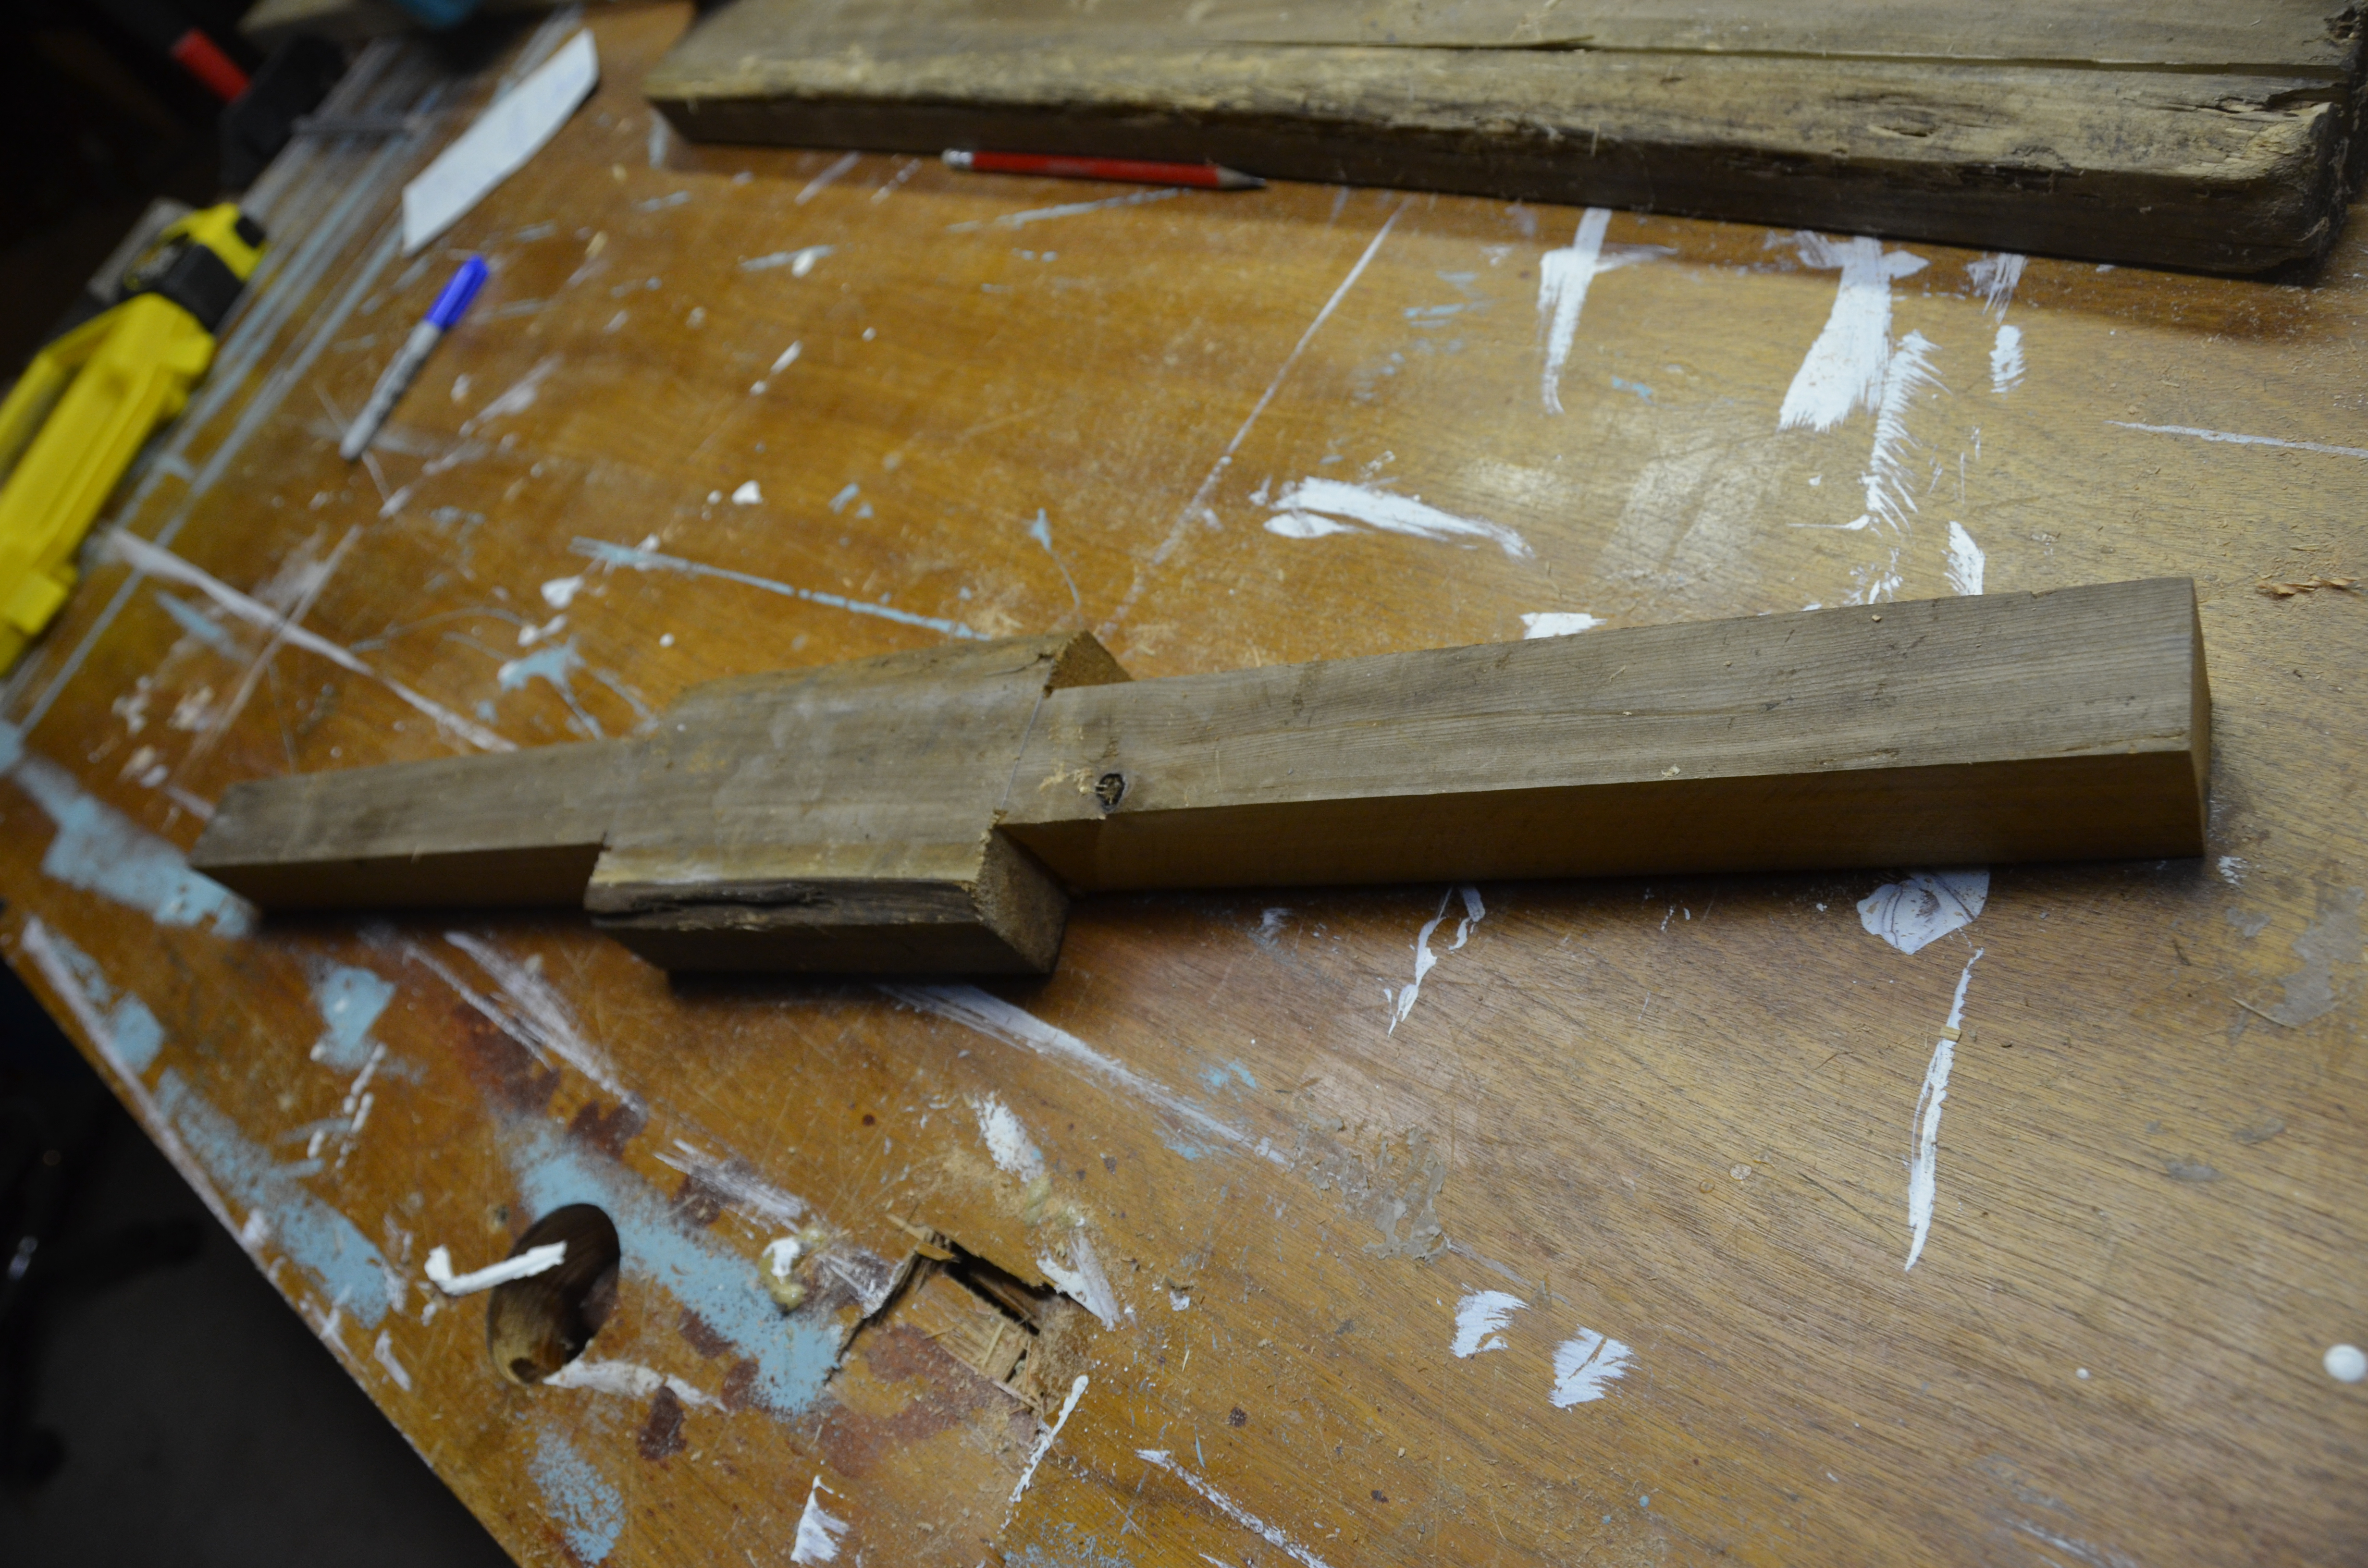
Mark a 30″ 2×4 at 12″ from either end. Then mark lengthwise 1″ from either side. Use a jigsaw or handsaw to cut away the 4 corner portions, leaving a 6″ hub in the middle and 2 handles on either side.

Find the center of the hub and place it atop the flattened end of the steering shaft. Trace the outline of the shaft and cut out that hole (inside the lines!) with a drill and jigsaw. The fit should be tight.

Use sandpaper or a router with a roundover bit to round off the sharp edges of the handle. Don’t mount the handlebars yet!

Make the brake

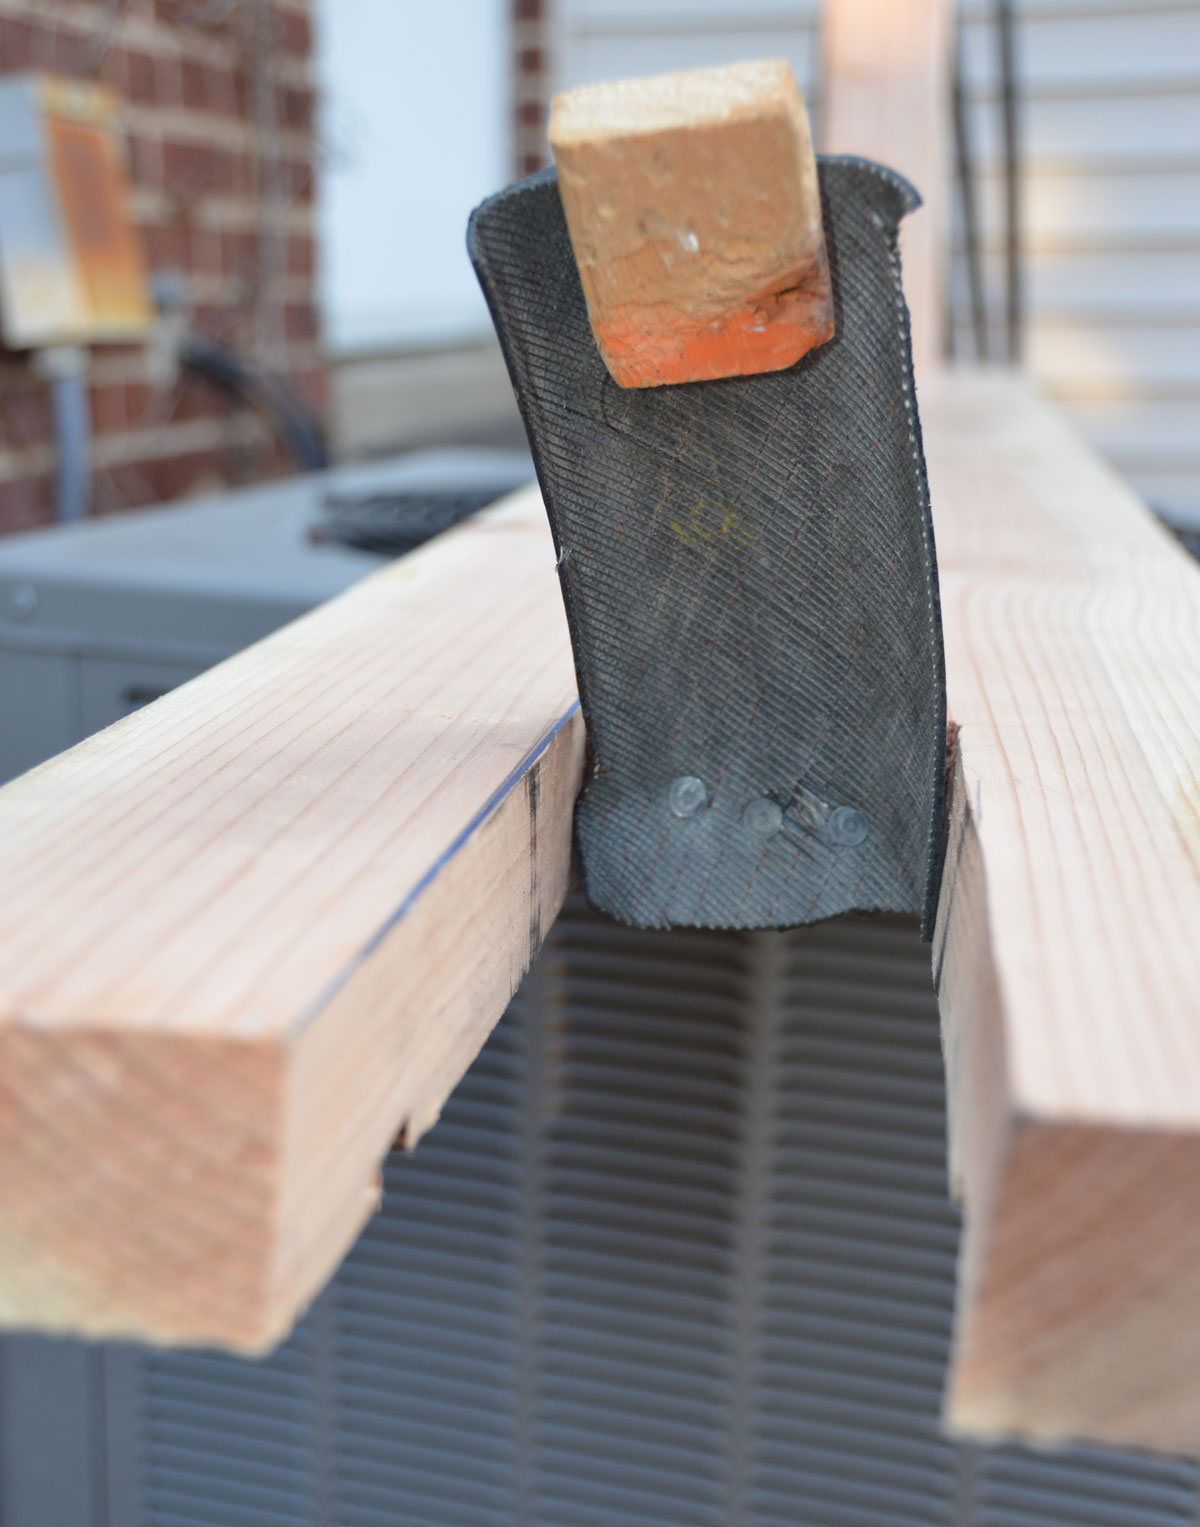
The never-ending hills in Eastern Africa mean that a good brake on the rear wheel is needed to control descent. Our brake will be made just like the ones in Kiziba. Cut a 7″ section of the bike tire. Staple or nail a small piece of scrap wood inside one end.

Nail the other end of the tire inside the notch you cut for the rear wheel. The curve of the bike tire will cause the brake to sit up off the wheel. The rider can then step back and push the brake into the wheel to slow the chukudu.

Mount the wheels

The Kiziba chukudu rolls on wooden wheels; we’ll use off-the-shelf steel wheels designed for wheelbarrows and carts.

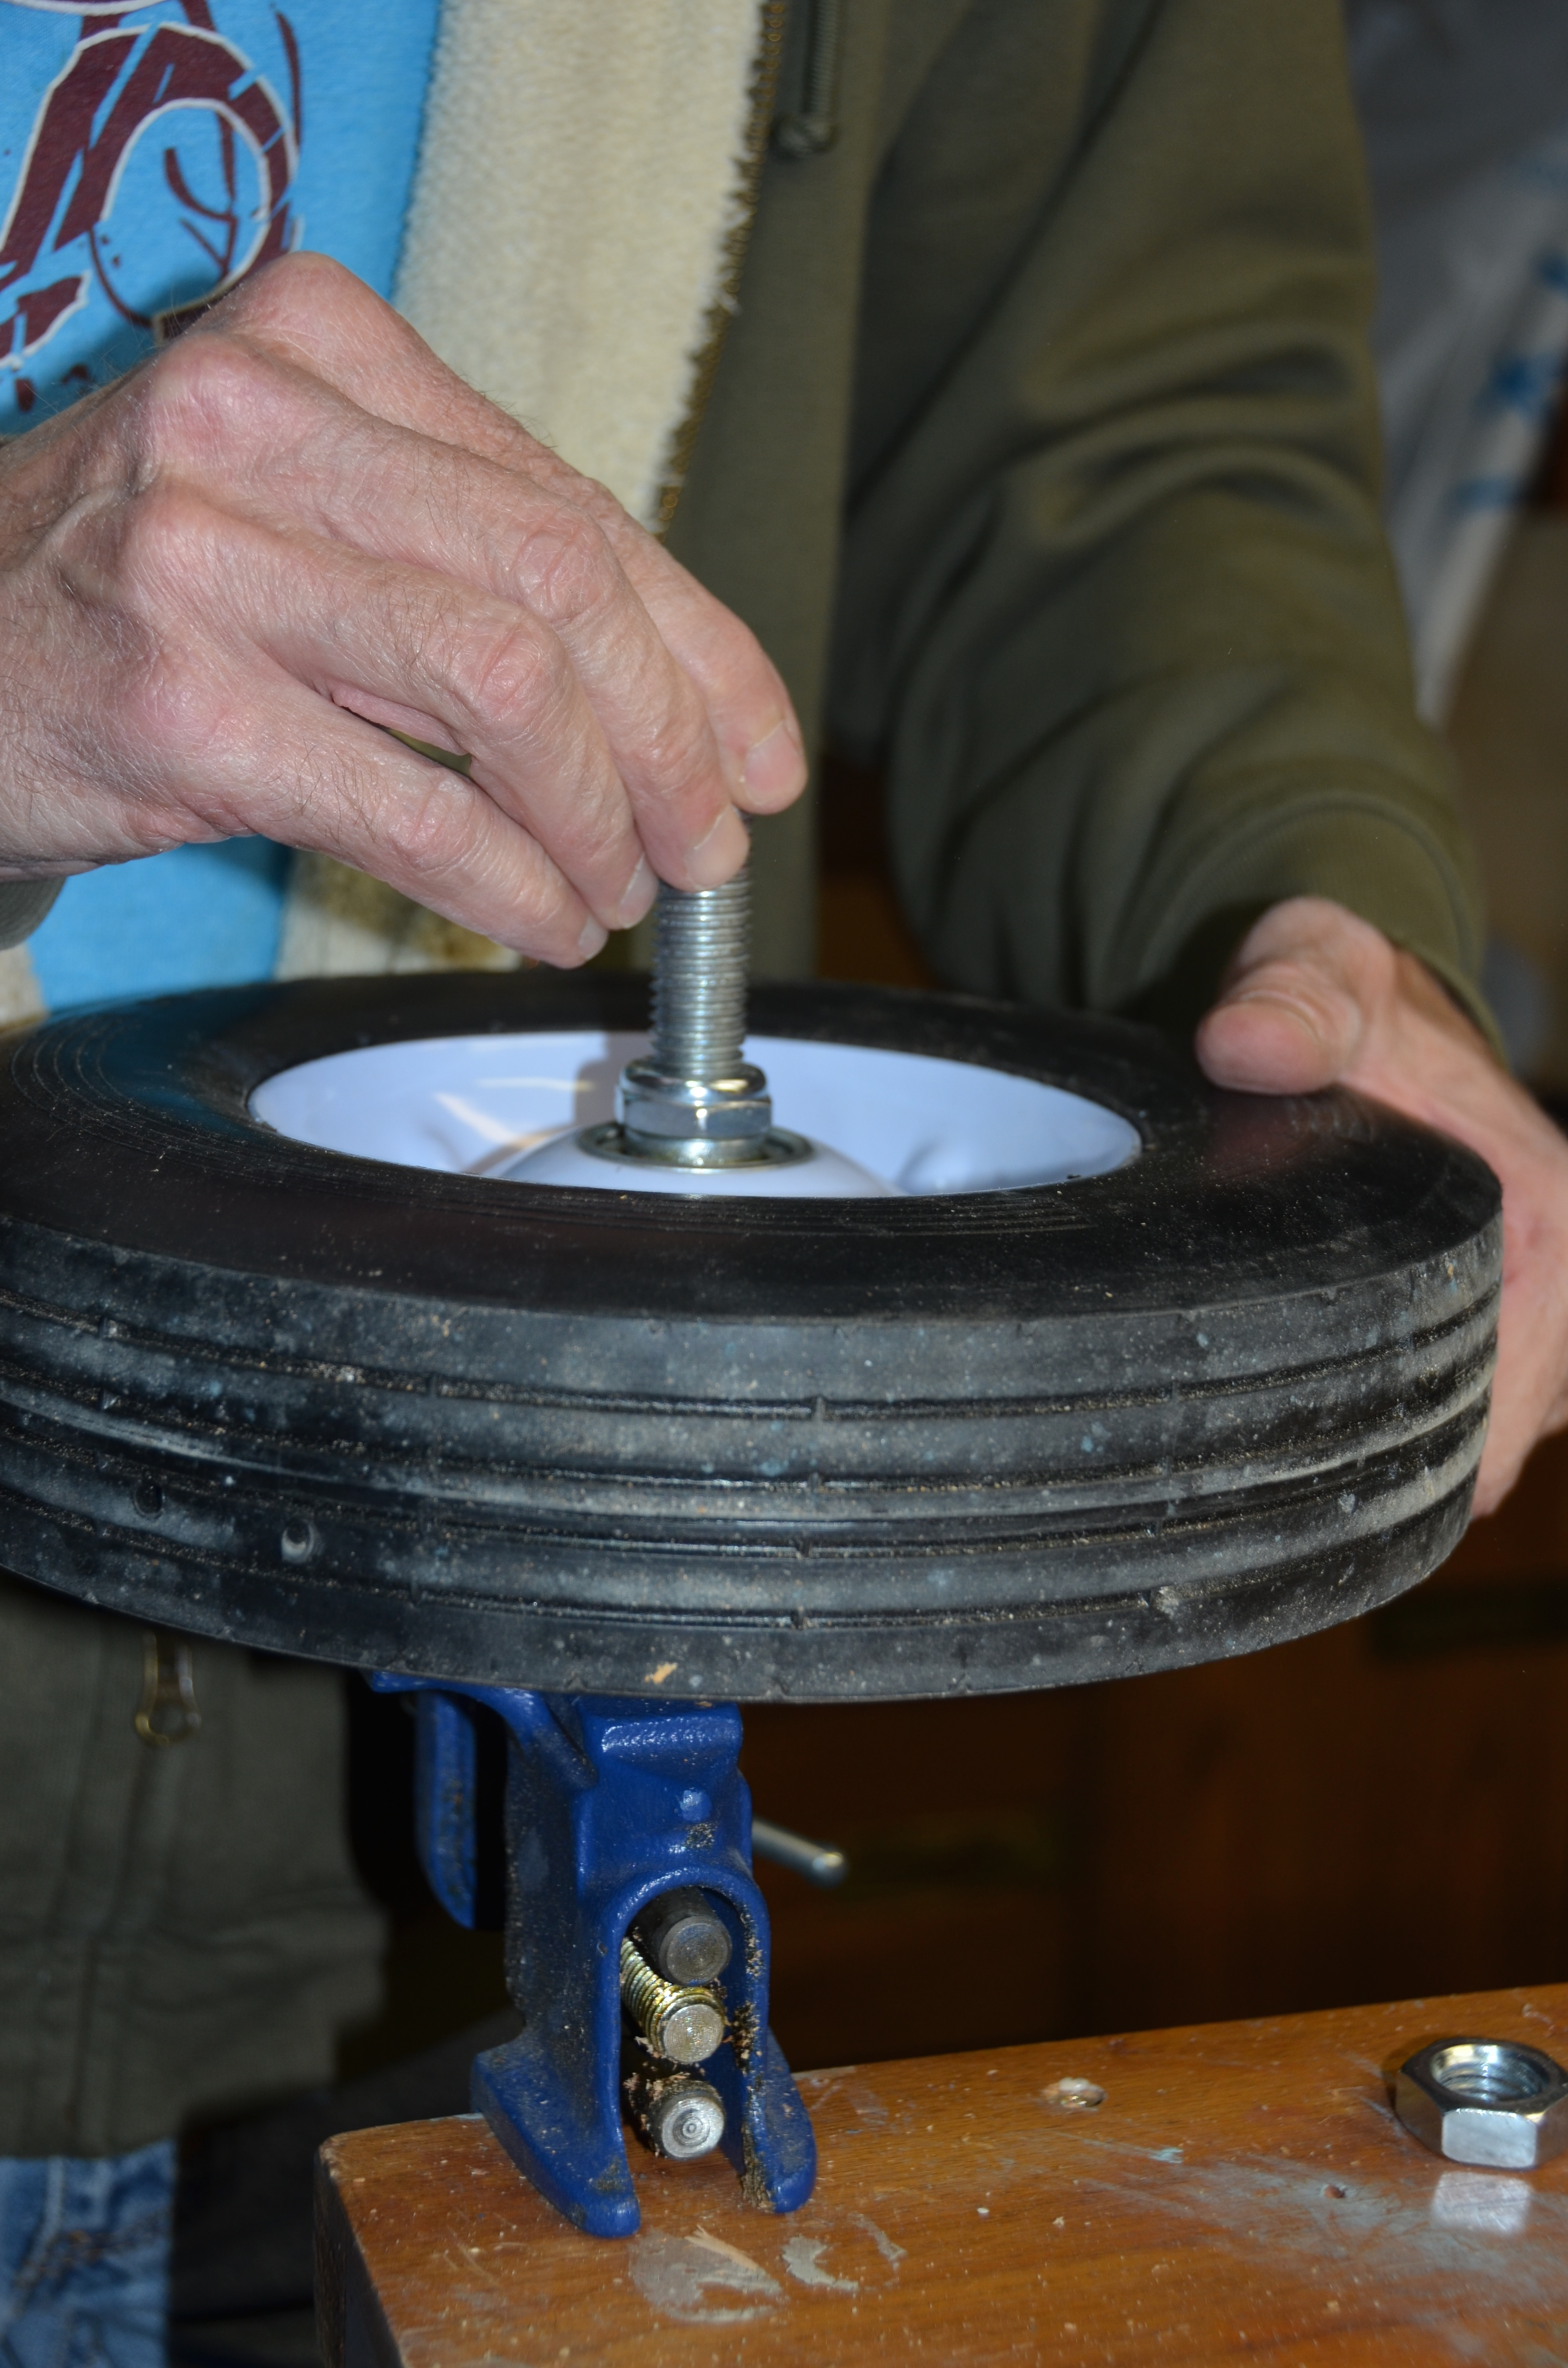
Cut the 5/8″ threaded rod to 2 lengths of 8″ to make the axles. Mount each wheel in the center of an axle and secure it with nylon lock nuts. Don’t overtighten.

Secure the axles to the deck and the fork with ½” staples or 2″ nails bent over the axle.

Drive a nail or staple at the end of each axle to prevent it from moving off-center.

Mount the suspension

The Congolese scavenge rubber from old road tires to make the suspension. We’ll use rubber tie-down straps.

Remove the hooks, and nail both ends of each strap around the nose of the deck. Thread the steering shaft up through its hole in the deck. Pull up the center of each strap and nail or staple them to the steering shaft. Set the height so that the deck hangs 6″–8″ above the fork, so that when the chukudu is loaded it won’t bottom out.

Use the reclaimed bike tire to wrap and hold the steering shaft to the support. Nail or staple the tire into the support on either side.

Mount the handlebars

Finally, attach the handlebars to the steering shaft. Use the reclaimed inner tube to tie them on, or use a shim or wedge to tighten the joint.

Conclusion

Riding the Chukudu
The vehicle can be customized for different types of cargo. In Kiziba, they mostly haul firewood, so they drill a hole in the middle of the deck and insert a stick to hold the firewood in place. Other chukudus are built with large baskets or other supports for various loads.

Chukudus can also be ridden as a knee scooter. A pad made from an old flip-flop allows the driver to place a knee on the deck and push with the other foot.

Because of its size and mass, the chukudu can be difficult to handle. Be sure to wear a helmet — and have an escape plan if you need to bail!