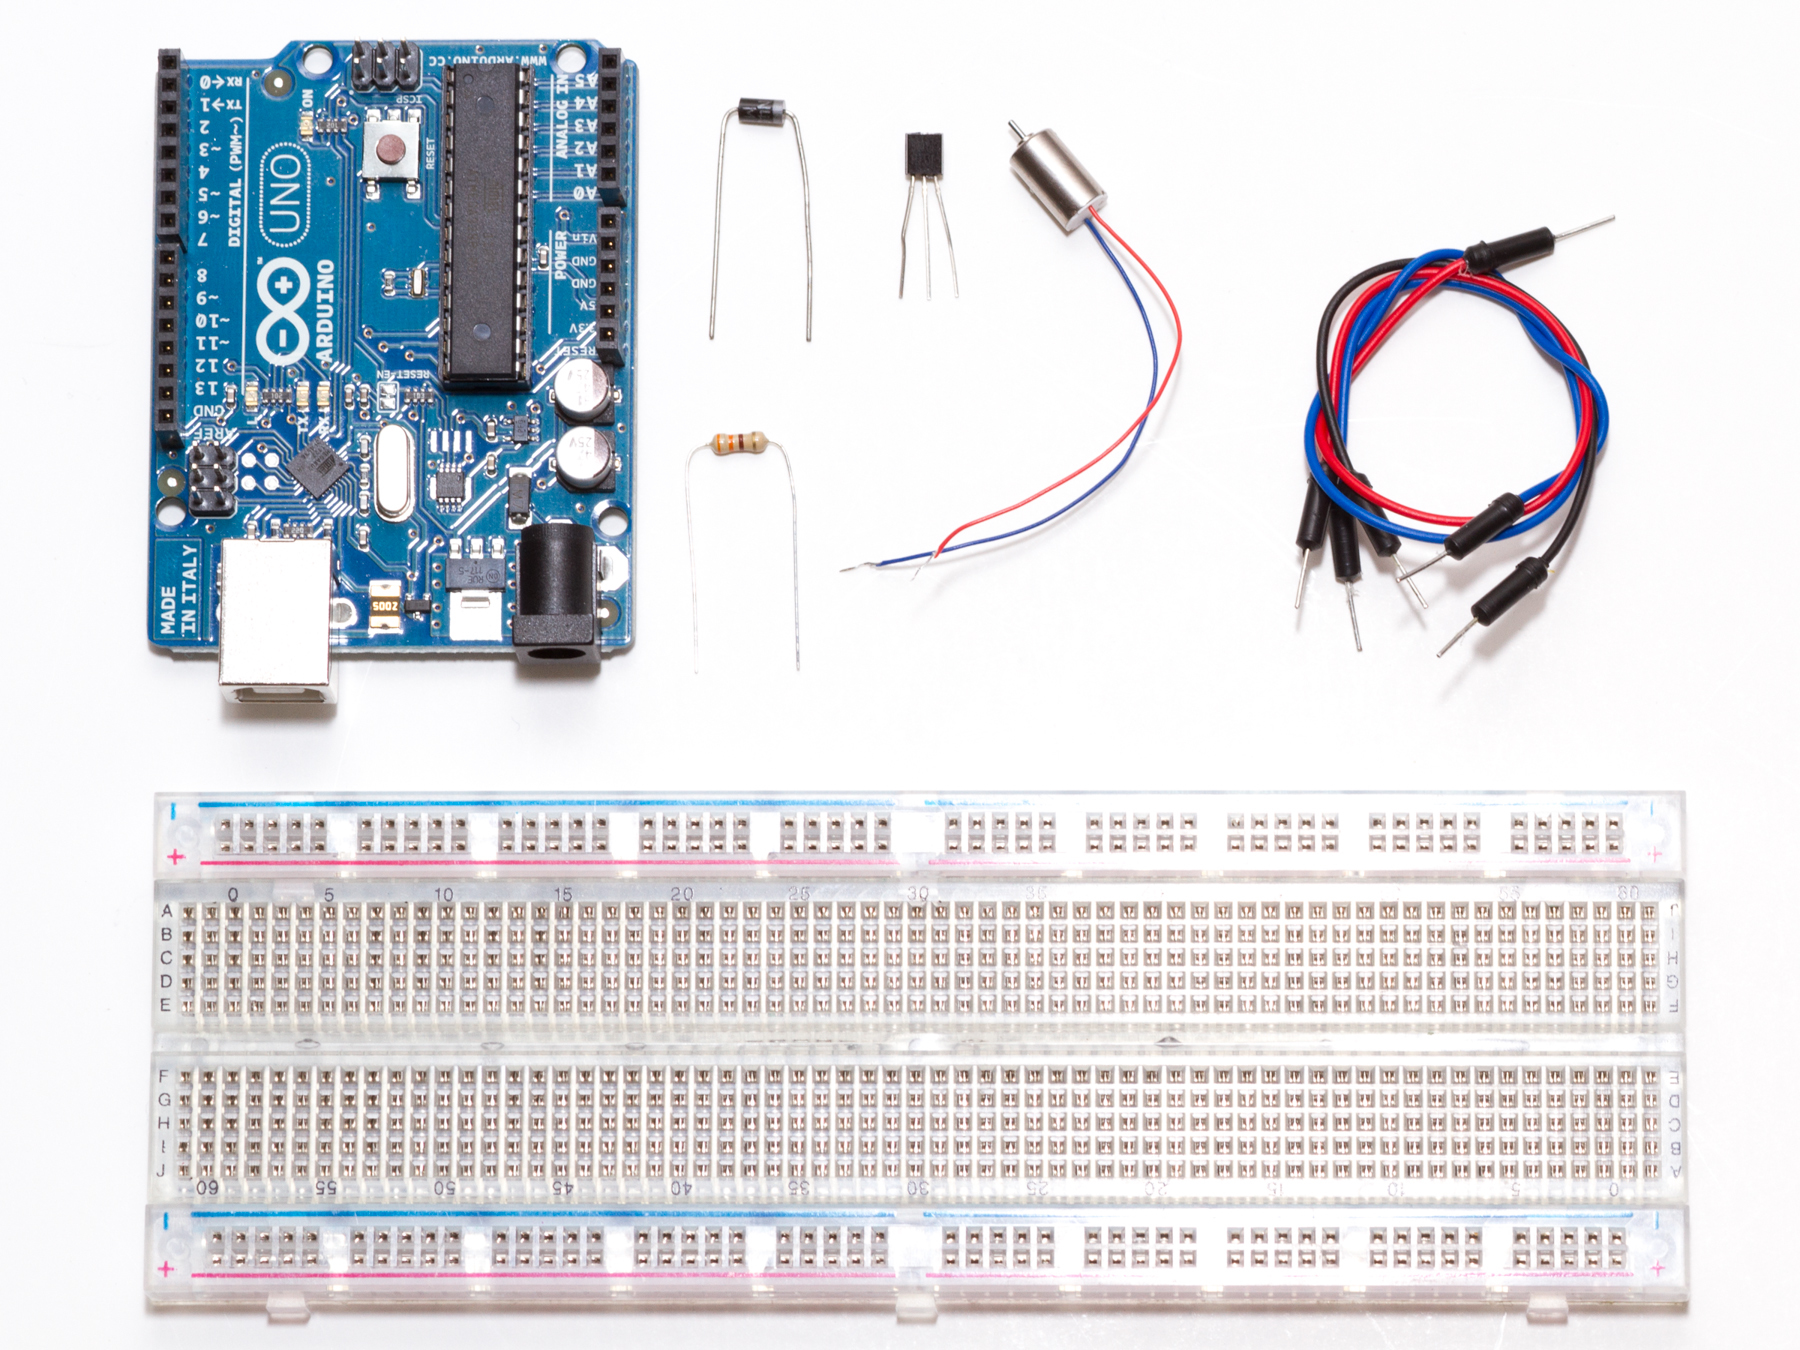
All required parts are included in the Maker Shed’s Ultimate Microcontroller Pack.
Projects from Make: Magazine
Control a 5V Motor with the Arduino
This guide will introduce motor control using the Arduino.


Make sure you have all the required parts before starting. Everything you need is included in the Ultimate Microcontroller Pack.
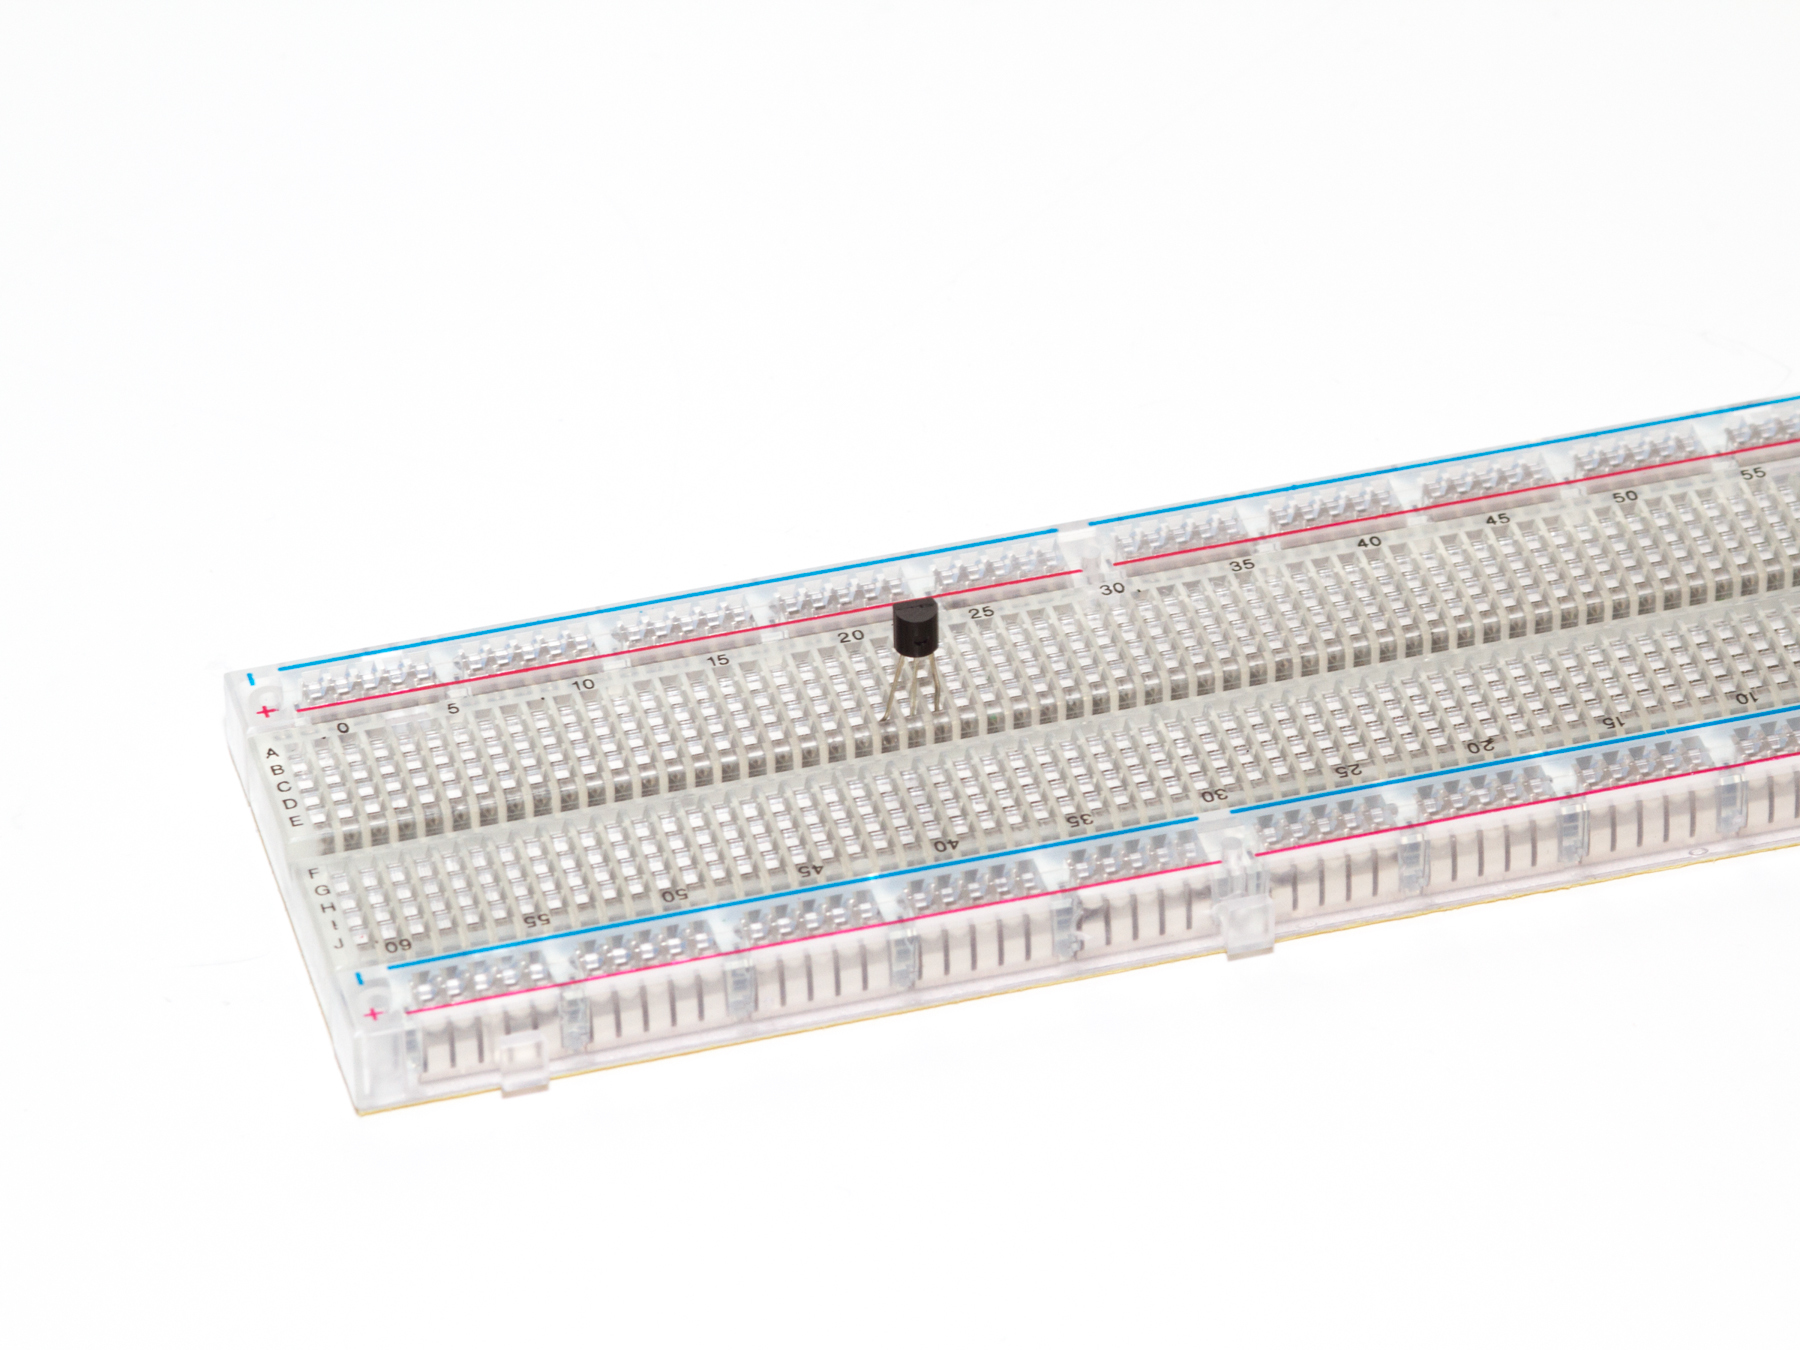
First, install the transistor. With the flat part of the transistor facing away from you, the leftmost leg should be inserted into E20 on the breadboard, followed by the other two legs in E21 and E22.
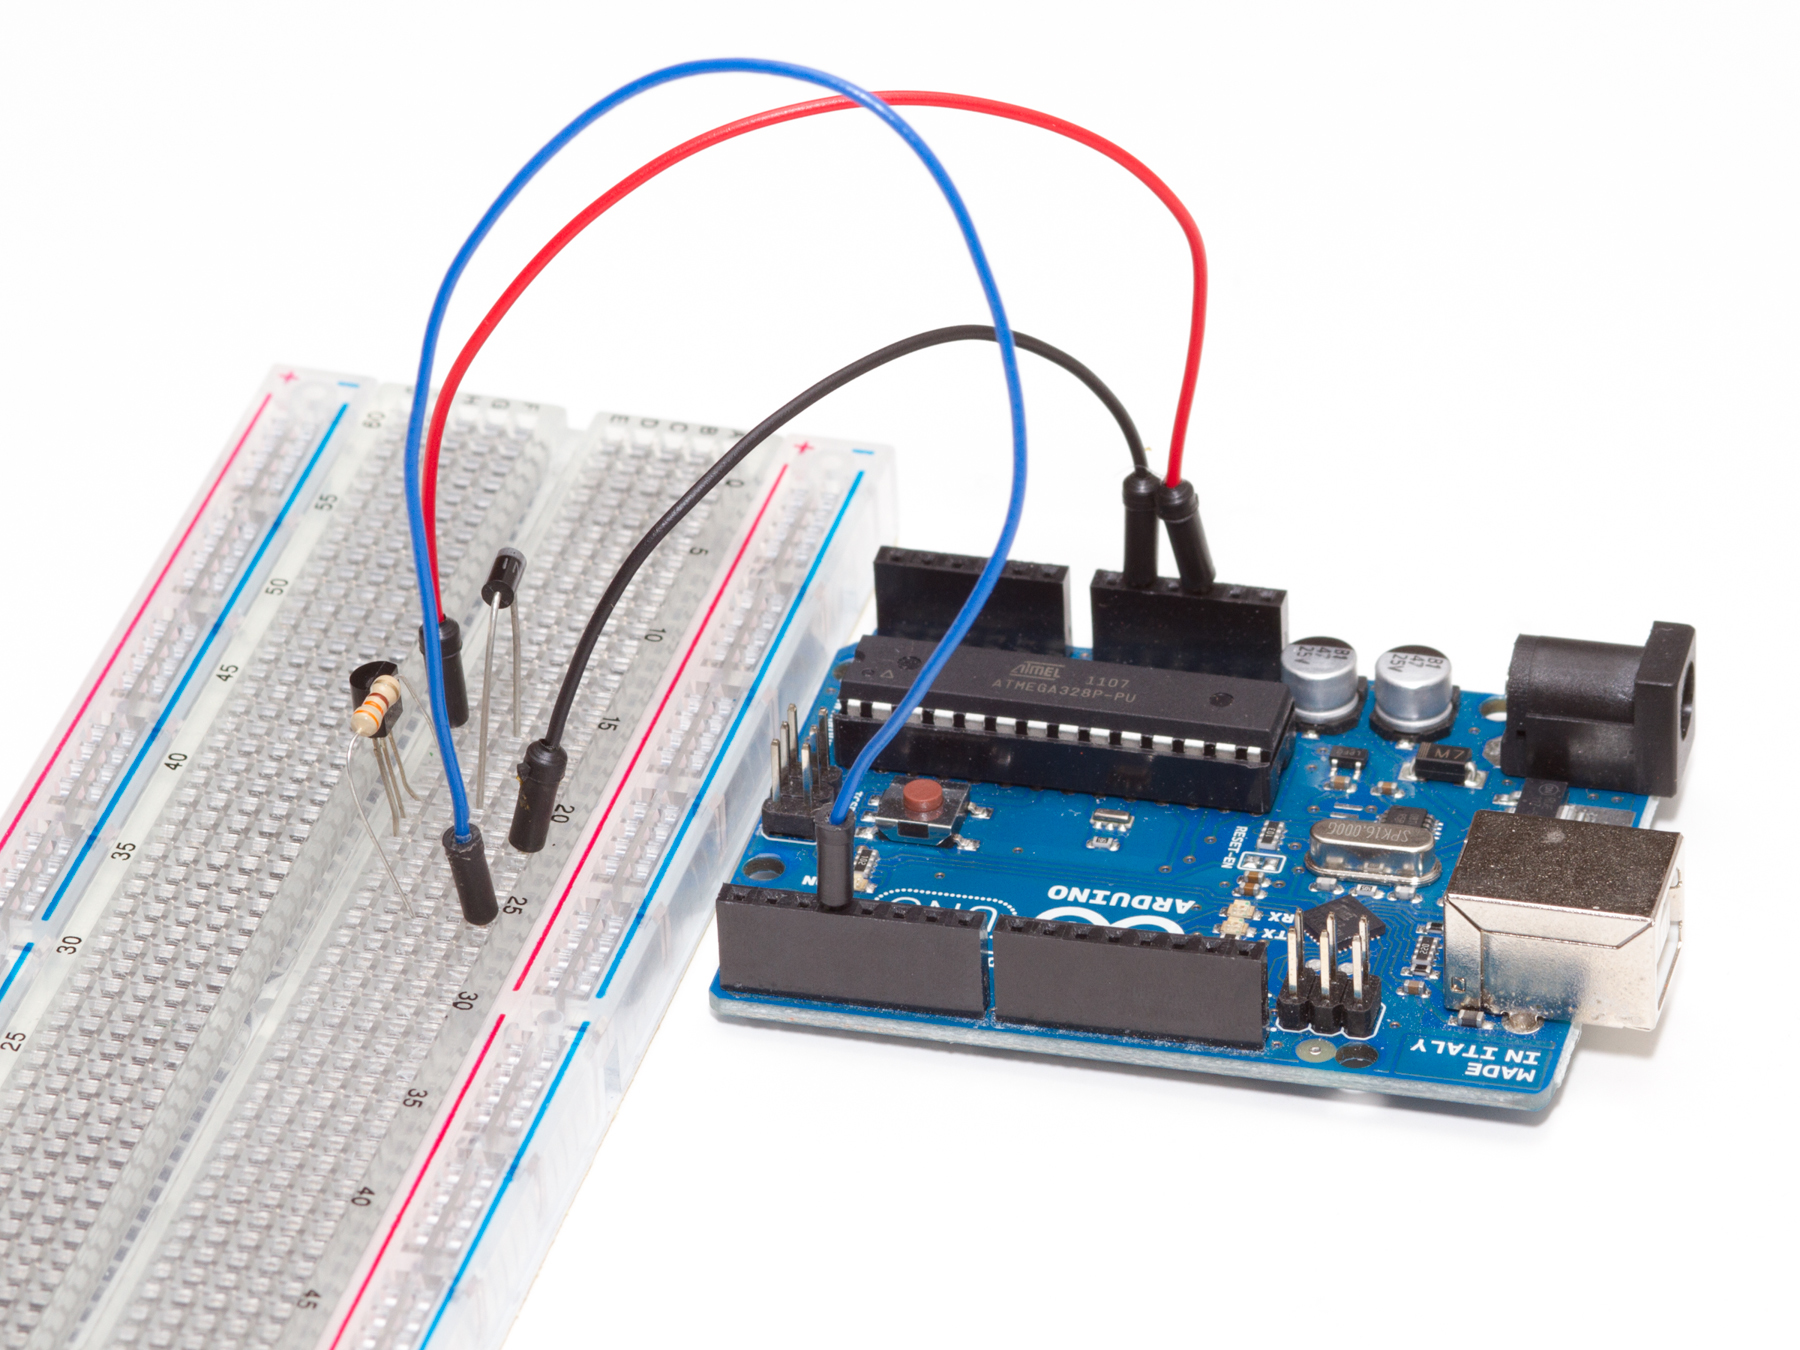
Next, install the diode. Polarity matters here, so make sure the side with the white stripe is in C16 and the other side is in C20.
And now, the resistor. Plug it into pins C21 and C26 (polarity doesn’t matter here).

We need to power the circuit with 5V from the Arduino. Use a jumper here, and plug into pin E16 on the breadboard.
And of course we need ground as well – use another jumper to go from the Arduino GND pin to A22 on the breadboard.
To control the speed of the motor through the transistor, use another jumper wire to go from Digital Pin 3 on the Arduin to pin A26 on the breadboard.

Finally, it’s time for the motor! Plug the power (red) wire into A16 and the ground (blue) into A20.
That’s it, you’re done! Head over to GitHub to download (or copy-paste) the sample code, and have fun!


