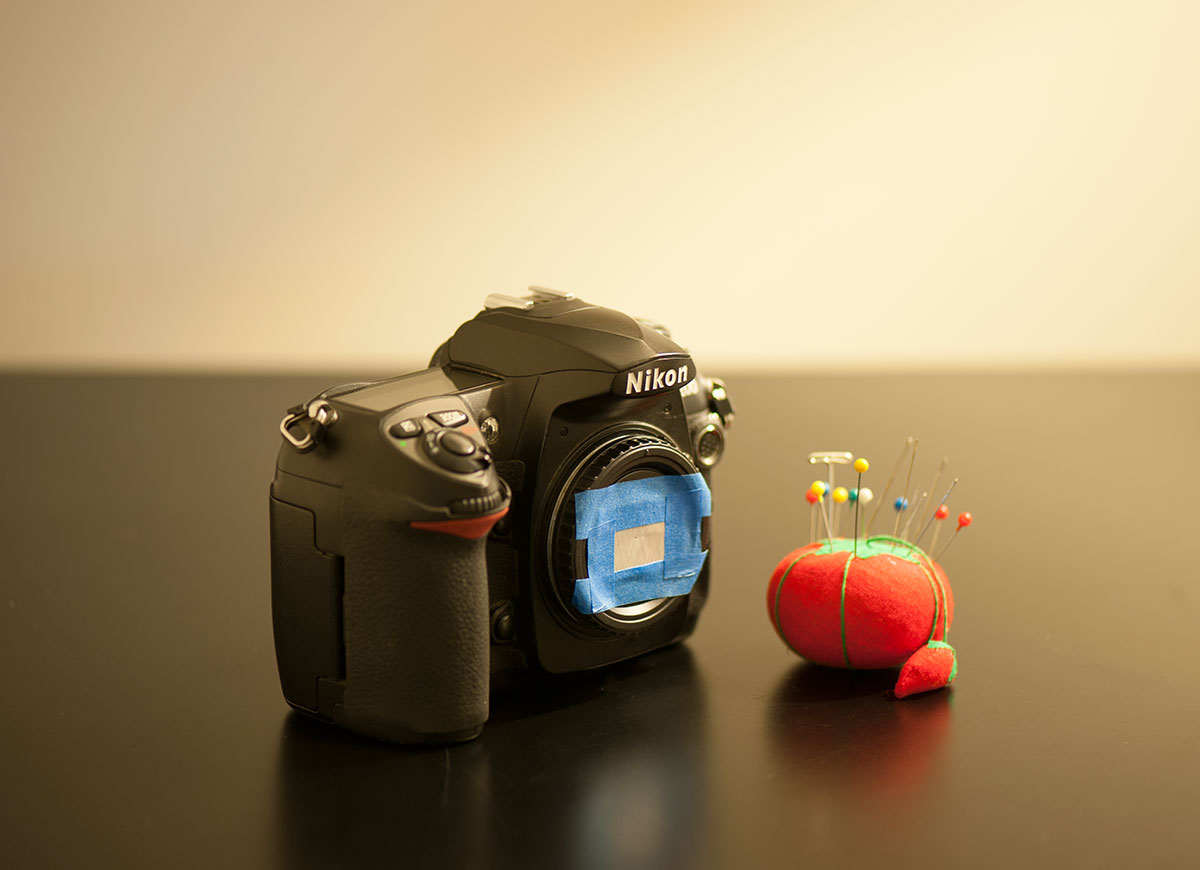
Long before the digital photography era, I enjoyed making photographs with a 35mm film camera equipped with a pinhole instead of a lens. The editors of Popular Photography magazine liked the results and published my article “The Pinhole: A ‘Lens’ that Just Won’t Quit.”
Much has happened since that article was published back in April 1974. A renaissance of sorts has occurred in pinhole photography, and Justin Quinnell is among its leaders. His website pinholephotography.org is loaded with hints, tips, and unique pinhole images. (See makezine.com/go/quinnell for an inspirational video about Justin’s work).
Suitable Cameras
Any camera with a removable lens has potential for pinhole photography. Conventional film cameras can be used, but digital cameras with removable lenses are ideal. The exposure time can be easily changed, and results are available instantly. A new entry-level digital SLR costs $500 or more, but you might find a used one for considerably less.
Characteristics of Pinhole Images
Pinhole images are fuzzier than those made through a lens, but that can be an asset. If the fuzz is excessive, you can sharpen your images by using a smaller pinhole or photo processing software. Figure A shows the sharpening that resulted from reducing the pinhole size from 0.6mm to 0.3mm.
Another characteristic of pinhole cameras is nearly infinite depth of field. Make a pinhole photo of a very close object with a distant building or mountain in the background — it’s all in focus. You can even use the sun for the distant object (Figure B), but it will be fuzzy unless the exposure is brief.
Pinholes punched through foil or thin metal leave behind a projection of torn metal on the exit side known as a crown burr (see makezine.com/go/astakhov). Pinhole photographers often remove the burr with sandpaper. When left in place, the burr can cause uniquely beautiful effects, especially when making pinhole photos of the sun, as shown in Figure C.
- Fig. A: Three images of the sun and an arrow on a computer screen, photographed through 3 pinholes mounted on a Canon 40D digital camera. The largest pinhole (the width of a 0.6mm-wide pin) produced the brightest but fuzziest images (at right). The smallest pinhole (0.3mm) produced the dimmest but sharpest images. Note: all images except Figure C were enhanced using Microsoft Digital Image Pro software.
- Fig. B: Handheld beverage-can pinhole image of barbed wire illuminated by flash and the morning sun (1/60 sec., ISO 320).
- Fig. C: Sun Spray, a handheld image enhanced only by the crown burr formed in the aluminum foil pinhole (1/8 sec., ISO 100).
Pinhole Exposure Times
Pinholes admit much less light than a conventional camera lens, so exposures must be longer. This usually means the camera must be mounted on a tripod or placed on a stable surface. But thanks to the high sensitivity of digital cameras, handheld photos are often possible when the scene is brightly illuminated. I’ve made handheld pinhole photos at speeds from 1/30 second (bright sunlight) to 1/8,000 second (the sun itself).

Pinhole Tips & Samples
The best advice for the new pinhole photographer is one word: experiment. Try various pinhole sizes, mounting methods, and distances from your camera’s sensor. Be careful to keep dust off your camera’s sensor when removing the lens to install your pinhole.
As for subjects, the world is your limit. Unlike a camera with a lens, it’s easy to include the sun in pinhole photos. Just remember never to look directly at the sun through a pinhole camera.
In Step 1 you will see pinhole images of the sun during the annular solar eclipse of May 20, 2012. Both images were made simply by removing the camera lens and holding a sheet of aluminum foil with a few dozen pinholes over the lens opening.

MAKE Volume 33 features our special Software for Makers section covering apps for circuit board design, 3D design and printing, microcontrollers, and programming for kids. Also, meet our new Arduino-powered Rovera robot and get started with Raspberry Pi. As usual, you’ll also find fascinating makers inside, like the maniacs on our cover, the hackers behind the popular Power Racing Series events at Maker Faire.
Try your hand at 22 great DIY projects, like the Optical Tremolo guitar effects box, "Panjolele" cake-pan ukelele, Wii Nunchuk Mouse, CNC joinery tricks, treat-dispensing cat scratching post, laser-cut flexing wooden books, sake brewing, growing incredibly hot “ghost chili” peppers, and much more.
On newsstands now, by subscription, or available in the Maker Shed


