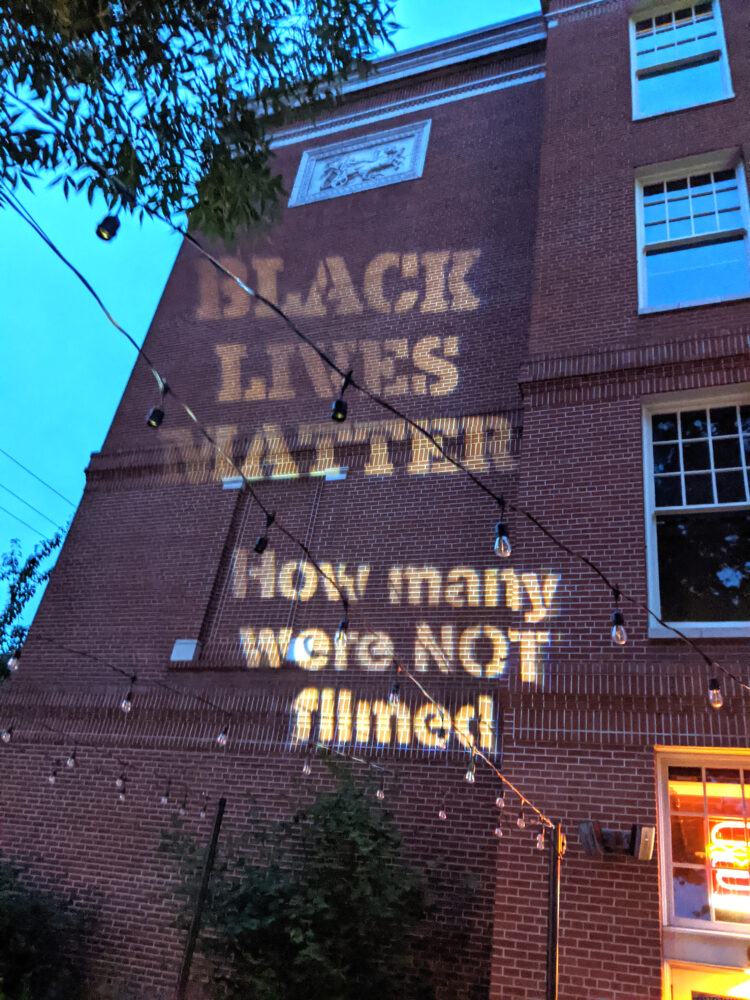
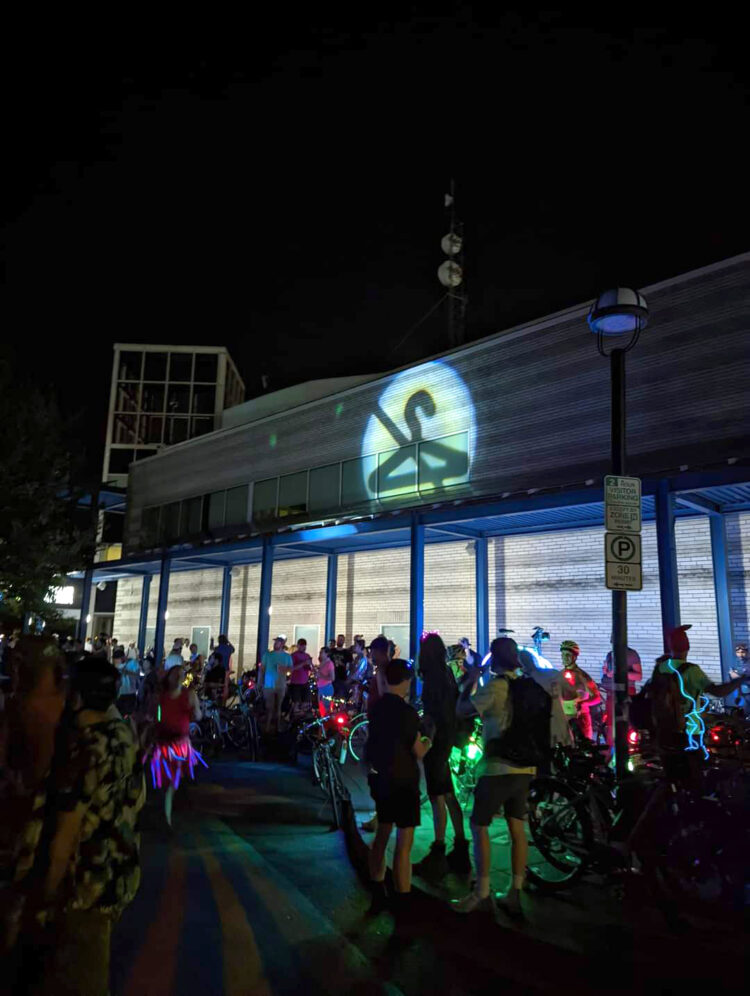
“Guerrilla projection, pioneered by artists and advertisers, has been increasingly embraced by activists in recent years as a new medium for delivering messages. The advantages are obvious: With a single high-powered projector, you can turn the side of a building into a huge advertisement for your cause, plastering your message on a spot that would otherwise be out of reach. It’s legal, relatively cheap, and … most importantly, it’s visually powerful: You can literally shine a light on the opposition.”

from Beautiful Trouble, edited by Andrew
Boyd and Dave Oswald Mitchell

Got something to write on the wall? Write it big — with light!
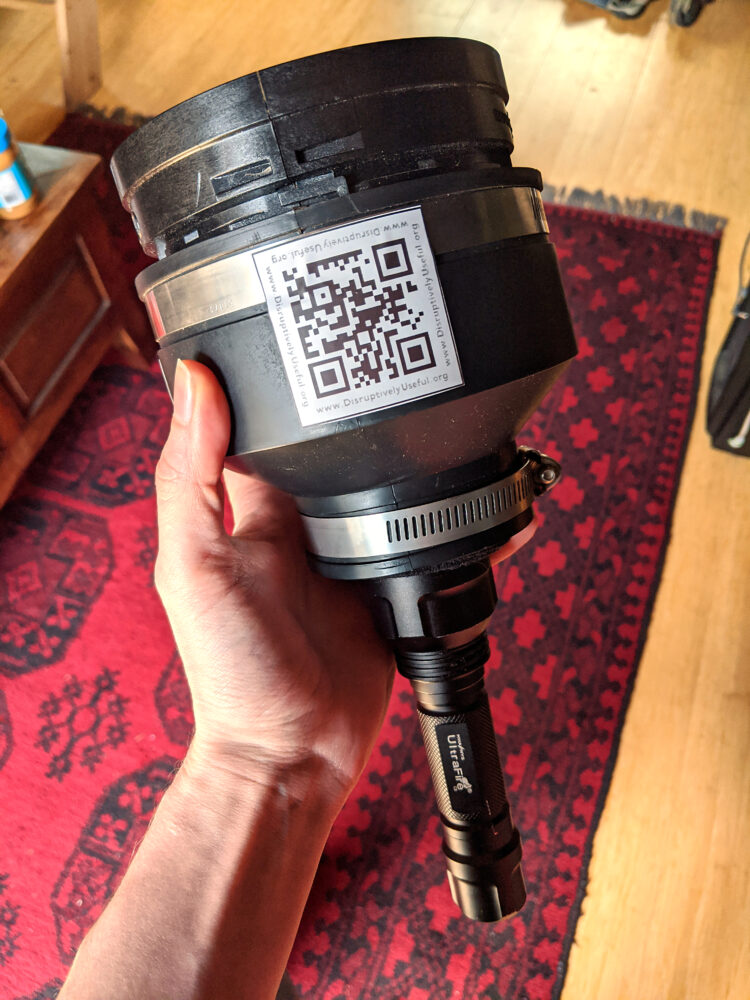
This tutorial is here to help you build a low-profile handheld light projector from relatively accessible hardware store parts. The project should cost around $45–$60 in materials, but might be cheaper (or pricier) if you find parts on your own.

There could be a thousand creative ways to do this type of projection. We have worked hard to give details for the specific build we know works, but we hope that people will also try to design similar, not exact copies. This is because the exact parts we used may be difficult to source in the future, though similar parts should always be available, and because alternate builds could have advantages of their own, such as lowering cost or improving projection throw.

This project is also completely open source, meaning that you can make, share, use, alter, and yes, even sell this design or any similar design, with no credit or attribution needed. You can (and we encourage you to) fork this project on Github. This information is yours.

How Does It Work?
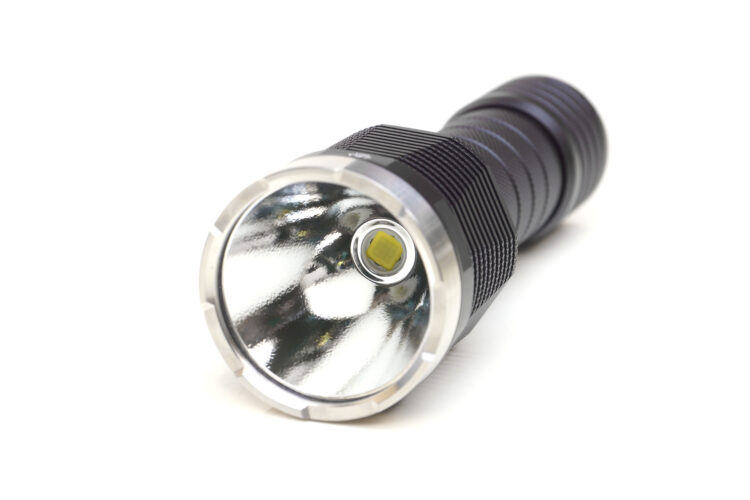
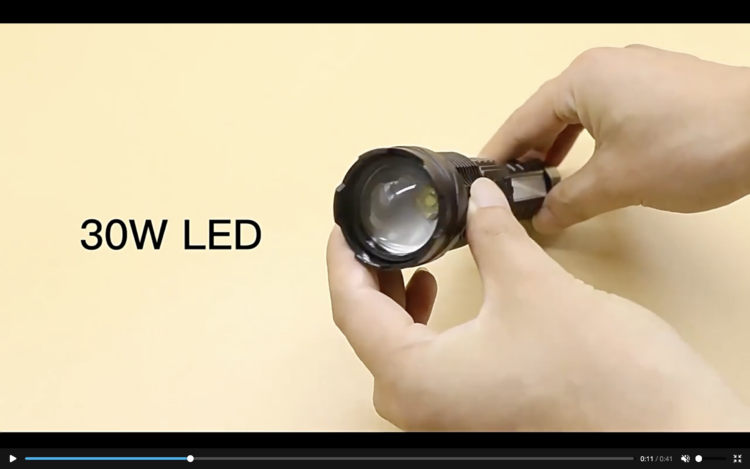
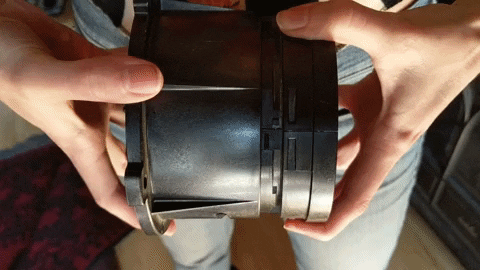
What you’re doing in this project, essentially, is sending a flashlight’s beam farther and more sharply, using a big lens, than it can do on its own. Then you’re adding a message with the stencil. Putting them together with a coupling is all about finding the focus — the spacing between the flashlight and lens.

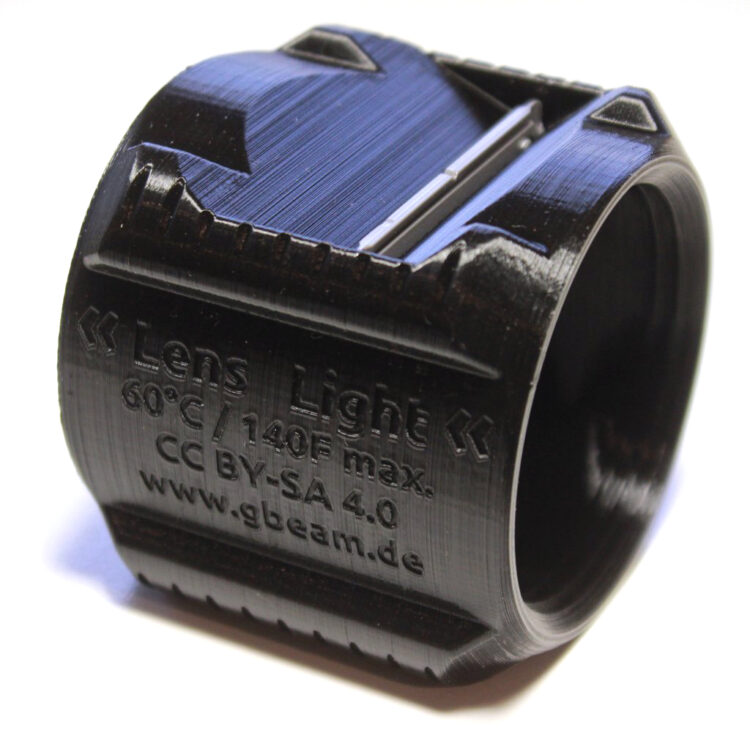
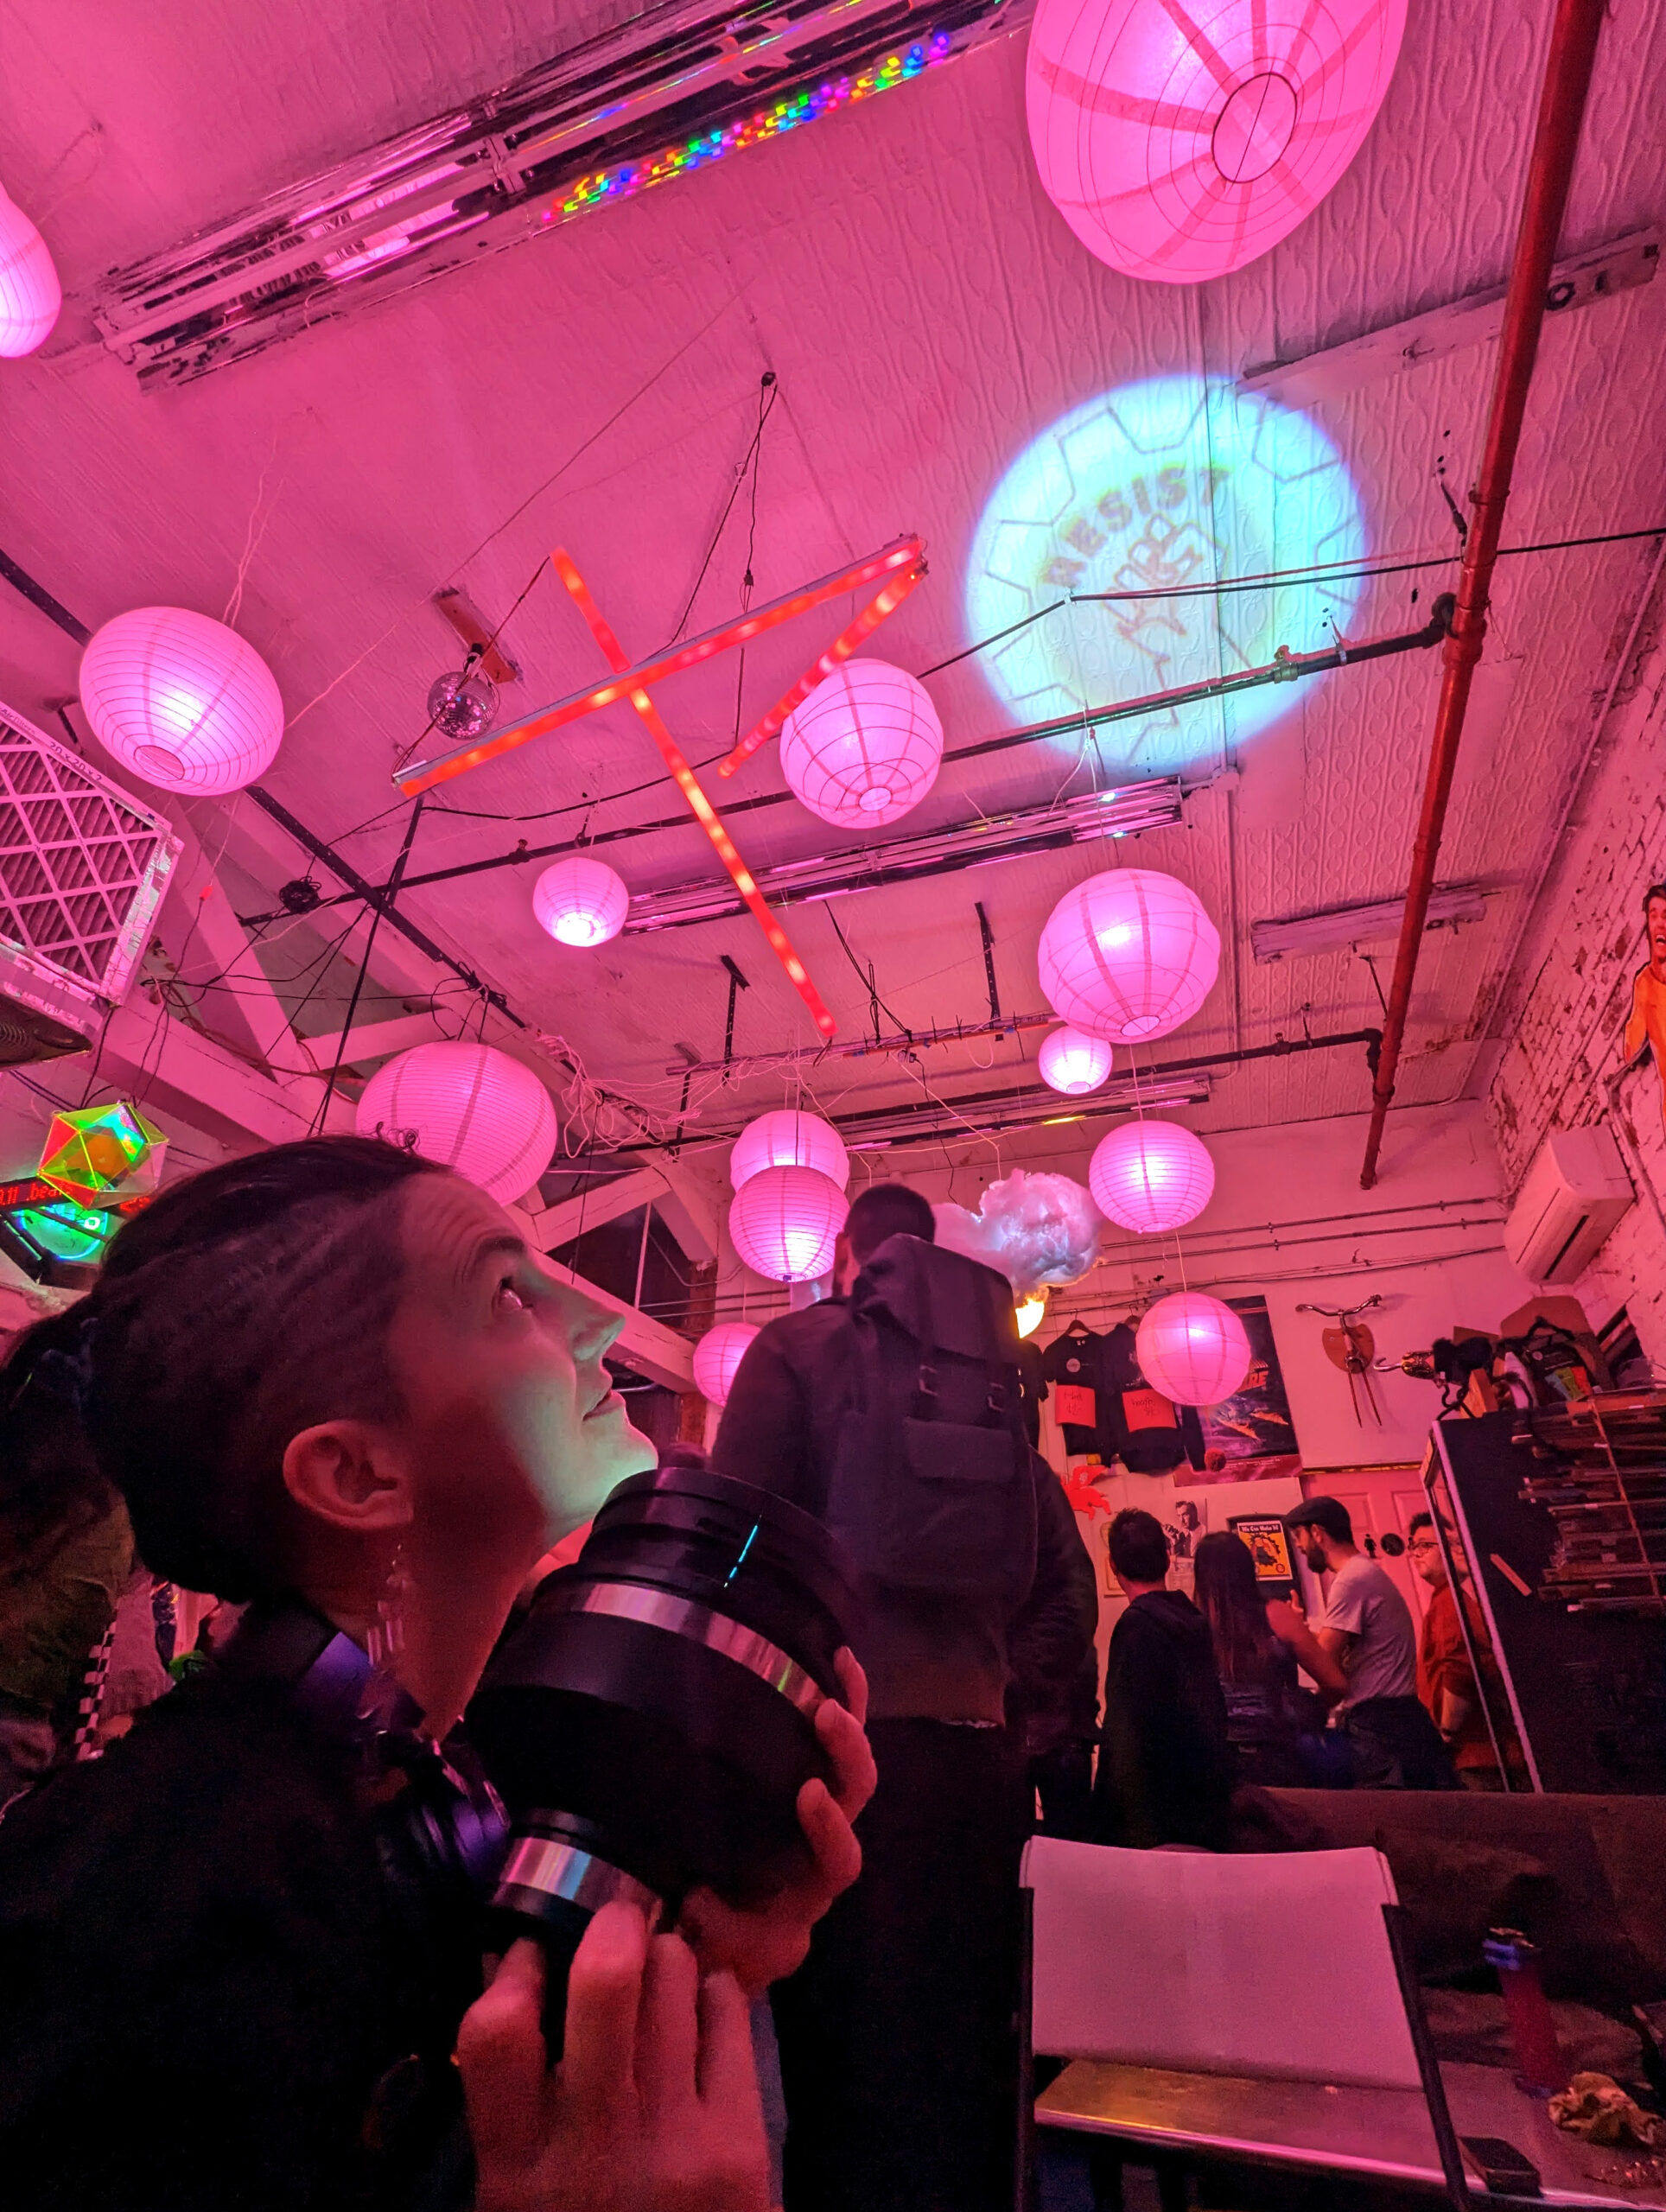
This type of projection is called gobo projection, and is often used in theater and stage settings. Gobo stands for “goes before optics” because putting a stencil between a light and a lens projects a crisp, focused image. A stencil used in this way is sometimes referred to as a gobo, and can be made of clear acetate sheet, acrylic, wood, or metal — depending on how hot your light source gets.

Build Your Handheld Graffiti Projector
Before you start, please watch our tutorial video for an overview of how all the parts should fit together.

Project Steps

1. Find your flashlight

Since we created this tutorial, flashlight technology and parts have evolved at an extremely rapid pace. We try to keep linking to flashlights that will work for this build, but it’s hard to keep up. This means it’s important for you to understand the properties of the type of flashlight that will work for this project, so you can try out ones you can find yourself.

Really any light source can work for this type of projection, but LED flashlights are the cheapest, smallest, safest option as they are very bright, portable, and rechargeable, and don’t produce a lot of heat that could melt or ignite your stencil.

Brightness: In the build shown in our video we used a 1,000-lumen “tactical” flashlight we got on Amazon a few years ago for around $20. The brighter the better, but a 1,000-lumen flashlight with a fresh 18650 battery can throw a remarkably large and clear image in reasonable darkness. We have found essentially the same flashlight from a few different suppliers since then, and we suggest you look around yourself.

Batteries: Flashlights that use rechargeable lithium 18650 type batteries are a great option, because six or eight usable 18650 cells can be recovered from old laptop batteries, and a single 18650 can power one of these flashlights for 4–7 hours. (It’s OK if your flashlight uses AA or AAA batteries too, we just like lithium.) You’ll probably want extra batteries with you to last the night. Having a 18650 battery charger and extra batteries is a great investment. These are easily found online.

Reflector: It doesn’t matter so much which brand of flashlight you use, but we learned the hard way that some LED flashlights use a parabolic reflector to focus the light, and others use a clear plastic dome-like lens. Both work fine for a flashlight, but for use as a projector the ones with parabolic reflectors work way better, because they hold the stencil much further away from the hot LED and because they don’t complicate the optics.

Figure A

The ones with (good!) parabolic reflectors look like Figure A. Notice the shiny, concave internal surface with flat clear plastic cover. This is what you want.

You don’t want one that looks like Figure B. Notice the lack of shiny interior, and the convex, bubble-like clear plastic dome cover. Not great for projection.

Figure B

Size: The head of the flashlight we used fits perfectly into a 1½” plumbing fitting designed for ABS pipe, which made coupling it to the lens easy. Check the diameter of the head of your flashlight, and make sure it will fit into the smaller end of your plumbing coupler. The flashlight we currently suggest is the SupFire C8-T6 Tactical Flashlight, which comes with an extra 18650 battery and battery charger.

If your flashlight does not fit into your coupler, try wrapping several layers of fabric, tape, or other material around the flashlight until it fits loosely enough to move, but tightly enough to stay in place. We found that long, thin strips of velcro worked very well for this.

2. Make your stencils

You’ll need to be able to make gobo stencils to throw your own images. We used a Glowforge basic 40W laser cutter to cut thin (1/16″) black acrylic for our stencils, which worked well with the style of LED flashlight we suggest. We made a round stencil at 1.61″ diameter to fit inside the head of the flashlight we used. We have provided these SVG files in the Github repo for you to use. They may (probably) need to be resized to fit your flashlight. If you don’t have a laser cutter you could ask your local makerspace for access to one, or use an online laser cutting service like Ponoko.

Another, more accessible way of creating stencils is by printing transparencies, which we have provided PDF files for. Again, you might need to resize them to fit your flashlight.

You can also experiment with cutting your own stencils using materials like thin plastic, stiff card stock, or even a tin can and an X-Acto knife.

Cut-out stencils work best for larger words and simple phrases. For smaller/more text/detailed images, we found that laser engraving an image onto transparent acrylic, and then spray painting the engraved area black before peeling off the protective paper, worked surprisingly well. It may be worth playing around with that approach if you do have access to a laser cutter.

CAUTION: Test your stencil beforehand and make sure it isn’t getting too hot for the material you are using! This is particularly important if you are using paper products to make your stencil.

Some other approaches you could try:

  • Make a low-tech DIY metal gobo, from a tin can or pie plate
  • Draw on a sheet of transparent plastic with a Sharpie.
  • Cut a stencil out of cardboard with a razor blade, and add tinfoil if it’s getting too hot from the LED flashlight.
  • 3D print a stencil. You can search Thingiverse and similar repositories for examples.

Get creative! Maybe let us know what works well for you!

3. Scrounge a lens

Nearly any lens of any kind will work to some extent, but some will work (much) better than others. All lenses have a focal length — the distance from the lens where the image comes into focus. We used a lens from an old big screen projection TV, because we had a few lying around. They work well, and three of them can be found inside any old boxy projection-style CRT TV. If you take off the screen, it should look something like Figure C.

Figure C

TIP: If you’re unsure whether a TV is the right kind, try gently poking the screen. Is it large, plastic, textured, and a little floppy in the middle? If so, you’re in luck!

Not everyone wants to rip apart a big screen TV, however, so we did some research and found that you can buy this style of lens on eBay for $5–$20. Search for “rear projection television lens” and look for a lens that looks like Figure D. You can also ask around for old TV lenses (and camera lenses, see below), and check your local thrift shops and re-stores.

Figure D

Each lens comes in two parts: the lens assembly, and a plastic housing that slides along two screws, allowing for fine adjustment of focus.

For our purposes, we won’t need the outer housing. Just unscrew the two screw posts and pull the lens away from the housing (Figure E).

Figure E

The lens assembly has a stepped shape that makes it easy to find a step with the right diameter to couple to a plumbing fitting. We found that the second step on ours was almost exactly 4″, and fit a 4″ rubber fitting for ABS pipe.

Camera lenses: The now-defunct GuerillaBeam project used a 3D-printed slide holder to couple 35mm camera lenses to LED flashlights. Old 35mm lenses can usually be found at thrift stores for $5–$15. They have very high-quality optics, and many of the bigger telephoto-style ones will let you make very fine adjustments to the focus and size/throw of your image.

If you use a camera lens, you’ll have to play around with the spacing between the light, stencil, and lens to find the sweet spot, and then design your coupler accordingly.

4. Choose a coupler

The coupler can be anything that securely holds the flashlight to the lens, and allows you to make small adjustments to the focus. We used a 4″-to-1½” rubber plumbing fitting meant for ABS drain pipe, Fernco P1056-415, which happened to fit our lens on one end and our flashlight on the other (Figure F). These should be available at any large hardware store. If your flashlight diameter is larger, search for a 4″-to-2″ coupler. We prefer the high quality of the Fernco couplers because they are flexible and durable. Cheaper hard plastic couplers are very hard to work with.

Figure F

These kinds of fittings come in a wide range of sizes, and are a good, cheap option for connecting things together. The distance between the lens and the stencil is more important than the distance between the light source and the stencil. Find the focal length by simply holding your lens in front of your stencil/flashlight, and then source your coupler accordingly.

Since the coupling is all about attaching the flashlight to the lens with the correct distance between them to focus, we think a number of other things could work for this, though we haven’t personally tried these:

GuerrillaBeam coupling: The GuerillaBeam 3D-printed slide holder/coupling (Figure G), was meant for a 35mm camera lens but a number of adaptations have been made, and a lot of these can be found when you search “guerillabeam” on Thingiverse or similar 3D model repositories.

Figure G

Crafty coupling: Try cardboard, tape, hot glue, foam, toilet paper tubes, pool noodles, etc. to figure out a coupling for your flashlight and lens if you want to get creative with cheap supplies.


Conclusion

Light It Up!

That’s it! You’re ready to shine a light on things.

Unscrew the cap of your flashlight and add the stencil. It should appear to be spelled backwards.
Insert the flashlight into the coupler and tighten the collar clamp until the fit is snug but the flashlight can still slide in and out.

Insert the lens into the coupler and tighten the clamp securely.

Adjust focus by sliding the flashlight in and out, changing the distance between the light and lens.
When you’re happy with your focus, tighten it all together, and take it to the streets! Just remember, with great projection power comes great responsibility.

“This technology is very powerful, ‘spectacular’ in nature, and often under the control of one person or a small group who could potentially manipulate a large and impressionable crowd. This power needs to be kept accountable to the broader group, and should be wielded with great care.”
—Beautiful Rising on Guerrilla Projection

OTHER NEAT GUERILLA PROJECTION RESOURCES
Beautiful Rising on Guerilla Projection as a protest tactic
Illuminator Collective have been light projection activists since 2012 and make tutorials
Overpass Light Brigade make light-up letter panels
• If you have the funds, you can also buy a professional gobo projector; look for portable, battery powered models.
• You can follow us, the creators, if you’d like: Claire Danielle Cassidy and Sam Smith