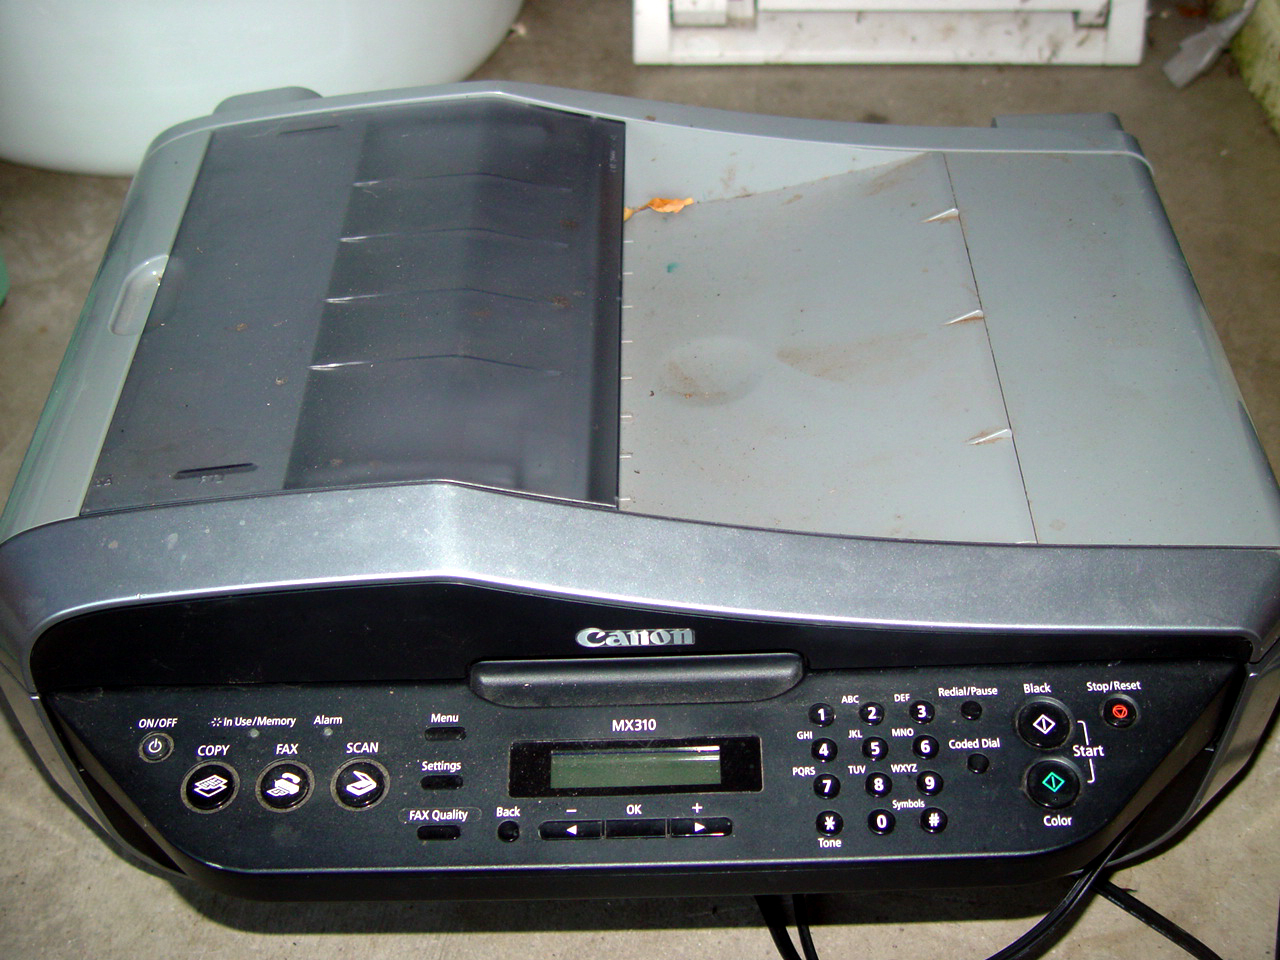


- This is a multi-function machine so we will have a printer, a scanner (copier & fax), and miscellaneous paper trays and feeds. Should be lots of parts.
- Take apart the machine in chunks that are managable and make sense (printer, scanner, paper tray, etc.). Work on each section before breaking down the next. Try to keep things separated in trays as you work instead of lumping them into a pile.
- Get rid of the messy stuff! If the eWaste still has toner or ink cartridges bag them up and dispose of them at a recycling center (or mail them to one). Any other messy bits need to be cleaned before tearing down.
- Look for screws and tab connections. The basic idea is to remove any screws you can find - see if parts come off - if not, look for things to pry off.


- Paper Tray: Gears Galore!
- There be gears in them there hills!! Okay, maybe not hundreds but enough to keep and use later. I've never met a bad gear ... even the plastic ones have hope of reuse.
- What have we learned about screws? You know the routine - show those screws who really wields the screwdriver in your house - let them mingle with their fellow friends in the salvage jar.
- See that funny gear with the tab sticking out of it? The tab near the notch? The tab that can be moved away from the notch? That is the tab that you move when you want to remove the SS (stainless steel) rod that is attached to the gear... the gear with the tab... the tab near the notch...
Step #13: Paper Tray: More Tabs, No Gears!


Another example of tabbed connectors that secure rods in place. This one has no gear attached. Just poke tab out of slot to release.
Step #15: Paper Tray: Almost done ...


Okay - we have gutted the left side for all its bits - now let's gut the right side for its stuff.

- Paper Tray: The Booty Call!
- Here are some of the major pieces off the paper feed tray. Cherish and fondle 'cause they are yours and free for the dismantling
- Take a break - get some water - clear your head and walk around. Why, you ask? Because we are about to delve into more dismantling of this Canon and we don't want you to pass out on us - so get refueled and report back for duty ASAP!

insert wisdom here


- Scanner: Remove Button Assembly.
- With the cover off we see screws we need to remove. Once those are out you can take out the button assembly.
- A ribbon cable is attached but it pulls out easily.
- Flip over the assembly .... guess what we do with the screws? NOTHING YET ... I am saving the tear-down of this for later ... but you can remove screws if you must.
Step #40: Printer: Tiny Electronic Circuits


Don't forget to look for sensors, etc. that are housed on their own little circuit board. They often hang out near the ends of paper rollers and axles so they can monitor rotation and such.
Step #43: Printer: Ink Cartridge Guides

- Removing screws should yield this ink cartridge guide structure.
- Set aside for later destruction.


- Printer: More Little Bits!
- Look at the miscellaneous paper trays and drawers that came with this printer. If you see any buttons or springs or whatever .... pry apart to get to the innards and remove the goods.
Step #49: Scanner: Get Back to It!

Okay - time to get back to the teardown of the scanner.
Step #53: Scanner: Stepper Motor


Here it is ... a beautiful stepper motor ... with info on the back. When I google that I find what? (Google and post results.)
Step #57: Scanner: Booty Haul

See what nice parts that generated?
Step #58: Don't Forget the Little Bits!


- Ink Cartridge Chassis: Booty Haul!
- We've got a motor, ribbed drive belt, rollers and hardware, plus the metal chassis itself to recycle for cash. Not a bad haul for a small unit.
- The motor in this unit is a ????? (will look up specs online & post).
Step #66: Canon unMade: Motors & Rollers


What a haul ... 4 fine motors and several SS roller bars.
Step #68: Canon unMade: Metal Scrap

Save the metal bits and when you have a boxful you can take it to the cash-for-metal recycling center. Try to sort by type: stainless steel, aluminum, basic steel, etc.