M37-salt-pepper-well-fig-7a

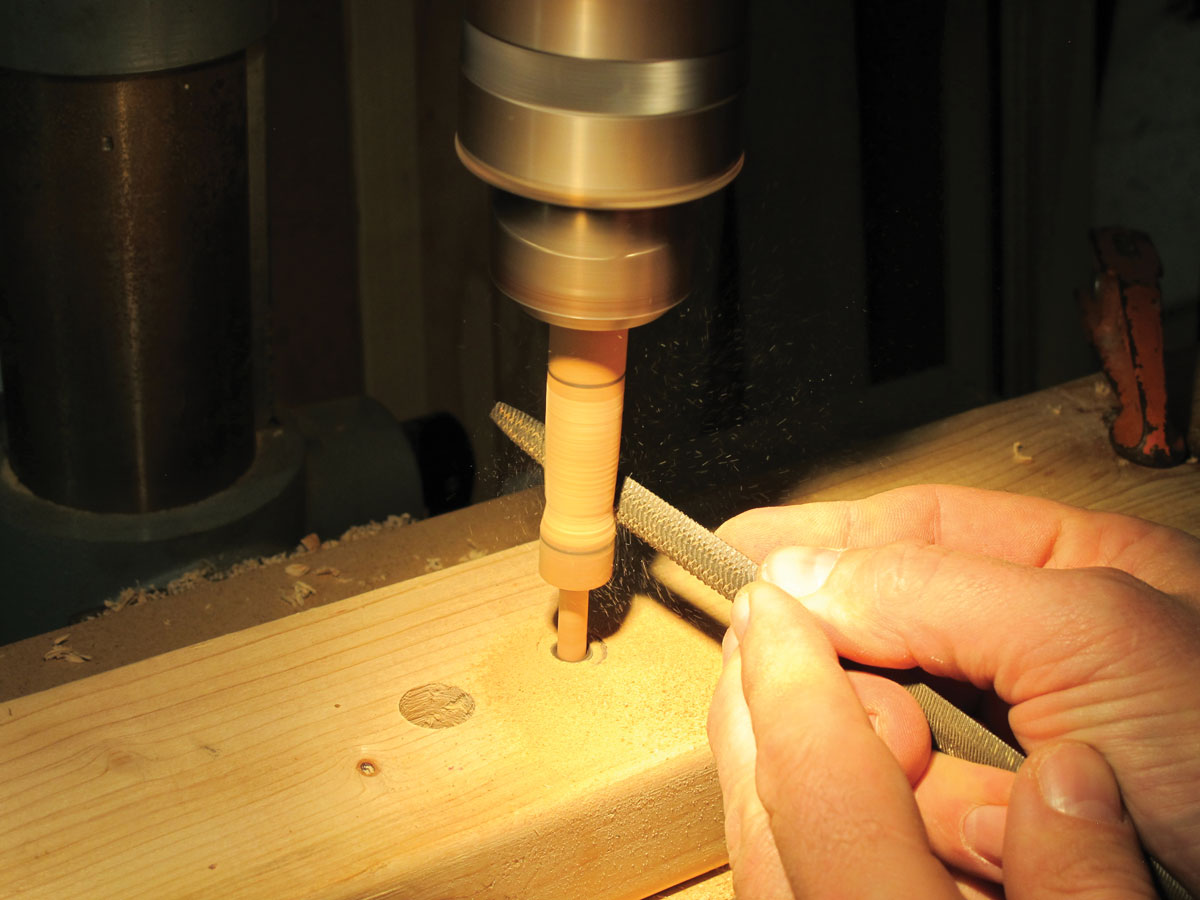
Whenever I need a small turned item, I resort to tricking my drill press into thinking it’s a lathe. This method is slower — you abrade the material using sandpaper or files instead of shaving it away with chisels — but with patience you can get good results. Here’s how I do it, using a common top guide bearing from a router bit.

CAUTION:

This procedure is potentially dangerous and can quickly void the warranty on your fingers. If at any point the little voice inside your head starts saying “You shouldn’t be doing this” or “Uh-oh,” listen to it and stop. You have been warned.

What will the next generation of Make: look like? We’re inviting you to shape the future by investing in Make:. By becoming an investor, you help decide what’s next. The future of Make: is in your hands. Learn More.

Project Steps

Choose a router bearing.

The bottom of my workpiece has a 1/4″ diameter, so I need a bearing that fits a 1/4″ shaft. This diagram shows how it will all go together.

Mount the bearing.

Clamp a scrap of 2×4 to your drill press table and drill a hole to fit your bearing, about ¼” deep. (I prefer a Forstner bit, but a twist bit is fine.) Then drill a clearance hole 1/16″ wider than your shaft width (in this case 5/16″) through the center of the first hole, all the way through the 2×4.

Insert the bearing into the hole. It should fit snugly; if it’s loose, give it a wrap of tape.

Mount the workpiece in the drill press.

Tighten the chuck, but not enough to crush the wood. Lower the chuck so the end of the workpiece goes through the bearing, then use the depth stop on the press to lock it in place. Turn on the drill press. Your workpiece should spin smoothly.

Turn and shape your workpiece.

For initial shaping, I use either a file or an aggressive-grit sandpaper (60 or 80) wrapped around a dowel. Take your time, stay focused, and avoid getting your fingers or the tip of the tool too close, as this can cause it to kick. Pressing too hard will only clog your file or, worse, throw the dowel off center.

Once you’ve worked the piece down to shape, fold a strip of finer-grit paper (120–220) and smooth the surface.

Conclusion

This project first appeared in MAKE Volume 37, page 73.