Most vegetables prefer soil that’s neither soggy nor dry, and earthworms and beneficial microorganisms do too. When there’s too much water, these organisms drown. Too little, and you find yourself with dead plants and a reputation as a “brown thumb.”
How much is too much, and how little is too little? How often should you supply water, and how can you remember to do so?
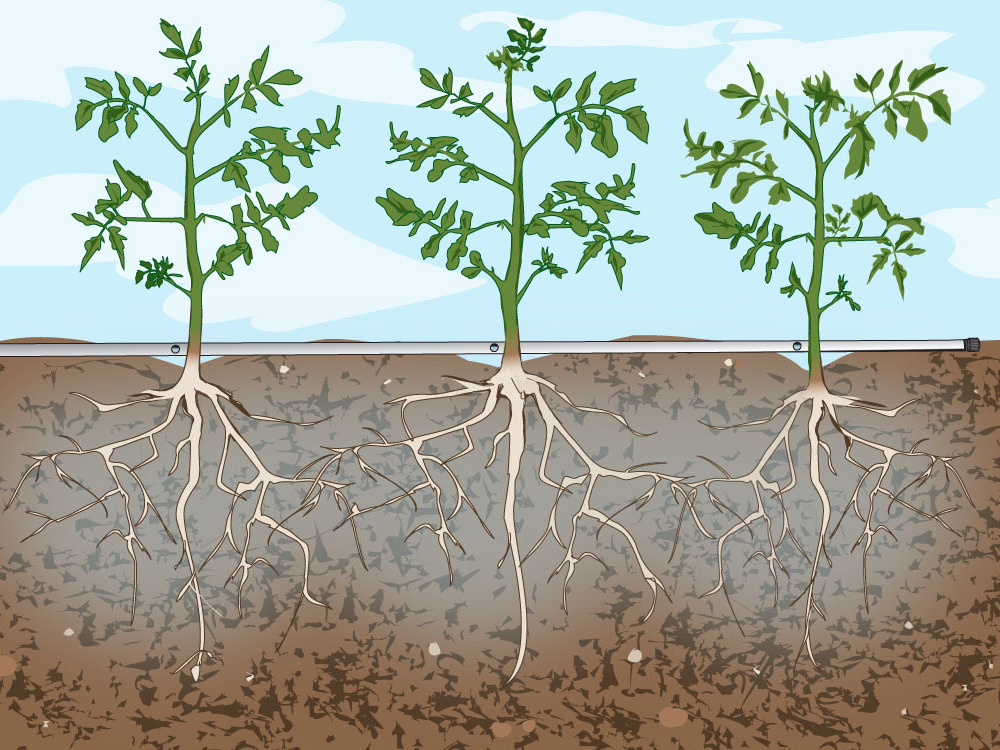
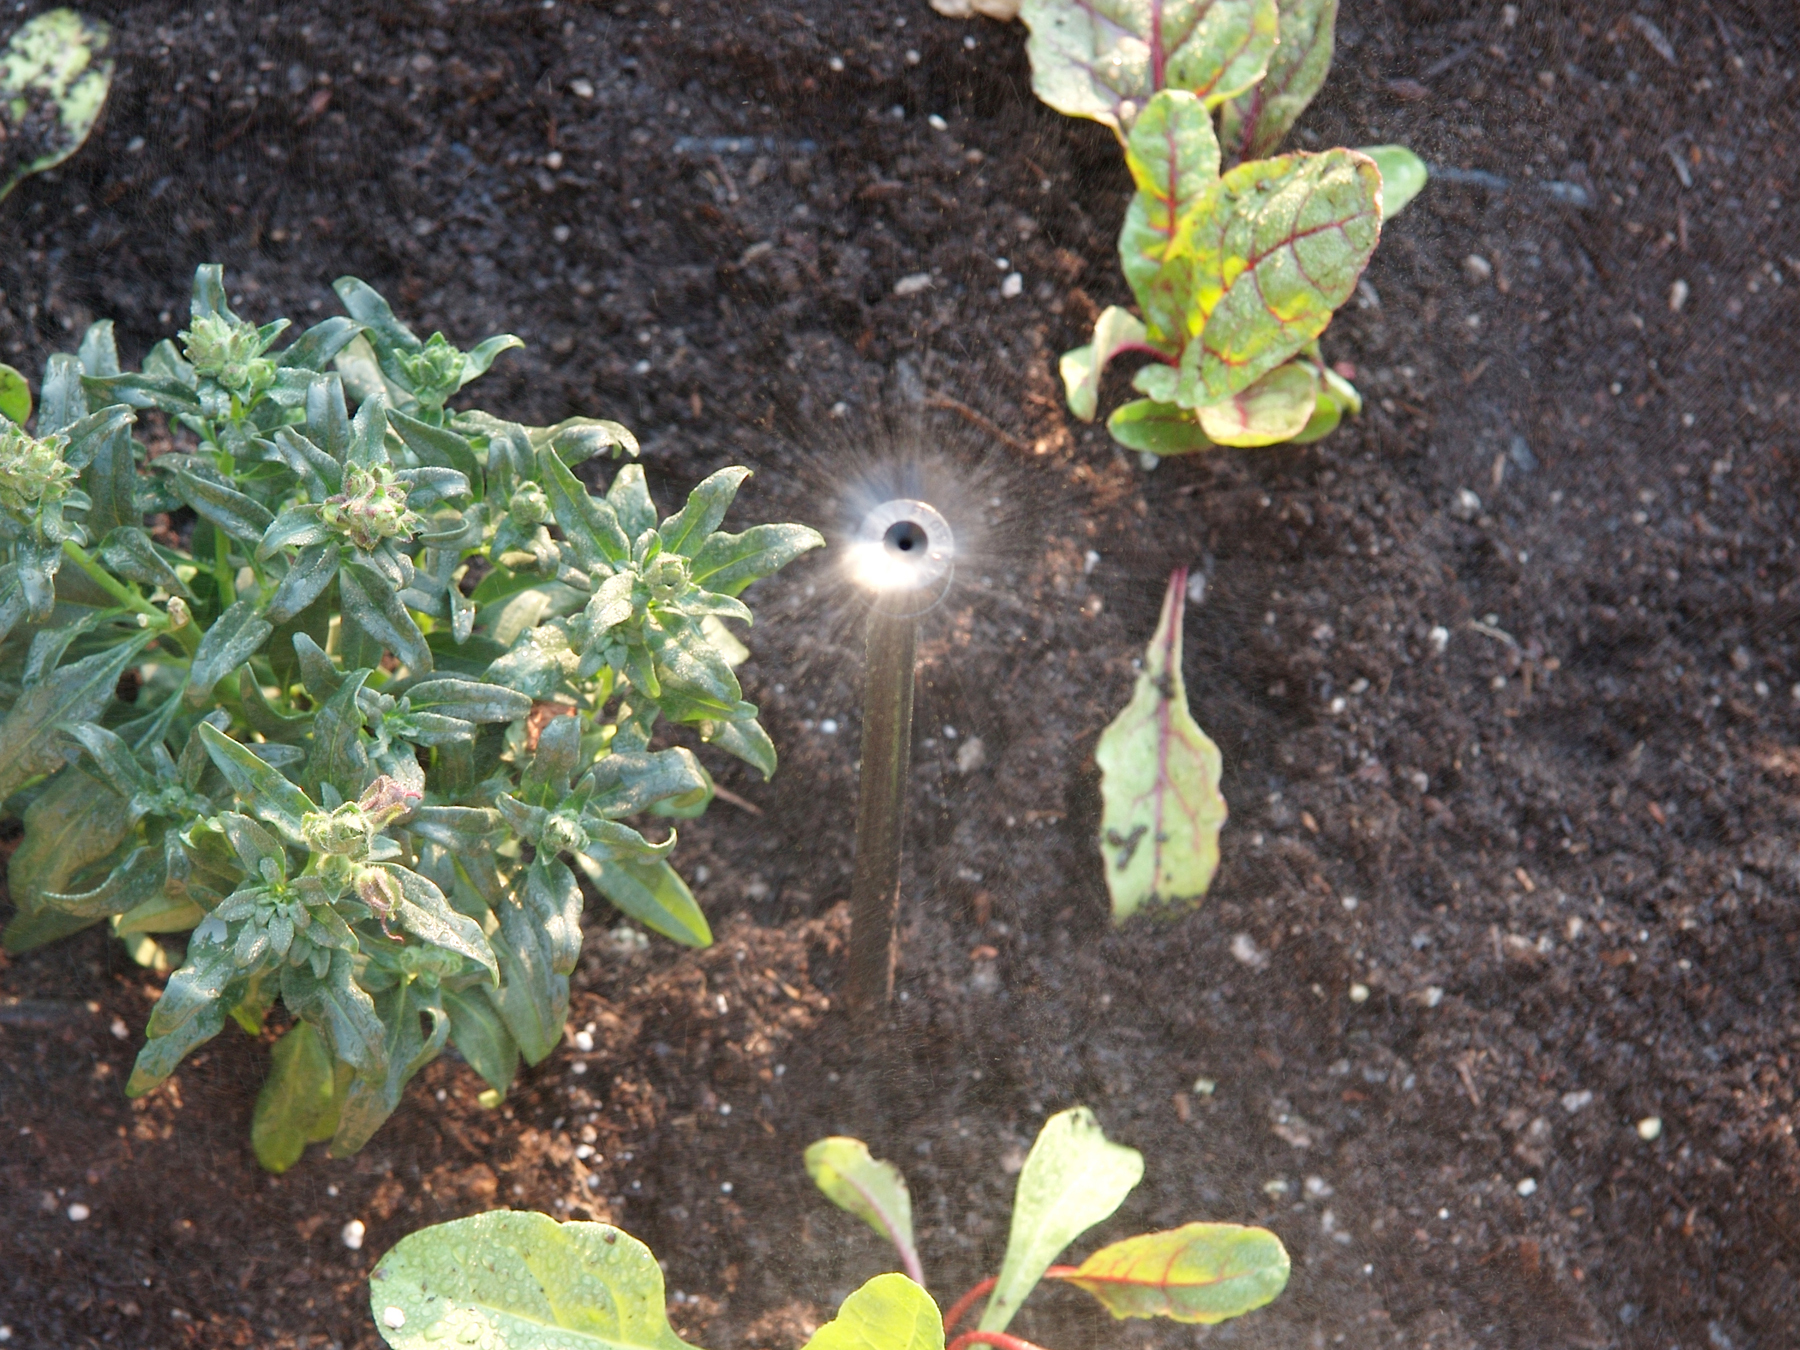
Drip irrigation answers these dilemmas, giving plants the perfect amount that they need to thrive, and saving water at the same time. Irrigation also keeps water off the leaves of the plants, preventing nasty maladies like leaf mildew, and you’ll suffer fewer weeds by delivering water only to the plants that you want to grow.
The chief drawbacks to drip irrigation are cost, the use of plastics, and the time and trouble for installation and maintenance. For these reasons, I believe that drip irrigation is best reserved for your vegetable garden. For the rest of your yard, try to find plants that are adapted to your climate and don’t need supplemental watering.
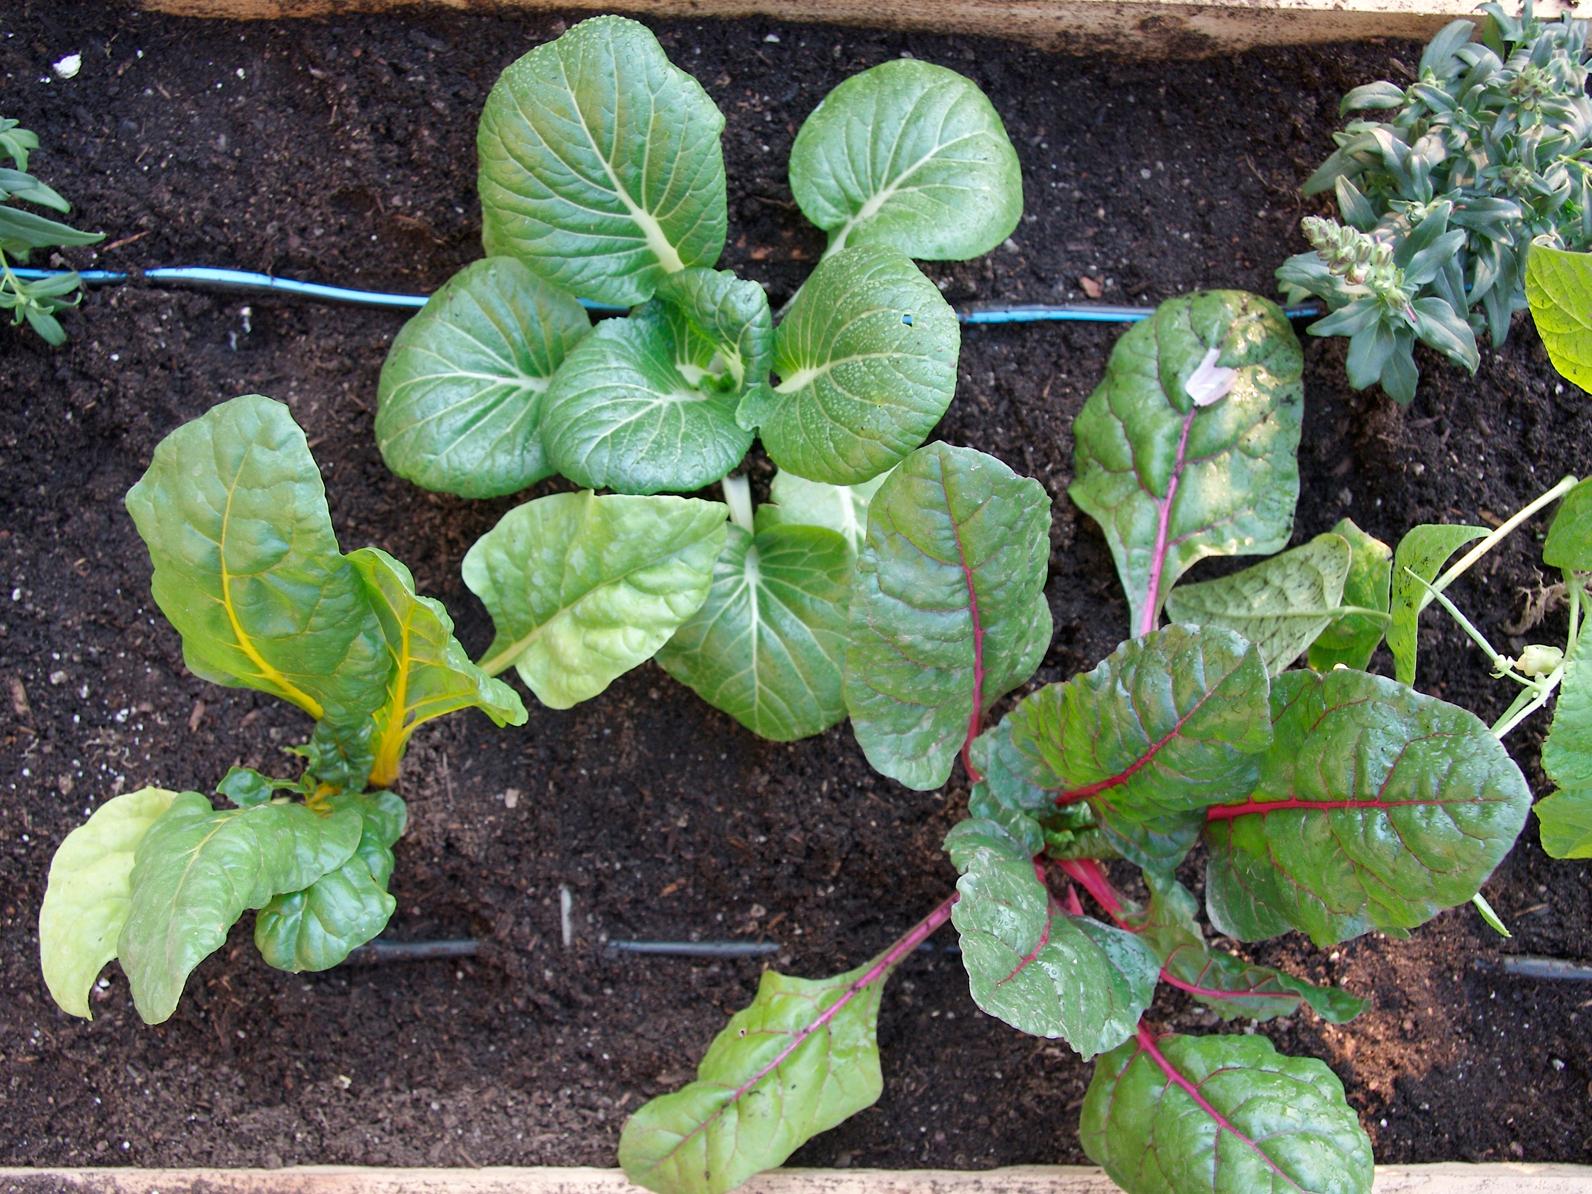
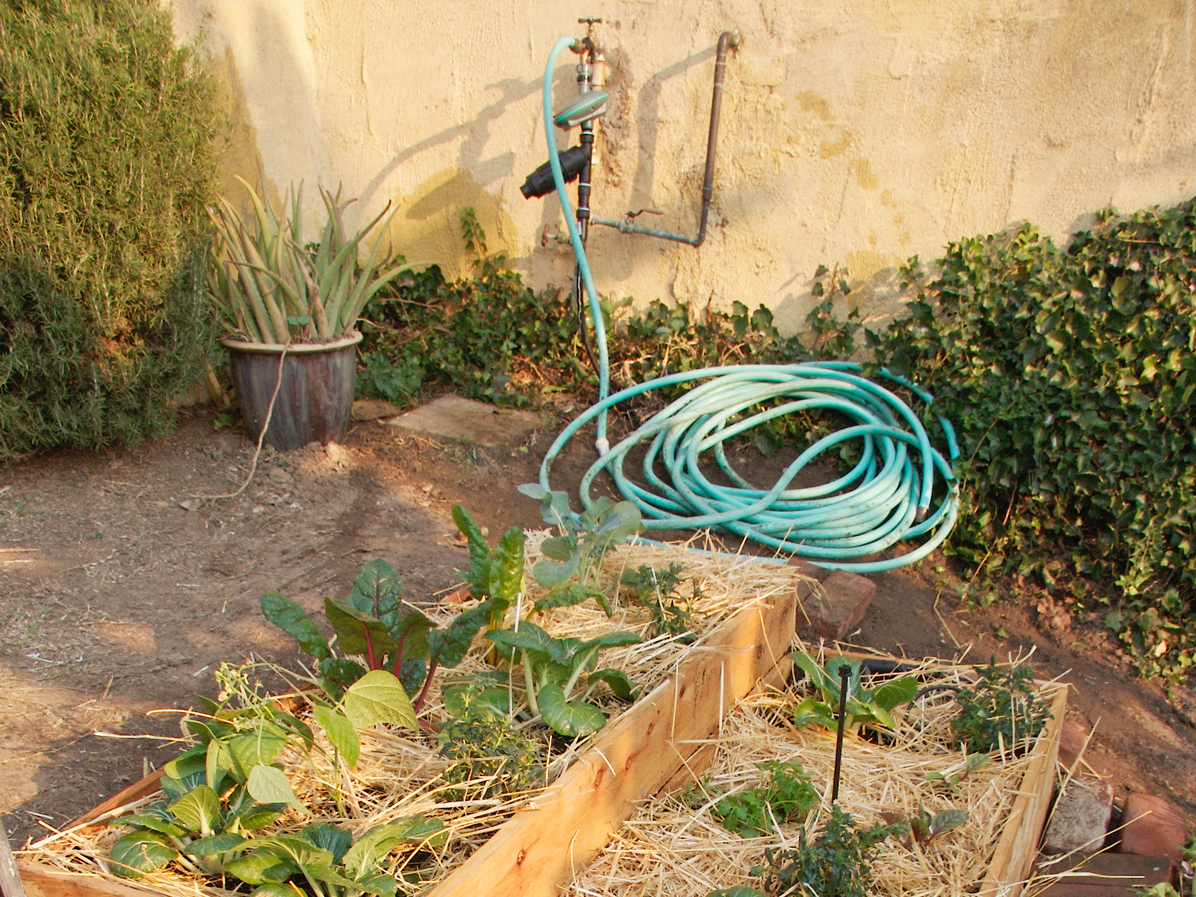
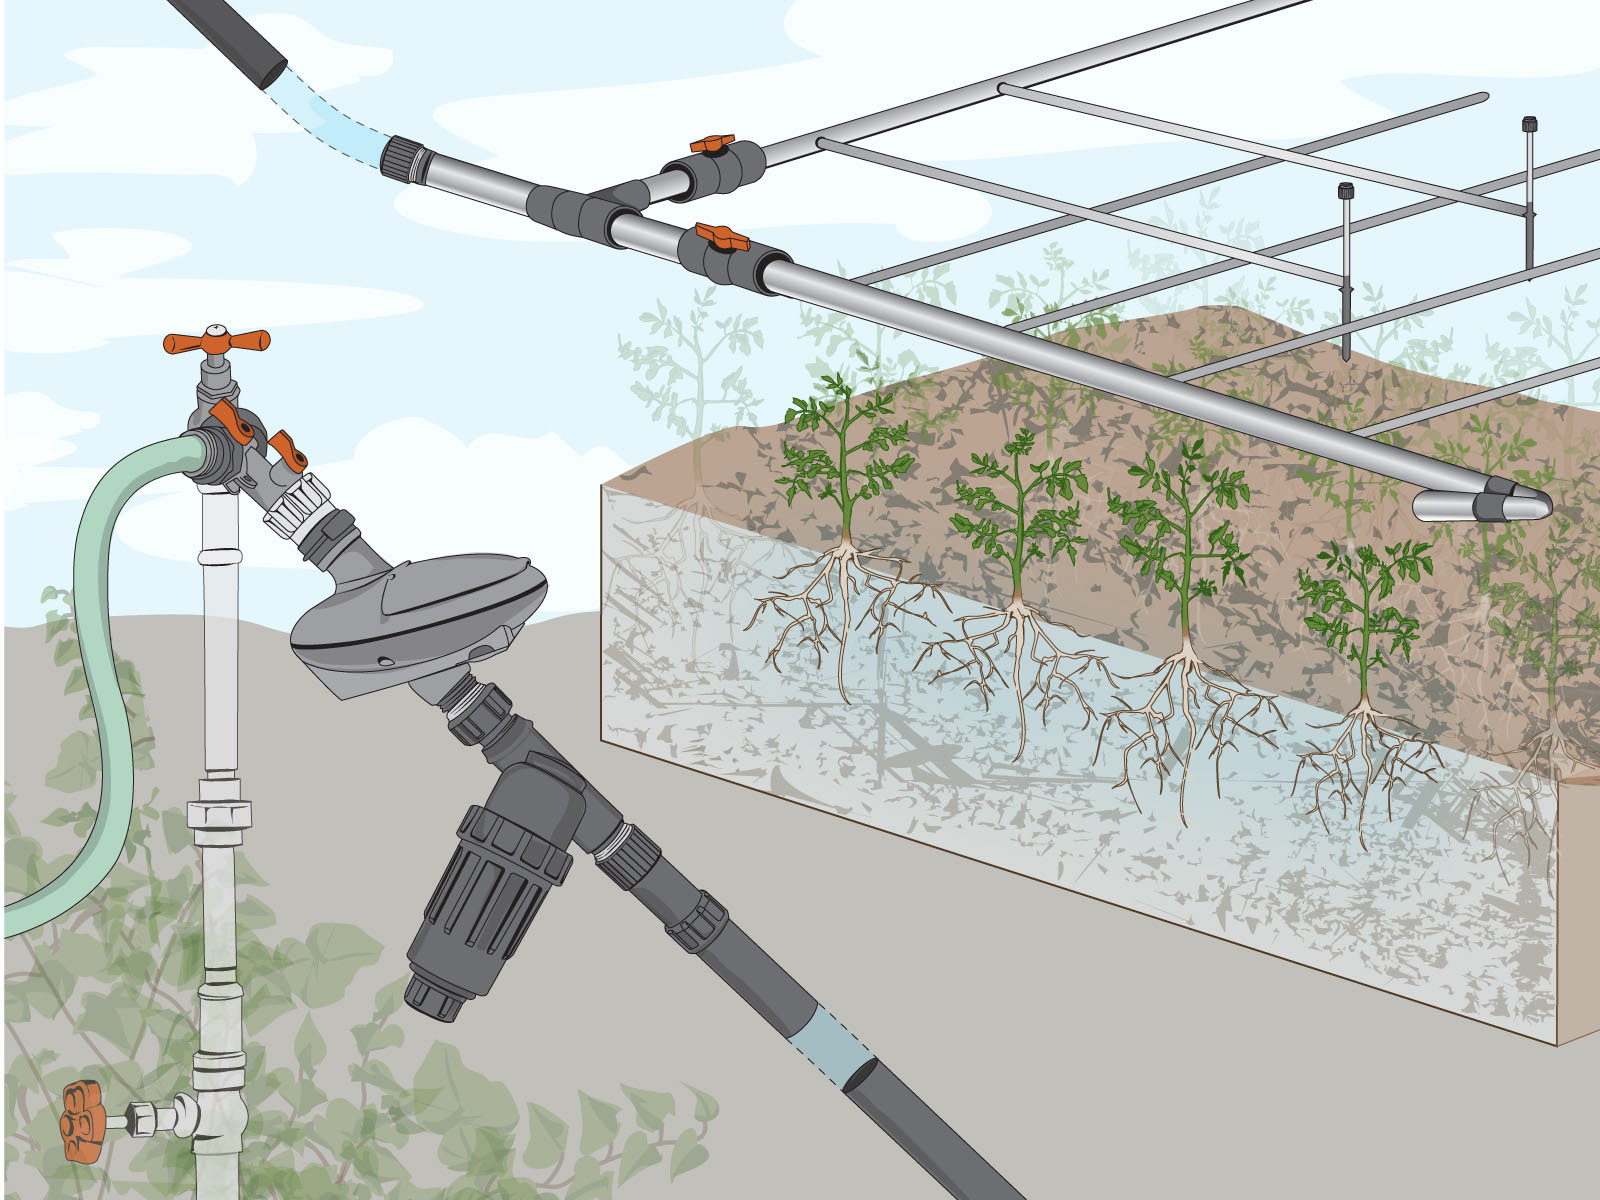
In this article I’ll explain how to assemble a typical layout to water a vegetable garden in a raised bed of quality soil.
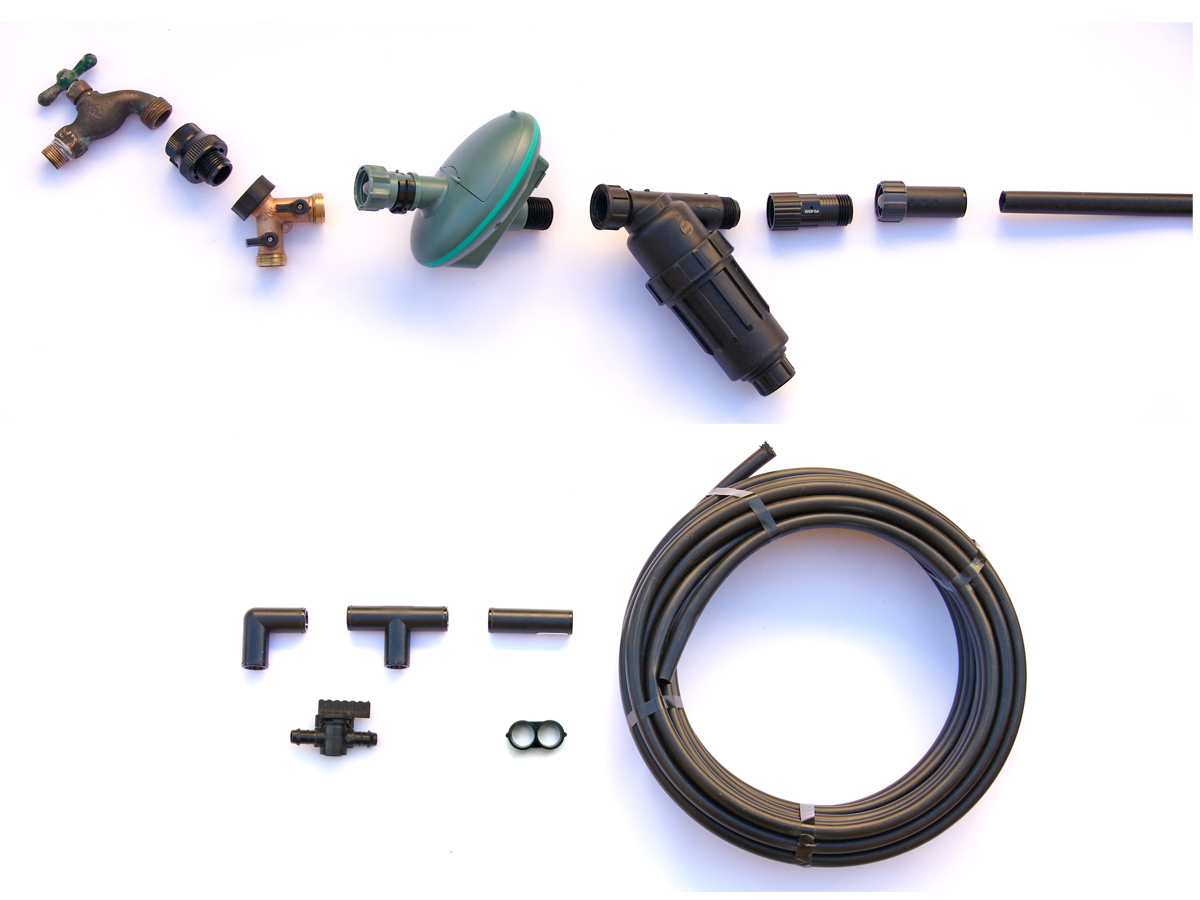
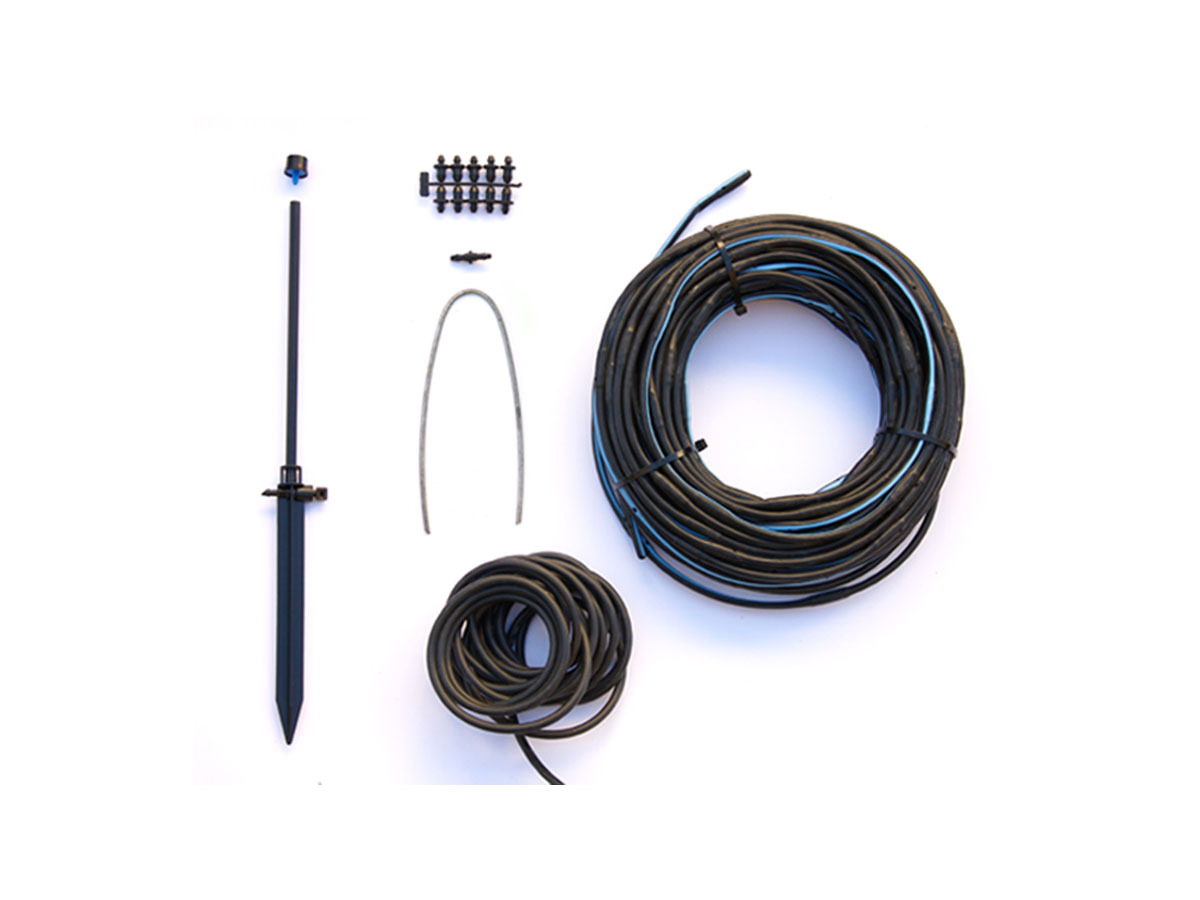
The array of tiny plastic drip irrigation parts and supplies can seem confusing at first, but the principle is simple: you’re simply piecing together a stretch of hose that leaks.
The materials listed at right are for a 4’×8′ raised vegetable bed. All the parts recommended for this project have hose threads.
Drip Irrigation 101
Hose Threads vs. Pipe Threads
A word about the two types of threads you’ll encounter with drip irrigation parts. Hose threads, used on garden hose and outdoor faucets, are more widely spaced than pipe threads. Drip irrigation parts may have either hose threading or pipe threading, the latter often being identified as “NPT,” referring to the National Pipe Thread standard. If you try to attach a pipe thread to a hose thread, you’ll strip the threads.
Teflon Pipe Tape
To prevent connections from leaking, prepare them with teflon pipe tape. Before joining two threaded parts, wrap the tape around the male thread in the same direction that the second part will turn when you attach it. Hand-tighten all plastic connections; a wrench can damage the delicate threads.