Duck is a wonderful and versatile meat. This simple recipe for curing and drying the breast meat produces a ham remarkably similar to a good prosciutto but only takes about a week. This guide will cover all the steps to cure and dry the ham and some tips on eating it.

While this recipe can be made with grocery-store duck, it’s best when made using pastured duck from a local farm. When left to their own devices farm ducks have a pretty varied diet and will eat a wide variety of grasses, bugs, minnows, etc., in addition to their feed. This not only contributes to the well-being of the duck, it also greatly improves the flavor and texture of the meat. With a simple dry-cure recipe like this that difference is greatly amplified.

What will the next generation of Make: look like? We’re inviting you to shape the future by investing in Make:. By becoming an investor, you help decide what’s next. The future of Make: is in your hands. Learn More.

Project Steps

First step is to acquire a whole duck. Pastured duck from your local farmer’s market is your best choice if you can swing it. Otherwise, organic free-range duck from the grocery store is a good second choice.

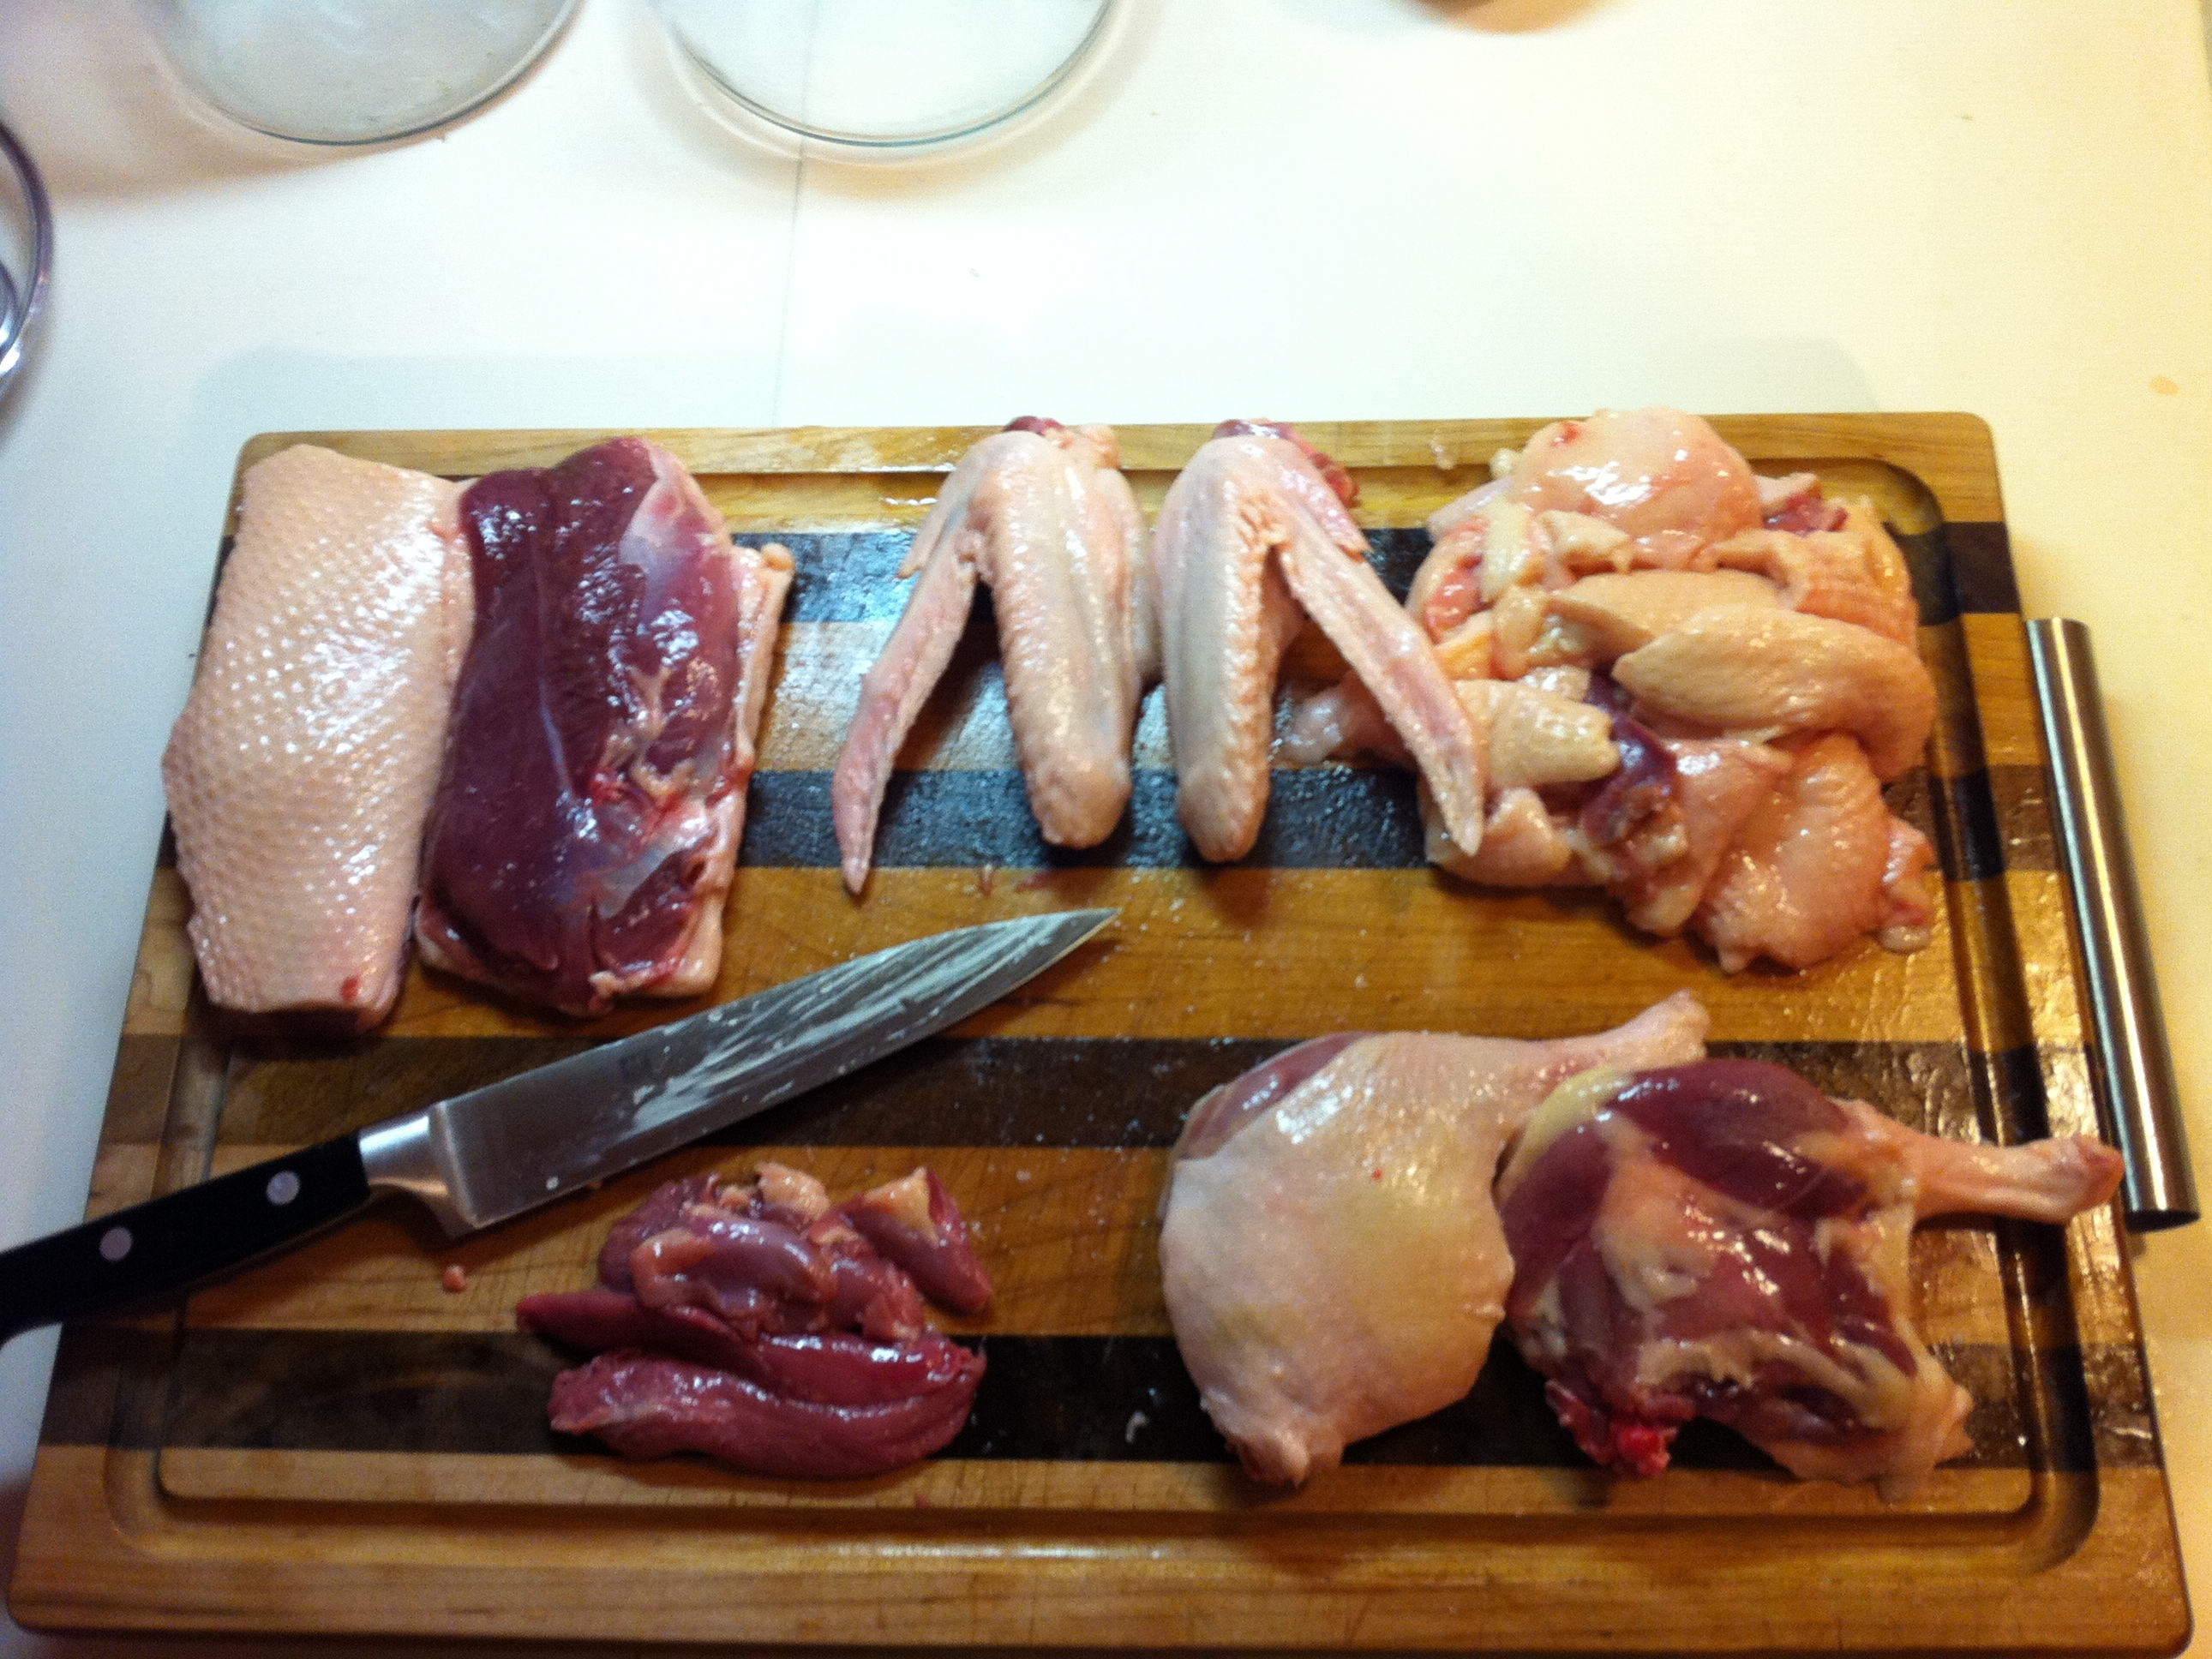
Once you have the duck you’ll need to take it apart. It’s very similar to jointing a chicken. Look for the natural seams/membranes when removing the breasts and just try to slide your knife in between the seams. The goal is to more-or-less peel the breast off the carcass rather than slice the meat. Take care to leave the skin on. Remove the thighs and drumsticks together; find the joint under the skin and poke your knife point in to sever the tendon, then carefully carve out the leg from the body. If you’re careful you’ll mostly cut skin and connective tissue and barely touch the meat.

Trim any extra skin from the breasts so they match the picture.

Picture Key – clockwise from top left: breasts, wings, fat + skin, legs, breast tenders.

Note the rich red color of properly raised duck. Raw, it looks and smells remarkably like grass-fed beef.

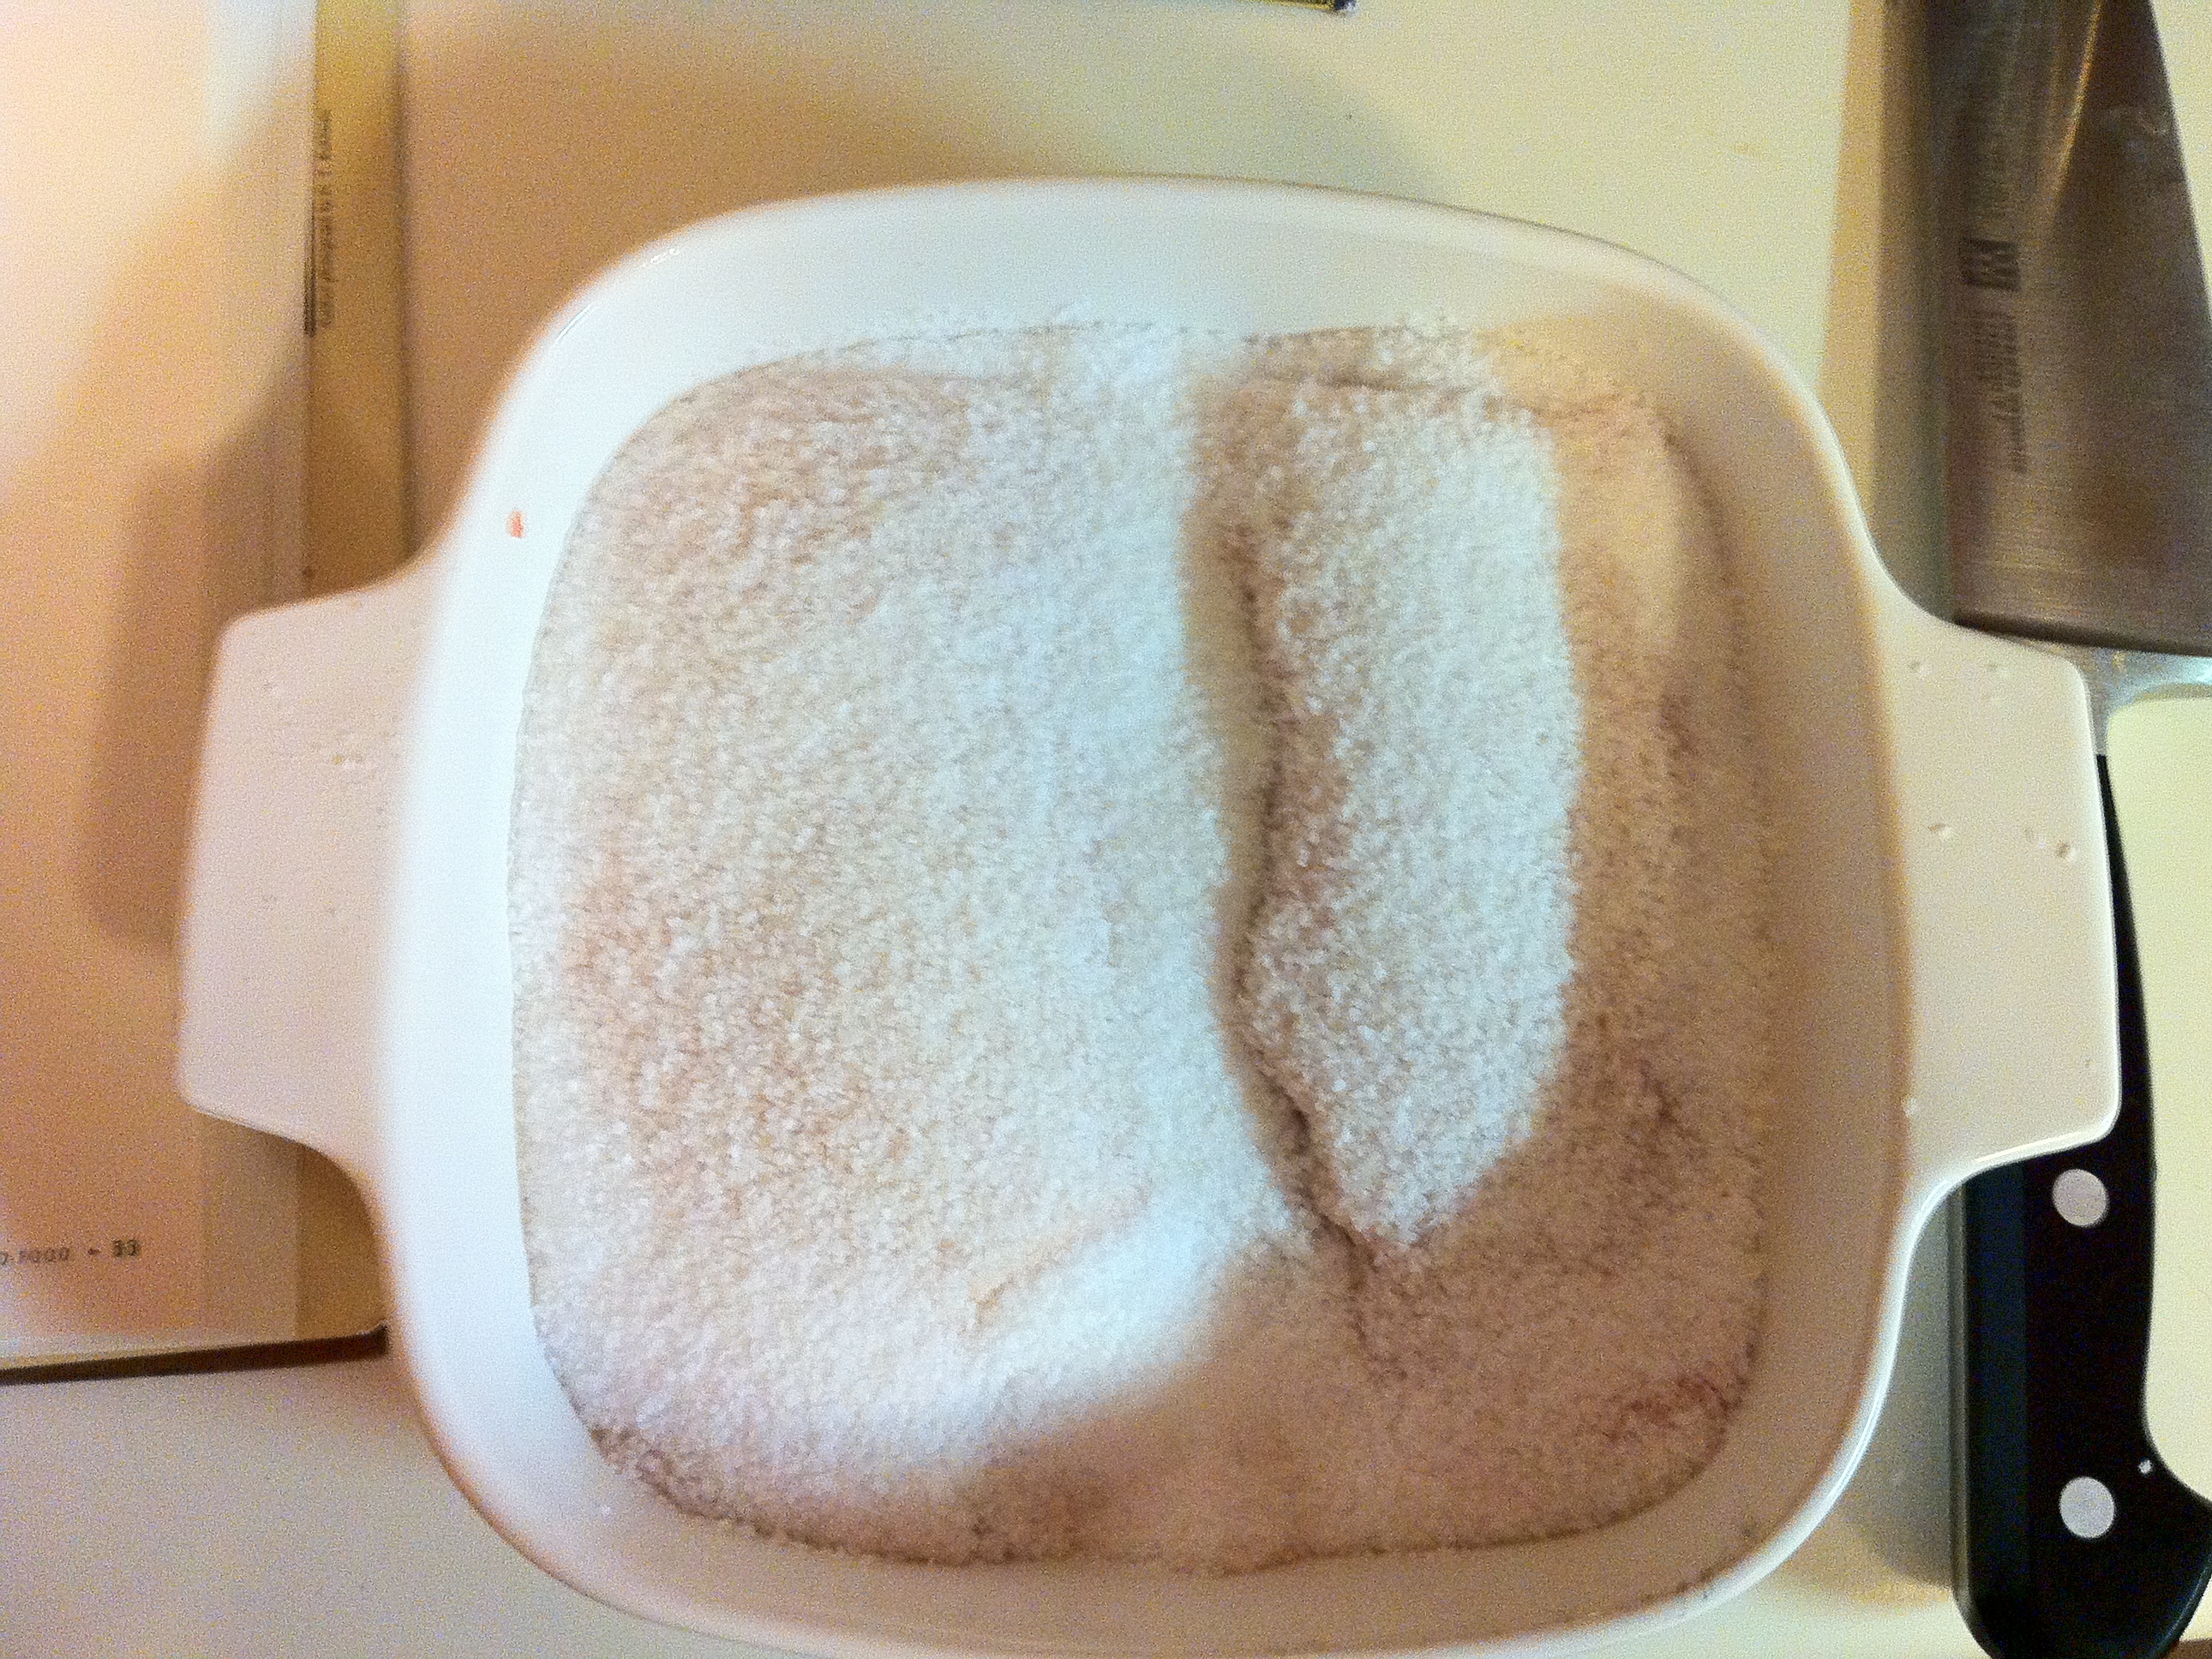
Pour a 1/4″ thick layer of coarse Kosher salt in the bottom of a non-reactive pan and lay the breasts skin-side up in the salt. Then cover them with salt and pack it in well. You want to make sure that each breast is touching only salt, not the pan and not each other.

Cover and stash in the fridge for 24 hours.

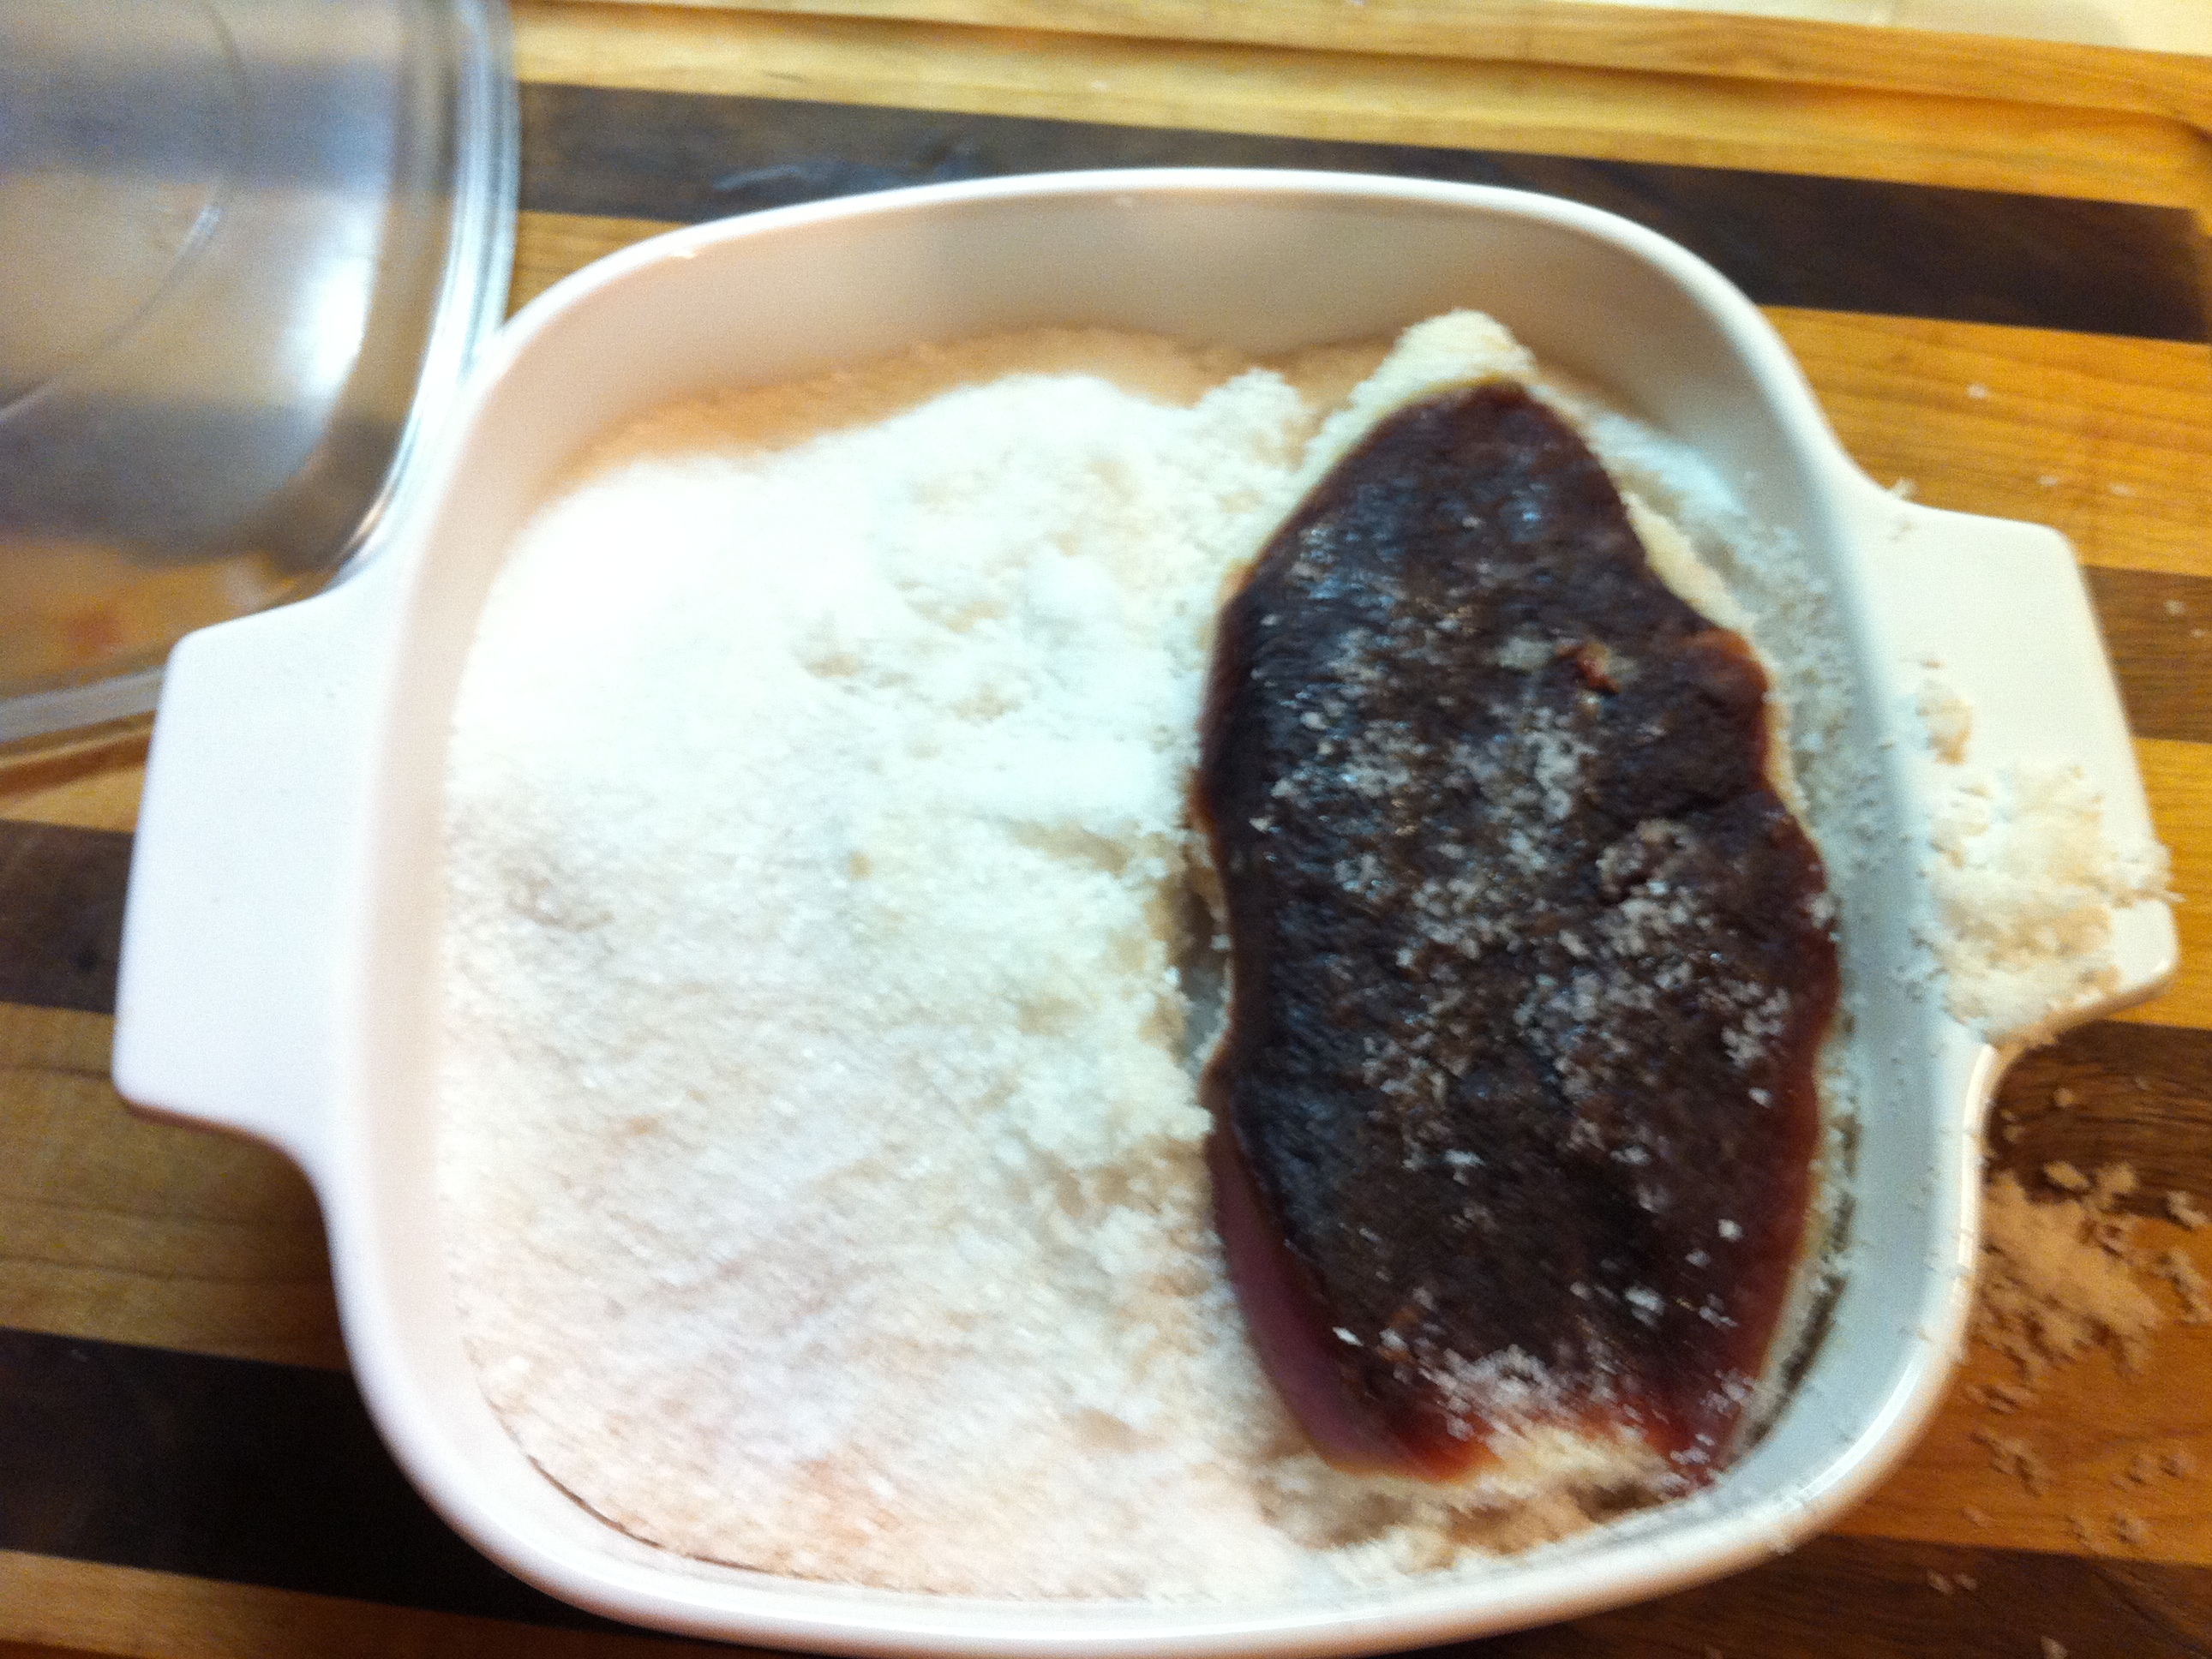
After 24 hours remove them from the salt. You’ll notice a substantial amount of water loss and a change in texture & color from the salt exposure.

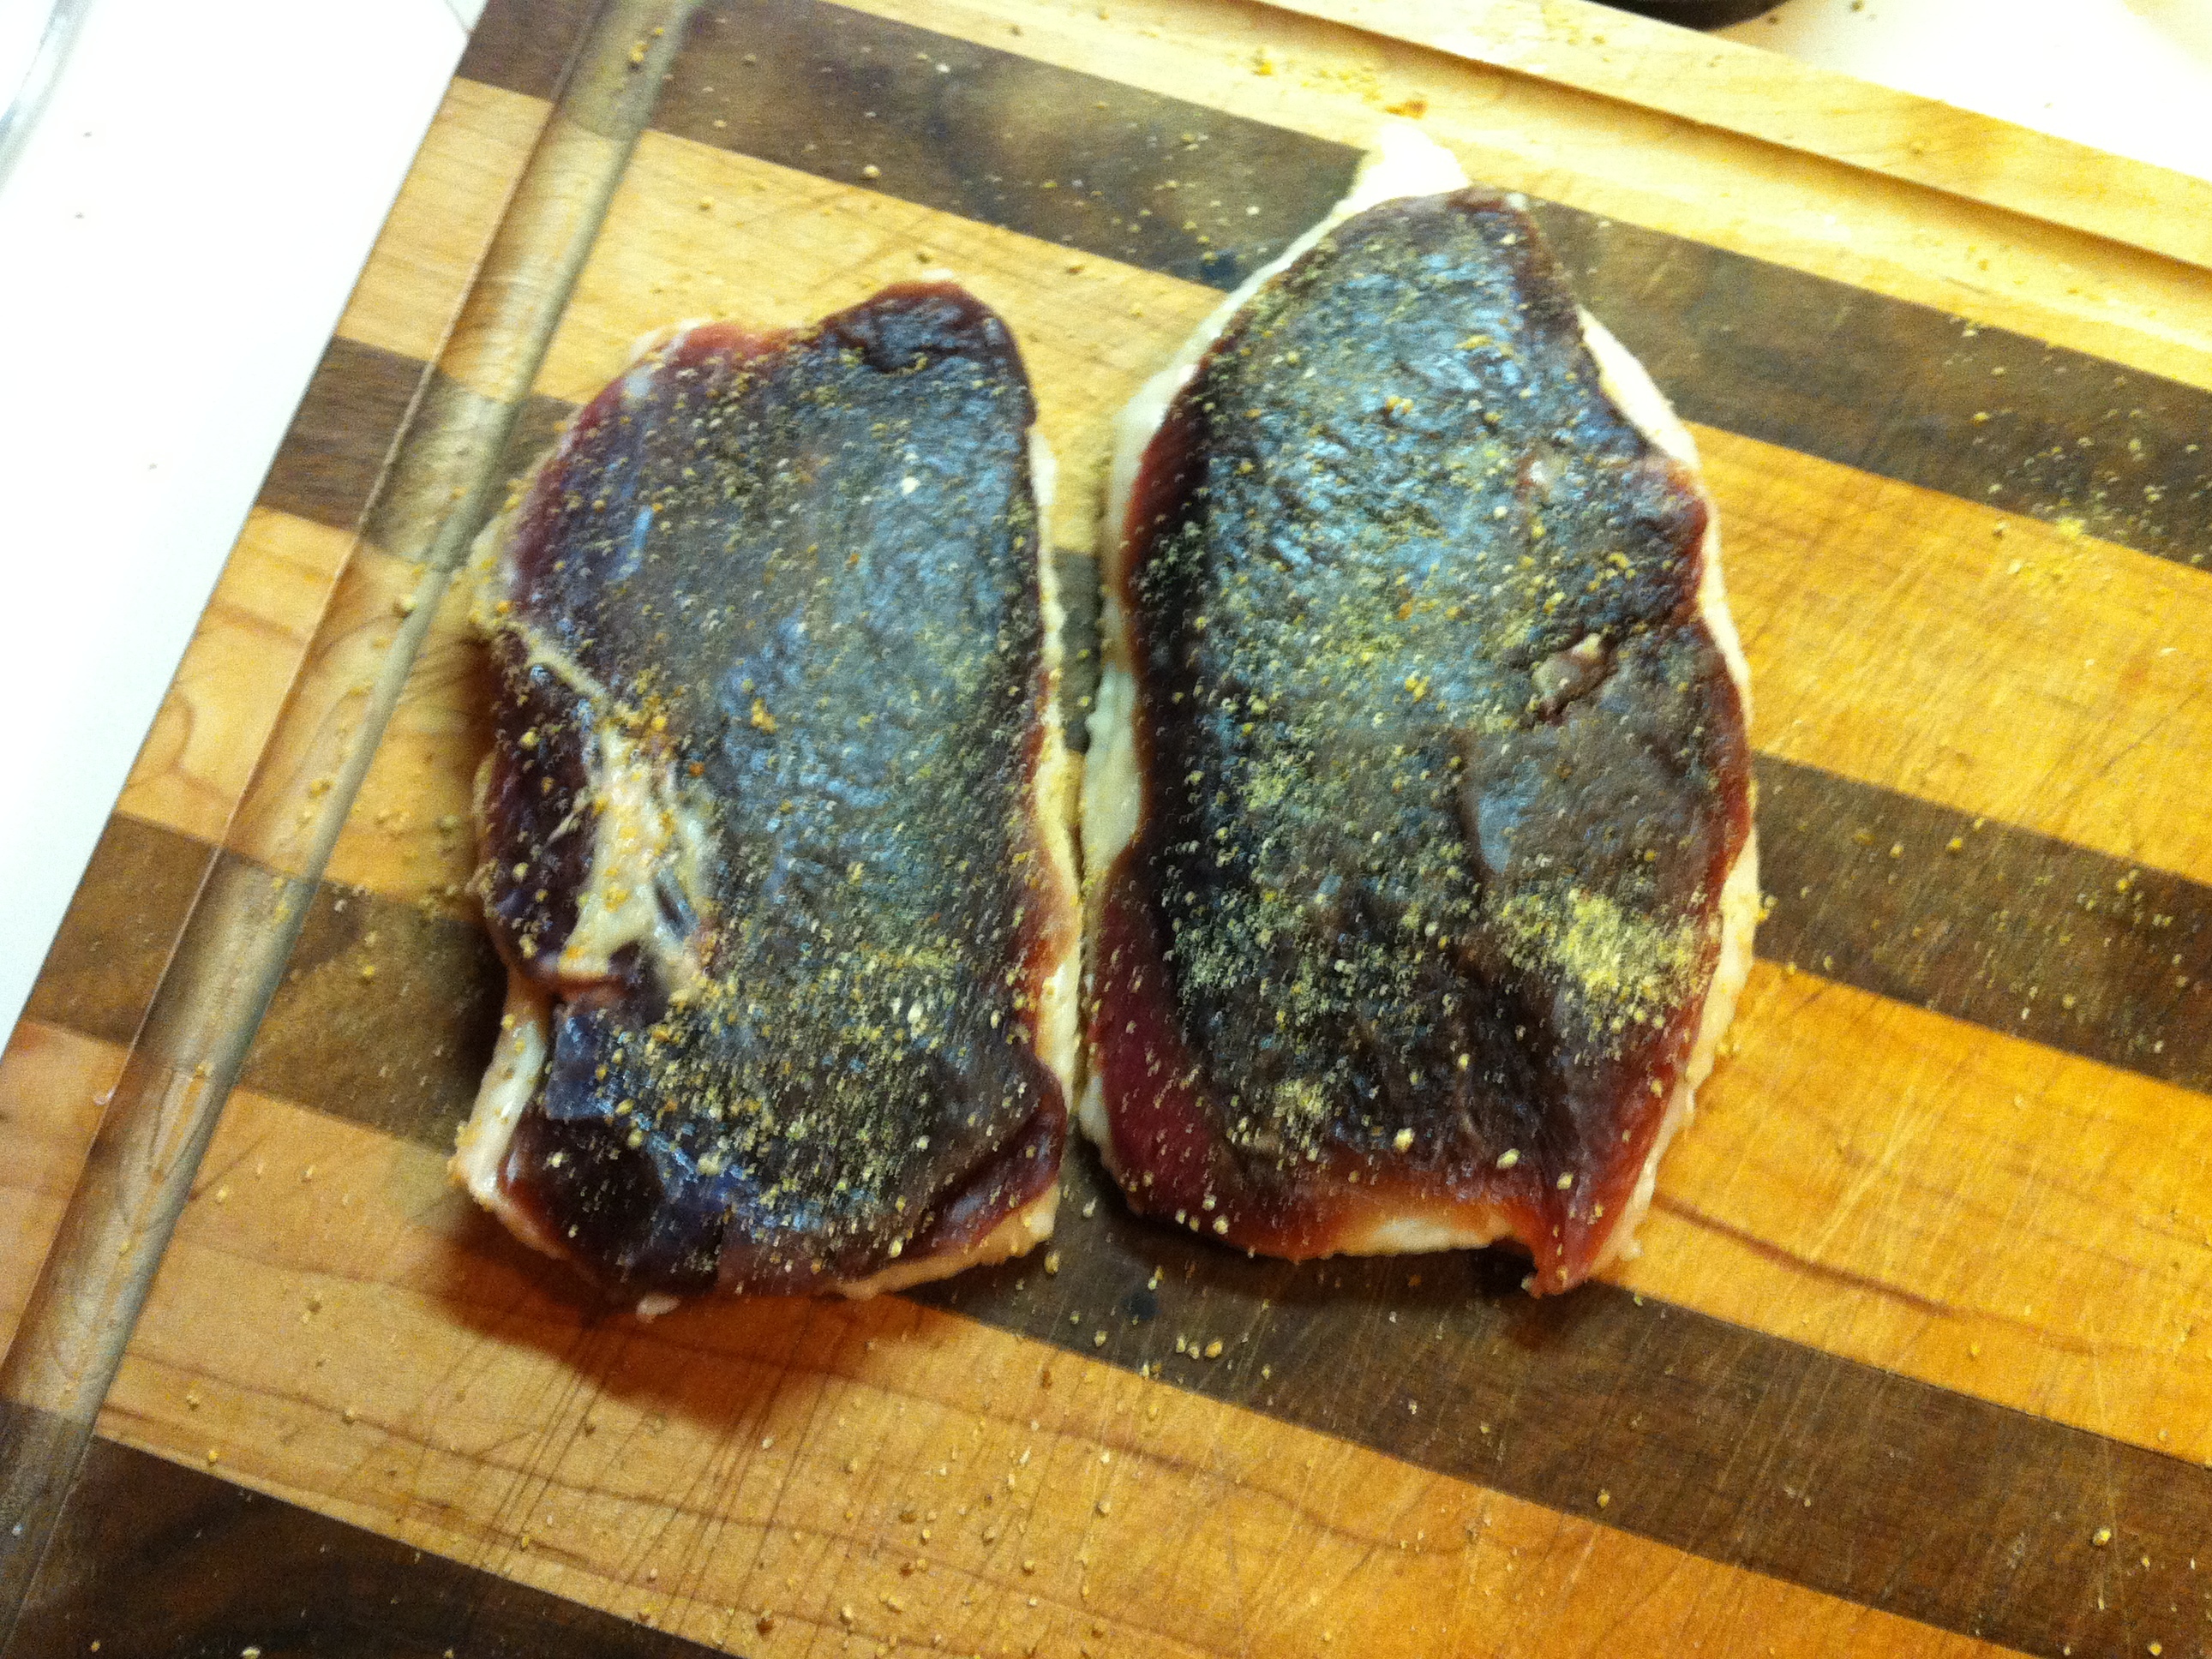
Rinse thoroughly under cool running water and pat completely dry with paper towels.

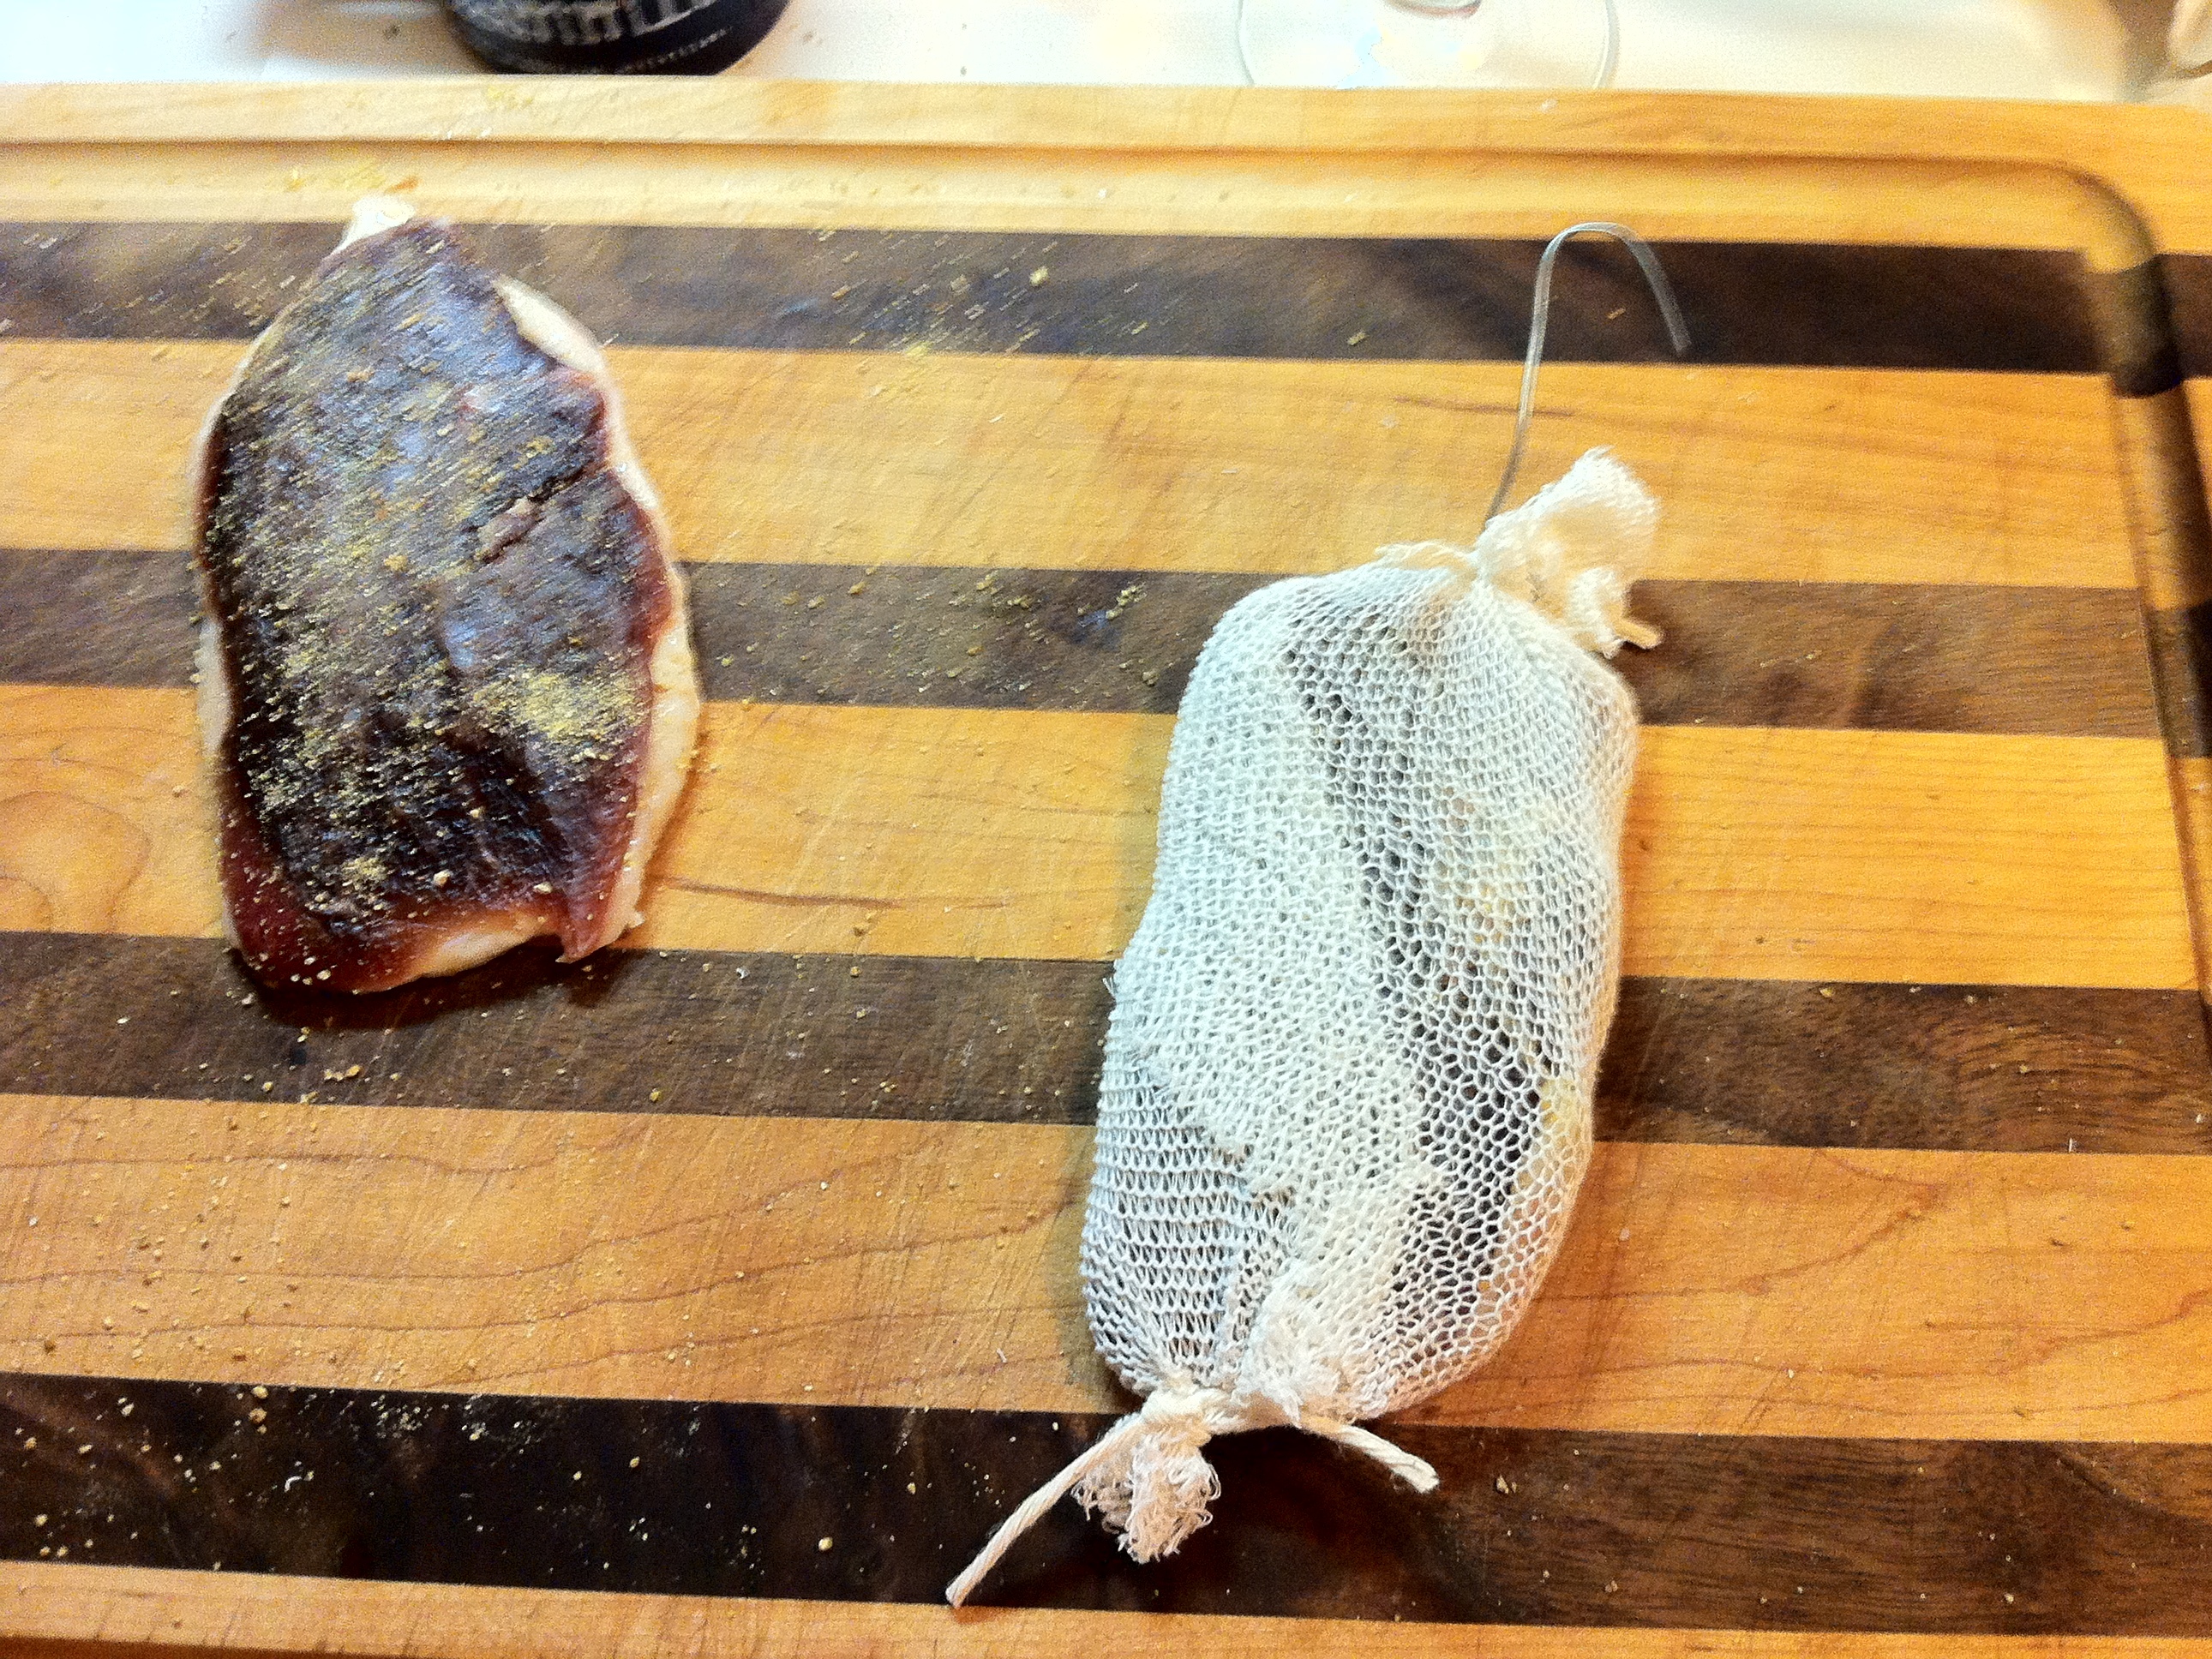
Dust with finely ground white pepper.

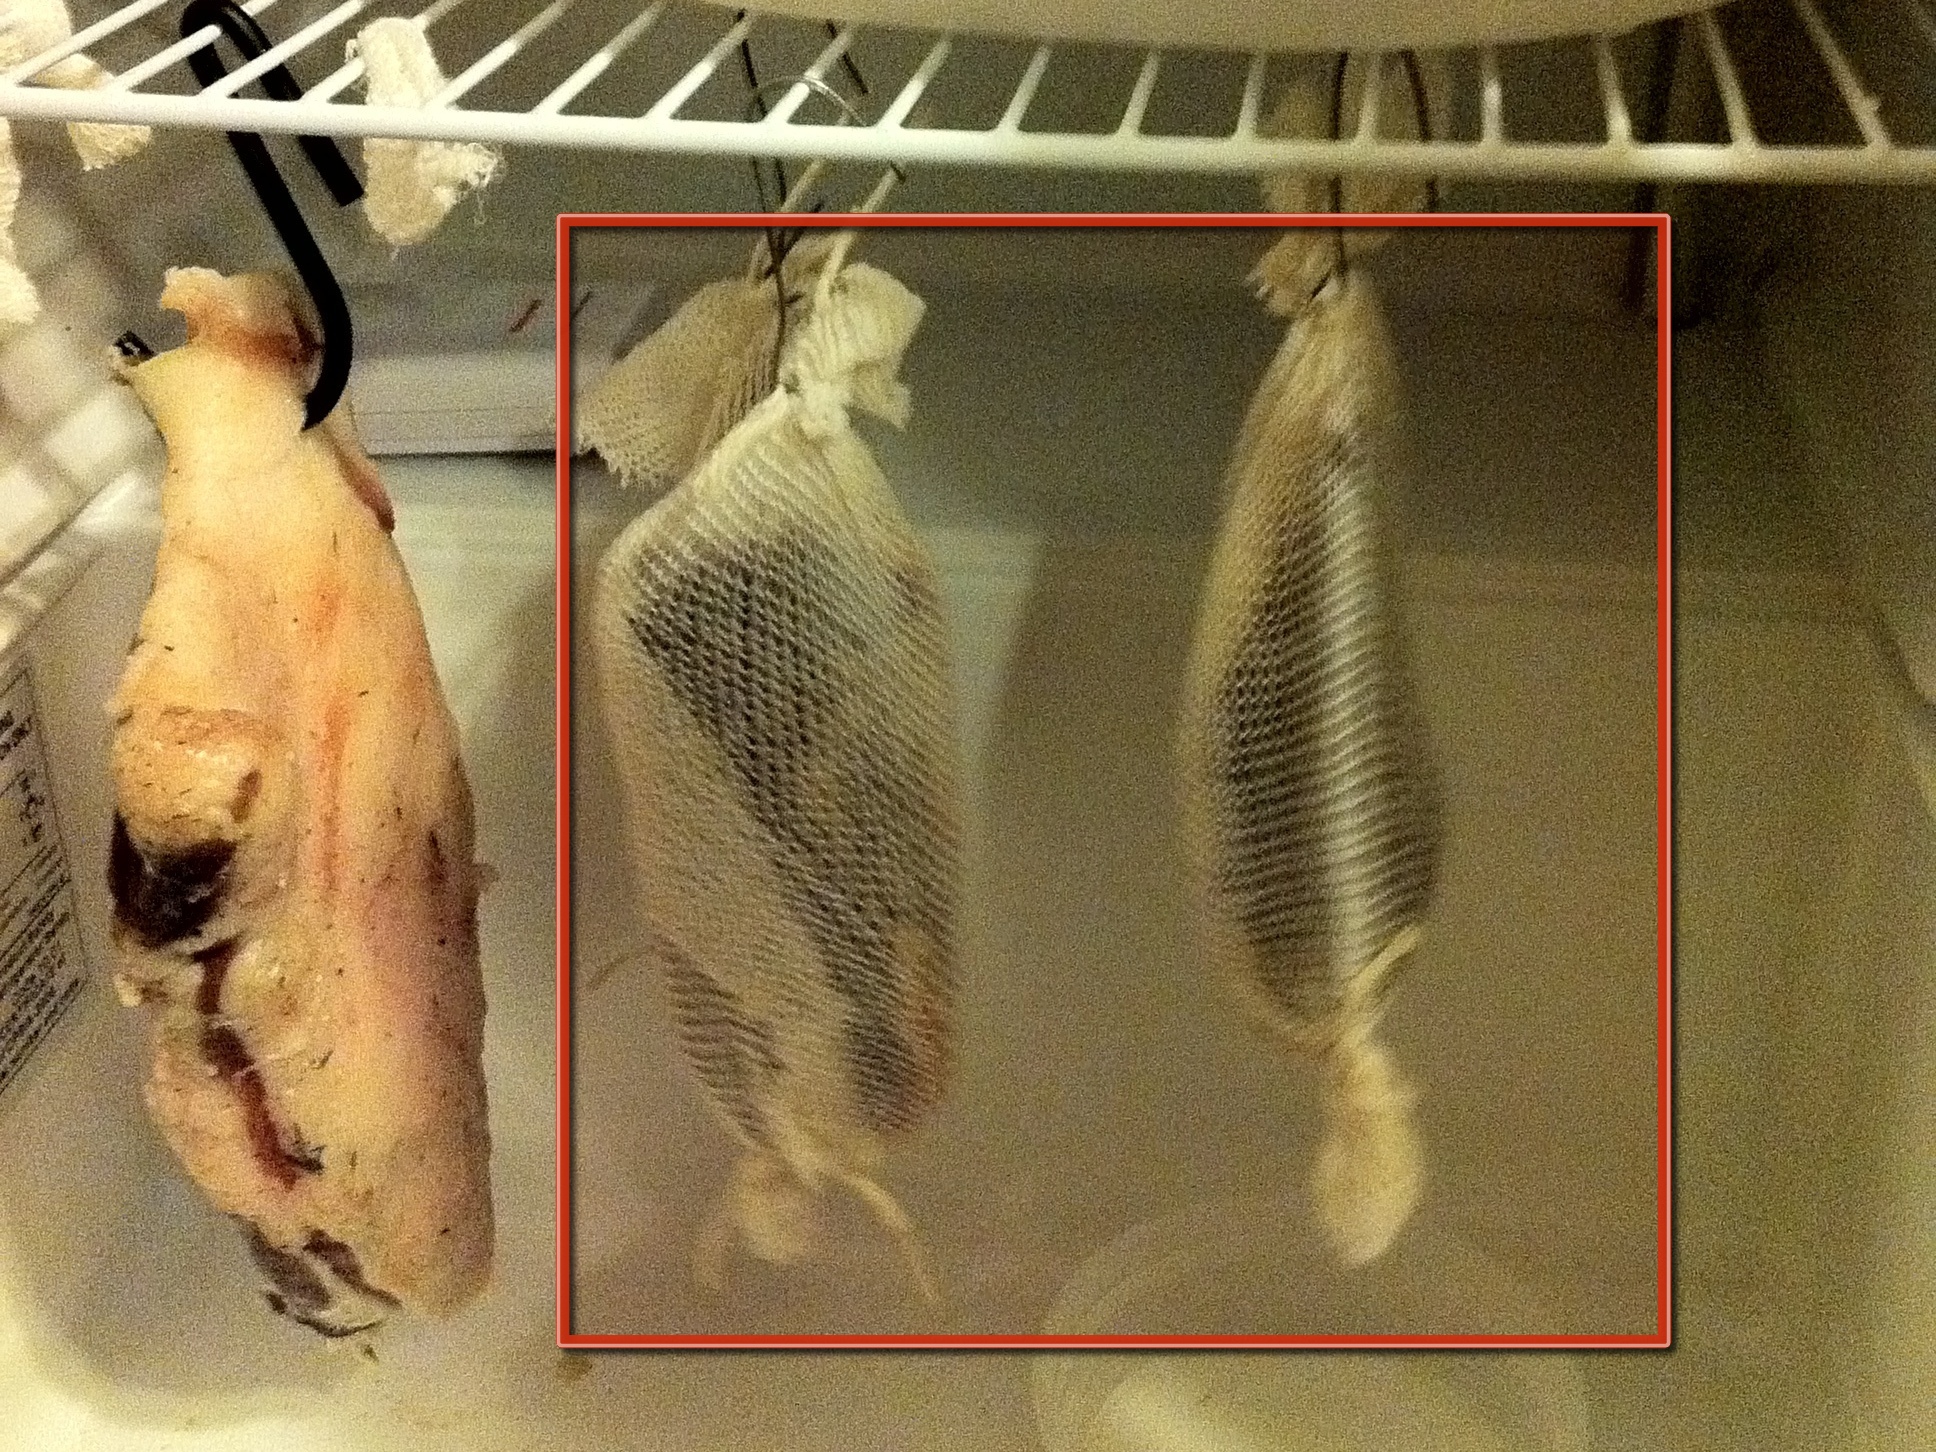
Wrap in cheesecloth. I also use a bit of wire to rig up a hook for hanging them at this point.

Hang to dry in a cool, slightly humid environment. I keep a mini fridge at ~50F and ~60% RH for meat-curing purposes and that works very well.

Check the meat by squeezing it in the center. The meat side should feel firm and not squishy like raw meat, but not hard like jerky. The skin side will always feel squishier because of the fat, however.

In my setup at 50F and 60% RH duck breasts the size shown here are ready after hanging for 7-10 days. If you’ve had yours hanging for ten days and aren’t sure if it’s done, go ahead and take it down and slice into it. It’s probably done.

You can safely raise the humidity in your drying environment by filling a non-reactive dish with damp salt. The water will slowly evaporate out of the salt and the salt will prevent mold from growing.

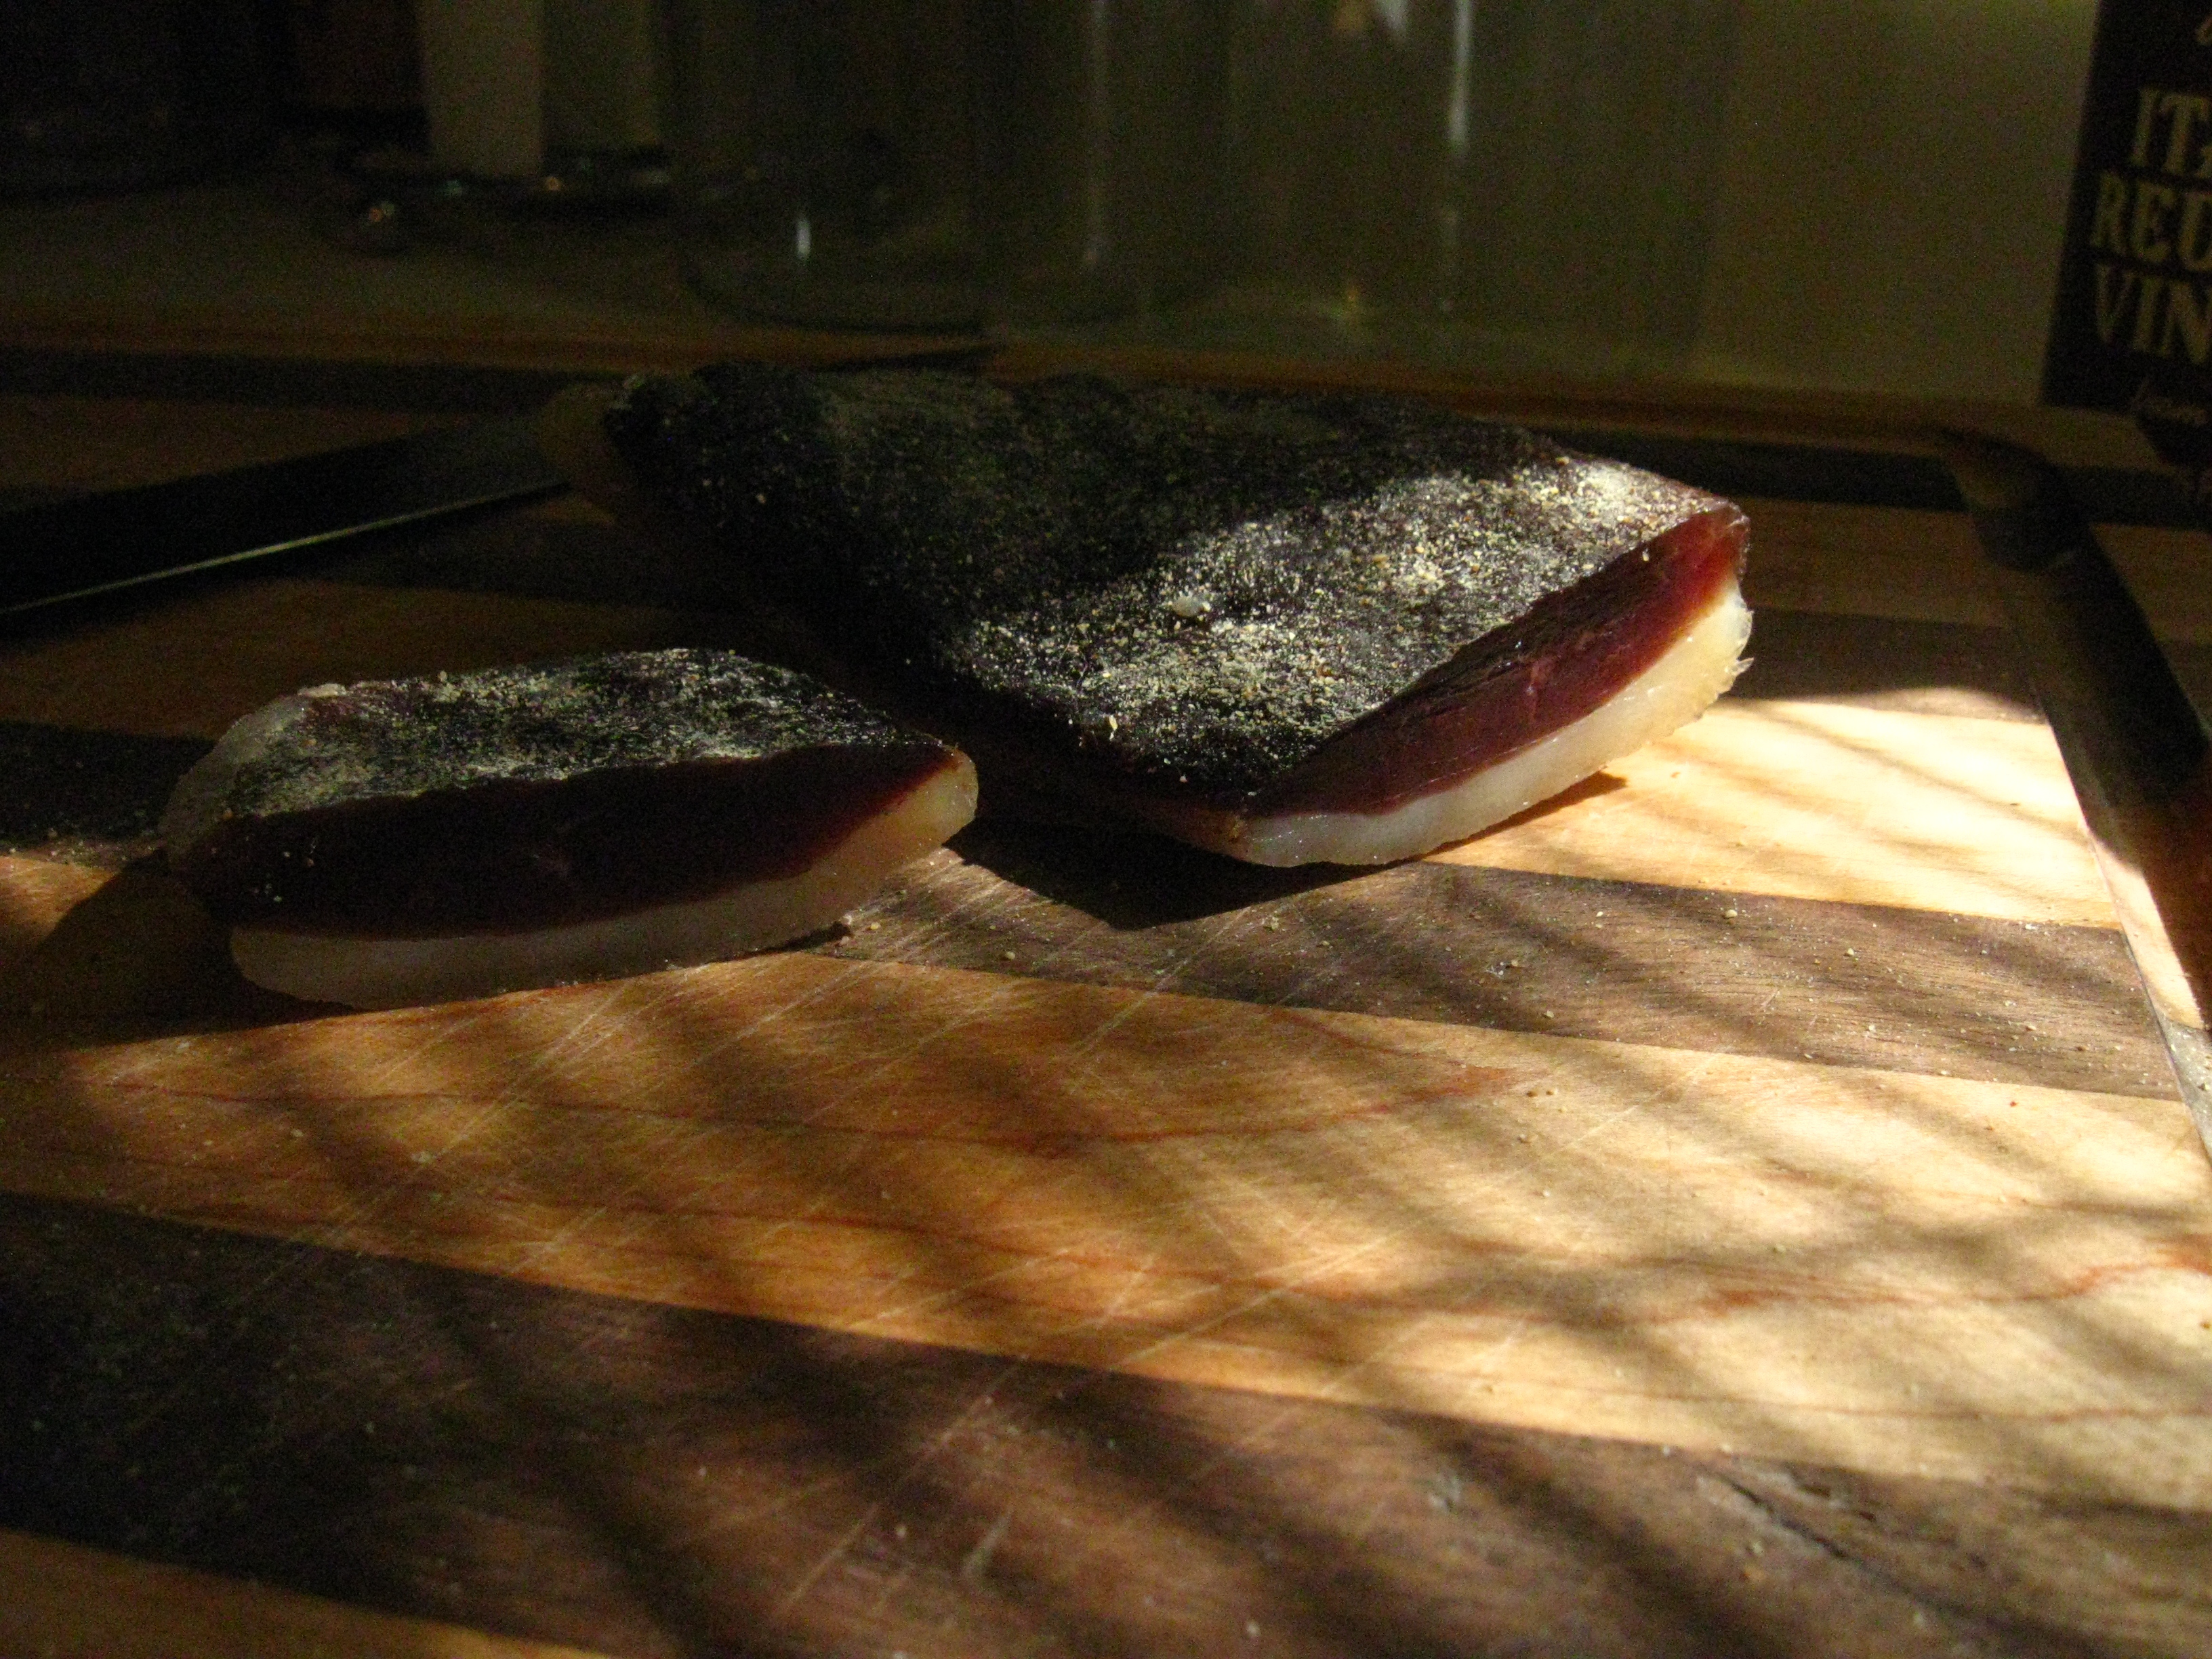
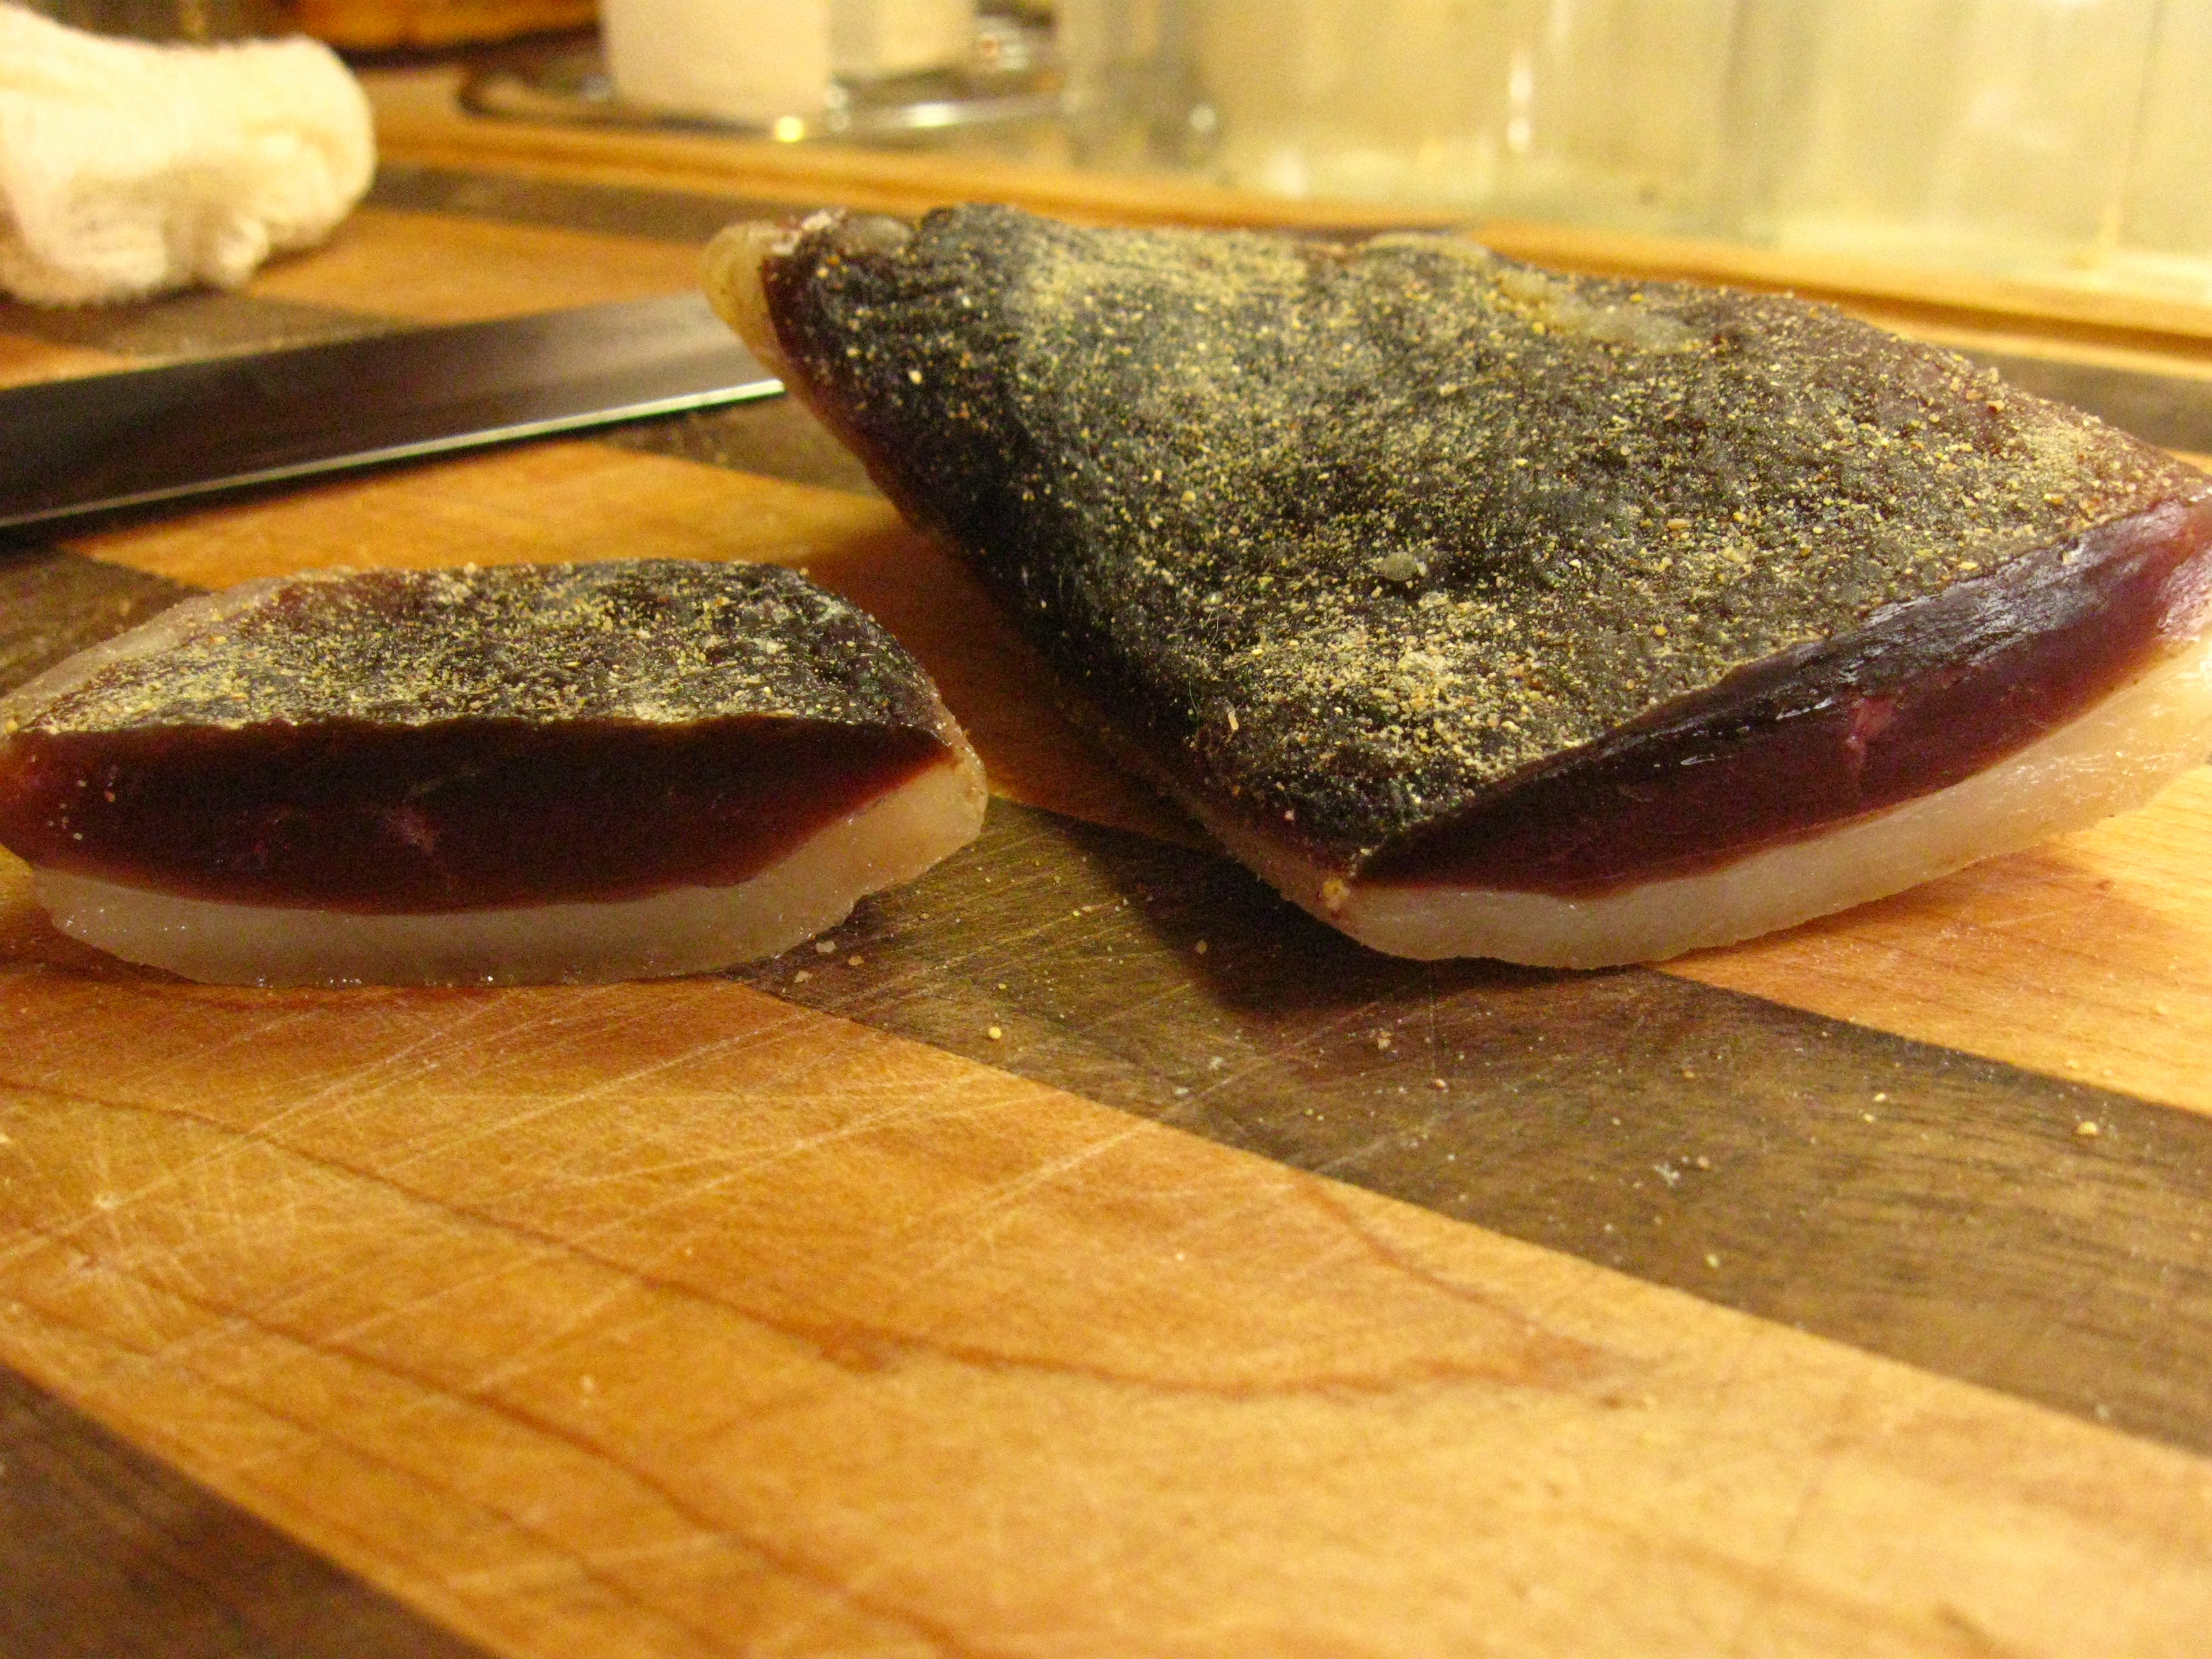
When finished the meat will be a deep, rich red color with a band of clean white fat on the skin side. The meat will be darkest opposite the skin and will be slightly lighter in color where it connects to the fat.

This is fine to eat raw, skin and fat included, sliced thin like regular prosciutto. You can use this as a direct substitute for prosciutto in any recipe.

It crisps up nicely if gently sautéed and makes a killer addition to salads and pasta dishes. It would probably rock your world on a pizza. However, I mostly eat it raw, sliced paper-thin with some cheese, fruit and bread.

Conclusion

I love this recipe because it's so simple to make and requires no exotic equipment or ingredients but it tastes superb. For just a few hours of time spread out over a whole week you can enjoy a unique delicacy that you'll not likely see for sale anywhere.

Be sure to save the rest of the duck I had you take apart; it's all useful and delicious. The breast tenders can be grilled or sautéed for a quick snack. The carcass and wings can be roasted and then boiled for stock and you can render the extra fat for a fantastic, trans-fat-free cooking oil. The legs, of course, can be grilled or roasted or, even better, prepared confit. Check back for future guides on all these recipes.