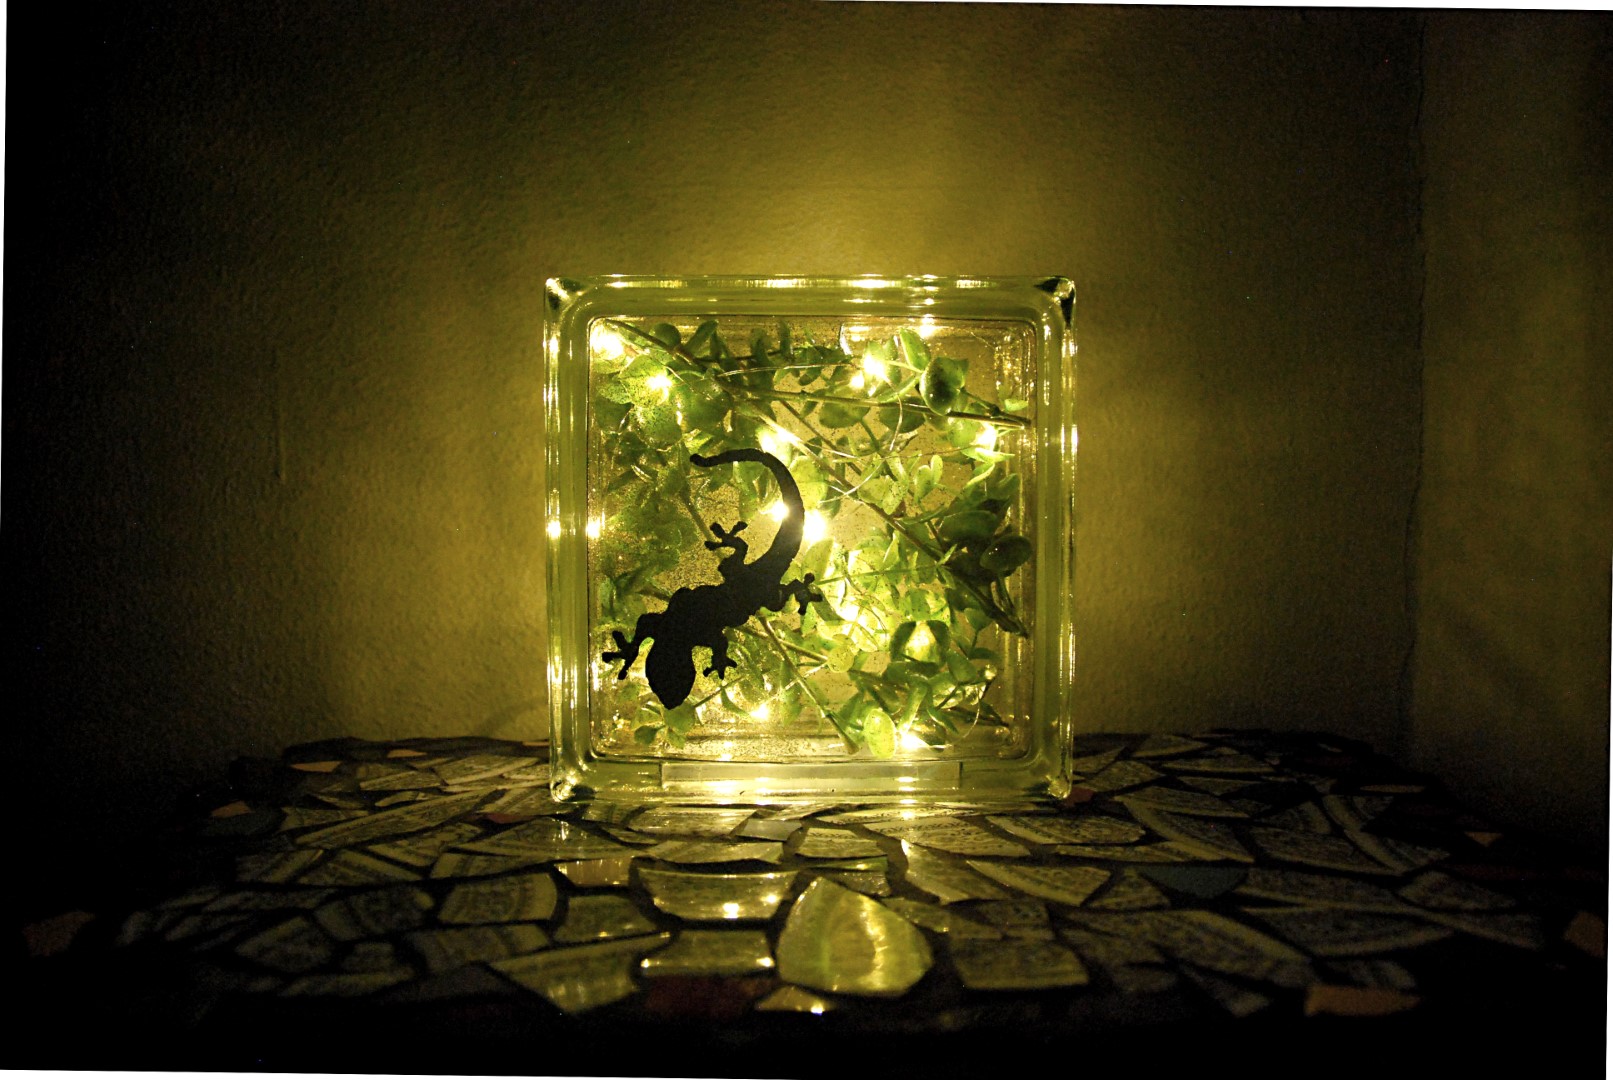
There’s something very relaxing about fairy lights, but only Carrie Fisher could get away with keeping her Christmas tree up all year. This project lets you keep the festive feeling alive year-round — plus it’s a great night light or custom gift.

YOU WILL NEED

KraftyBlok or similar crafting glass block with a bottom cutout and removable seal
Faux greenery
LED string fairy lights
Glitter
Black acrylic paint
Paintbrush
Stencils for your silhouette
Wire cutters
Scissors
Scotch tape (optional) but highly recommended to help seal off the bottom to avoid annoying traces of escaped glitter

What will the next generation of Make: look like? We’re inviting you to shape the future by investing in Make:. By becoming an investor, you help decide what’s next. The future of Make: is in your hands. Learn More.

Project Steps

1. STUFF IT

Clean off your glass block to ensure a pristine surface for painting. Cut off sprigs of faux greenery and stuff them into the block’s opening as you feed in the fairy lights.

2. PAINT IT

Tape your stencil onto the front in the desired position and paint your silhouette, then let it dry. Optionally, you could purchase or make a vinyl silhouette sticker.

3. BLING IT

Pour in about one teaspoon of glitter and carefully move it around the inside of the block to coat the glass surfaces. Keep the block opening upward so you don’t end up finding glitter between your toes later.

Crafting glass blocks usually come with a removable plastic stopper that you can thread the cord through with the help of a scissor cut. Seal the hole in the stopper with some tape and turn on the fairy lights!

GOING FURTHER

Get even more creative with your interior scene. My next one will have a prehistoric setting full of little dinosaurs, or a cool jungle backdrop with a handful of monkeys.