If you have the minimum skills in dealing with vector programs or video creations you work with AVI and other video formats, then you can try in the Easy run addressable LED pixels on your way… Programs of LED producers have to use, but only as a translator of your animation or video file.
Projects from Make: Magazine
Easy-Run Addressable LED Pixels
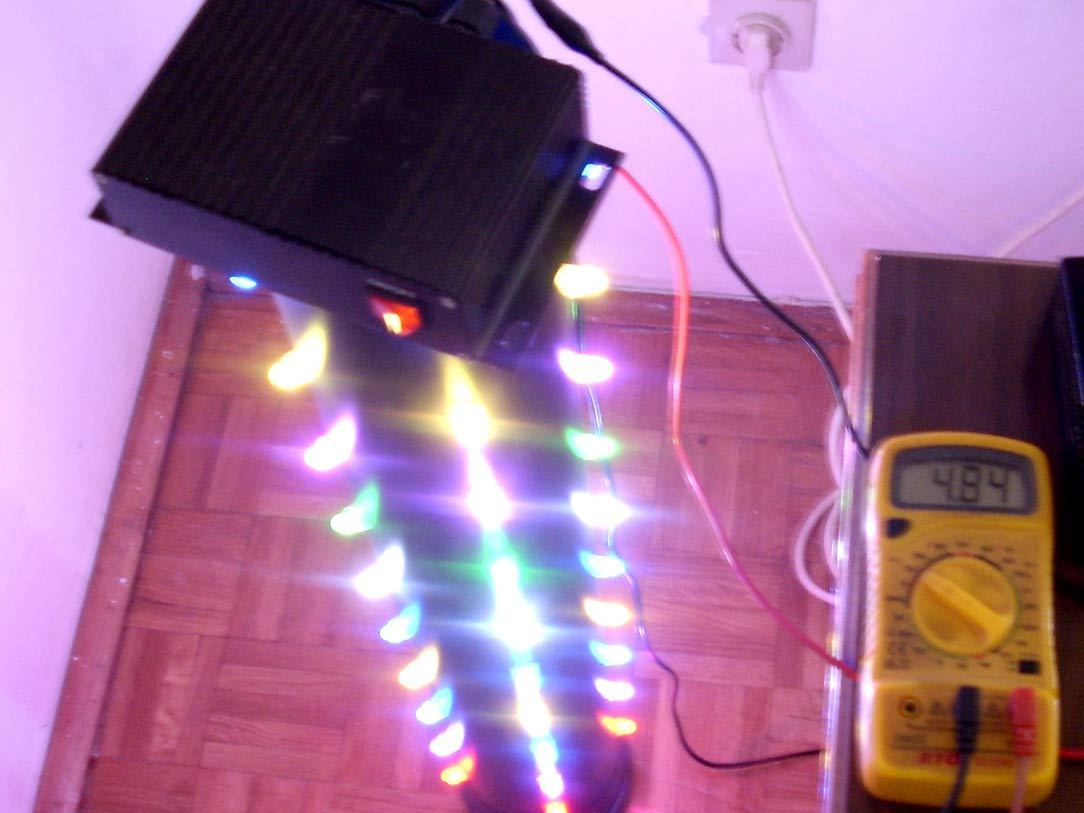
For this project, I used 50 pieces of addressed pixel RGB LED , SD controller and 5V 3.5A power supply.The unit of work gives a very good impression, inflames the imagination and raises the general atmosphere.


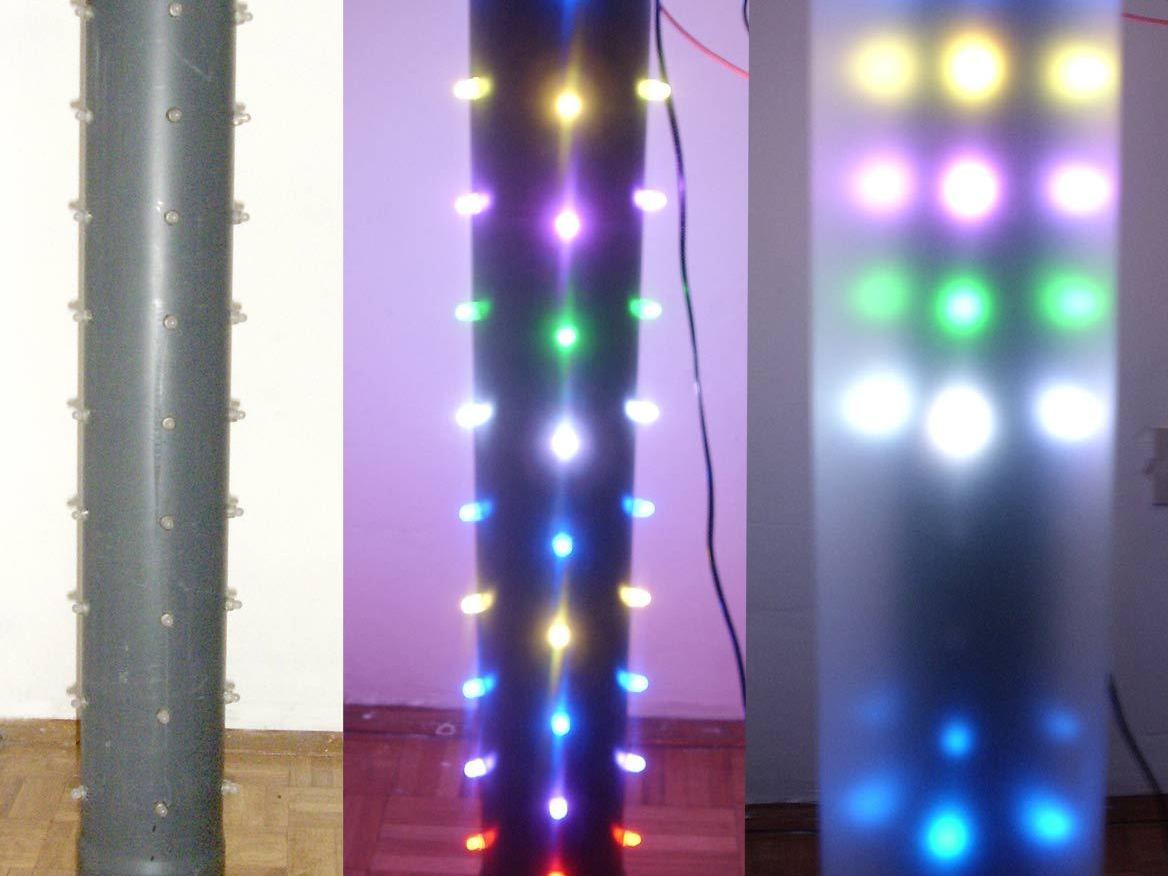
For this project I used a plastic sewer pipe as a carrier pixels. Pixels are mounted in the tube from the middle towards the ends from the practical reasons (length of pipe over 1m). Pixels are usually planned for installation in 12mm hole. I set the pixels in the 5 columns by 10 rows. It is important to hold the default order pixels. This order will make later in the program for programming LED. When you mount the pixels, connect them to the output of the SD controller, connecting the pixels to the power supply 5V 3.5A (per pixel is required 60mA current, mean total consumption is 3A). Power

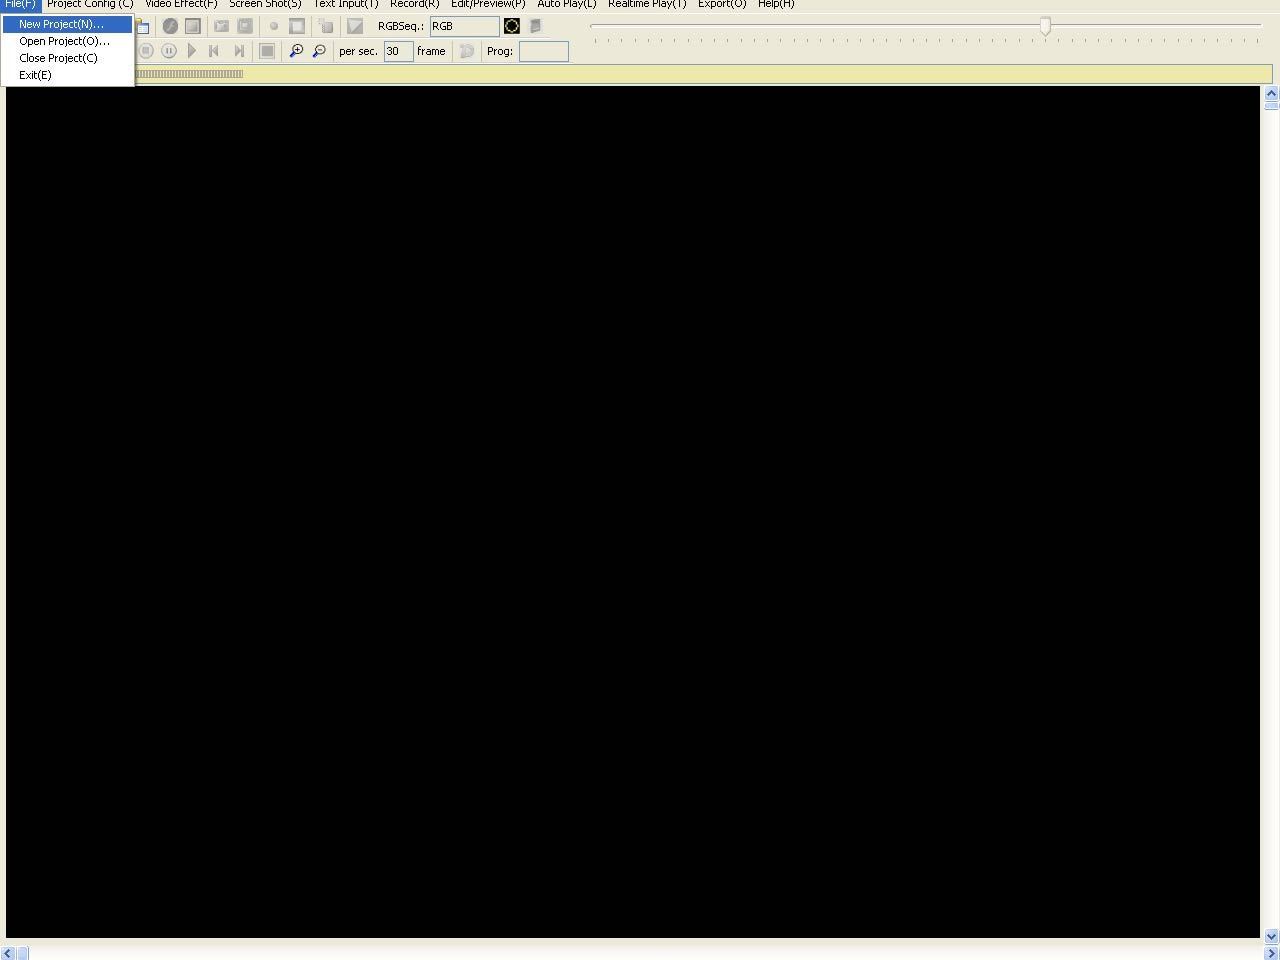
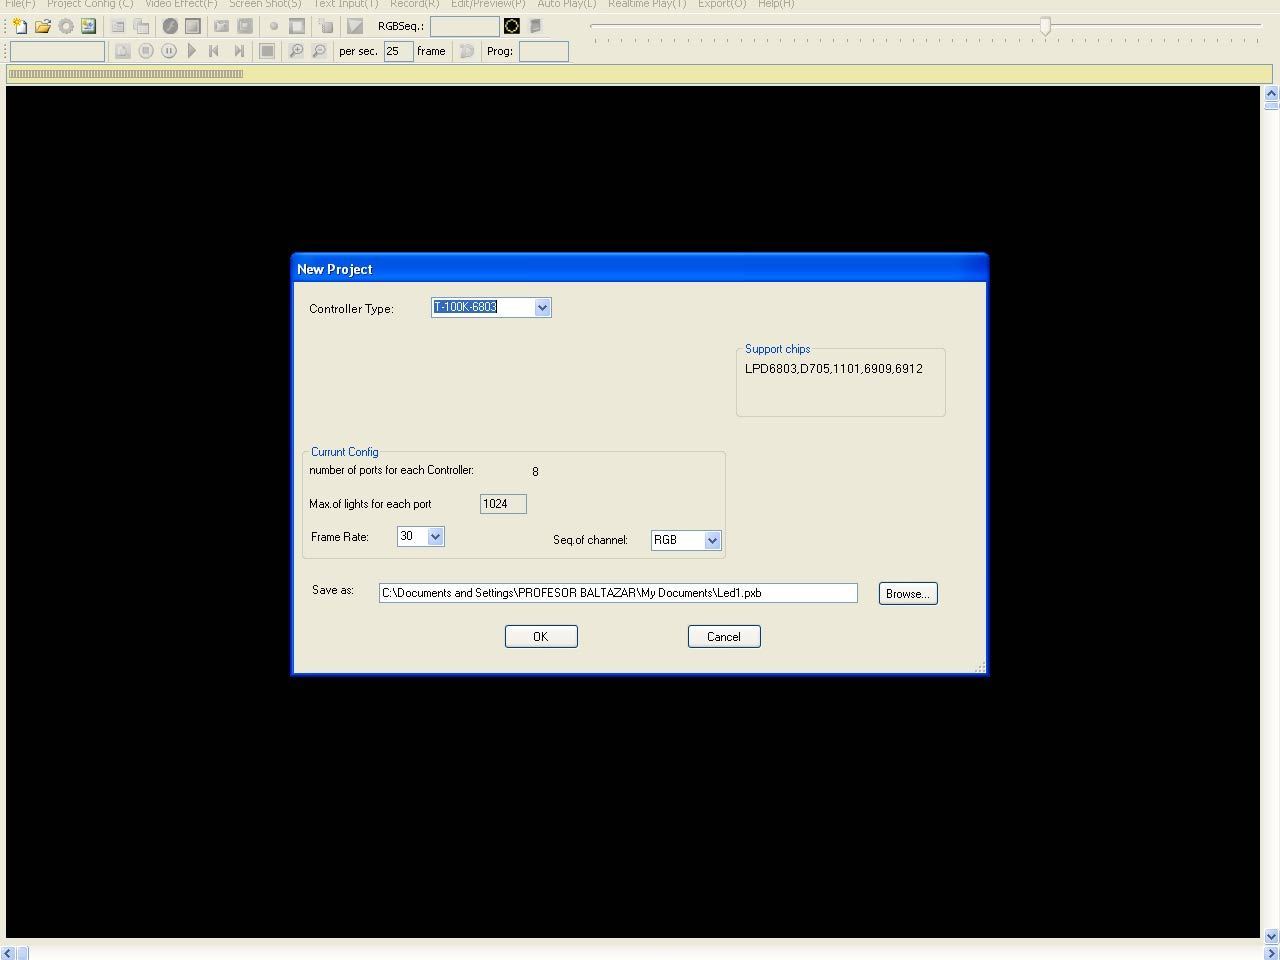
All programs to program addressed LED pixels work the same way. First, the right schedule and scheme setting pixels. It is important to correctly enter the number of rows and columns of pixels and the connection (from left to right from above, from left to right …). The connection method must be identical with mounted pixels. The important thing is the right choice of model SD controller. Do not be afraid of a large number of the listed controllers. In the case addressed 12mm diameter LED pixels of any manufacturer, product code is LPD6803
Then insert your video file and export the file with .led extension, ready for SD controller. Insert the SD CARD with the compiled software in the SD controller, turn on the power and enjoy your creation. See falling lights on You Tube
See my page for detailed instructions

My idea was to create a hanging tube. The project not yet finished, but I have a plan of what is most important. Sandblasted thin film which I used as a lampshade gives an excellent effect. It blurs solid depending on the distance from the pixels and the distance between two pixels.
Lampshade should be kept in two rings of clirite, inner diameter equal tubes diameter and outer diameter equal diameter shade. The rings would have to cut on the CNC and stick to the tube. Lampshade to lay on the bottom stops and could be removed.
did not get too focused in other programs, and similar details which can be found here


