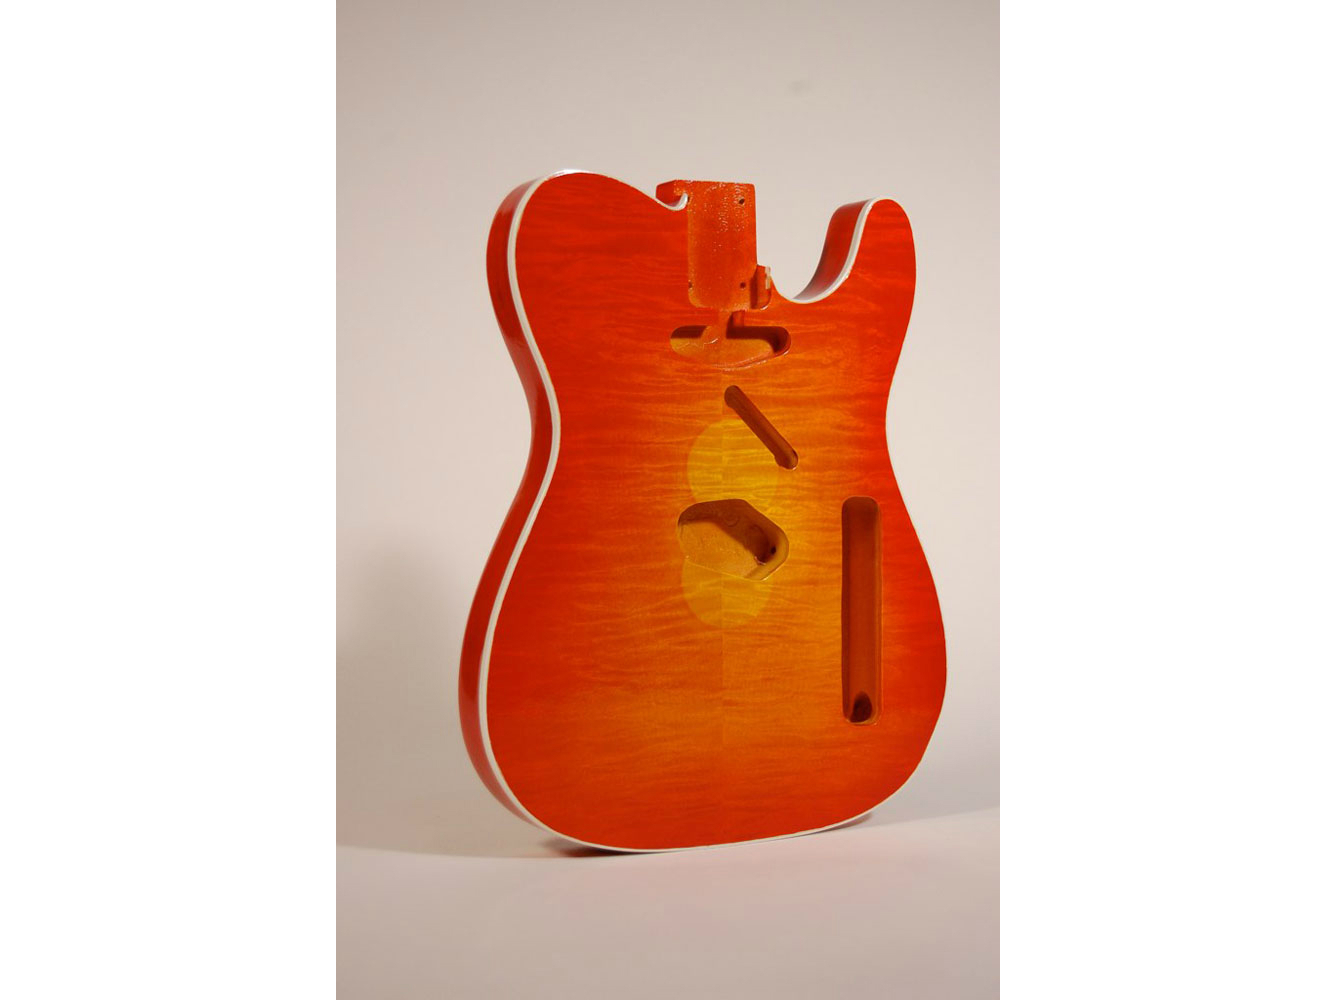
One of the best ways to learn about electric guitars is to build one of the many DIY guitar kits available. When it’s done, you’ll have not only a working instrument, but an understanding of how your instrument works. You’ll know how to string it, adjust it, and set the action the way you like. You’ll become your own guitar tech.

If you’re an old hand with guitars, kits can be a low-cost way to get that “custom shop” Les Paul look you’ve coveted, for no more than the kit price, plus a bit of elbow grease.

Begin by Finishing

Kit guitar building has 3 phases. The first is to apply a finish to the wooden parts. Done right, this is 80% of the work. The second phase is assembly, which is really fun, seeing all the parts come together to become an electric guitar. Finally, there’s “setup”: adjusting the neck, pickups, action, and bridge to make the guitar sound and feel good.

Project Steps

Prep the parts

Use a coping saw or bandsaw to cut the headstock to your liking, then sand out the cut marks with 100-grit sandpaper. Follow up with 180, 220, and 400 grits.

Then mask the fretboard, edge binding (if any), or other areas you don’t wish to paint, before moving on to the finish work.

Apply the sunburst finish

Spray the lighter color onto the guitar body. Paint a couple pieces of scrap, too, for testing purposes.

Make the mask. Trace the guitar body onto a sheet of cardboard. Cut the mask out a few inches inside your traced line.

Test the mask. Position the mask an inch or so above a piece of scrap and spray the darker color around the edges. The overspray will find its way under the mask, creating a smooth gradient. Adjust the mask height until you get the burst effect you’re after.

Spray the darker color on the guitar top. Once you’ve got your technique down, position the mask over the guitar top and spray around the edges as you practiced. Repeat for the back of the guitar, if desired. Give it plenty of time to dry before going on.

Apply the top coat. To get that smooth, glossy shop-window finish, expect to spray on about 10 coats of clear. Once the top coat has thoroughly dried, wet-sand the surface to 1500 grit, rub with polishing compound, and give it a final wax and buff

Assemble the parts.

Attach the neck to the body. With Fender-style guitars, this means drilling holes, then using wood screws and a backing plateto join the parts. Gibson-style models often have a “set neck,” which has a pre-cut dovetail joint for gluing. Glue a set neck in place before applying the final coats of clear finish.

The rest of the assembly will just be a matter of correctly locating the bridge and installing the pickups, control knobs, tuning machines, input jack, switches, pots, and pick guard. All the hardware should be included with the kit.

Install the strings.

Adjust for sound and feel.

Adjust the neck. This is done by turning the built-in steel truss rod to slightly bow the neck forward or back. “Relief” is forward bow of the neck, while “back bow” is the opposite condition. The neck should have just enough relief to allow the strings to clear the frets without buzzing, but not so much as to cause an overly high action. Turn the trussrod clockwise to decrease relief, or counterclockwise to increase it.

Adjust the string height. This is known as “setting the action.” The bridge will have adjusters to raise or lower the strings in relation to the fretboard. Some players prefera high action, but most prefer it as low as possible without buzzing.

Adjust the pickup height. The gap between the strings and the pickups is best adjusted by trial and error. Start with a 6″ gap. Use the pickup mounting screw to experiment until you get a sound you like.

Adjust the intonation. First, tune the guitar. Then, starting with the low E string, compare the pitch of the open string to the pitch at the 12th fret. If the fretted note is flat, use the bridge saddle adjuster to make the string “longer.” If sharp, make the string “shorter.” Do this for all 6 strings. You shouldn’t have to readjust the intonation unless you change string gauge or brand.

Conclusion

This project first appeared in MAKE Volume 29.