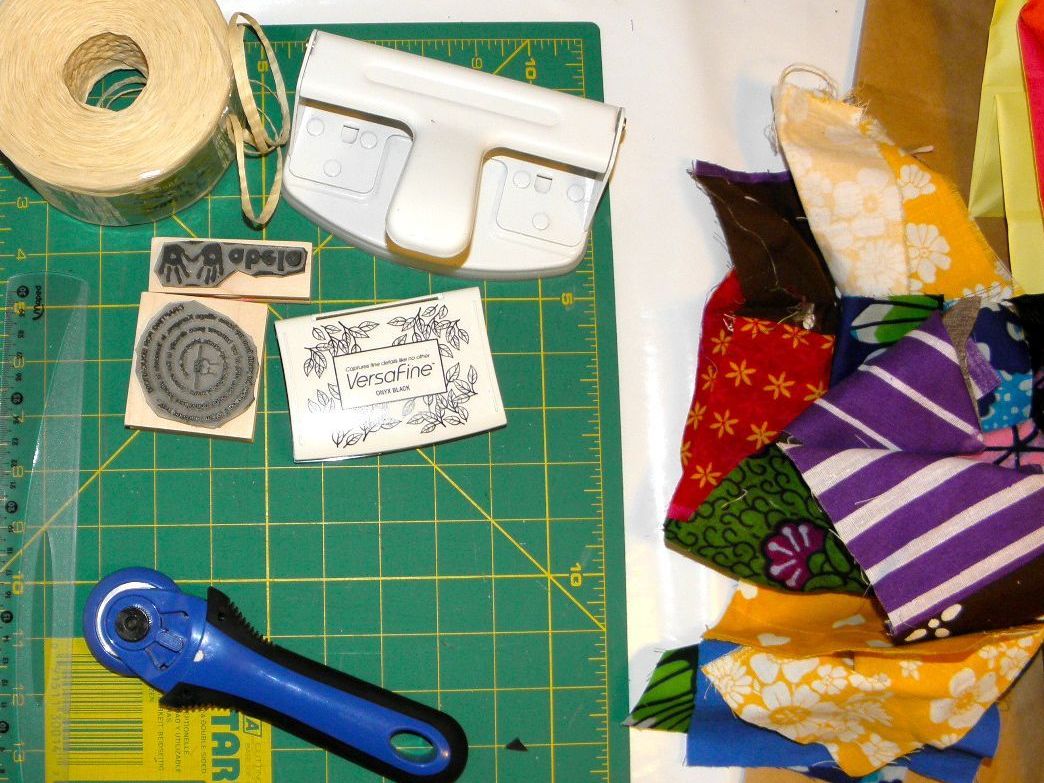
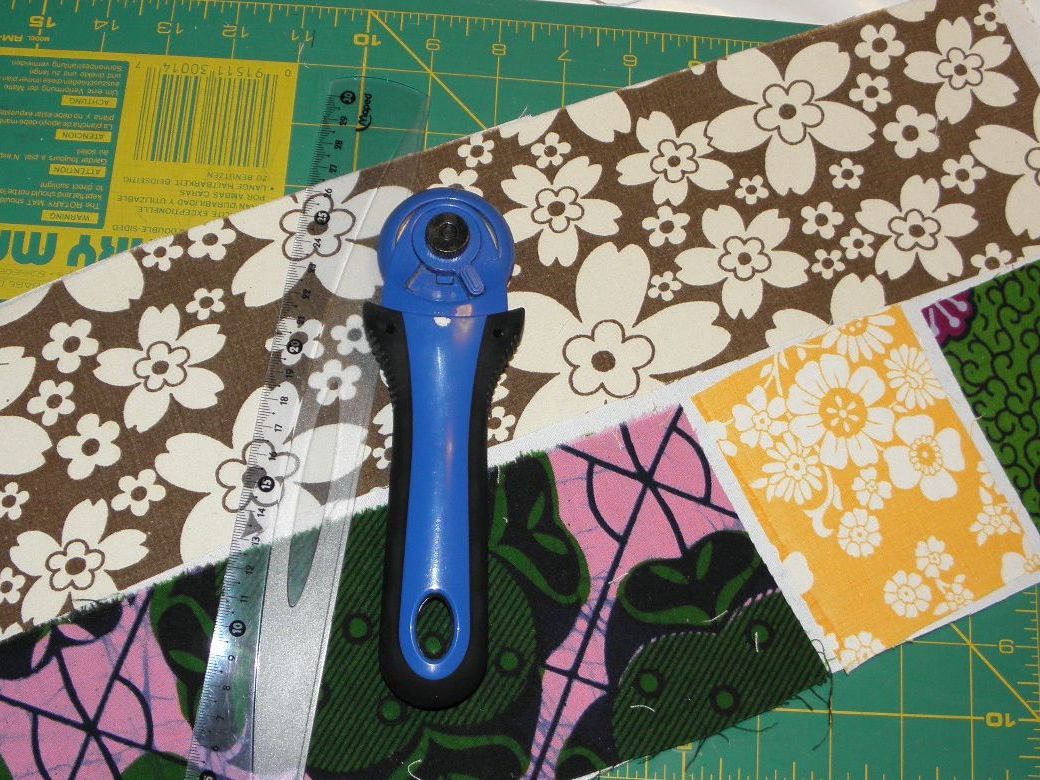
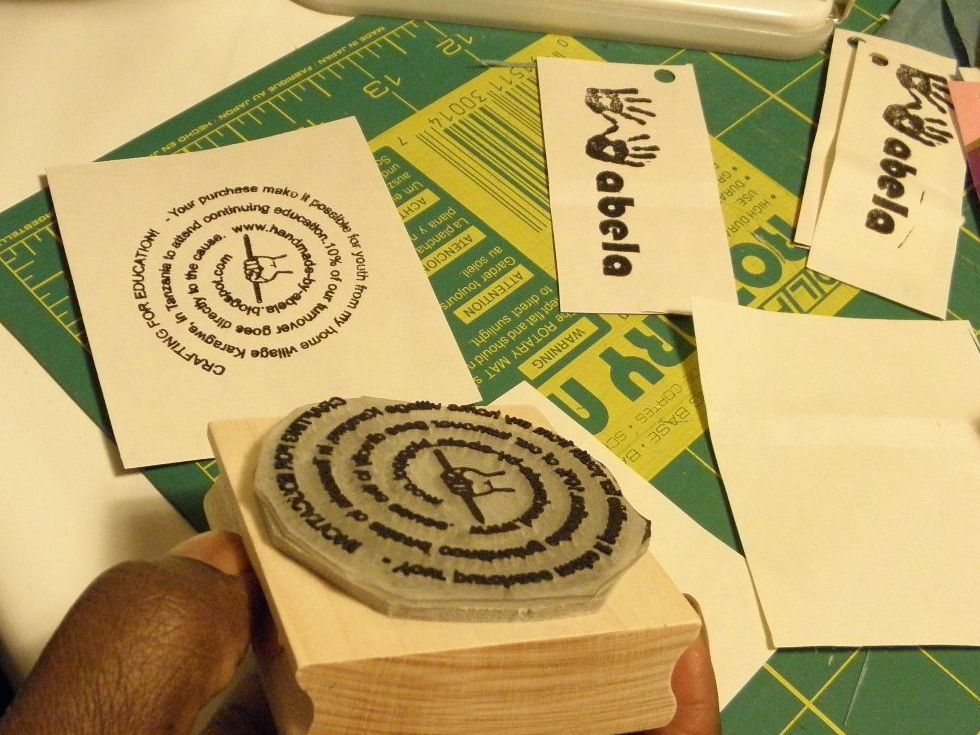
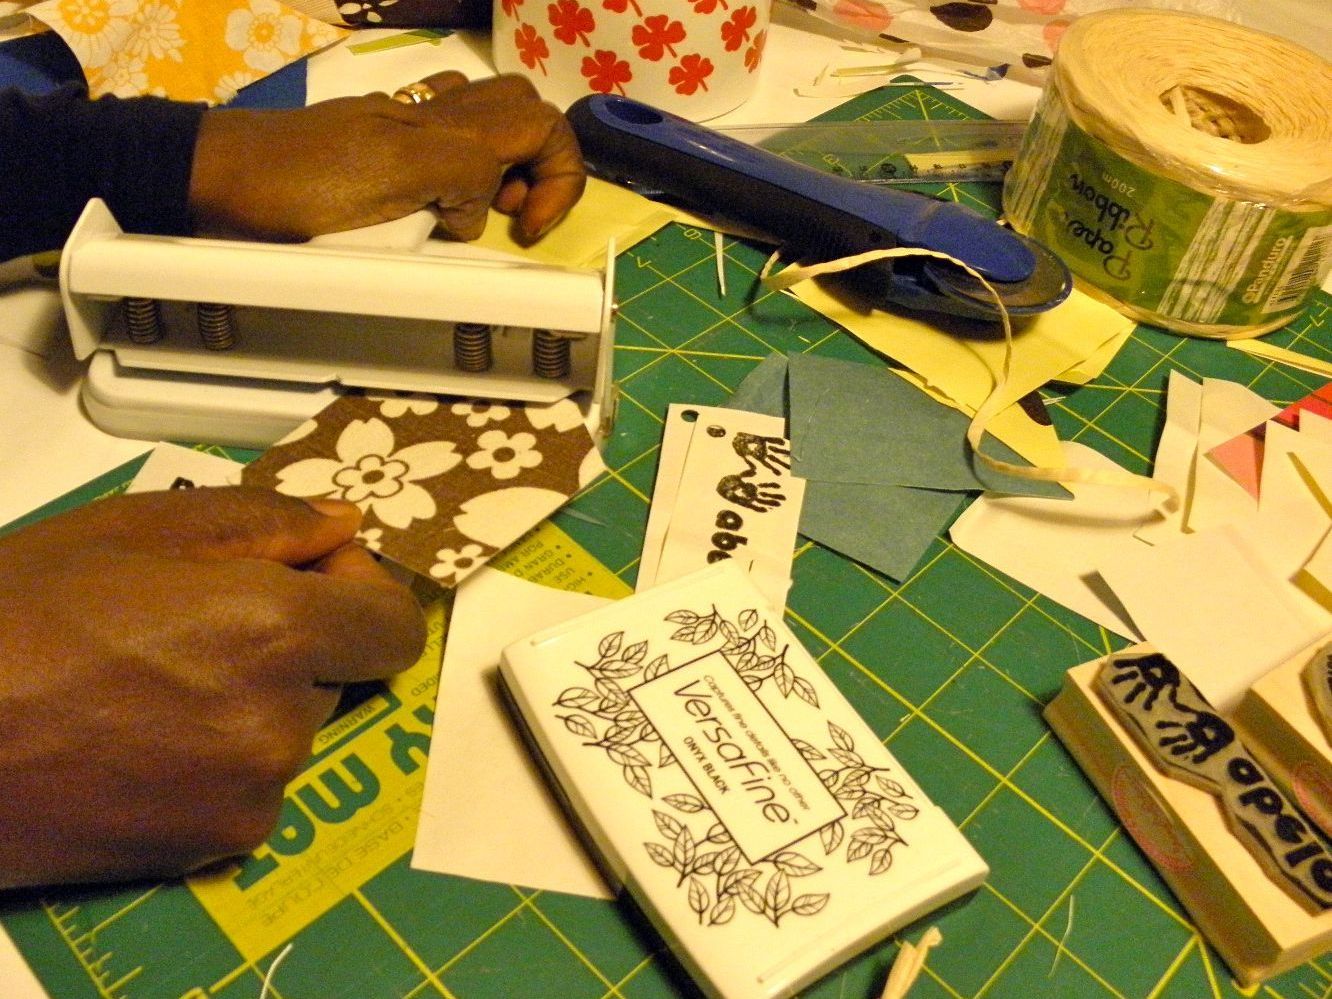
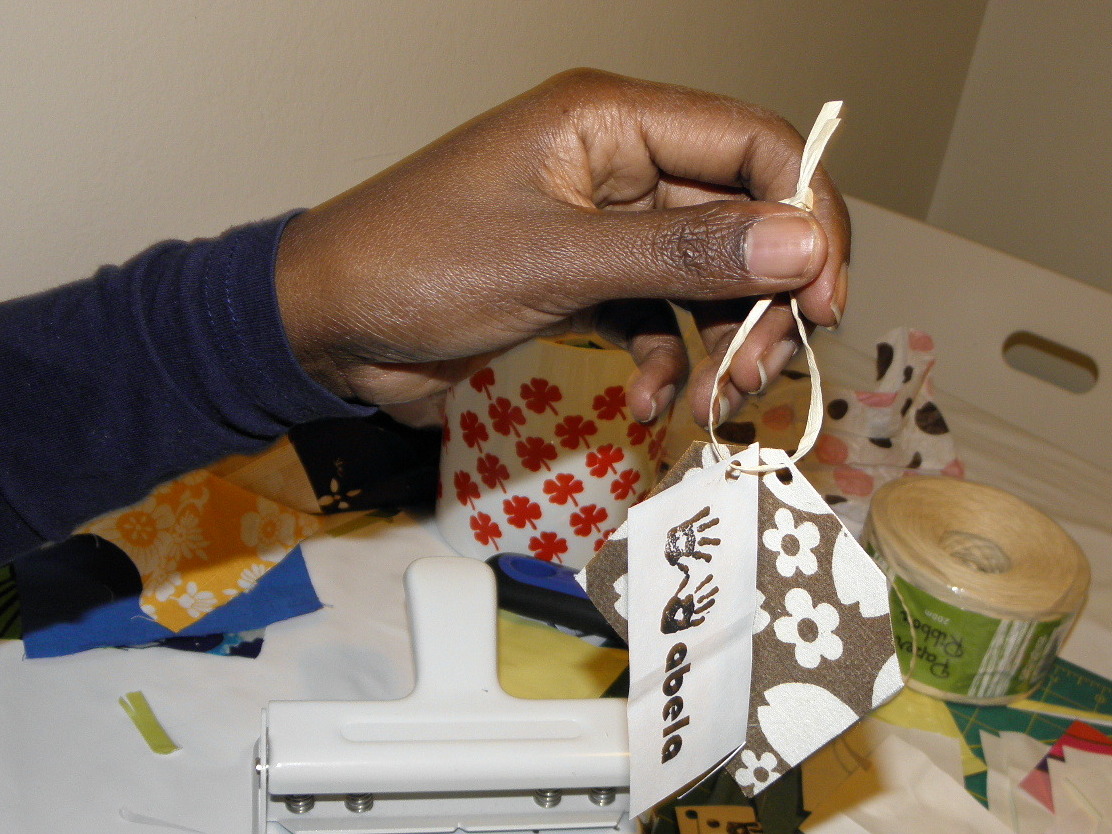
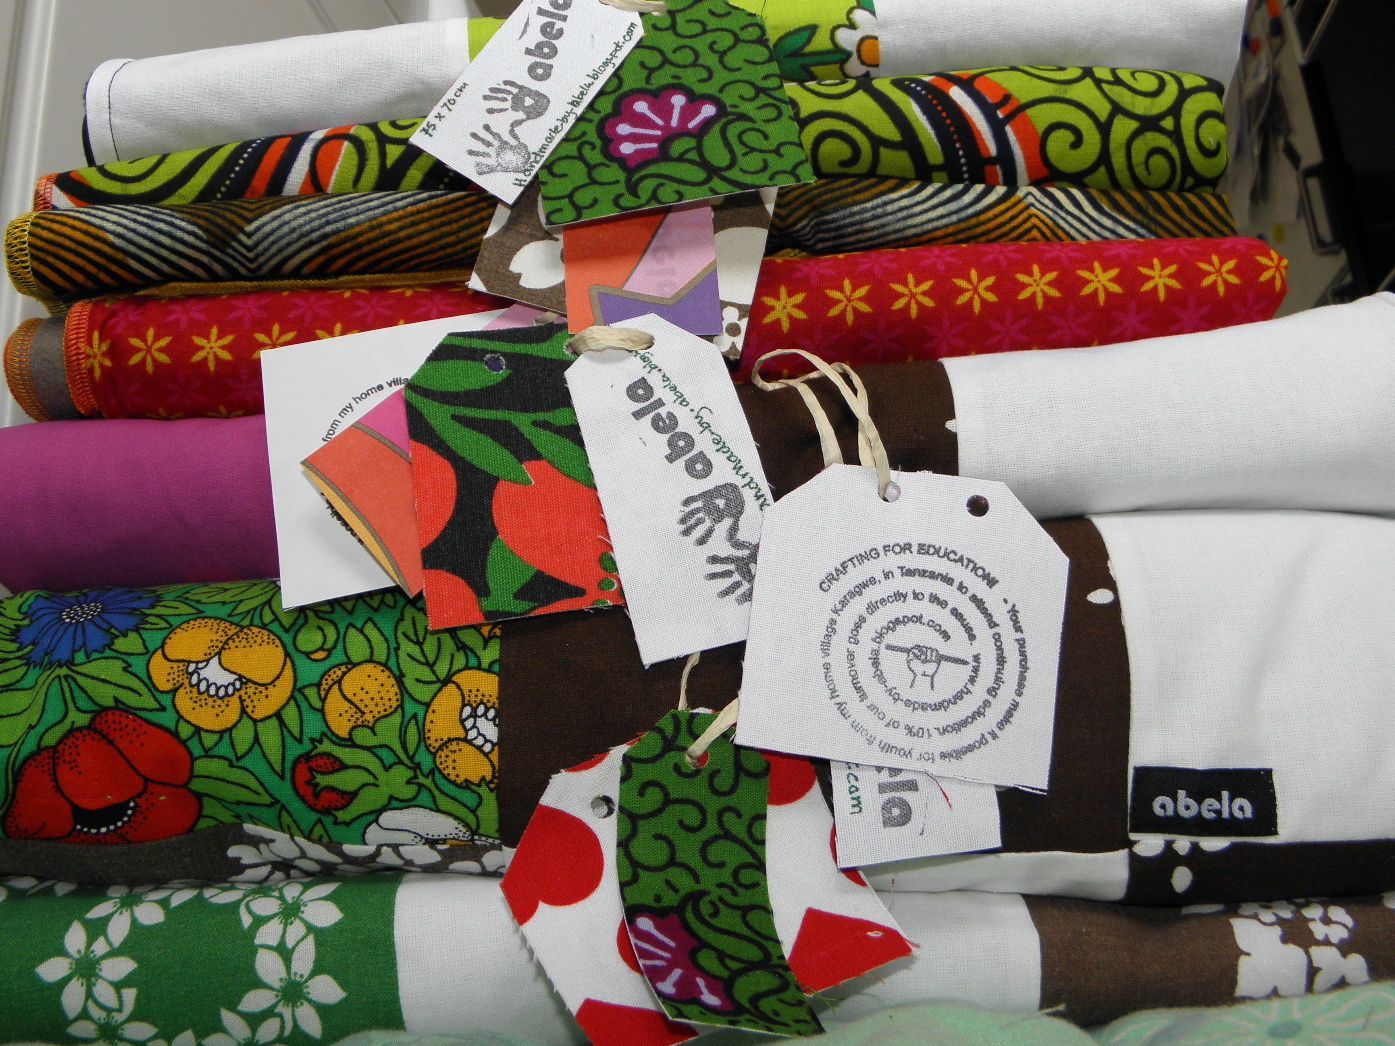
Sometimes running a handmade biz can get pretty pricey. You need labels, craft hang tags, etc. If you’re already crafty some of these things are easy, some are difficult, but you can just do it yourself. Today I thought I’d share a little tutorial with you all. I need tags for my craft, but everything costs money and crafting should be fun, not something to burden your personal finances. I looked around to see if I could buy customized tags, but it would be expensive in the long run, and not eco-friendly. I made the decision to make my own tags without spending “mucho dinero” and save the environment while doing it! I use small pieces of fabric leftovers that otherwise I would throw away and as result I get the most beautiful, colorful tags!
Projects from Make: Magazine
Eco-Friendly Craft & Shipping Tags
Make hang tags out of leftover materials.
