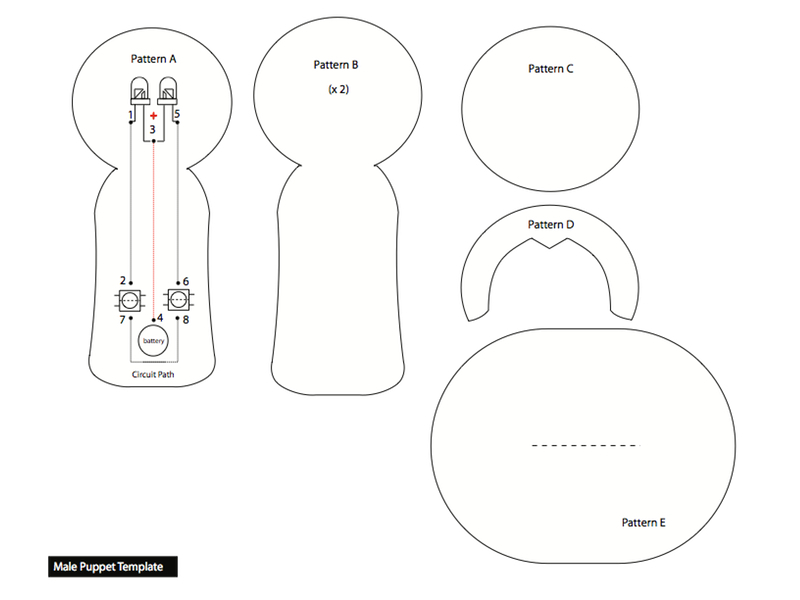
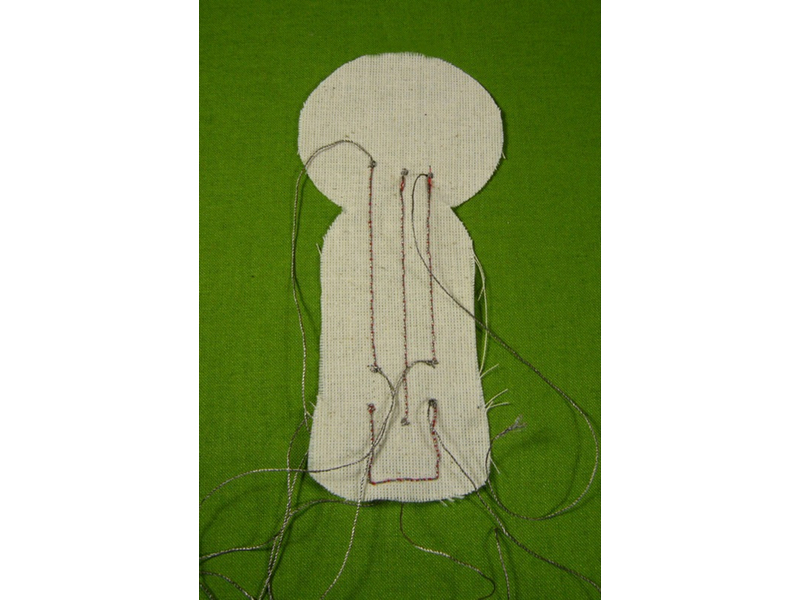
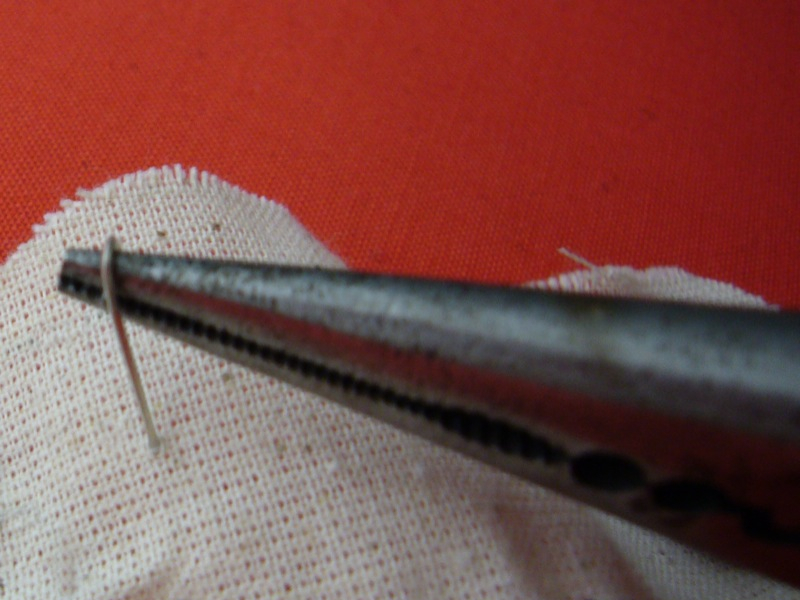
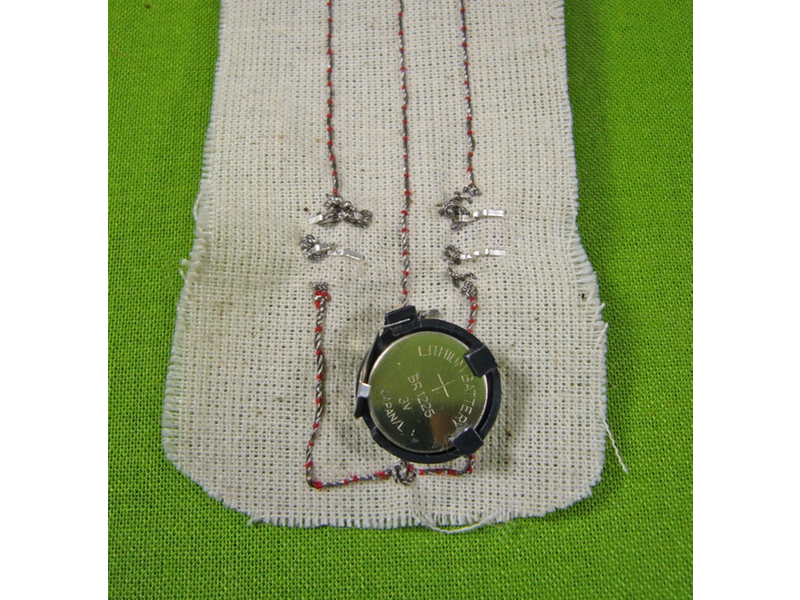
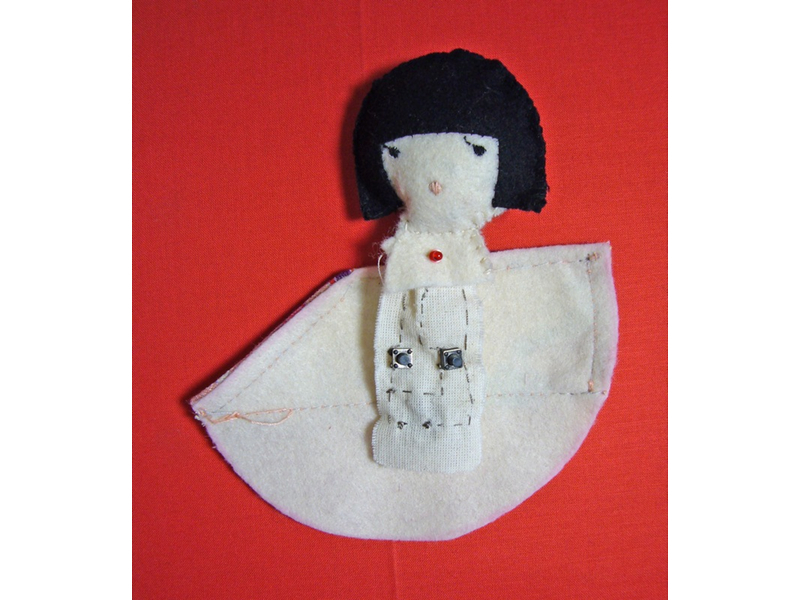
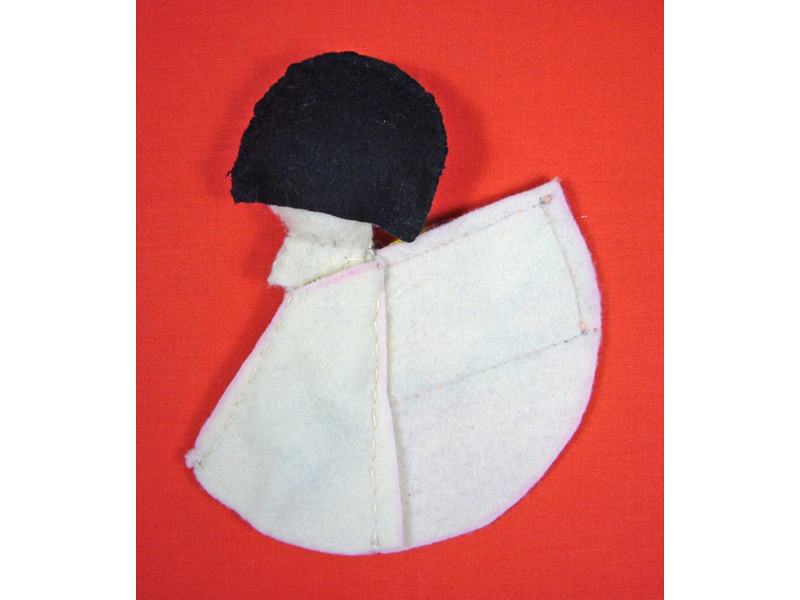
Now it’s time to sew on your battery pack. Each battery holder has 2 leads: a positive and a negative. The positive lead of the battery is typically marked with a plus. Flip over your muslin piece. You are going to sew your battery pack on the opposite side of the fabric. This will ensure easy access to your battery pack in order to change your battery. Pierce the positive lead through point 4 and the negative lead through the muslin, near the bottom of the path (between points 7 and 8). With needlenose pliers, bend the positive and negative leads flush to the fabric. Sew the loose conductive thread from point 4 to the positive lead, securing the battery holder to the fabric.
Thread your needle with a separate piece of conductive thread. Sew the negative lead of the battery pack to the bottom circuit path (between points 7 and 8).
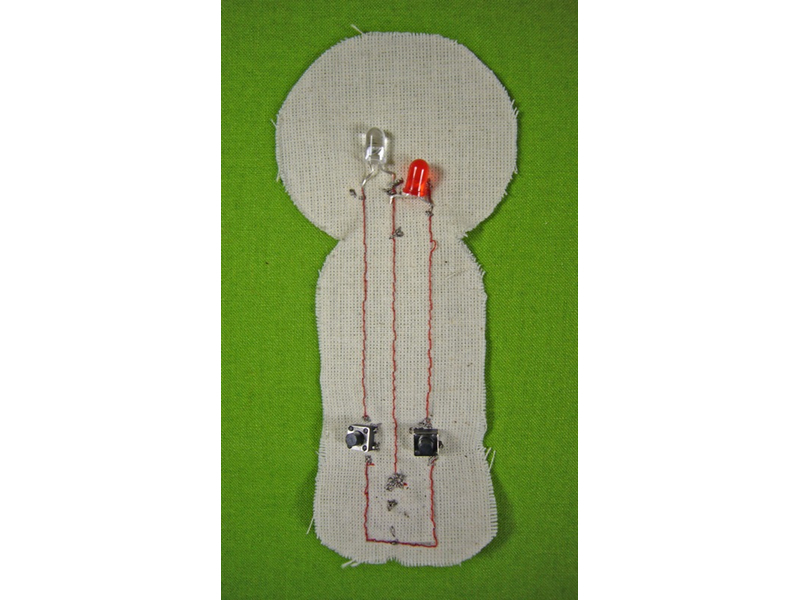
Congratulations! Your circuit is now complete!
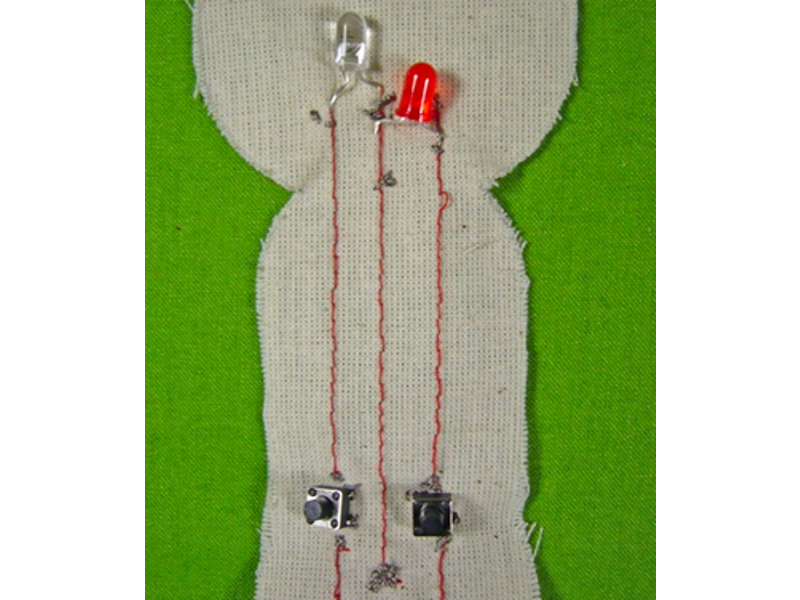
Drop in a battery and test out your circuit by pressing the switches. Your LEDs should light up.
To ensure that your circuit does not short at any point, cover your sewn circuit paths with a thin piece of tape or a liquid seam sealant like Fray Check.
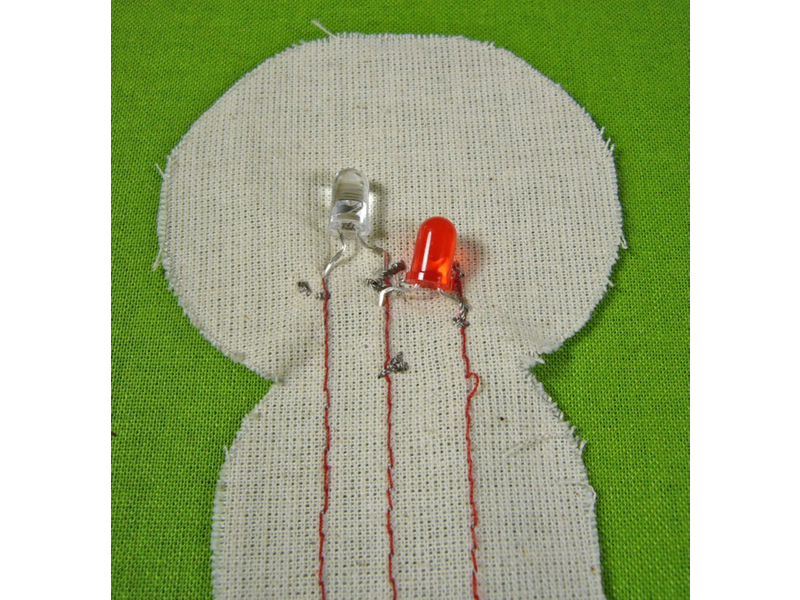
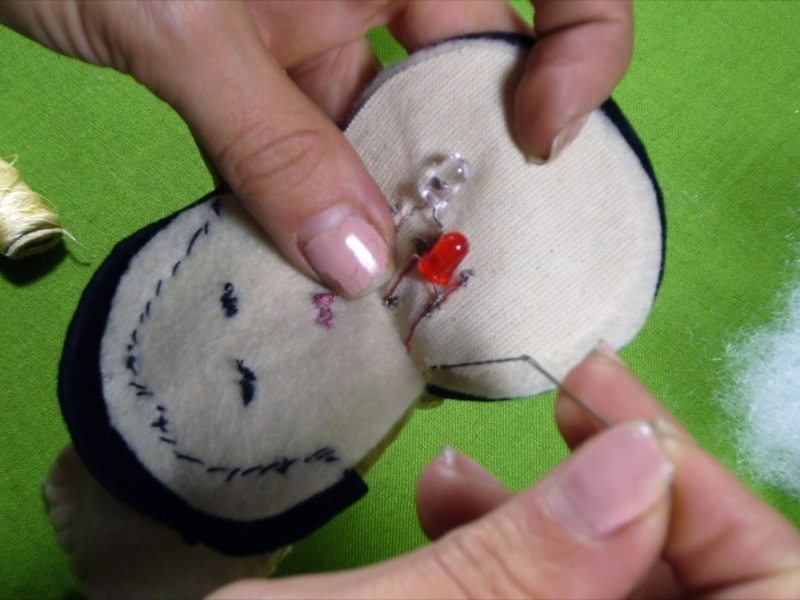
Blushing cheeks and a beating heart. You’ll notice the female puppet is wired differently, with 2 LEDs in her cheeks, both connected to the left switch, plus a third LED in the middle of Pattern A — her beating heart — connected to the right switch.
Sewing them is easy: the center red line is the positive path, just like in the male. All positive leads for all 3 LEDs are sewn with conductive thread directly onto the center path. The negative leads for the upper LEDs (cheeks) connect to each other, and then down to the left switch. The negative lead for the lower LED (heart) is sewn onto the farthest right path that leads to the second switch.


