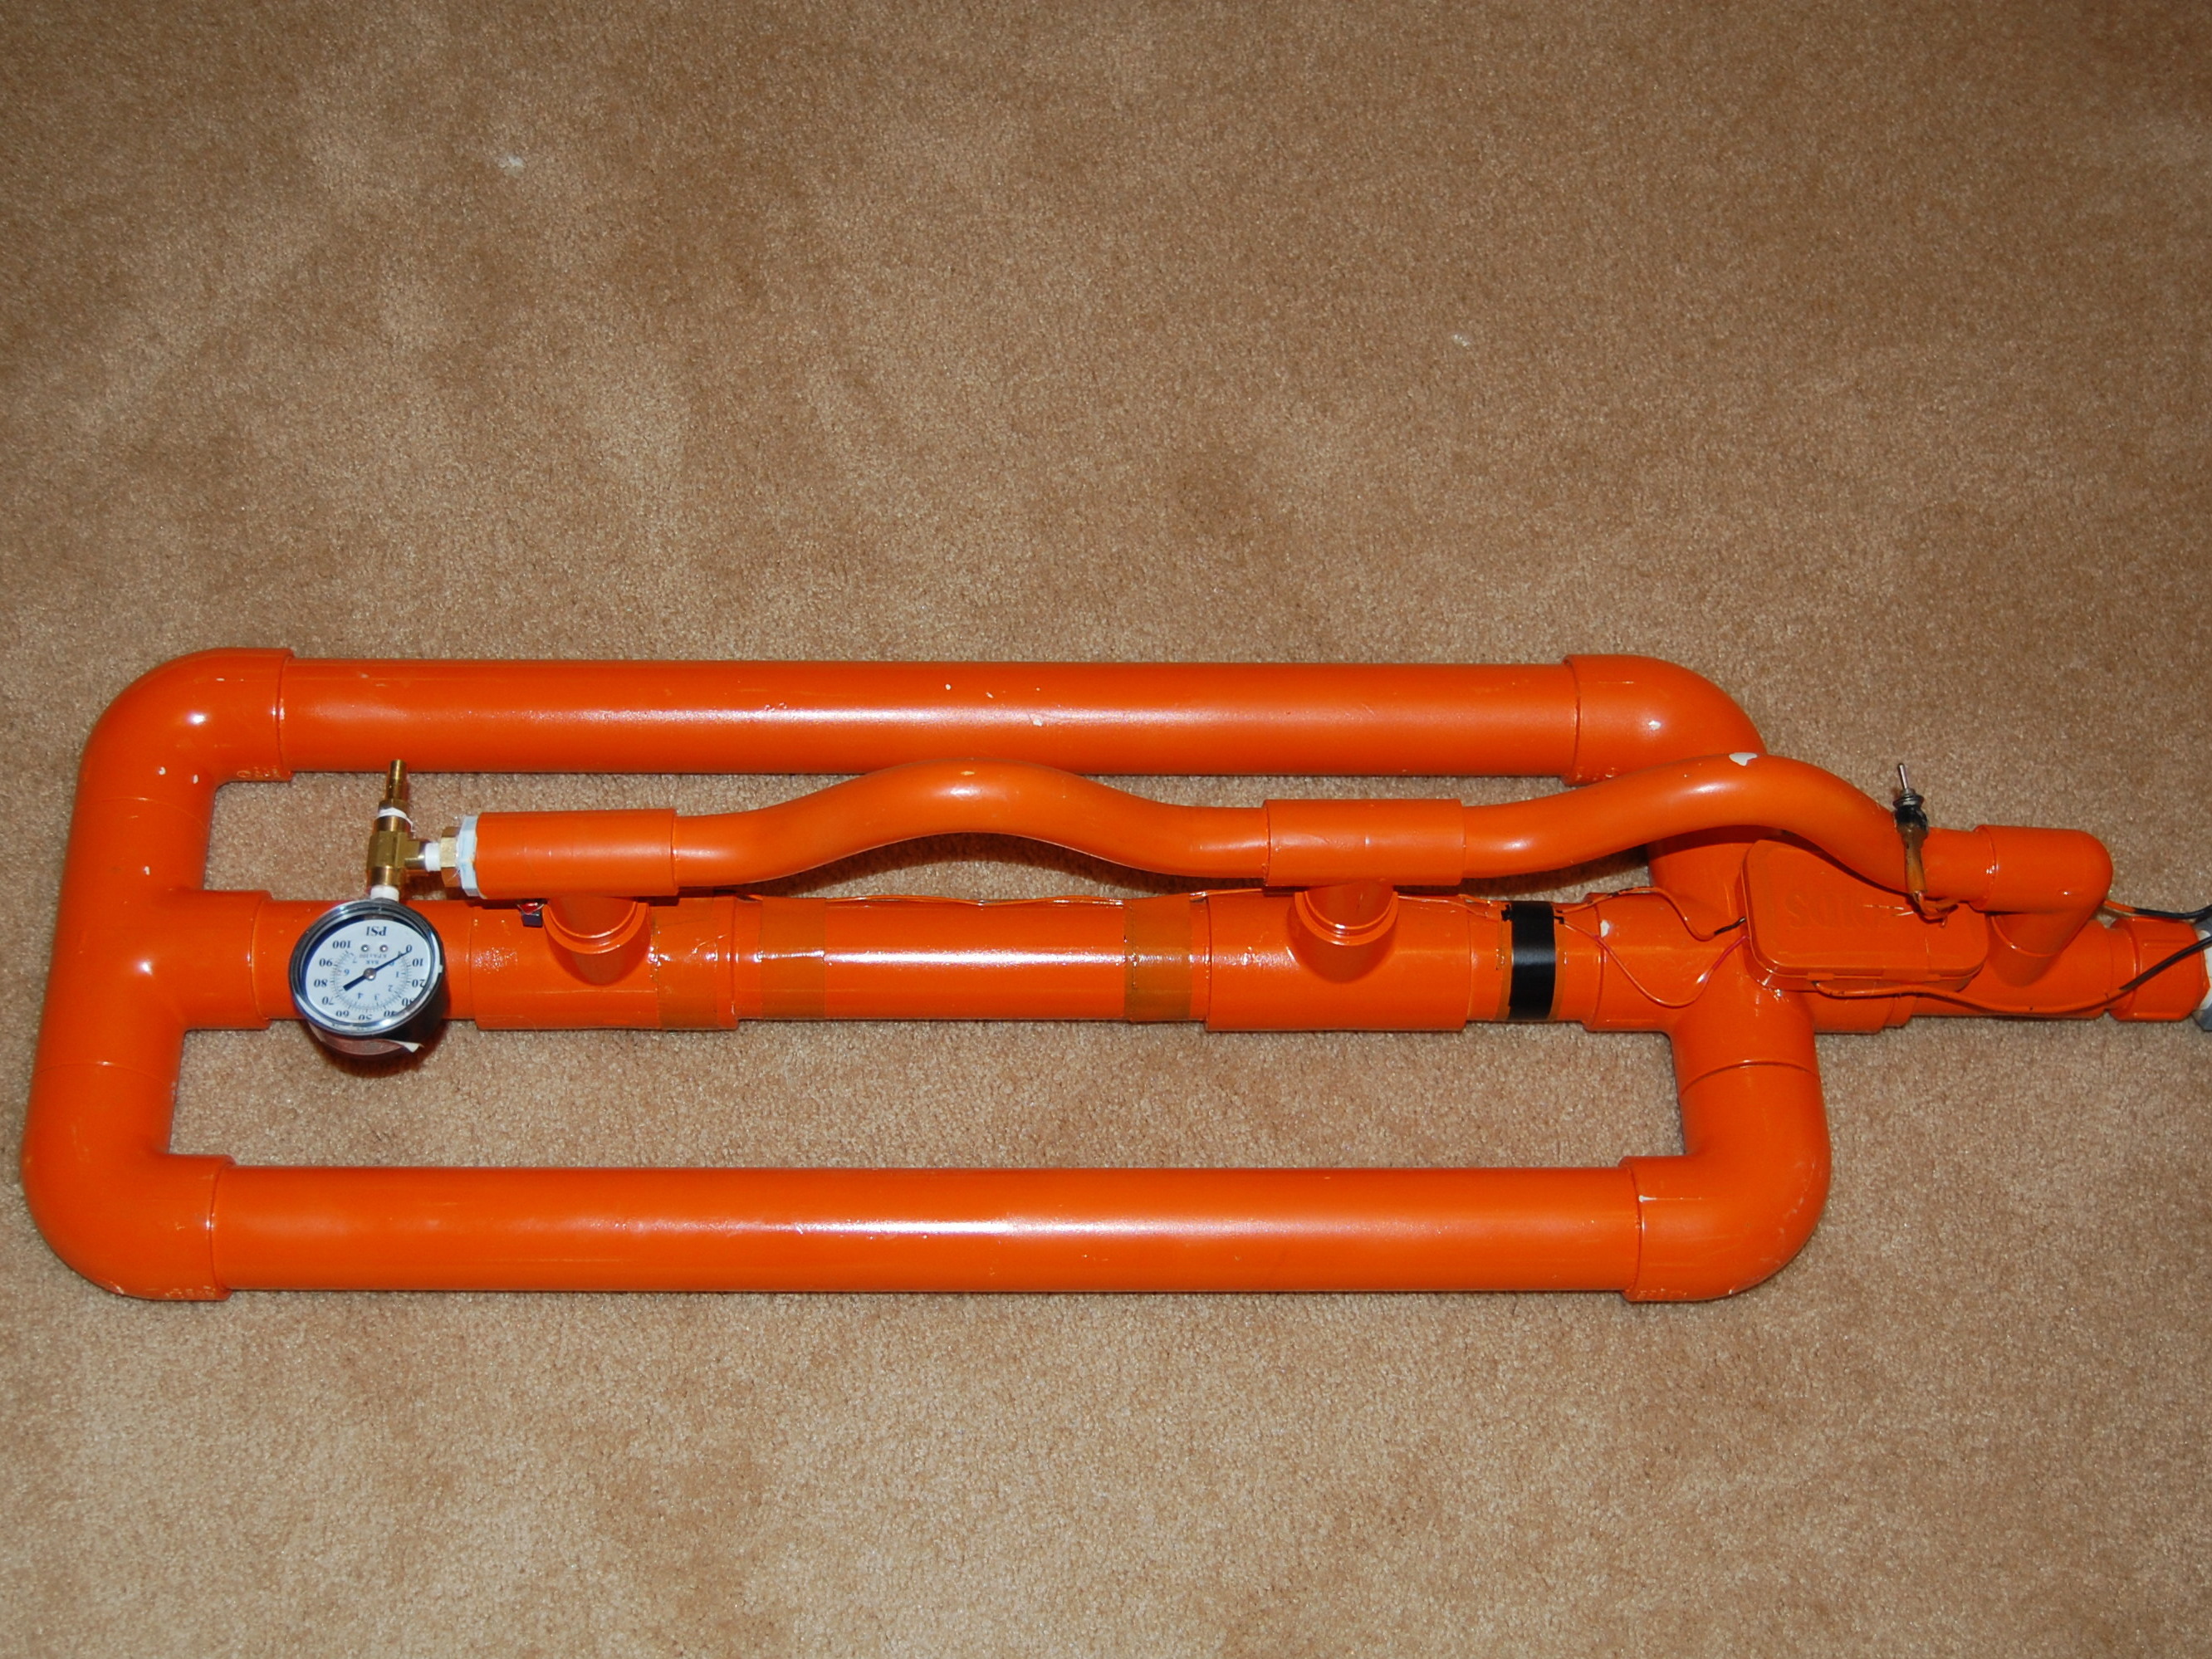
This project will take about 8 hours. It doesn’t need to be done all in one sitting. Enjoy and take your time.

What will the next generation of Make: look like? We’re inviting you to shape the future by investing in Make:. By becoming an investor, you help decide what’s next. The future of Make: is in your hands. Learn More.

Project Steps

Parts

Make sure you have everything you need.

Cut pieces are not pictured. You will cut these yourself.

PVC pipe joints need to be twisted when gluing them together. It makes a better seal. However, there are a few spots where twisting can’t be done.

Cut PVC as directed.

4 – 1 1/2″ x 2 1/4″

1 – 1 1/2″ x 6 1/2″

1 – 1 1/2″ x 10″

1 – 1 1/2″ x 3 7/8″

1 – 1″ x 2 1/2″

1 – 1″ x 2″

3 – 3/4″ x 1 1/2″

Lay out pieces to make sure you have everything.

Dry-fitting the entire project is a great idea. Some pieces may need to be sawed down to fit correctly. Lining up the handle can be tricky.

Draw guide marks. These will help you know when you’ve pushed the pipe in far enough, and keep it level.

Picture 2 shows an example of guide marks.

We will be starting with the bottom and working upwards.

Remember: PVC glue dries VERY fast.

You will spread PVC glue around the short pieces and inside the shaped pieces.

Push and twist together. Make VERY sure that they are all level. If they are not level the rest of the pieces will not fit.

Quickly after/while inserting the pieces we laid it flat on the table and pushed it flat. This makes sure the whole base is level.

Using the same method –

1 1/2″ x 12″ one on each side.

1 1/2″ x 6 1/2″ in the center.

Layout (Picture 1)

Glue the two pieces shown. (Pictures 2 and 3)

Layout

Glue a piece 1 1/2″ x 10″ into the two T pieces. Set aside.

Glue together part of the handle. (Picture 1)

Glue the two together.

Glue the whole piece into the center piece.

Layout

Glue together as shown in picture 2.

Glue whole piece into main piece.

Layout

Glue bushing & small piece into top of X piece. (Picture 2)

Glue the next handle. (Picture 3)

Glue small piece into small elbow. (Picture 1)

Glue elbow into end of handle. (Picture 2)

Glue T piece into both small pieces. (Picture 3)

Glue small piece into end of T (Picture 1).

Layout

Glue pieces as shown (Picture 2).

Use PVC tape for all screw fittings.

Other end.

Glue piece into PVC.

Screw pieces in as shown. (Pictures 2 & 3)

Remember to use PVC tape.

Continue with end assembly.

Before and after paint

Put a 12″ piece of PVC into the top. This is where the marshmallows will be loaded and fired.

You will need to solder wires from the sprinkler valve, switches and extra wire to battery pack. Hide battery in Altoids can.

One switch is your safety, the other is the firing switch.

Load marshmallow. Pump with bike pump to 30 PSI. Flip your safety off and fire. The marshmallows will go far, so make sure you have a safe area to shoot them.

WARNING: Only pump the air cannon to 30PSI. Any more could result in damage to cannon or yourself.