This guide will teach you how to make your very own Tron Costume with EZ-EL Wire! For more cool ideas check out https://ez-el.com/tutorials!

The EZ-EL Wire Kit you will need for this project can be purchased here.

Enter coupon code MAKEtron at checkout for a discount!

Project Steps

Here is what the finished project will look like!

Draft out where the inputs and outputs will be on the wet suit. Use splitter cables and extension cables to connect wires to the 9V inverter.

After measuring out how much wire is needed for each article of clothing, cut off the excess wires. Make sure the EL wire is long enough so that the inputs can be added.

Tip: To be safe, leave yourself with extra wire while soldering so that in the case of any errors there is enough space to re-solder the EL wire.

Use an X-acto knife and scissors to cut holes into the top of the arm pads so that the EL wire can be threaded through. When threading the EL wire through, start with the tip that isn’t soldered, and go from inside the arm pad so that the input ends up inside the arm pad and hidden. Then sew the EL wire onto the arm pads according to the design created and use the rest of the EL wire to sew around the edges of the arm pads. Tip: Sewing along stretchable material should be avoided to ensure that the costume does not wear out quickly.

Shin Guards: Start with the tip that isn’t soldered on one side of the shin guards. Sew the translucent thread around the EL wire as you flex the wire around the edges of the shin guards.

Keep repeating the same step until you have reached back to the top of the shin guard. There should be an extra 4-6 inches at the end so the input can reach the output.

Pants: Before starting on the pants, make sure the output is located on the hip of the pants. Start sewing the EL wire onto the borders of the top padding. The wires should connect with the bottom padding.

As you can see, three holes were made to loop the EL wire in and out of the padding of the pants in accordance withthe design.

Mark the shoulder pads with a pen and tape where you want the holes to be. The material is not very strong, so mistakes should be avoided while drilling. Use the drill to make holes into the shoulder pads so the EL wire can be looped through. (Refer to additional pictures to see where the holes were drilled) Use E-6000 glue on parts that can’t be sewn onto. Sew the EL wire onto the velcro to make the EL wire stable. Make sure you pull the EL wire to make it stiff before sewing.

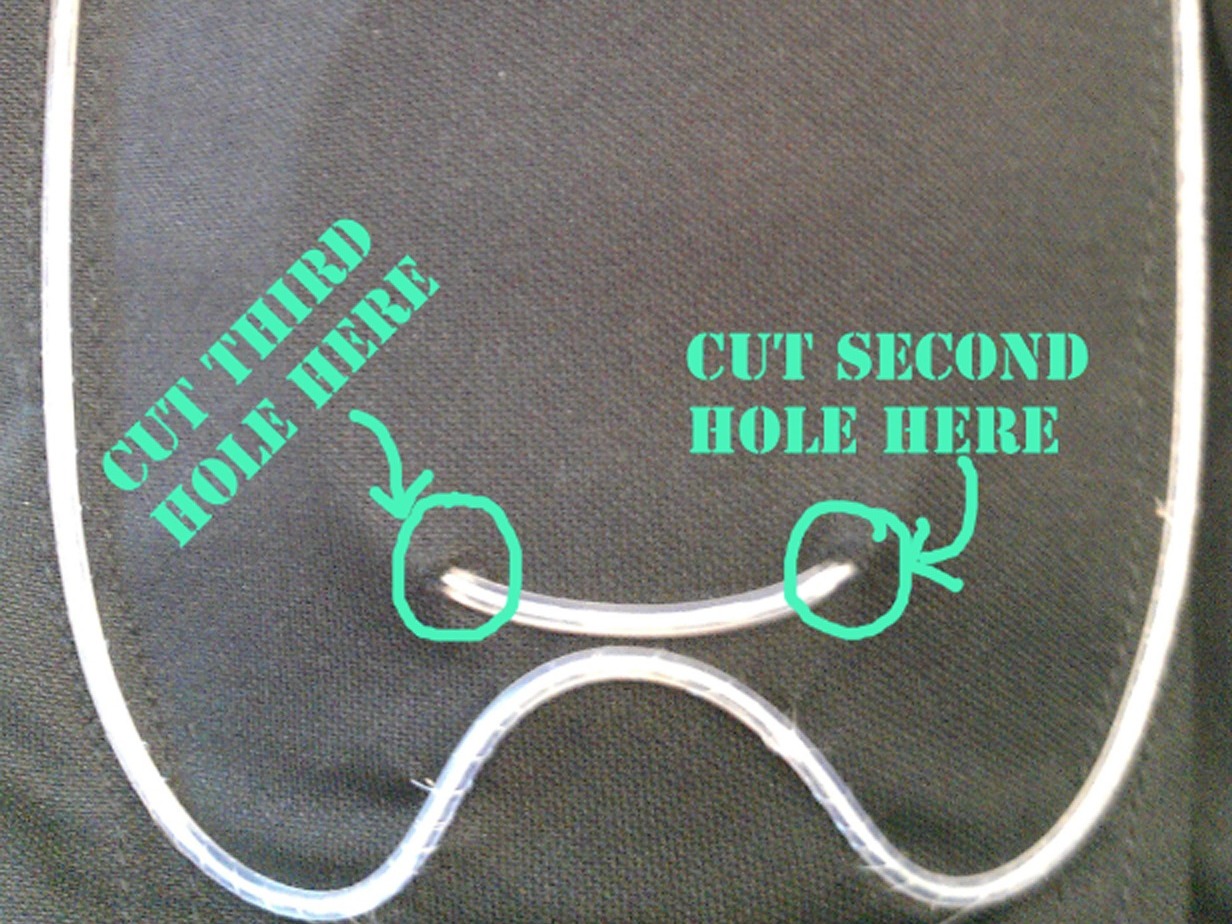
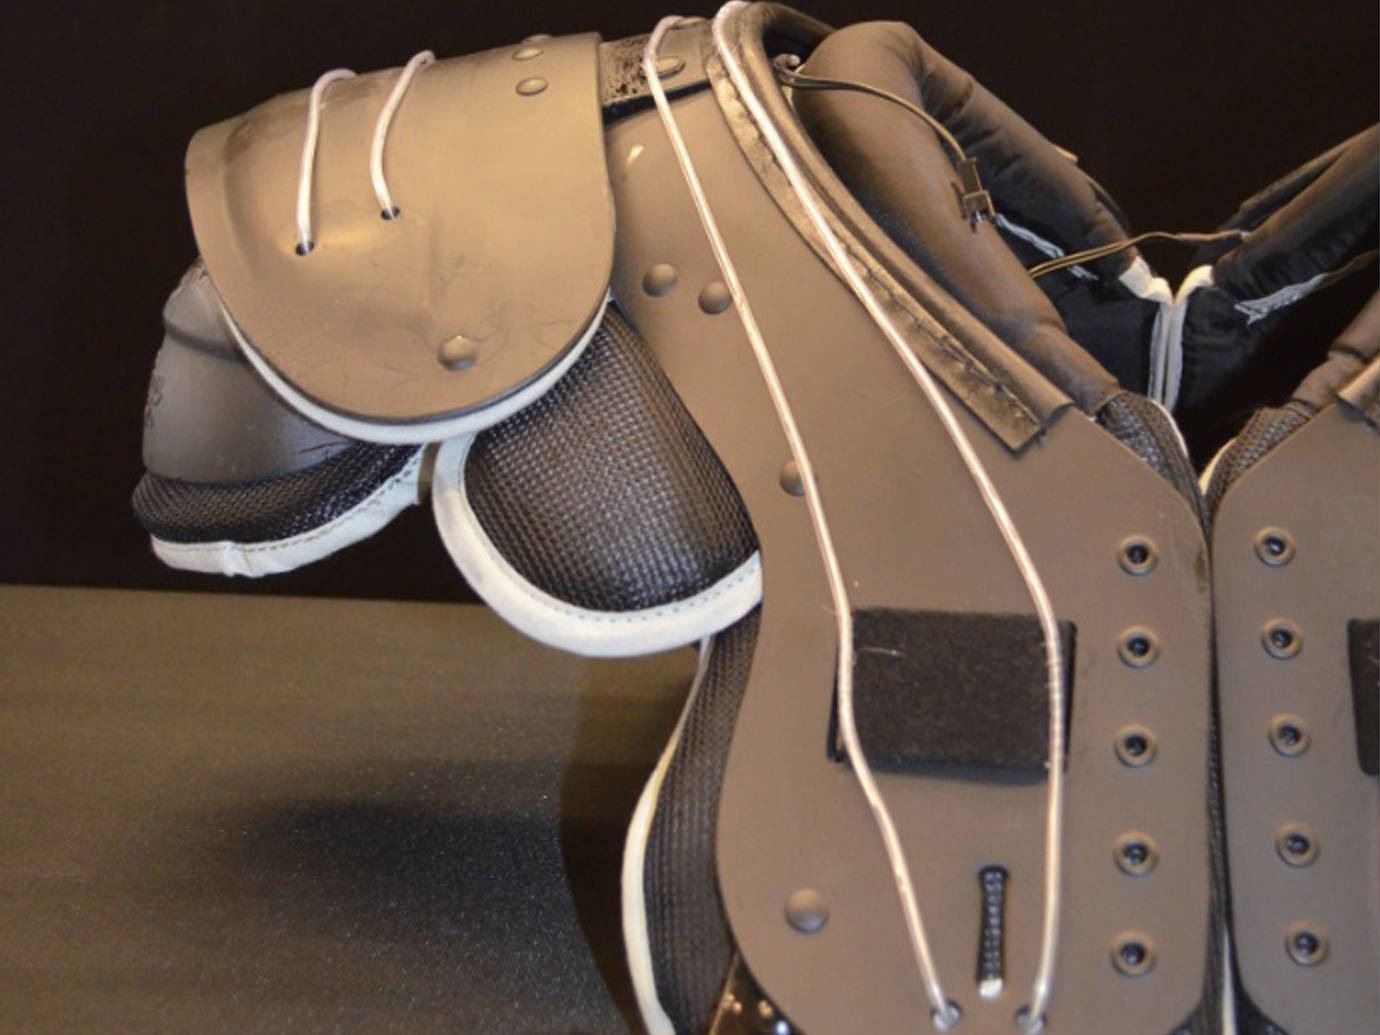
You will need to drill four holes on one side of the disc, and two holes on the other side in order to slide the EL wire through. Once you are done looping the EL wire, apply the E- 6000 glue and use either gorilla tape or painter’s tape to hold the EL wire down.

The disc has a separate 3V Inverter taped under the disc. Velcro can be attached to the 3V Inverter, with the other side of the velcro on the shoulder pads. That way you can attach the disc to your back when you please.

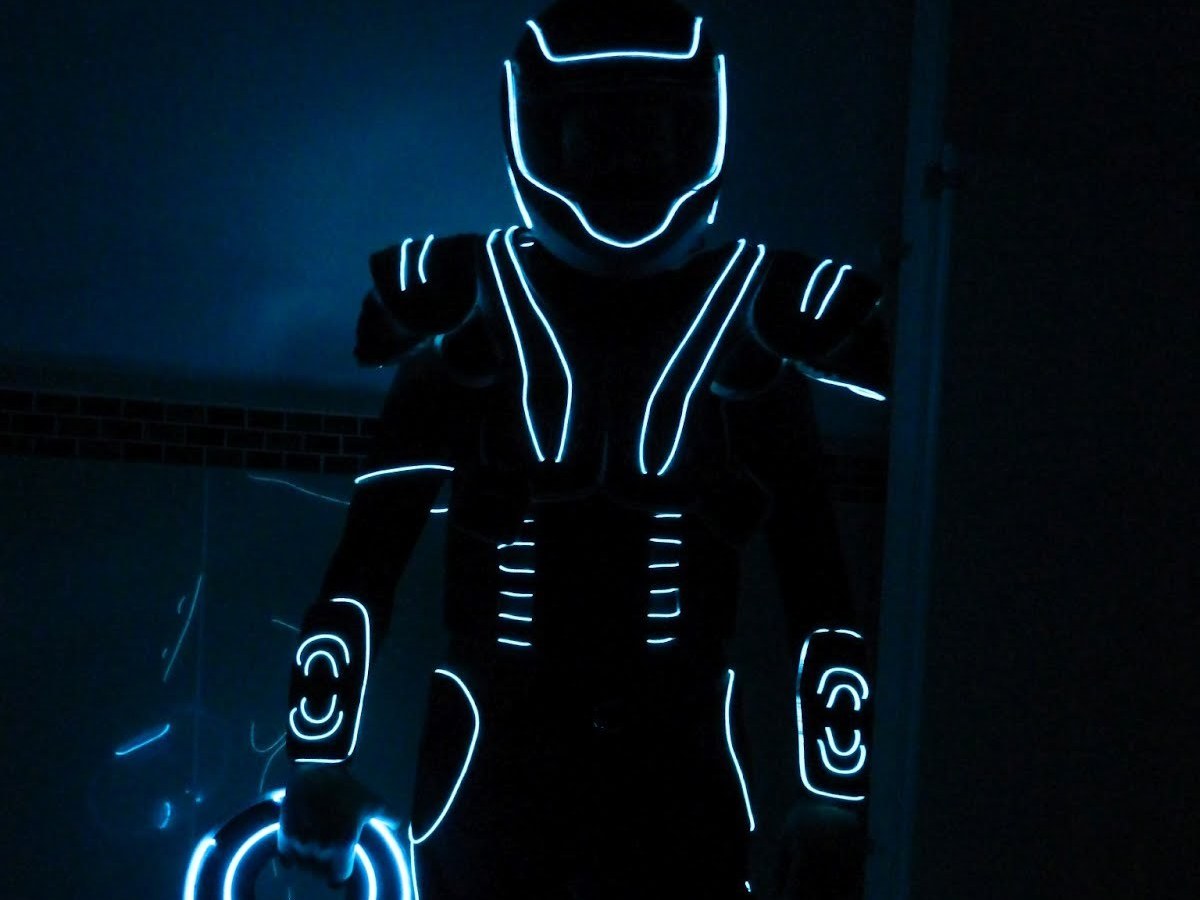
Helmet: Use a Dremel to create a groove for the wire to sit in (Refer to additional picture).

Next, apply E-6000 glue and place the EL wire along the groove of the helmet. Make sure you tape as you go. Remember to let the glue sit for 72 hours to dry.

SUIT UP! Have fun with your awesome new costume.