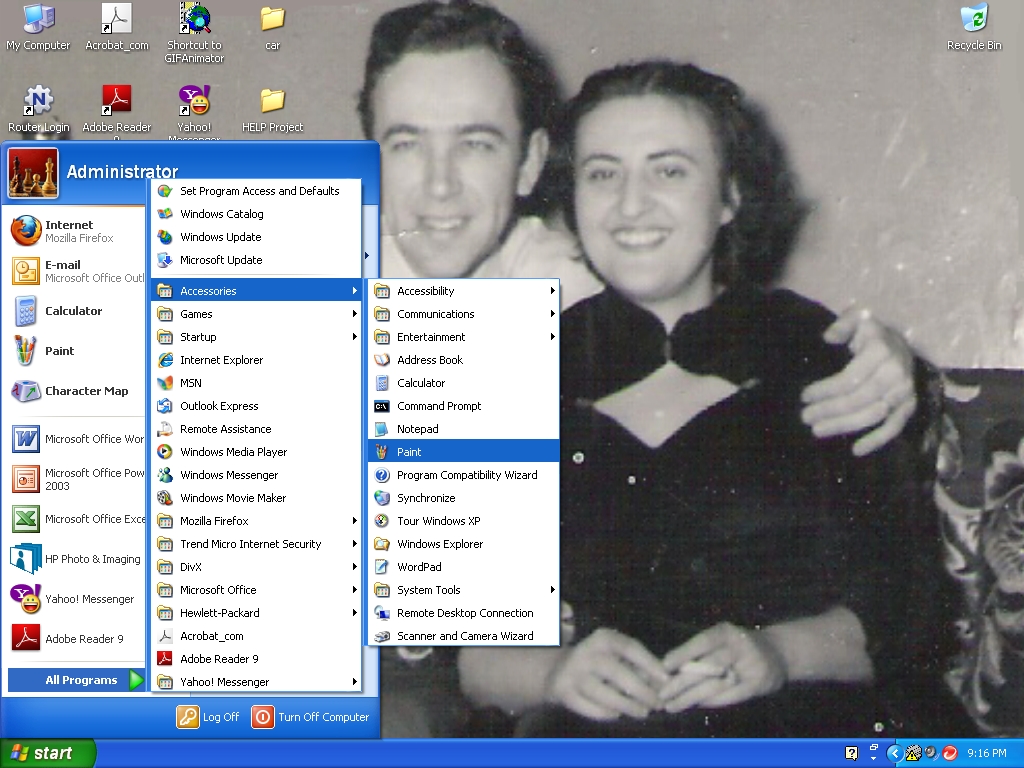
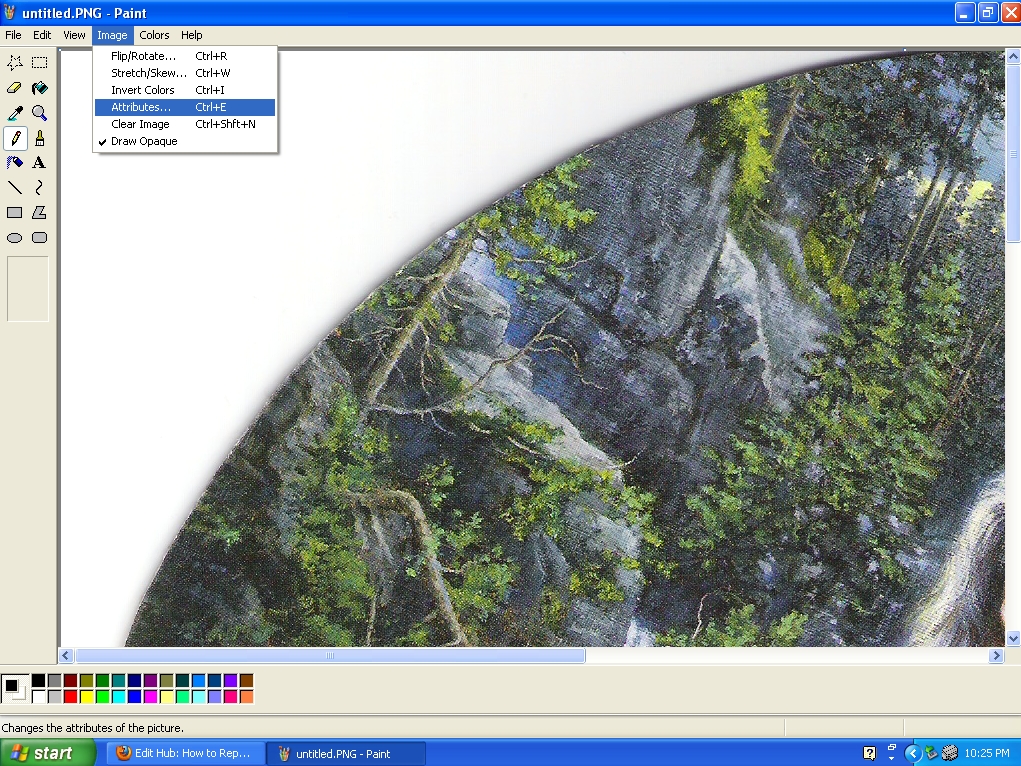
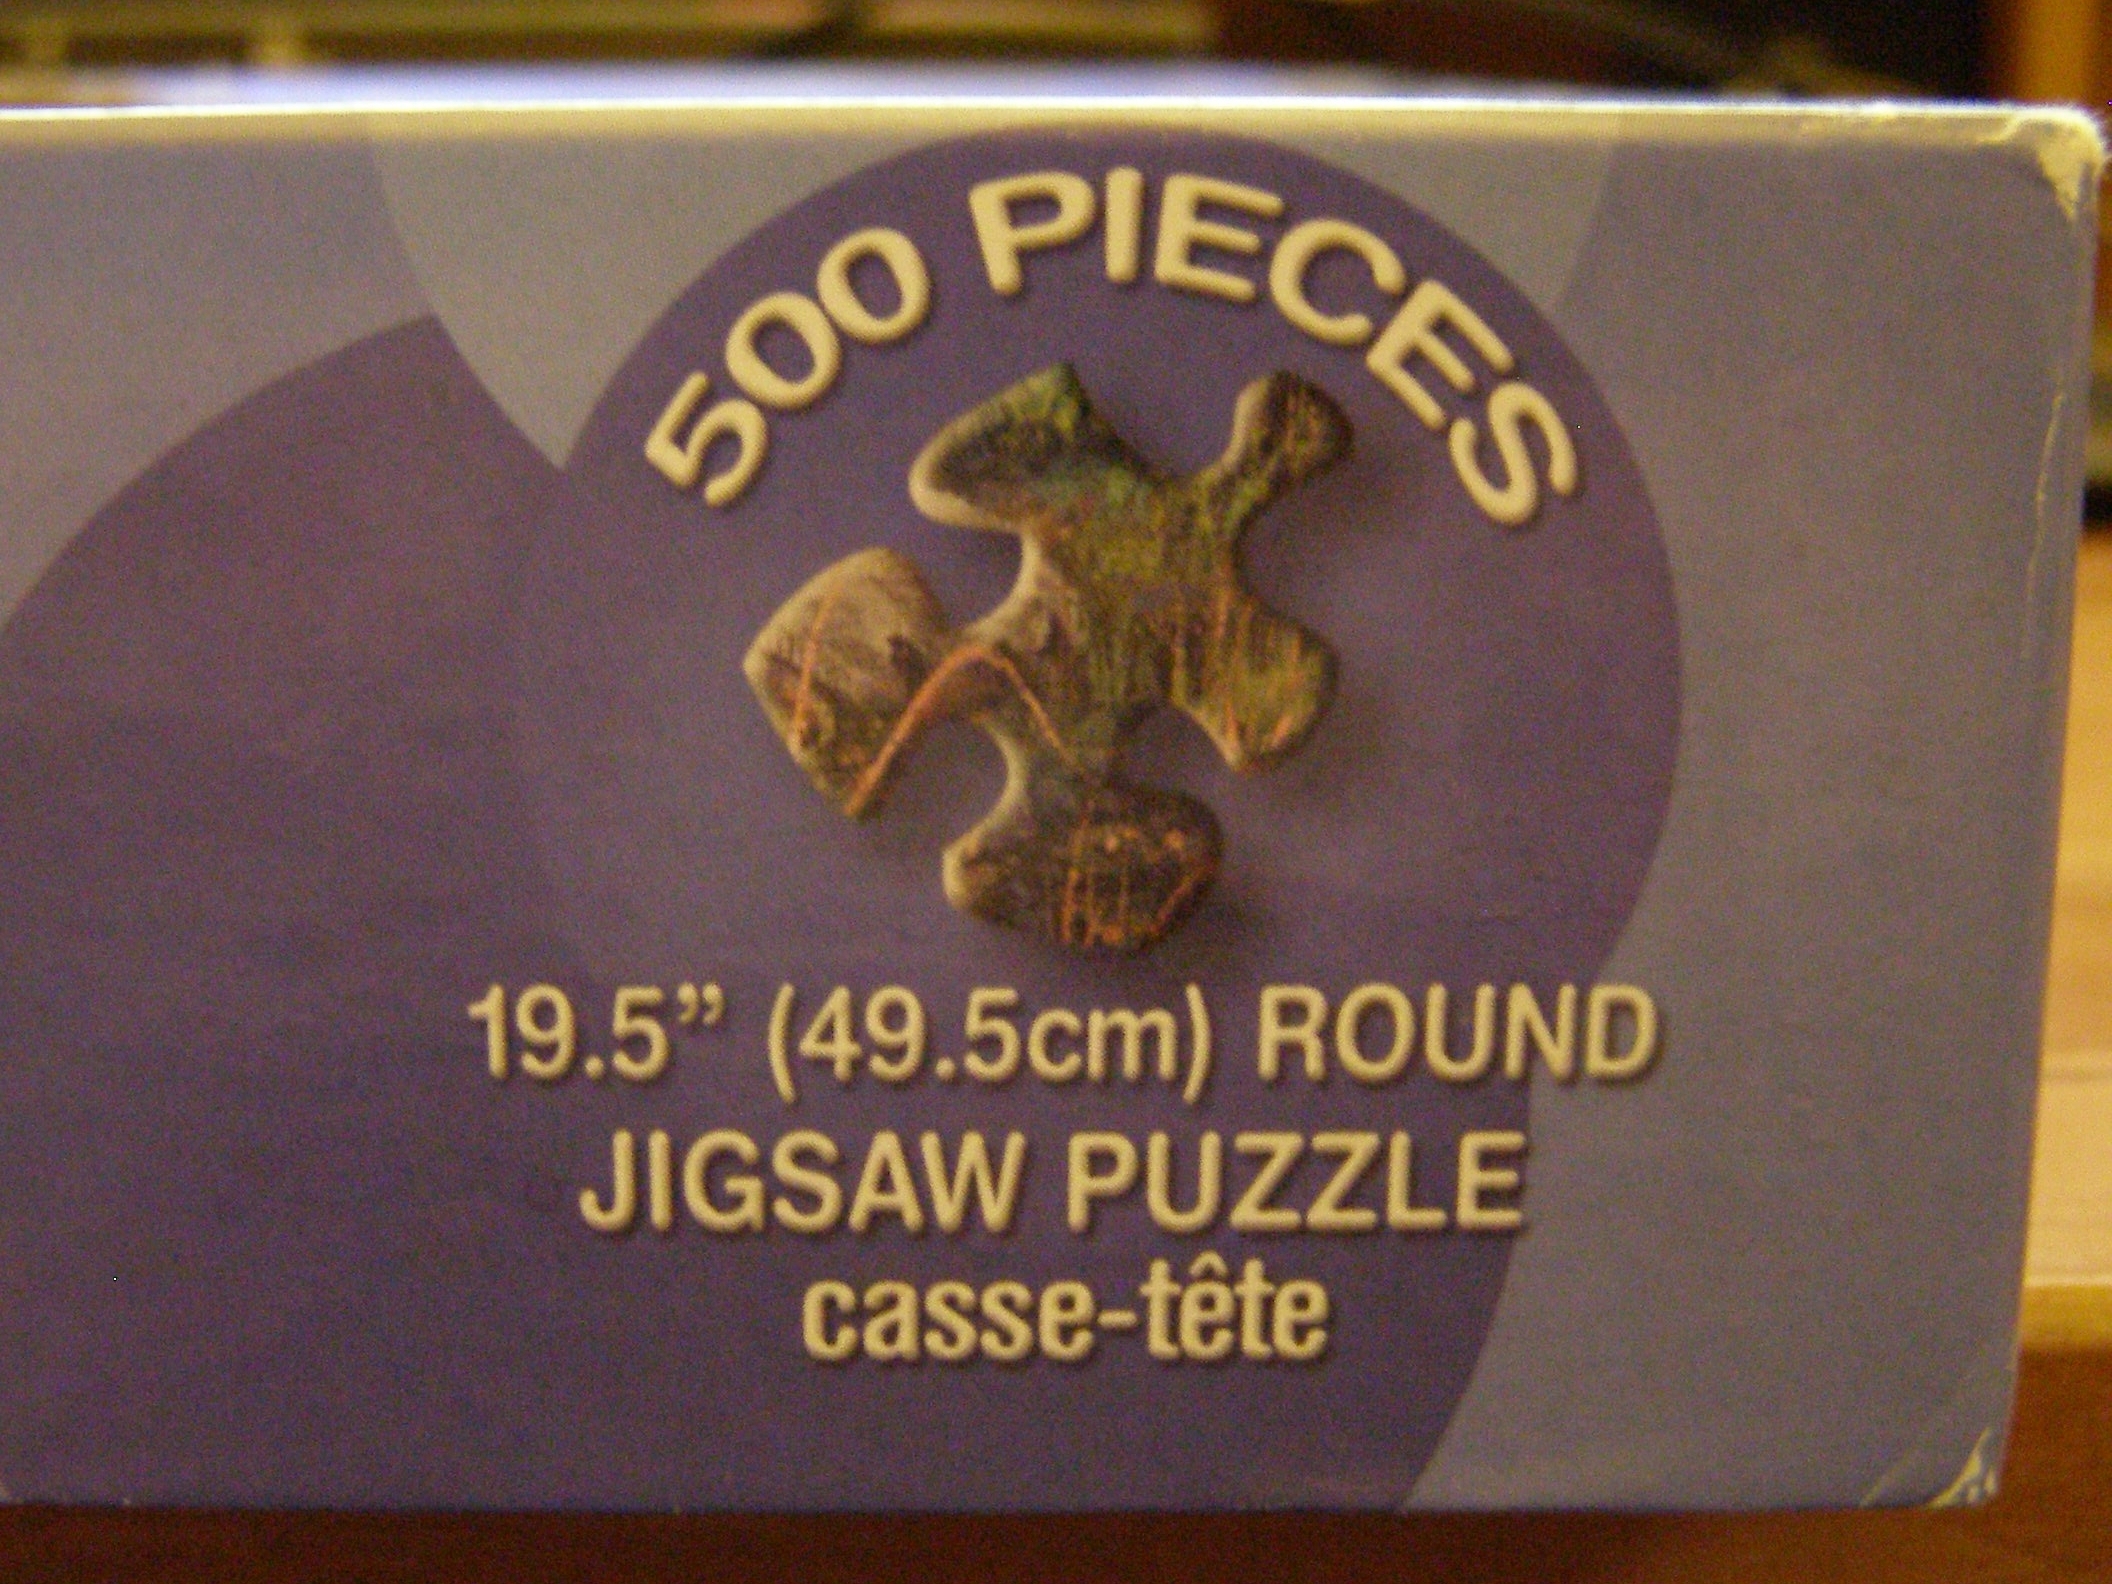
Make a note of the actual dimensions of the completed puzzle (usually found on the front or side of the box). Then, go back to the IMAGE menu on the task bar, and select “Stretch and Skew.”
In the entry fields for “Horizontal” and “Vertical”, you can enter a number either larger than 100%, or smaller (100% being the size of the image, as it currently appears on screen; and a number either greater or lesser than 100, enlarging or reducing its size, respectively). Determining what percentage to enter requires a little math…
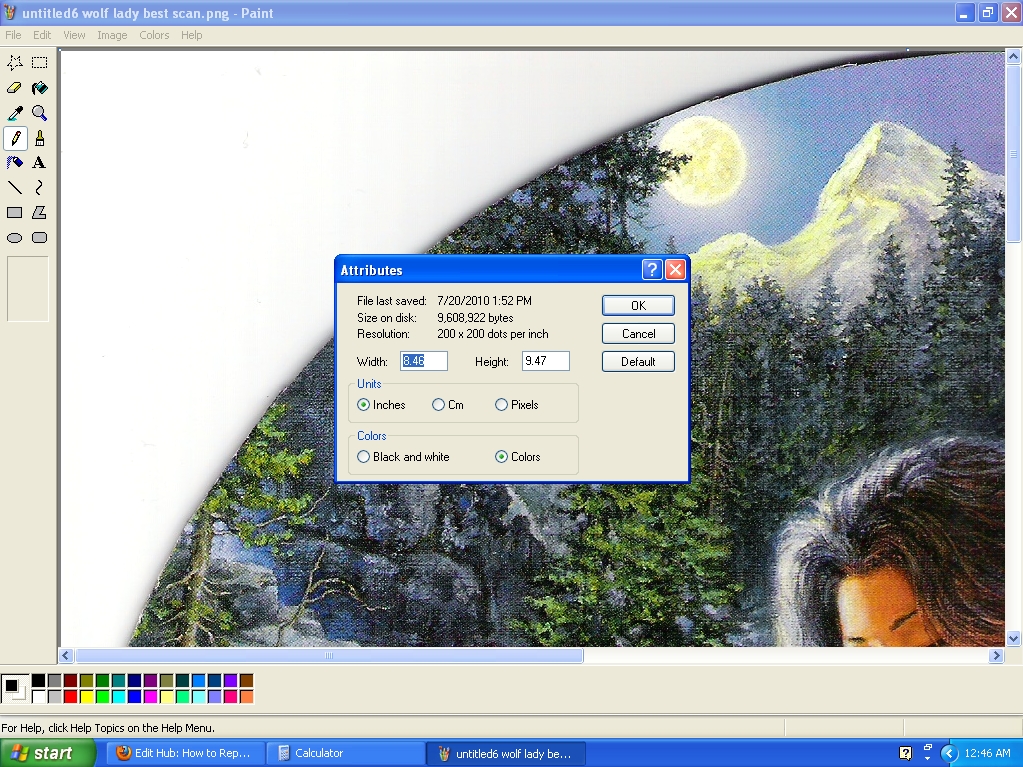
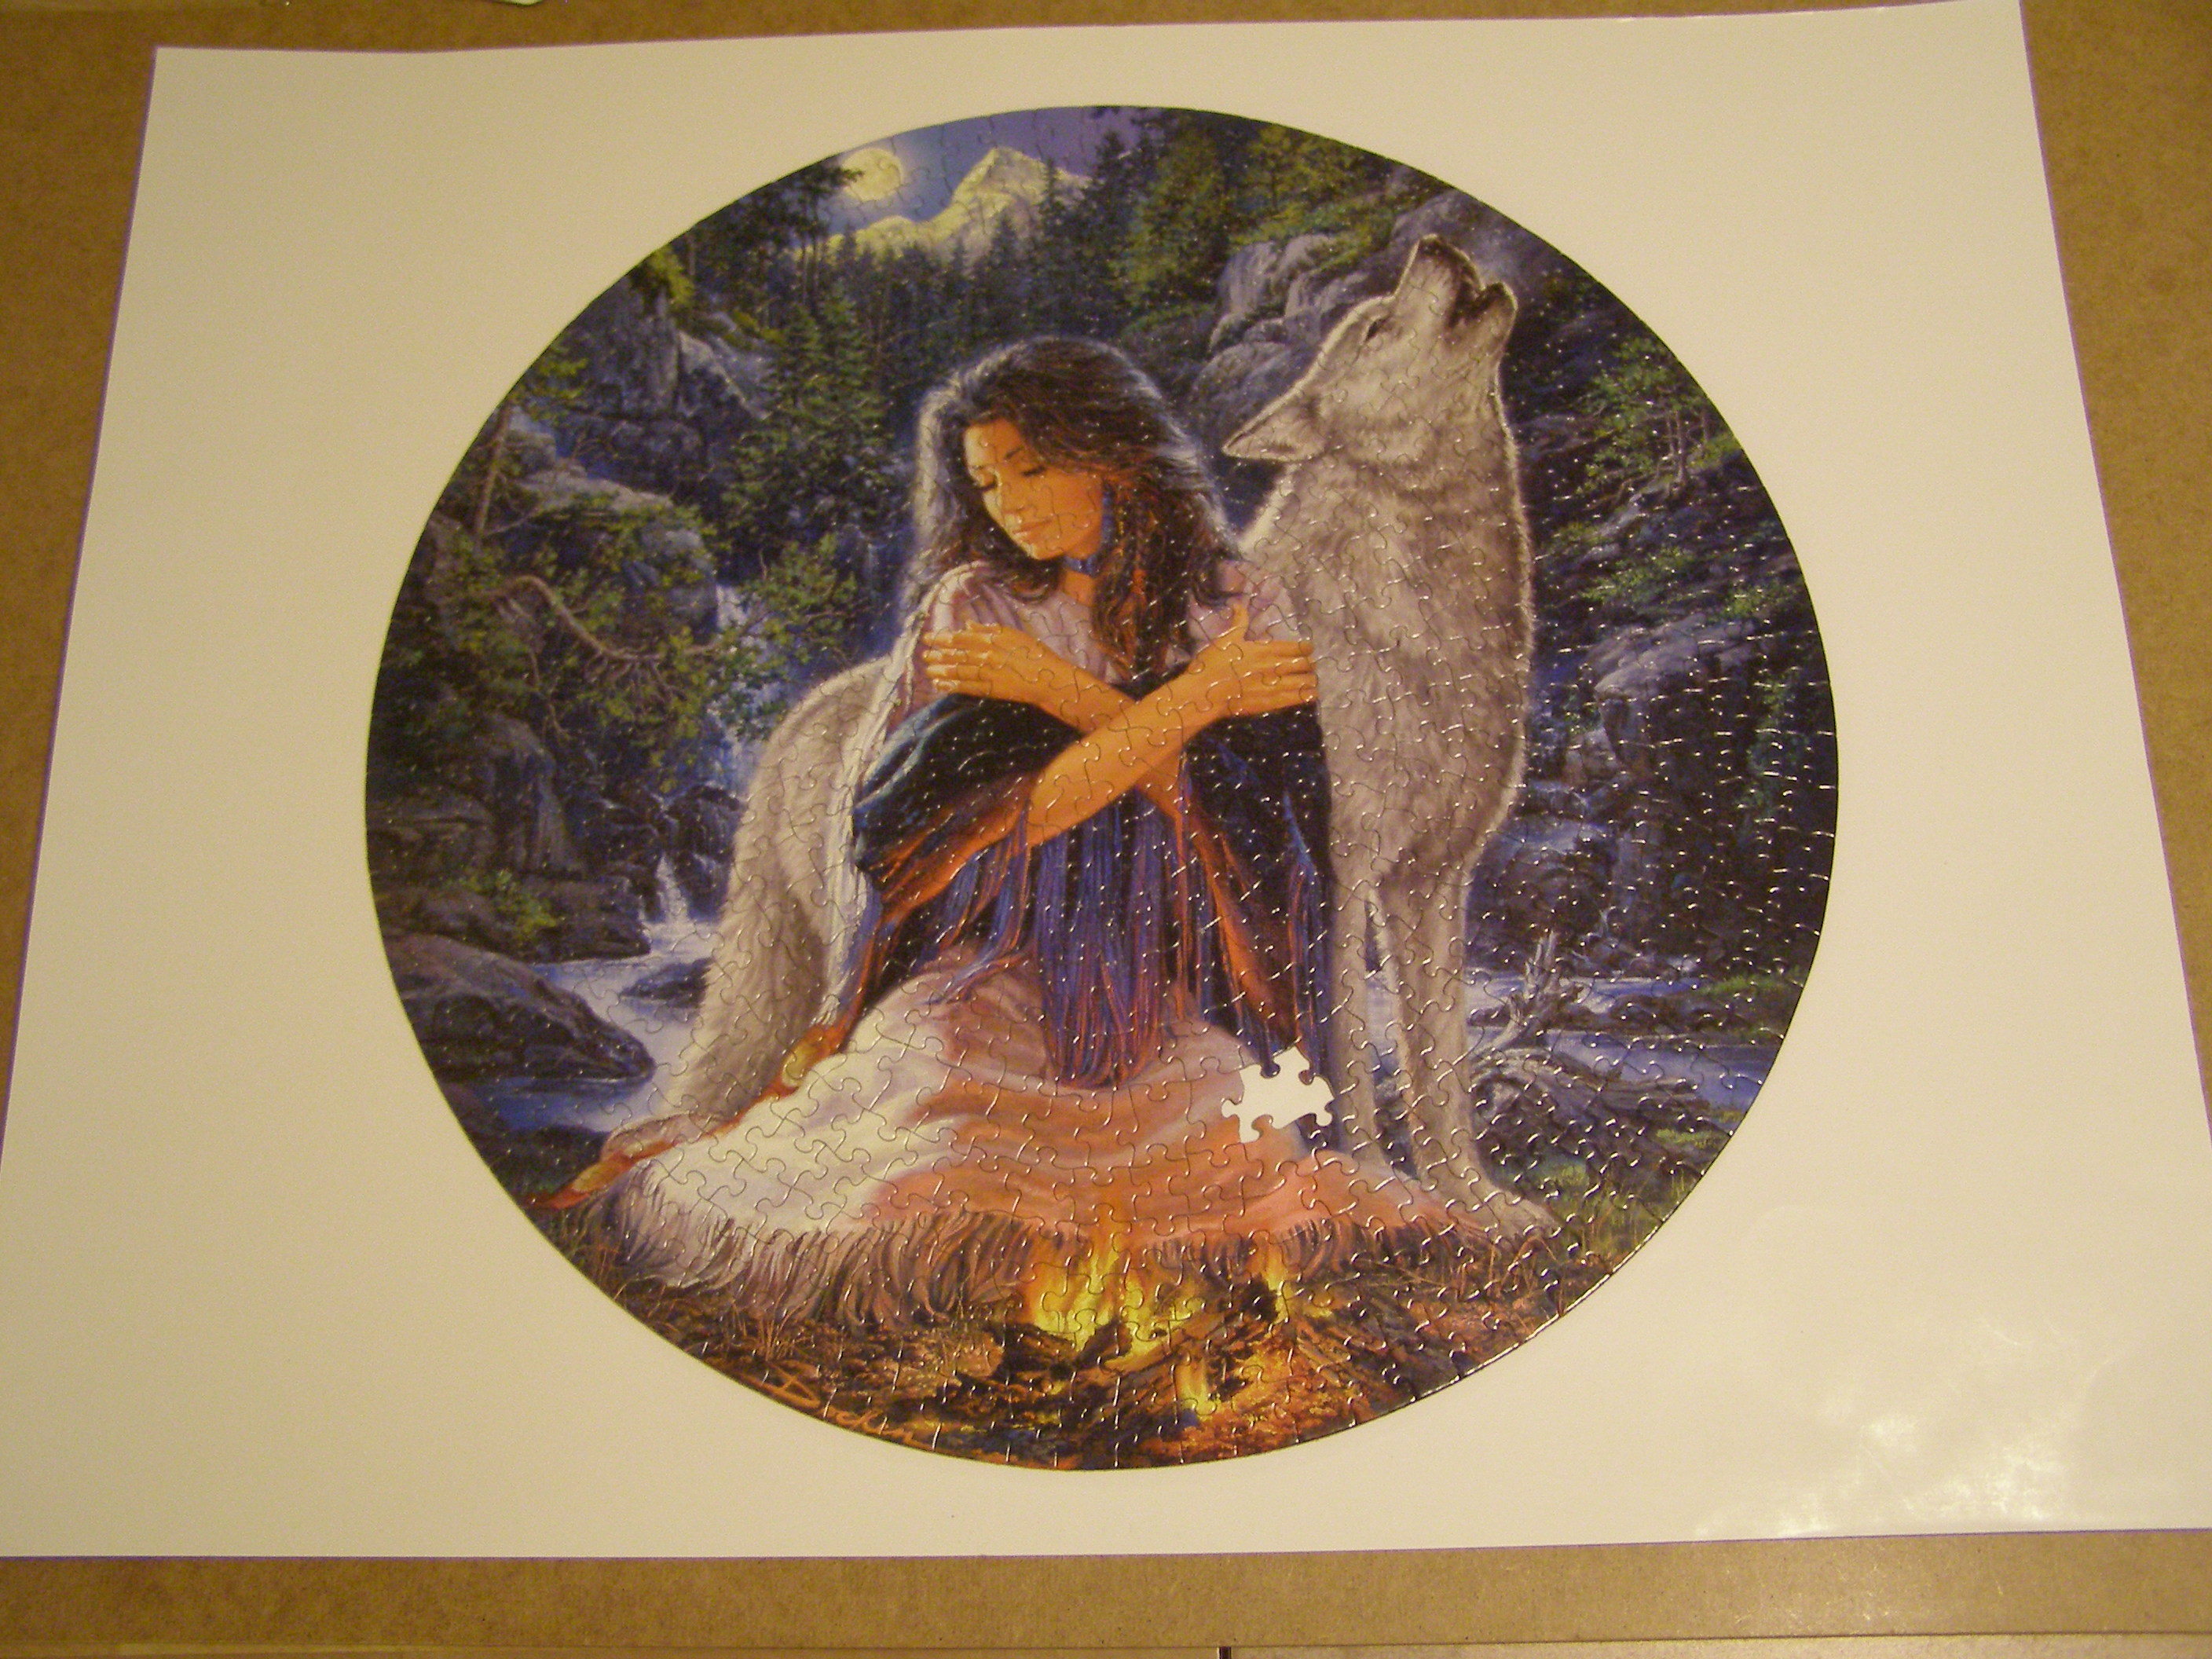
My puzzle, for example, ought to be = 19.5 inches across. However, my scan is only = 9.47 inches across⎯so the scan image obviously has to be enlarged! DIVIDING these two numbers (the ACTUAL PUZZLE Dimension ÷ the SCAN IMAGE Dimension) provides us with a useful RATIO.
Mathematically speaking: a ratio can be expressed as a decimal number; which, in turn, can be expressed as a percentage. So the scheme is: convert our RATIO ➙ to a DECIMAL ➙ to a PERCENTAGE.
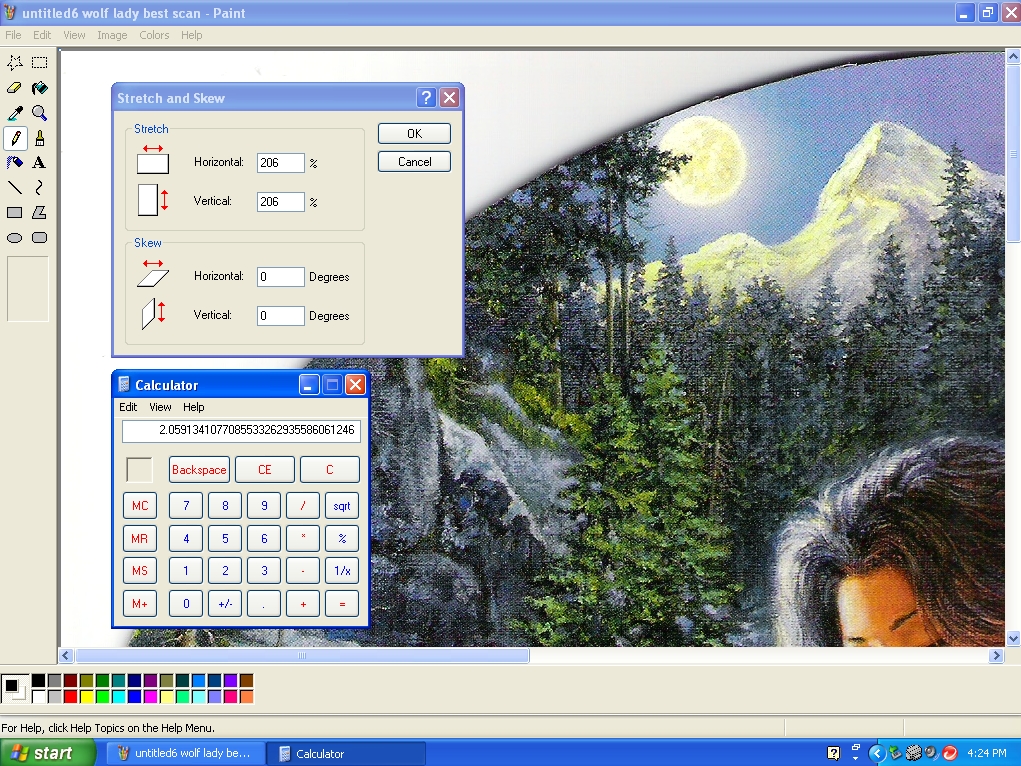
TO ENLARGE THE SCAN: the greater number is written on top in the ratio (which is the same as the larger number being entered into a calculator 1st)… 19.5 / 9. 47 ➙ 19.5 ÷ 9. 47 = 2.0591341077085533262935586061246. Or ≈ 2.06 ➙ 206%.
So that means, in my case, I have to plug the number 206, in each of the “Stretch” entry fields for “Horizontal” and “Vertical” %. Doing so will enlarge my scan image to match the actual dimensions of the completed puzzle. Yay! :)
If instead, you need to reduce the scan size: the greater number would be written as the bottom of the ratio (which is same as that number being entered into a calculator 2nd); and then divided as before. Once you have your decimal figure, always move your decimal point TWICE to the right (which is the same as multiplying by 100, to form a percent). Round to the nearest whole percent.

