Photo by Hep Svadja

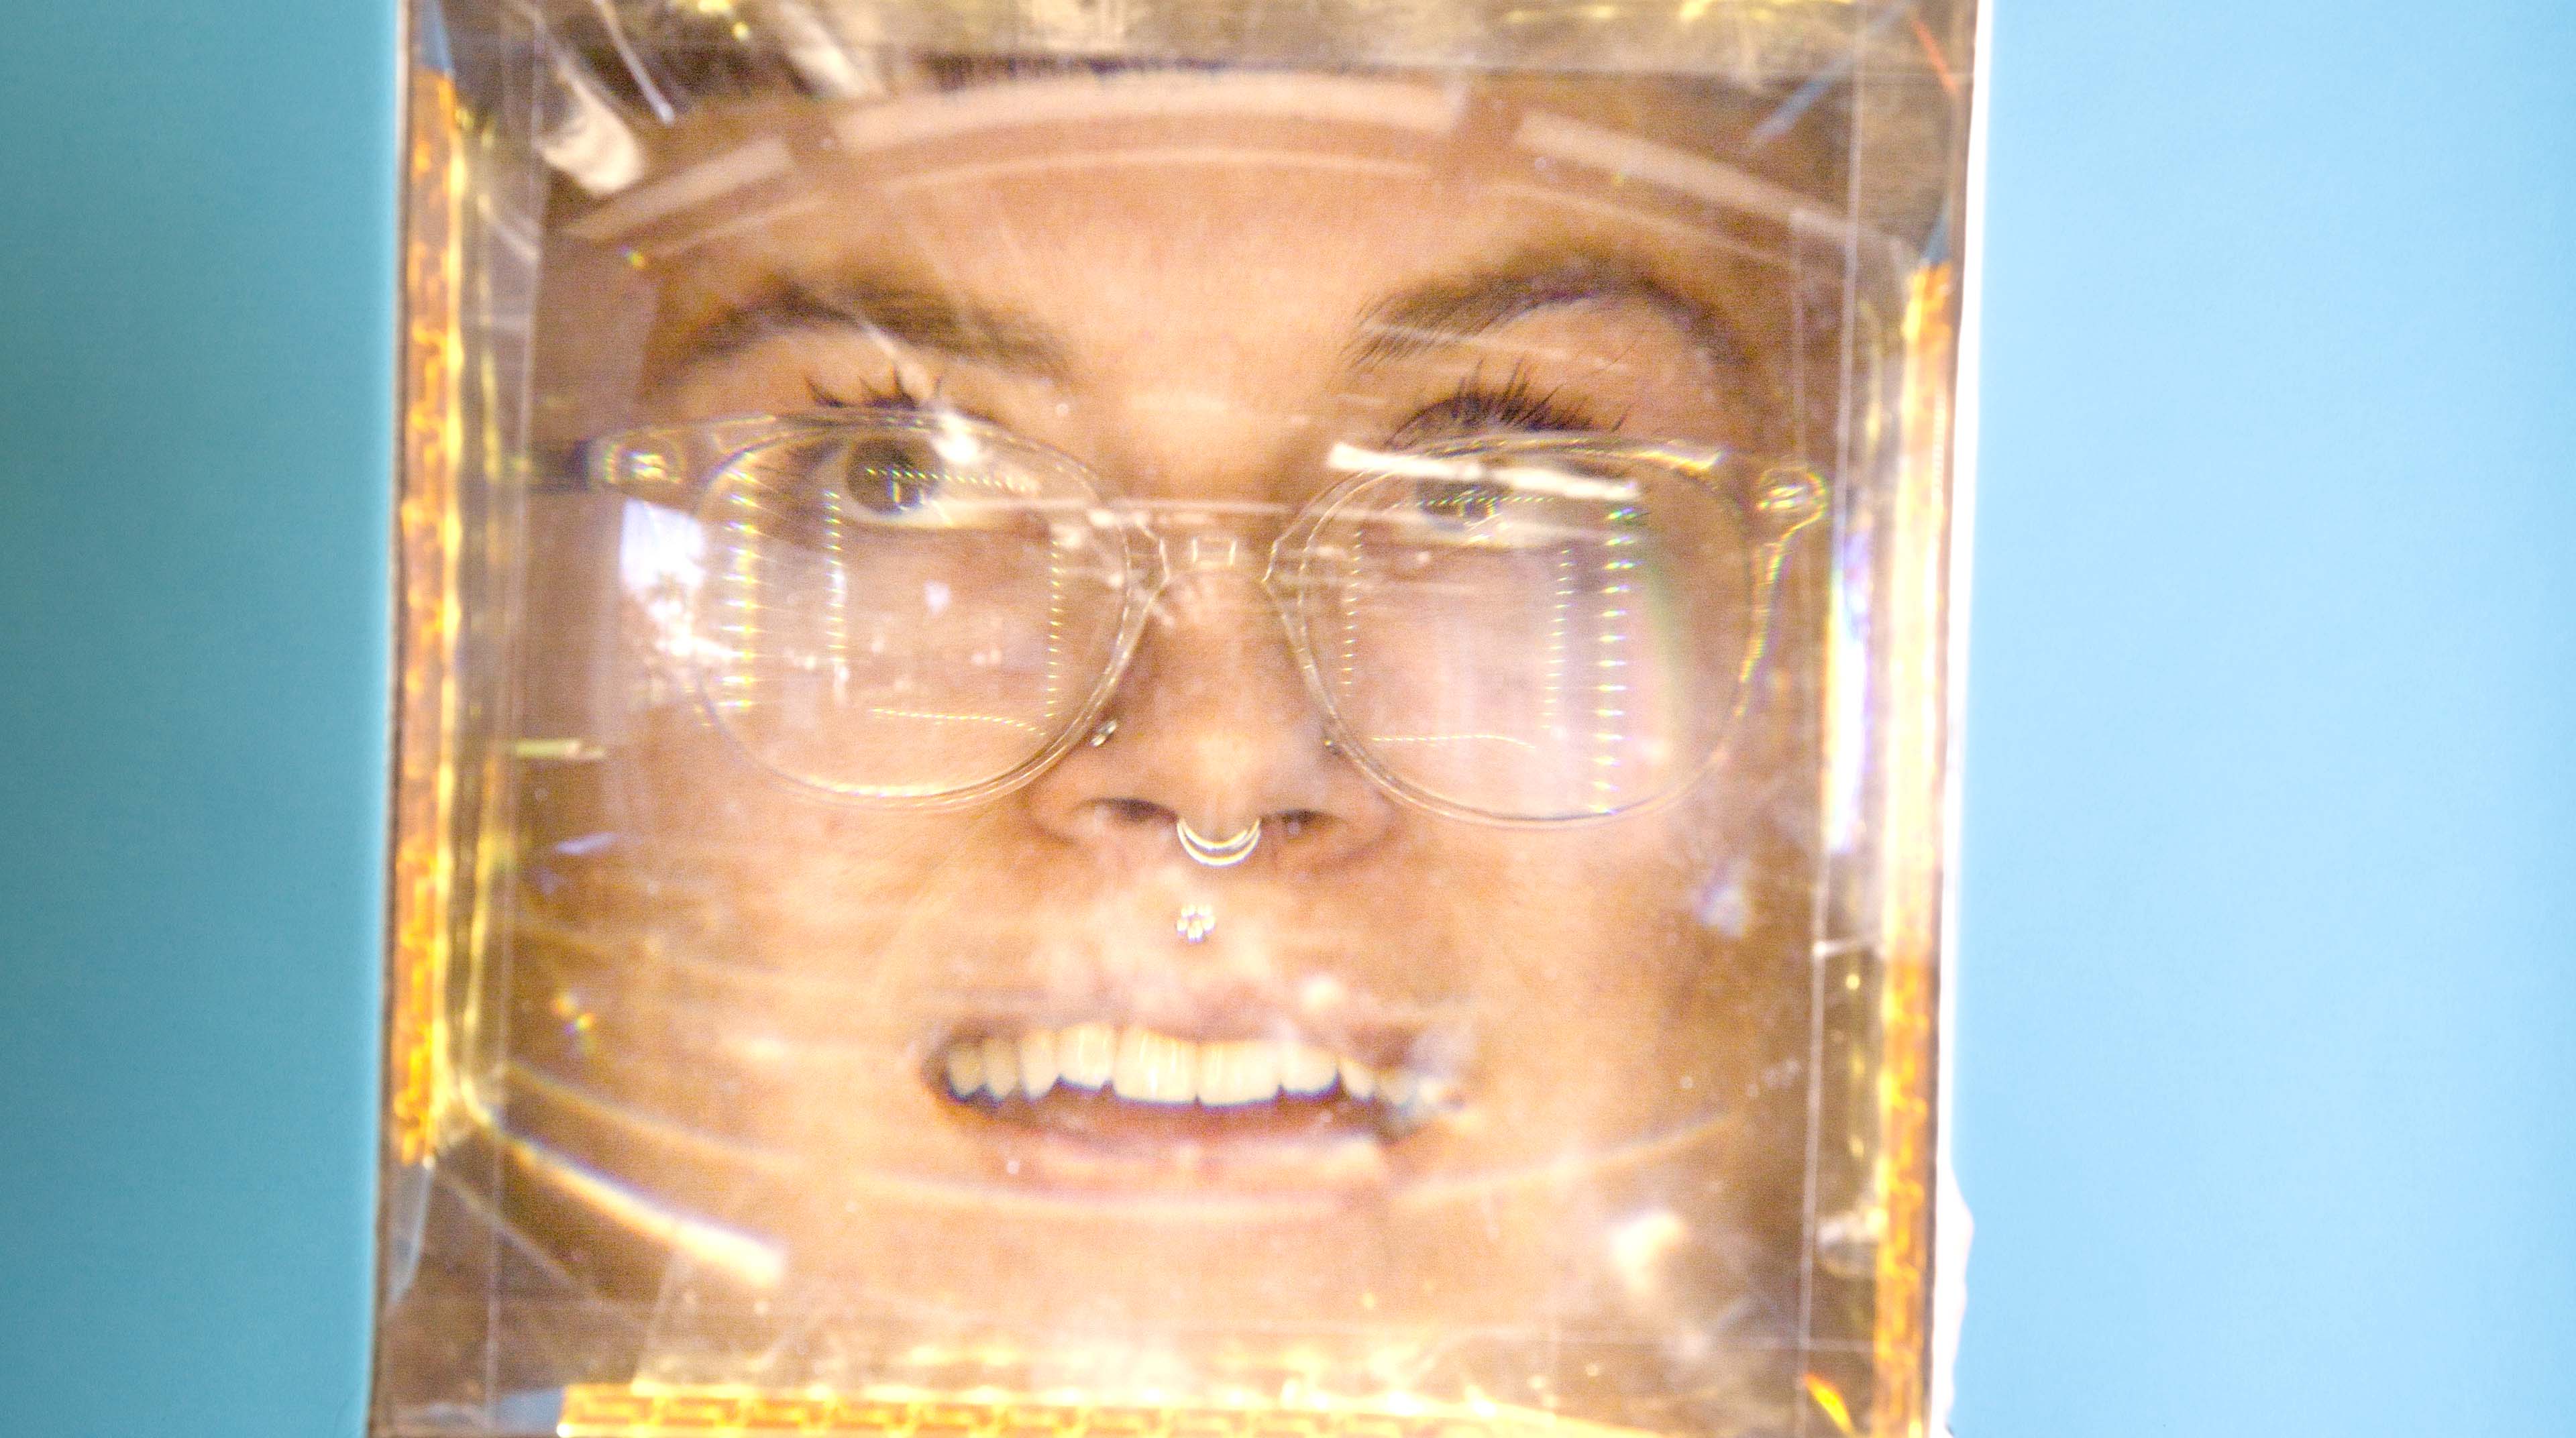
We held the Big Face Mask Workshop at Maker Faire Tokyo in August 2016. Originally, we were going to have participants make a large version of their face using papercraft. However, it took 2 hours per person. As a way to make it much simpler, we decided to ask them to wear a box instead. Thanks to this idea, it only takes 2 seconds now with the Bigfacebox. I have to wonder if I can still call this a workshop.

This is not the only way to do it. Please feel free to choose your box size, lens type, lighting, and such to get your desired result.

Caution: Please do not look directly into the sun or other bright lights when wearing the face enlargement box.

Project Steps

Assemble the Box

Close one set of flaps. Tape the other set of flaps open so that they extend the height of the box (Figure A). Then lay the box down so the opening is on the side.

Figure A. Diagram by Daily Portal Z

Make a hole on the bottom where you can insert your head (Figure B). Positioning your head about 6″ away from the opening makes for an interesting face.

Figure B. Diagram by Daily Portal Z

Fit the Lens

Depending on the size of your Fresnel lens, you may need to cut it to fit the opening of your box using an acrylic cutter. Please be careful not to cut your hands when cutting the lens’ cross-section. (I cut mine three times. Work gloves are highly recommended.)

If you get a rectangular lens rather than a circular lens you will have less work to size it to your box opening. Make sure you preserve the center of the lens. If you need to cut off two inches, cut one inch off each side (Figure C).

Figure C. Diagram by Daily Portal Z

Your face will look more interesting when the lens’ center is set slightly back from the opening.

Attach the LED Strips

Cut two lengths of the LED strip that measure slightly less than the long edge of the lens. Our lens was 15″×12½”, so we made the length of the strips less than 14″. Then measure two lengths of wire slightly longer than the short edge of the lens, and solder together the two ends of the LED strips (Figure D), one color to the positive pads and the other to negative pads. Cover the solder joints with heat-shrink tubing to protect against pulls and shorts. The wire to the battery holder should be long enough to be out of the way.

Figure D. Diagram by Daily Portal Z

Attach one strip of LED tape on each long edge of the lens’ ridged side (Your face will look better if the smooth side of the lens faces out). LED tape with adhesive on the back is most convenient, but you can use double-sided tape, too. (You can also put an LED strip on the top and bottom, as shown in the photo.)

Put It All Together

Attach the lens to the box with adhesive tape, then attach the battery holder to the inside of the box. Turn on the LEDs, put the box over your head, and it’s complete (Figure E). Let’s scare some people!

Figure E. Diagram by Daily Portal Z