Photo Credit: Ryan Mott

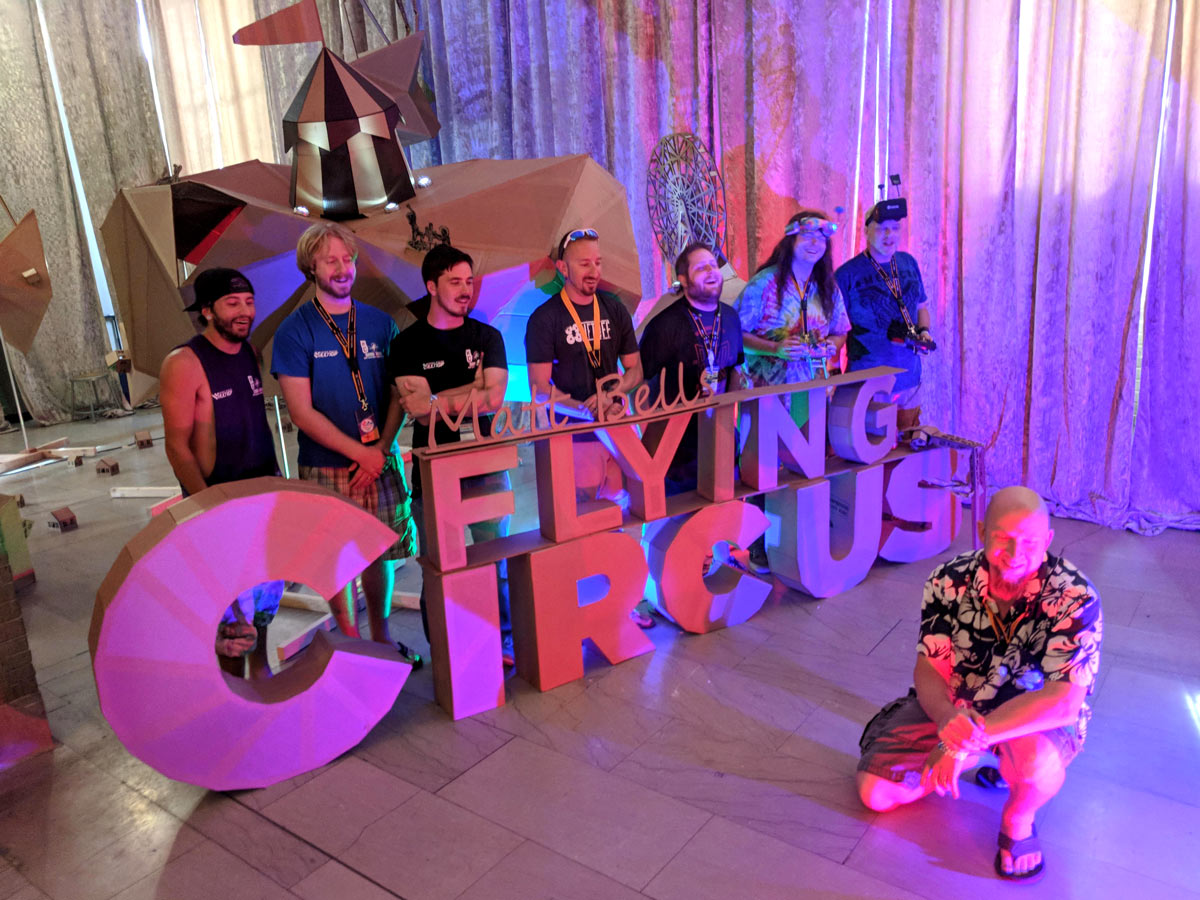
For Maker Faire Kansas City this year I wanted to make a drone racetrack for micro FPV quads. Normally these courses consist of lots of LED-lit circles for the quads to fly through. I wanted to make something a bit more sculptural and ambitious: giant spider robots mining a floating asteroid field. To keep costs down, and because it’s generally an awesome building material, I decided to use cardboard for everything. My new laser cutter had just arrived and I figured I’d use it to do all the cutting.

This article appeared in Make: Vol. 65. Want more great how-tos delivered to your mailbox? Subscribe now!

But a problem arose. I wanted to make these giant cardboard asteroids 4 to 6 feet in diameter, and the pieces were just too big for my little laser cutter. I needed another way to make them.

The approach I decided on was to create 3D models of my asteroids and then use a digital projector to project the individual polygons onto big sheets of cardboard so that I could use an ordinary tool to actually cut them out.

Possessing the superpower that is knowledge of software development, I decided to make — and share — my own little program to make this process possible. It’s called PolyProjector. If you want use it to make giant cardboard forms of your own, I have some tips for you.

Project Steps

1. Where to get a ton of good cardboard?

You can save up Amazon boxes, ask at the grocery store, or heaven forbid actually buy it, but the best way I know to get a ton of good cardboard is to go to a neighborhood recycling center. The ones I’ve been to have giant walk-in shipping containers filled with as much clean, stacked cardboard as you could want. Not just little stuff either — they’ve got the big boxes that refrigerators and couches come in. Just be sure that when you’re pulling out cardboard you don’t make a mess. Leave the place tidy.

You’ll probably want to get a consistent thickness of cardboard. It turns out there’s a huge variety of the stuff: lightweight, heavy duty, single ply, double ply, I even ran into stuff that was four layers thick. You can mix and match without too much trouble; you’ll just have to adjust on the fly during assembly.

2. Preparing the 3D file

The program I wrote accepts OBJ files (sorry, no STL). My program expects the units of the file to be in meters. If you need to convert files from another format or change the scale, I’d suggest checking out Blender. It’s free, can import many file types, can export OBJs, and works on just about any type of computer.

3. Projector setup

Set up your projector so that it points down at a horizontal work surface and covers enough area to project the biggest of your pieces, while still giving you plenty of wiggle room to work. You’ll have to do a bit of MacGyvering to get it in the right spot. My solution was to cut a rectangular plate out of plywood, bolt the projector to it using the mounting holes under the projector, then hang the whole thing from pegboard in my shop. Whatever technique you use, double-check that your mounting is secure (so you don’t have any tragic projector-maiming accidents) and isolated from your work surface (so little bumps won’t translate into time-killing wobbles of your projector image).

Next, calibrate your projector so that when the computer tries to project a 4″ square it actually comes out 4″ square. When you launch the PolyProjector program it will project a large cyan rectangle to show the work area, and a red rectangle labeled Notebook Paper. Put a standard 8″×10½” sheet of notebook paper in the red rectangle and move the corners around until the projected rectangle lines up with the physical one. I’m afraid this step is little finicky, but you should only have to do it once. The program will save your settings for next time.

4. Marking and cutting the pieces

Now for the fun stuff — cutting some actual pieces. With the program still running, press L to load your 3D model. This brings up a view with the 3D model on the left, and first of the polygons to cut in the center. You can toggle the 3D view on and off using the Tab key. You can click and drag the model to rotate it, or use the scroll wheel. All the faces are numbered; you can cycle through them using the < and > keys (comma and period) to bring a specific face into view.

Once you’ve selected a face, use your scroll wheel to rotate the polygon, and click and drag to move it into a good position on your sheet of cardboard. Now you have your first shape glowing on the cardboard!

Take a nice long straightedge and trace each edge using a Sharpie. Take care not to cast shadows on an edge and mark the wrong spot. It helps to apply a little pressure to the straightedge to make sure the cardboard lies flat so that the projection is accurate. Lastly, use a pencil to mark the face number somewhere along the edges. This number will be crucial when it comes time to assemble everything.

Once the cardboard is fully marked, cut it out. You can use a variety of knives, but I recommend a table saw with the fence removed (Figure TK). It’ll yield nice straight lines and let you get through the cuts quickly. (Just keep your mind on the work and pay attention to your thumbs. A table saw is a fantastic tool, but can steal your digits if you don’t respect it.)

Now just press > on the keyboard to move on to the next face, and repeat until you have cut all your shapes.

5. Assembling everything

Alright, you have a stack of beautiful cardboard shapes that need to be put together. Go back to the 3D view of the model. Using this view as a map, you can start taping all your pieces together.

This is a simple enough process, but it took me doing it a few times to really iron out my process, so I’ll offer a few tips. Initially, I thought it would be easiest to just start at face 01 and move through them sequentially. For me this ended up being difficult and I kept getting lost. Instead I ended up looking for logical groupings of faces in the 3D view. Then I would take these large chunks and put them together. Whatever you do, I suggest taking a few minutes at the beginning to develop a strategy.

To put together the shapes, use lengths of tape that run the full length of the edge. I found I got a noticeable bump in structural rigidity when I taped both sides of the cardboard; this will partially lock it into a specific angle so make sure you have it about right before taping. You don’t have to be super accurate, just pay attention to which side folds out. As you’re taping the edges you’ll probably end up taping over the little pencil mark that identifies the number of the shape. I got lost putting the faces together so many times that I ended up marking every edge after every strip of tape.

To make clean tape seams, keep a pair of scissors handy and use them to cut the tape to length. If you cut the ends of the tape with two cuts so that it make it kind of pointy in the center you can avoid overlapping the tape as much it makes thing look much cleaner.

As you use the scissors on the tape, you’ll end up accumulating the adhesive from the tape on the blades. This will gunk things up and eventually make it really annoying to work with. A paper towel and some rubbing alcohol will make clean them up and get them working like new again quickly, so keep them handy. It’s also worth noting the tape I used didn’t really like to adhere to itself very well, so if I messed up a line, I pretty much had to pull off all the original tape along that seam before putting new stuff down.

Poor Man’s Laser Cutter

So now we’ve got a tool for projecting the individual faces of a 3D model onto sheets of cardboard to create physical models. It’s kind of like a poor man’s laser cutter.

I spent 3–4 weeks working with cardboard for my exhibit and it left me with a fine appreciation for the material. It is practically free, can be easily and quickly shaped using handful of tools, and as long as you don’t let it get wet, it’ll last quite some time.