As my second guide, Build a Hovercraft being my first, I will teach how to create 3D images and view them. This 3D is not anaglyph, or red and blue lens, but stereoscopic. This is also referred to as “Free Viewing.” You won’t even need glasses! NOTE: You will need to cross your eyes! With one mildly expensive part, you can give life to your images! I’m only eleven, and I can do it!

What will the next generation of Make: look like? We’re inviting you to shape the future by investing in Make:. By becoming an investor, you help decide what’s next. The future of Make: is in your hands. Learn More.

Project Steps

Guess what? I’m using Paint again!

Thanks to Gareth Branwyn for acknowledging my work on the Hovercraft!

Preparation

Make sure you are in a place where the object and/or the background WILL NOT MOVE (this, sadly, means NO PUPPIES!).

Taking the Pictures

Okay. Now we start working. Get your camera in position. Take your first picture. Then, move your camera 3 1/2 inches to the right (this is where you use the tape measure/ruler).

Editing

Actually, you’re going to use Paint too!

Put both photos into the computer.

Make your Paint workspace into a square.

Draw a thin, black line directly down the middle.

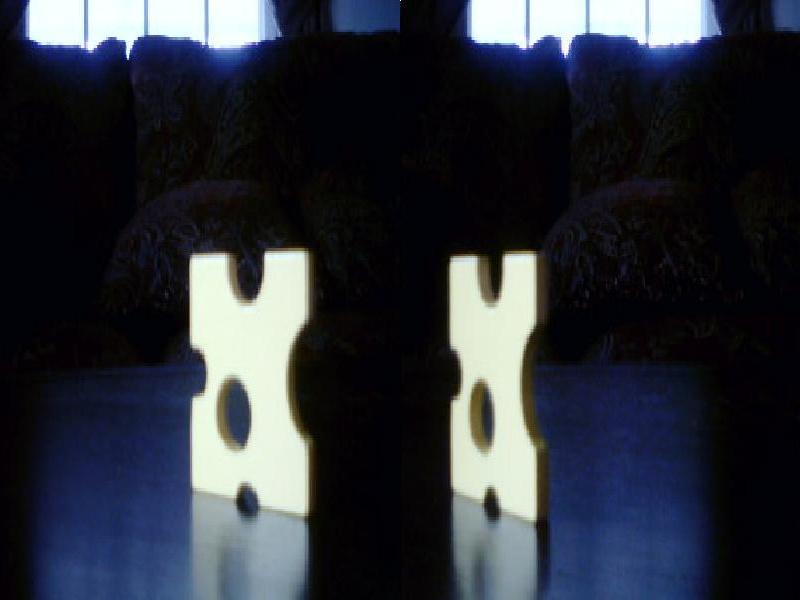
Open your first picture, then fit it into the space to the left of your line, then put the second one on the right.

How to View

You need to look at the picture and cross your eyes. You will see two fuzzy versions of your object, one on either side, and a 3-D version in the middle! Enjoy!