This is a step-by-step guide to how I built a GPS-based puzzle box. It’s more of an example than a strict how-to.

Whilst I’ll show you everything and include my source code, don’t expect a complete list of part and to end up with a finished product. You’ll need to find a box that suits what you want, a way to mount the servos, etc. Expect to adjust it along the way.

What will the next generation of Make: look like? We’re inviting you to shape the future by investing in Make:. By becoming an investor, you help decide what’s next. The future of Make: is in your hands. Learn More.

Project Steps

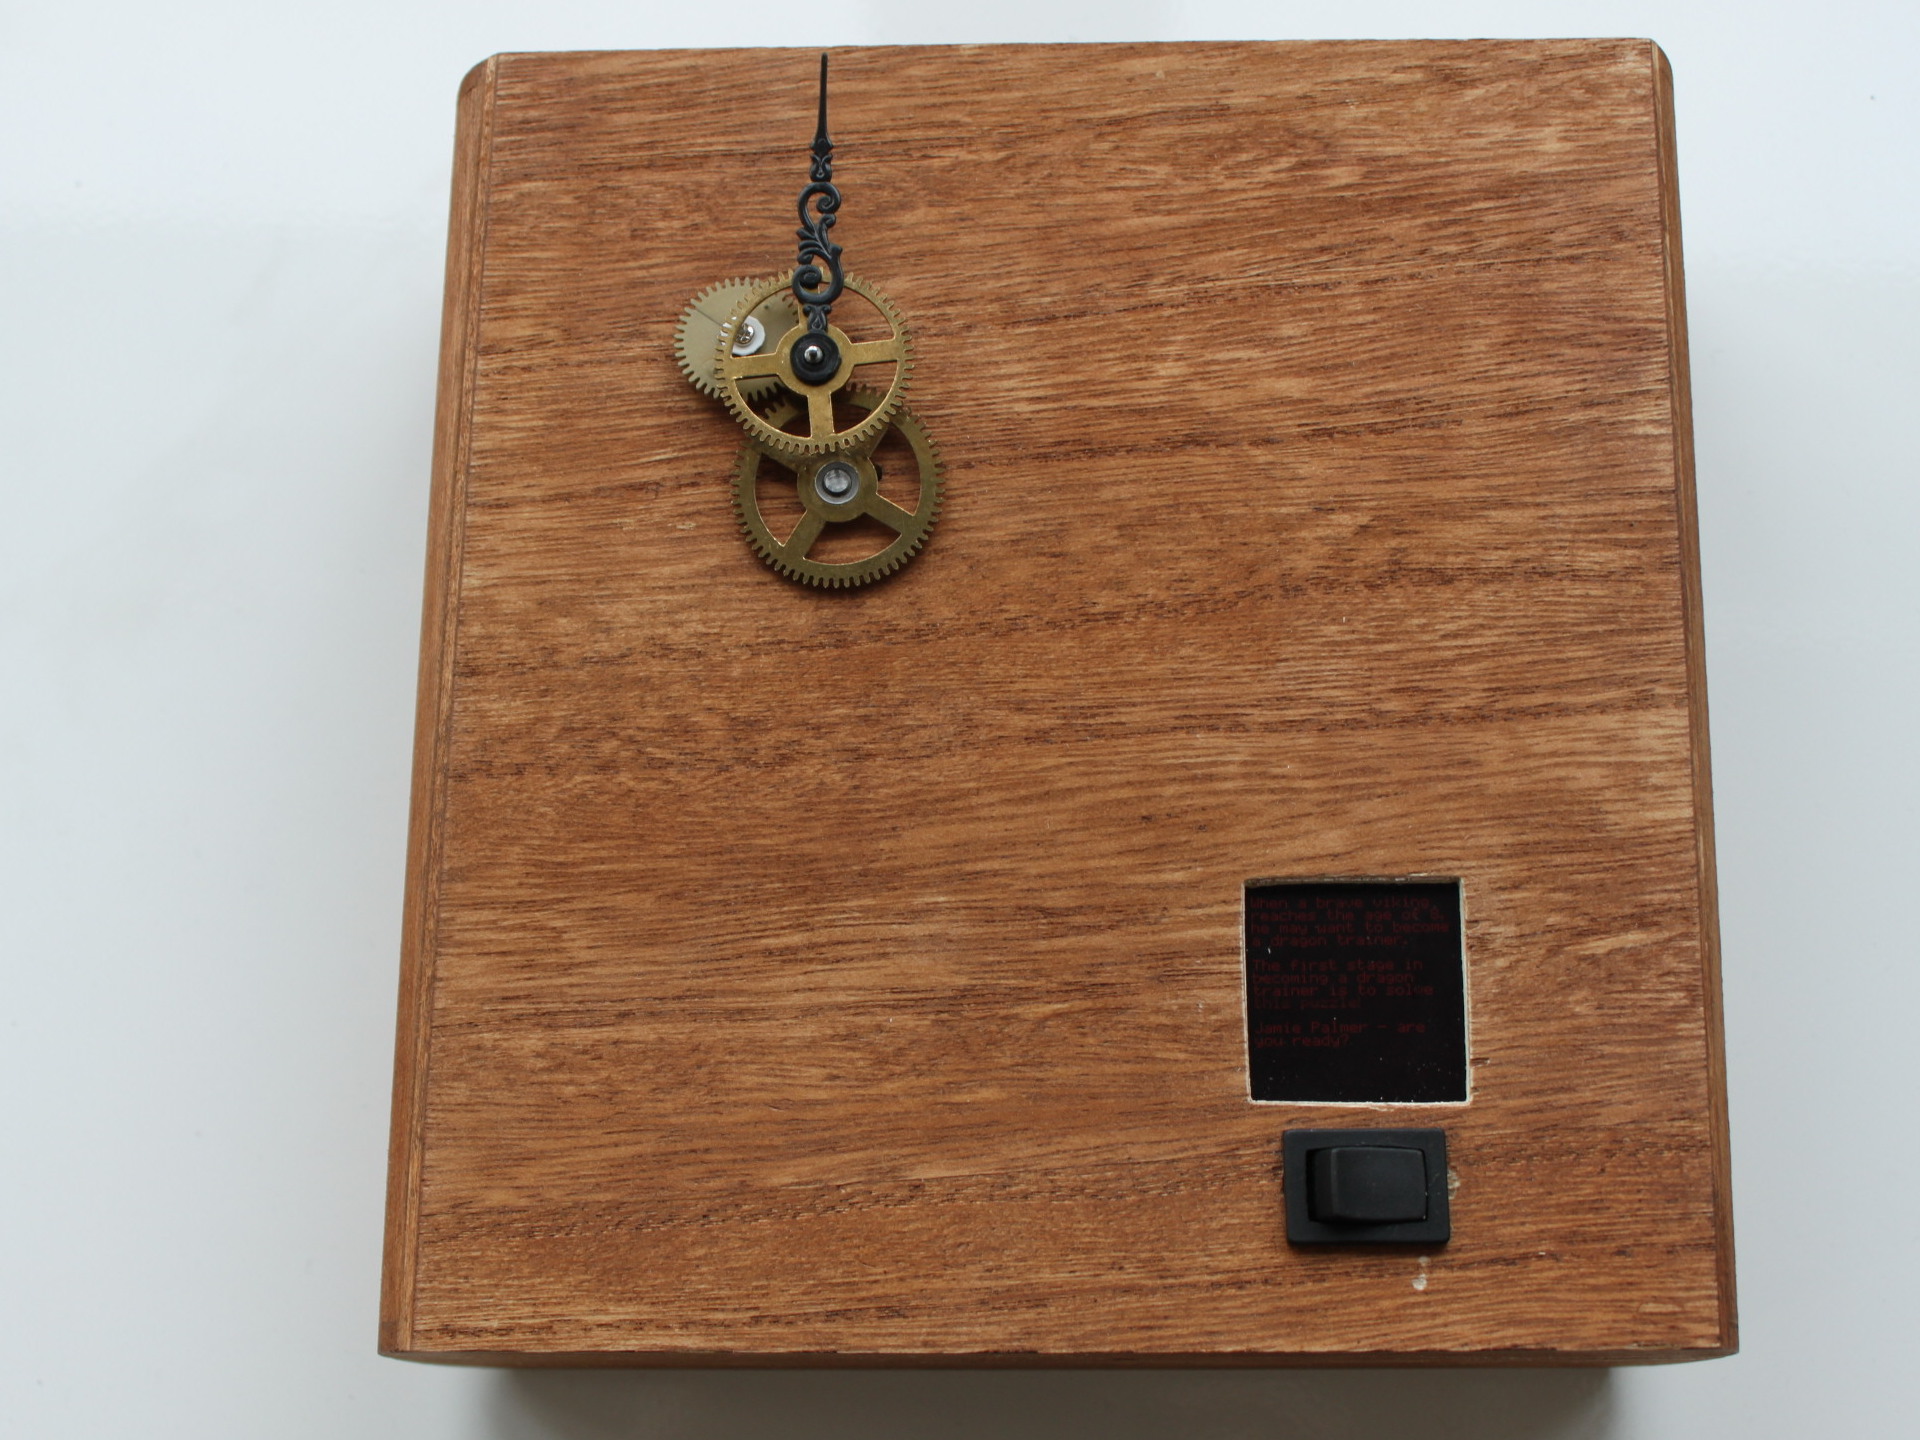
This is a GPS-based puzzle box that was made for my nephew’s 8th birthday.

It’s inspired by a couple of project I’d seen – a reverse geocache box and a steampunk compass. I’d also done a standard netduino based box similar to the reverse geocache for a friend, but I wanted to do a little better and the Mini was just perfect for it.

The plan was to take my nephew via a few locations and perhaps involve a bit more than just the GPS. In the end he had to do 6 challenges. The first 5 were to find a certain point. He had a descriptive clue and sometimes wither a distance countdown or an arrow pointing in the right direction. The final challenge was to find some magnetic ball bearings and put them on the lid, operating a reed switch and unlocking it.

You’ll need to find a suitable wooden box for your project. I looked at nice solid wood cigar boxes, but then found a nice balsa box on eBay and stained it darker. I think it worked surprisingly well.

Remove any locks and work out how it will be locked from the inside. I used a pin and cut a servo arm into a hook shape. When the servo’s in the “locked” position the arm hooks over the pin.

If you lock yourself out whilst building it, just unscrew the hinges.

You’ll also need to cut out a suitable hole for the screen you’re using and for a simple on/off switch.

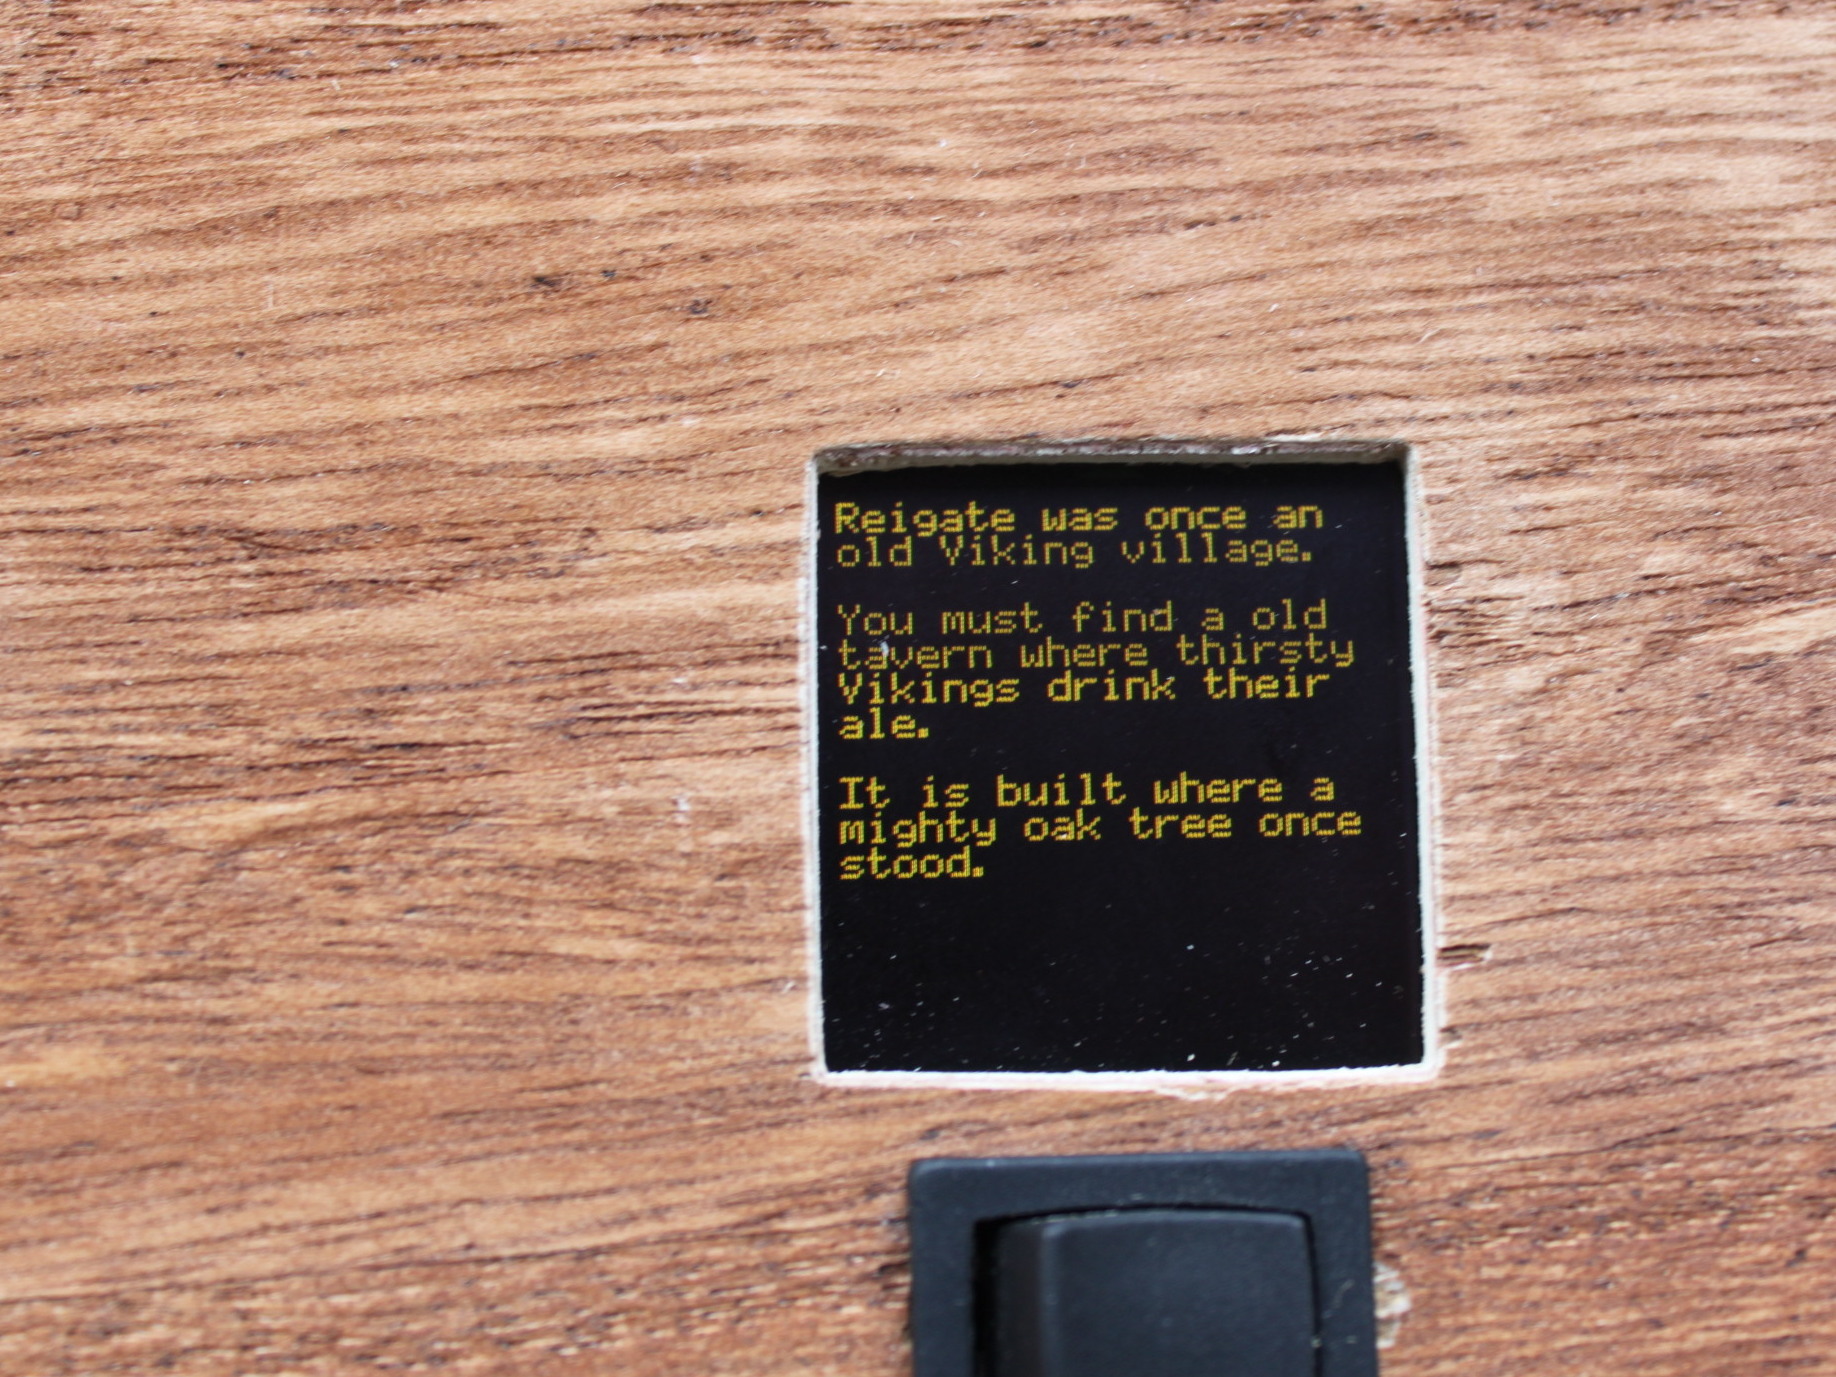
Each step in the “puzzle” involves getting a clue (on the OLED screen) and sometimes a distance remaining and/or a direction shown by the arrow.

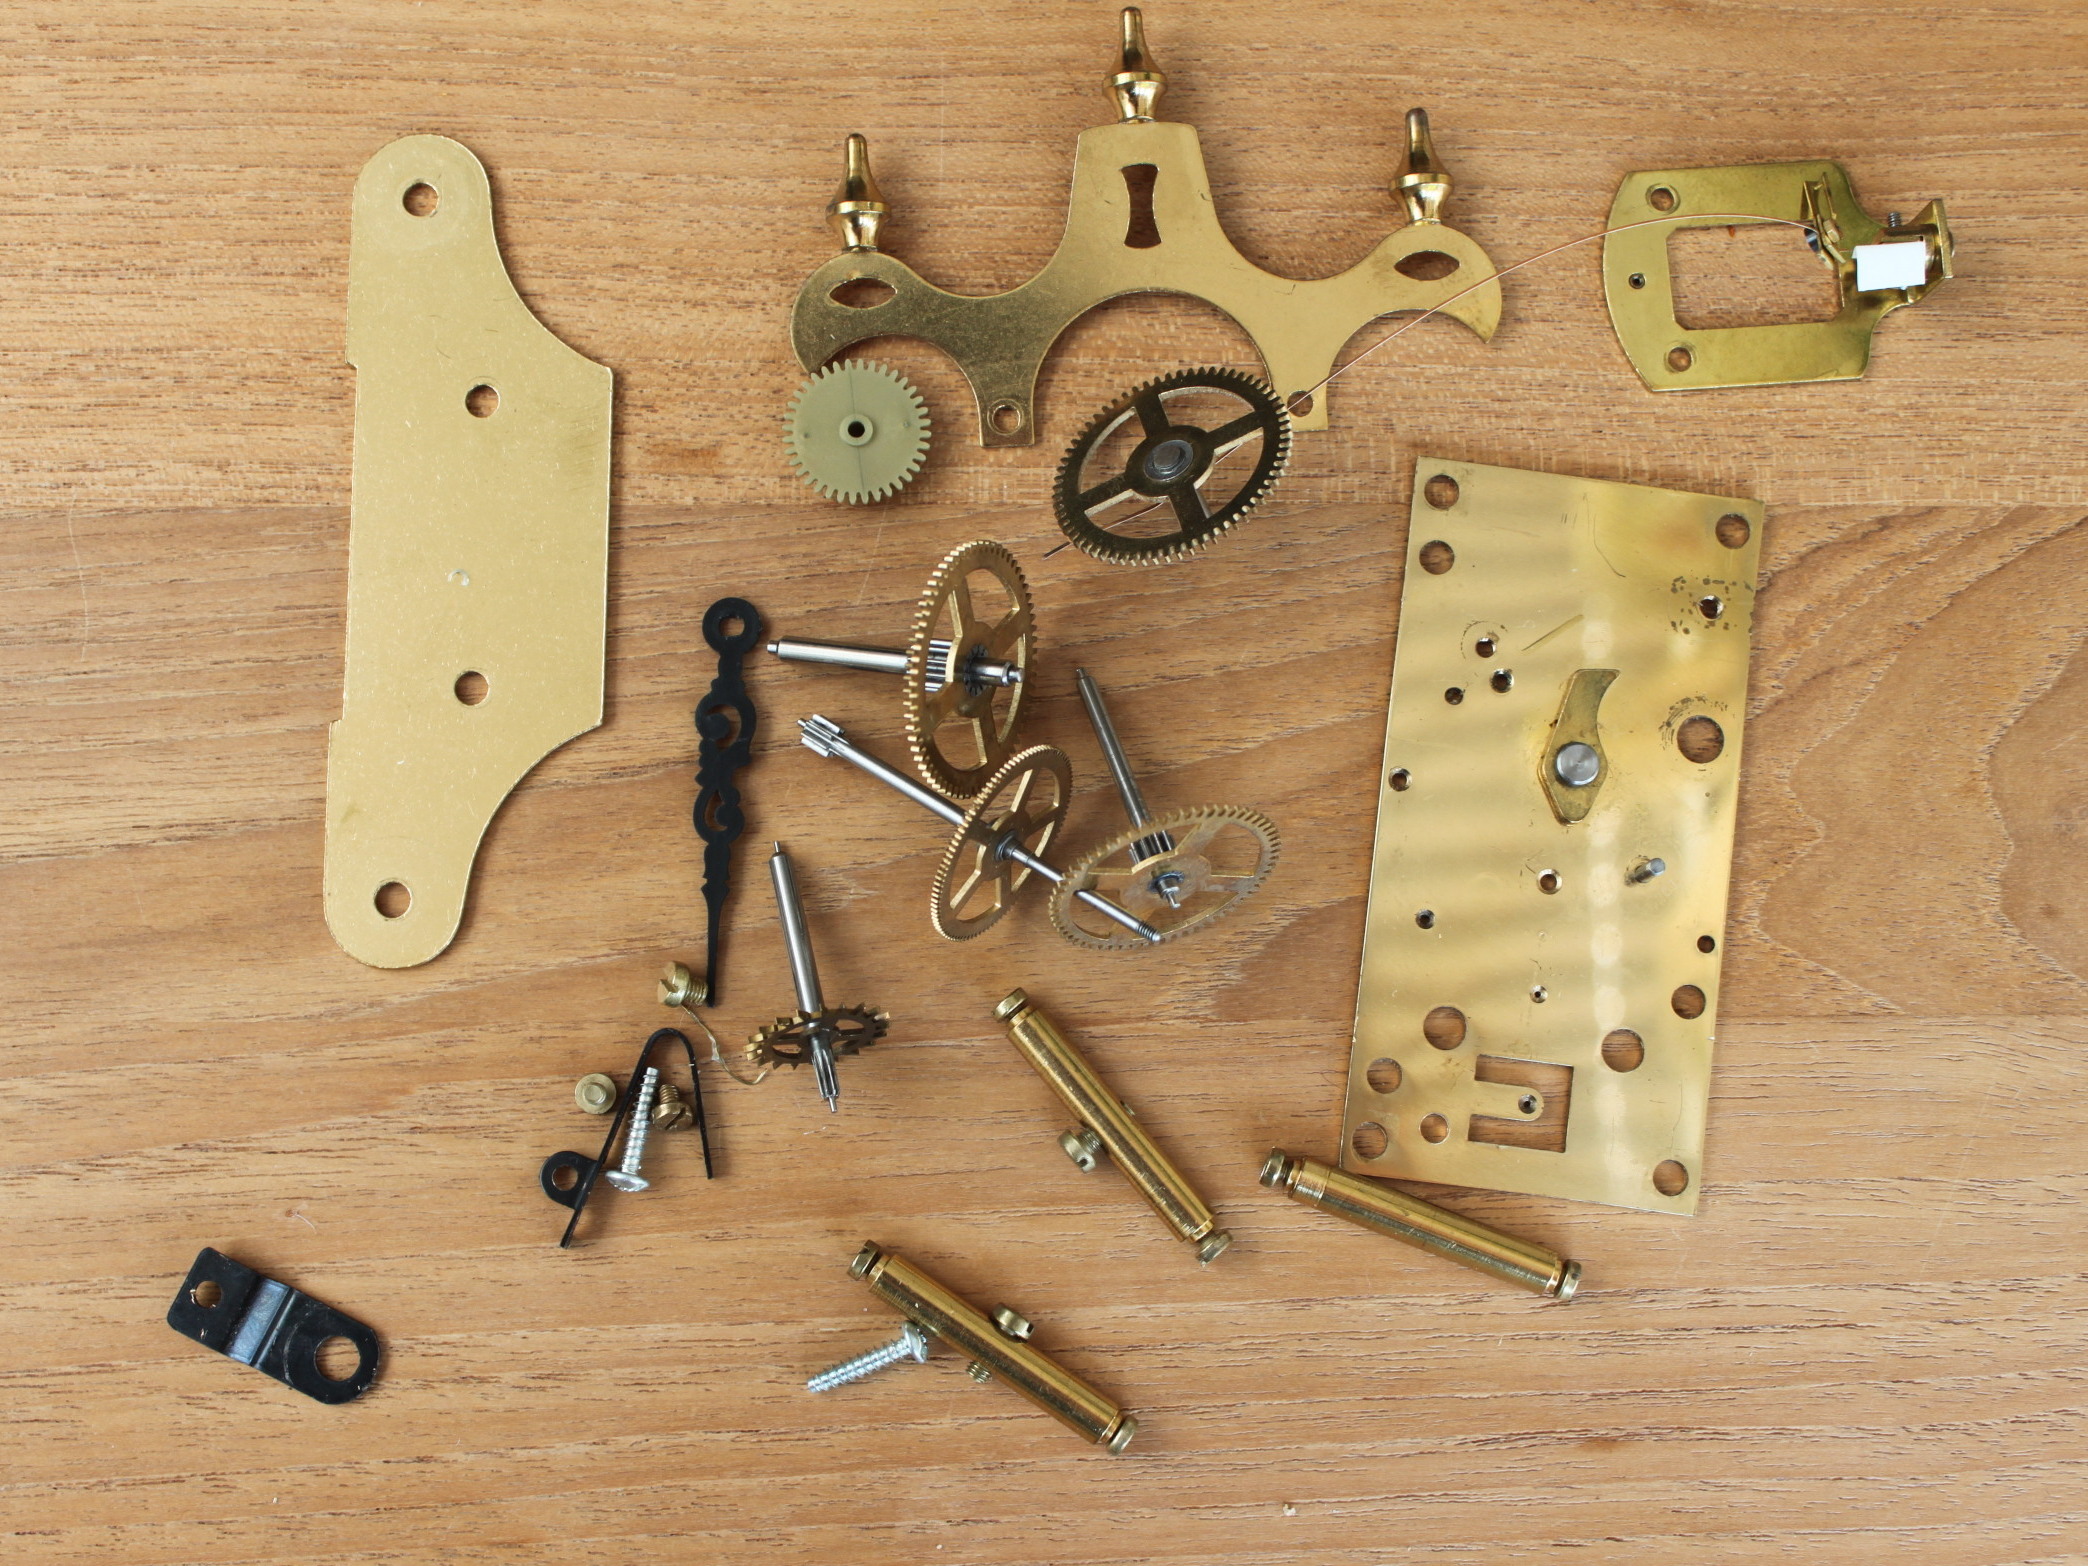
You’ll need a second servo for the arrow. As servos normally rotate less than 180 degrees some gears from an old clock were used to allow rotaion of over 360 degrees. That way the arrow can always point the right was as you rotate the box. (Knowing how the box is oriented is what the compass is for.)

Is the picture the servo shaft is fixed to the plastic gear which drives the one with the arrow. The third gear is just for show. It rotates, but isn’t really needed.

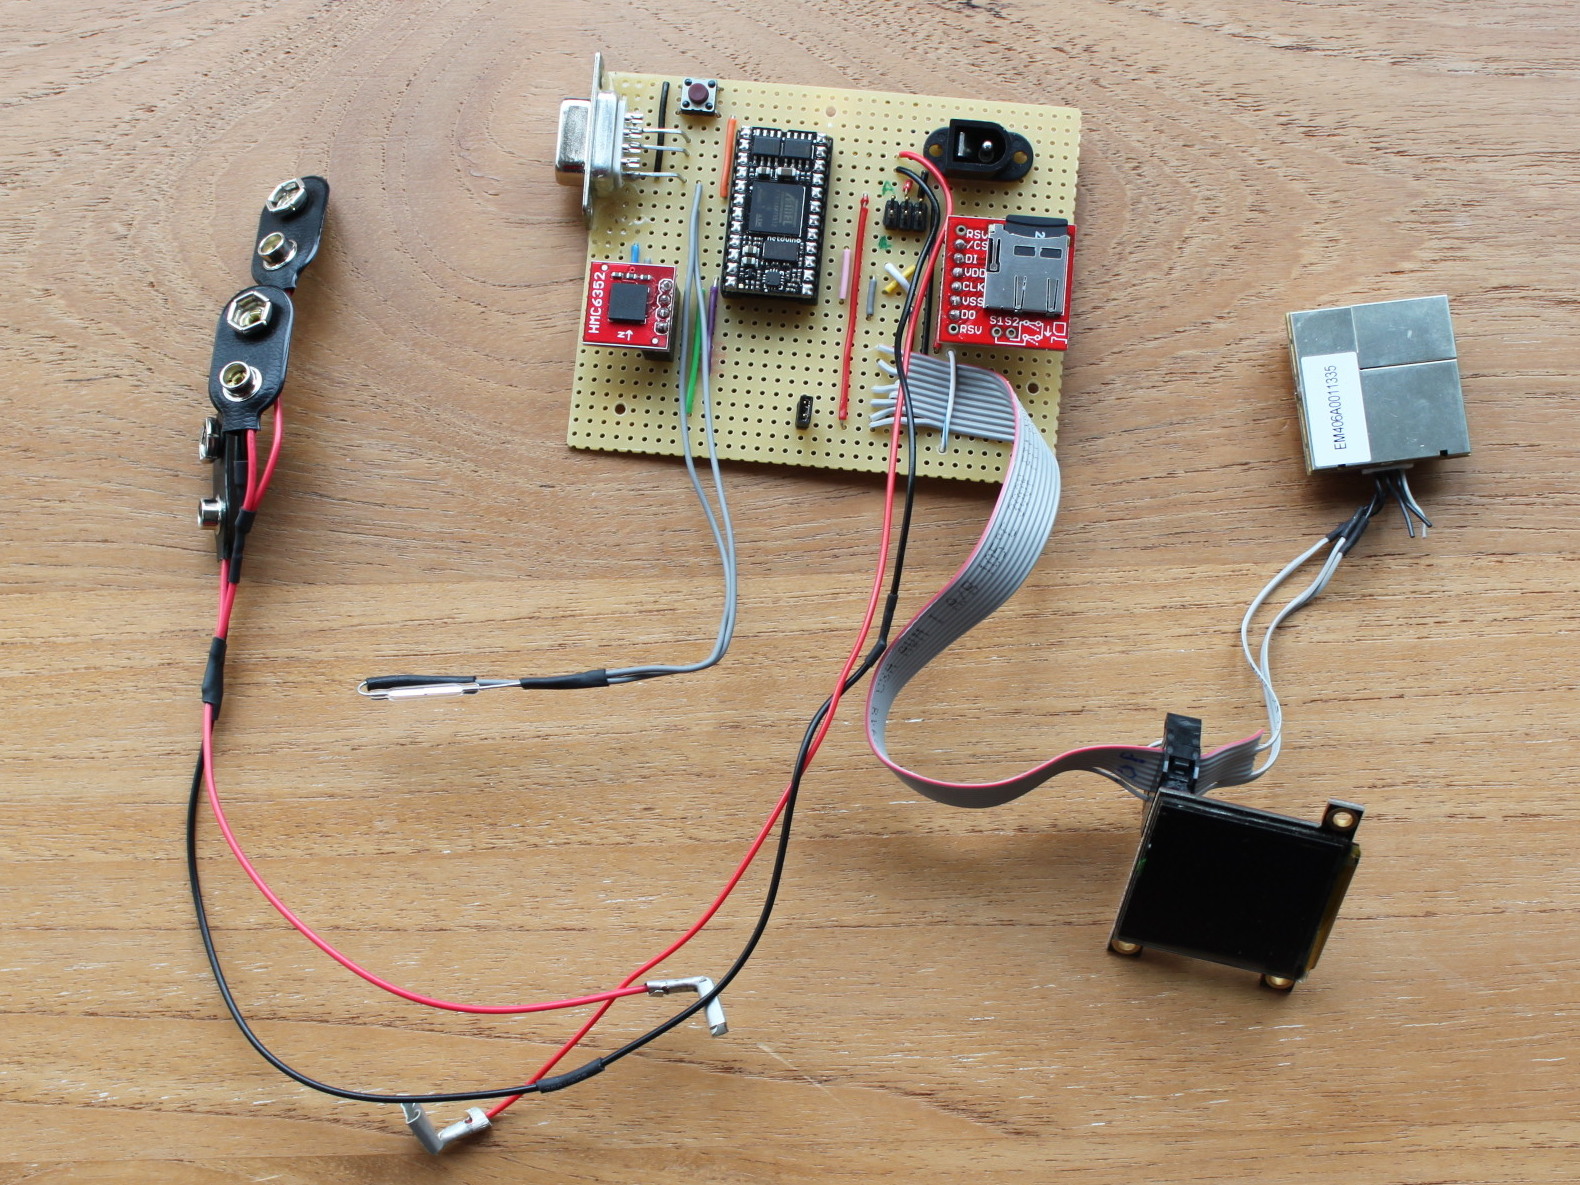
As far as the electronics goes, all the components are connected to the Netduino using their standard protocols.

The compass is connected via I2C to the Netduino (pins 9 and 10).

The micro SD breakout board is connected using SPI (pins 14-16). All the hard work communicating with a file system on the card over SPI is done for you by the guys at Secret Labs and Microsoft.

The two servos (for the lock and the arrow) are controlled using PWM (pins 17 and 18).

The only slightly tricky bit is the OLED display and the GPS. They both need 3.3V serial but the Netduino Mini only has one 3.3V serial port. The other RS232-level port was used for programming the device.

Luckily we only write to the screen and read from the GPS, so I manage to get them to share the serial port.

By another stroke of luck, the OLED display also provides a useful regulated 3.3v output to power the compass and SD card.

My initial prototyping was done using a standard Netduino which had 2 3.3v serial ports and a regulated 3.3v output to power the compass and SD card. If you’re new to the Netduino, I’d recommend this as an easier starting point than the Mini.

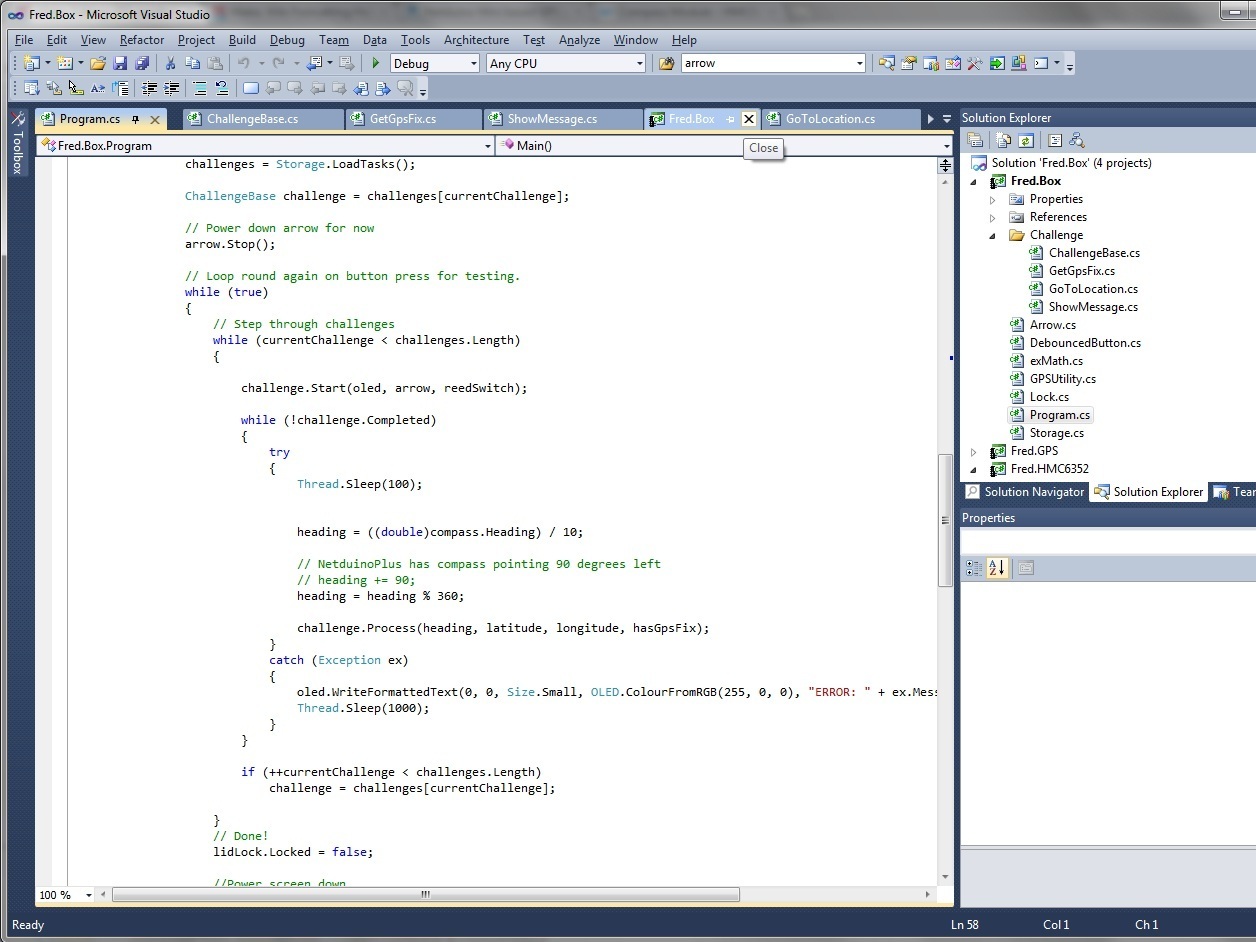
With the box assembled, it now came down to writing the software to control it all. The advantage of the Netduino over it’s more familiar cousin the Arduino, it that there’s a much richer event-driven programming environment. Ideal for these sort of projects. C# programmers will feel right at home because that’s what you use. You can even set a breakpoint in Visual Studio and you can debug live on the device.

If you don’t have Visual Studio, no problem. The free version of Visual C# Express that you can download from Microsoft will do just fine.

I decided on a series of “tasks” that would take my nephew via various GPS coordinates. His favourite thing (at the time) was the film “How to train your dragon” so all the clues were Viking themed. Obviously you can set things however you want.

For some waypoints he would get a distance readout. Some would require him to follow the arrow. Some were just text clues – “you’re almost there”.

I’ve attached my source code, and all you’d have to do would be to adjust the coordinates and messages in the task file it reads from the SD card. Where’s the fun in that though? Pick it apart and get it how you want it to work!