YouTube player

If you’ve never heard of Gravity Falls, beware… you’re about to lose a lot of time binge watching this show. At first glance, it may appear like a silly kids show, and in some ways, it totally is. However, that silly children’s show is wrapped around a deep and thoughtful core of serious moments, contemplative introspection, and peculiar humor. This show has captivated young, old, and everyone in between.

Stephen Schmidt was drawn in, watching the show with his daughter Kim. They were such fans, in fact, that they went from watching to making. The two worked together to create this Gravity Falls themed terrarium, and documented it thoroughly so that you could replicate what they did if you were so inclined.

In the images below, Stephen shares his process.

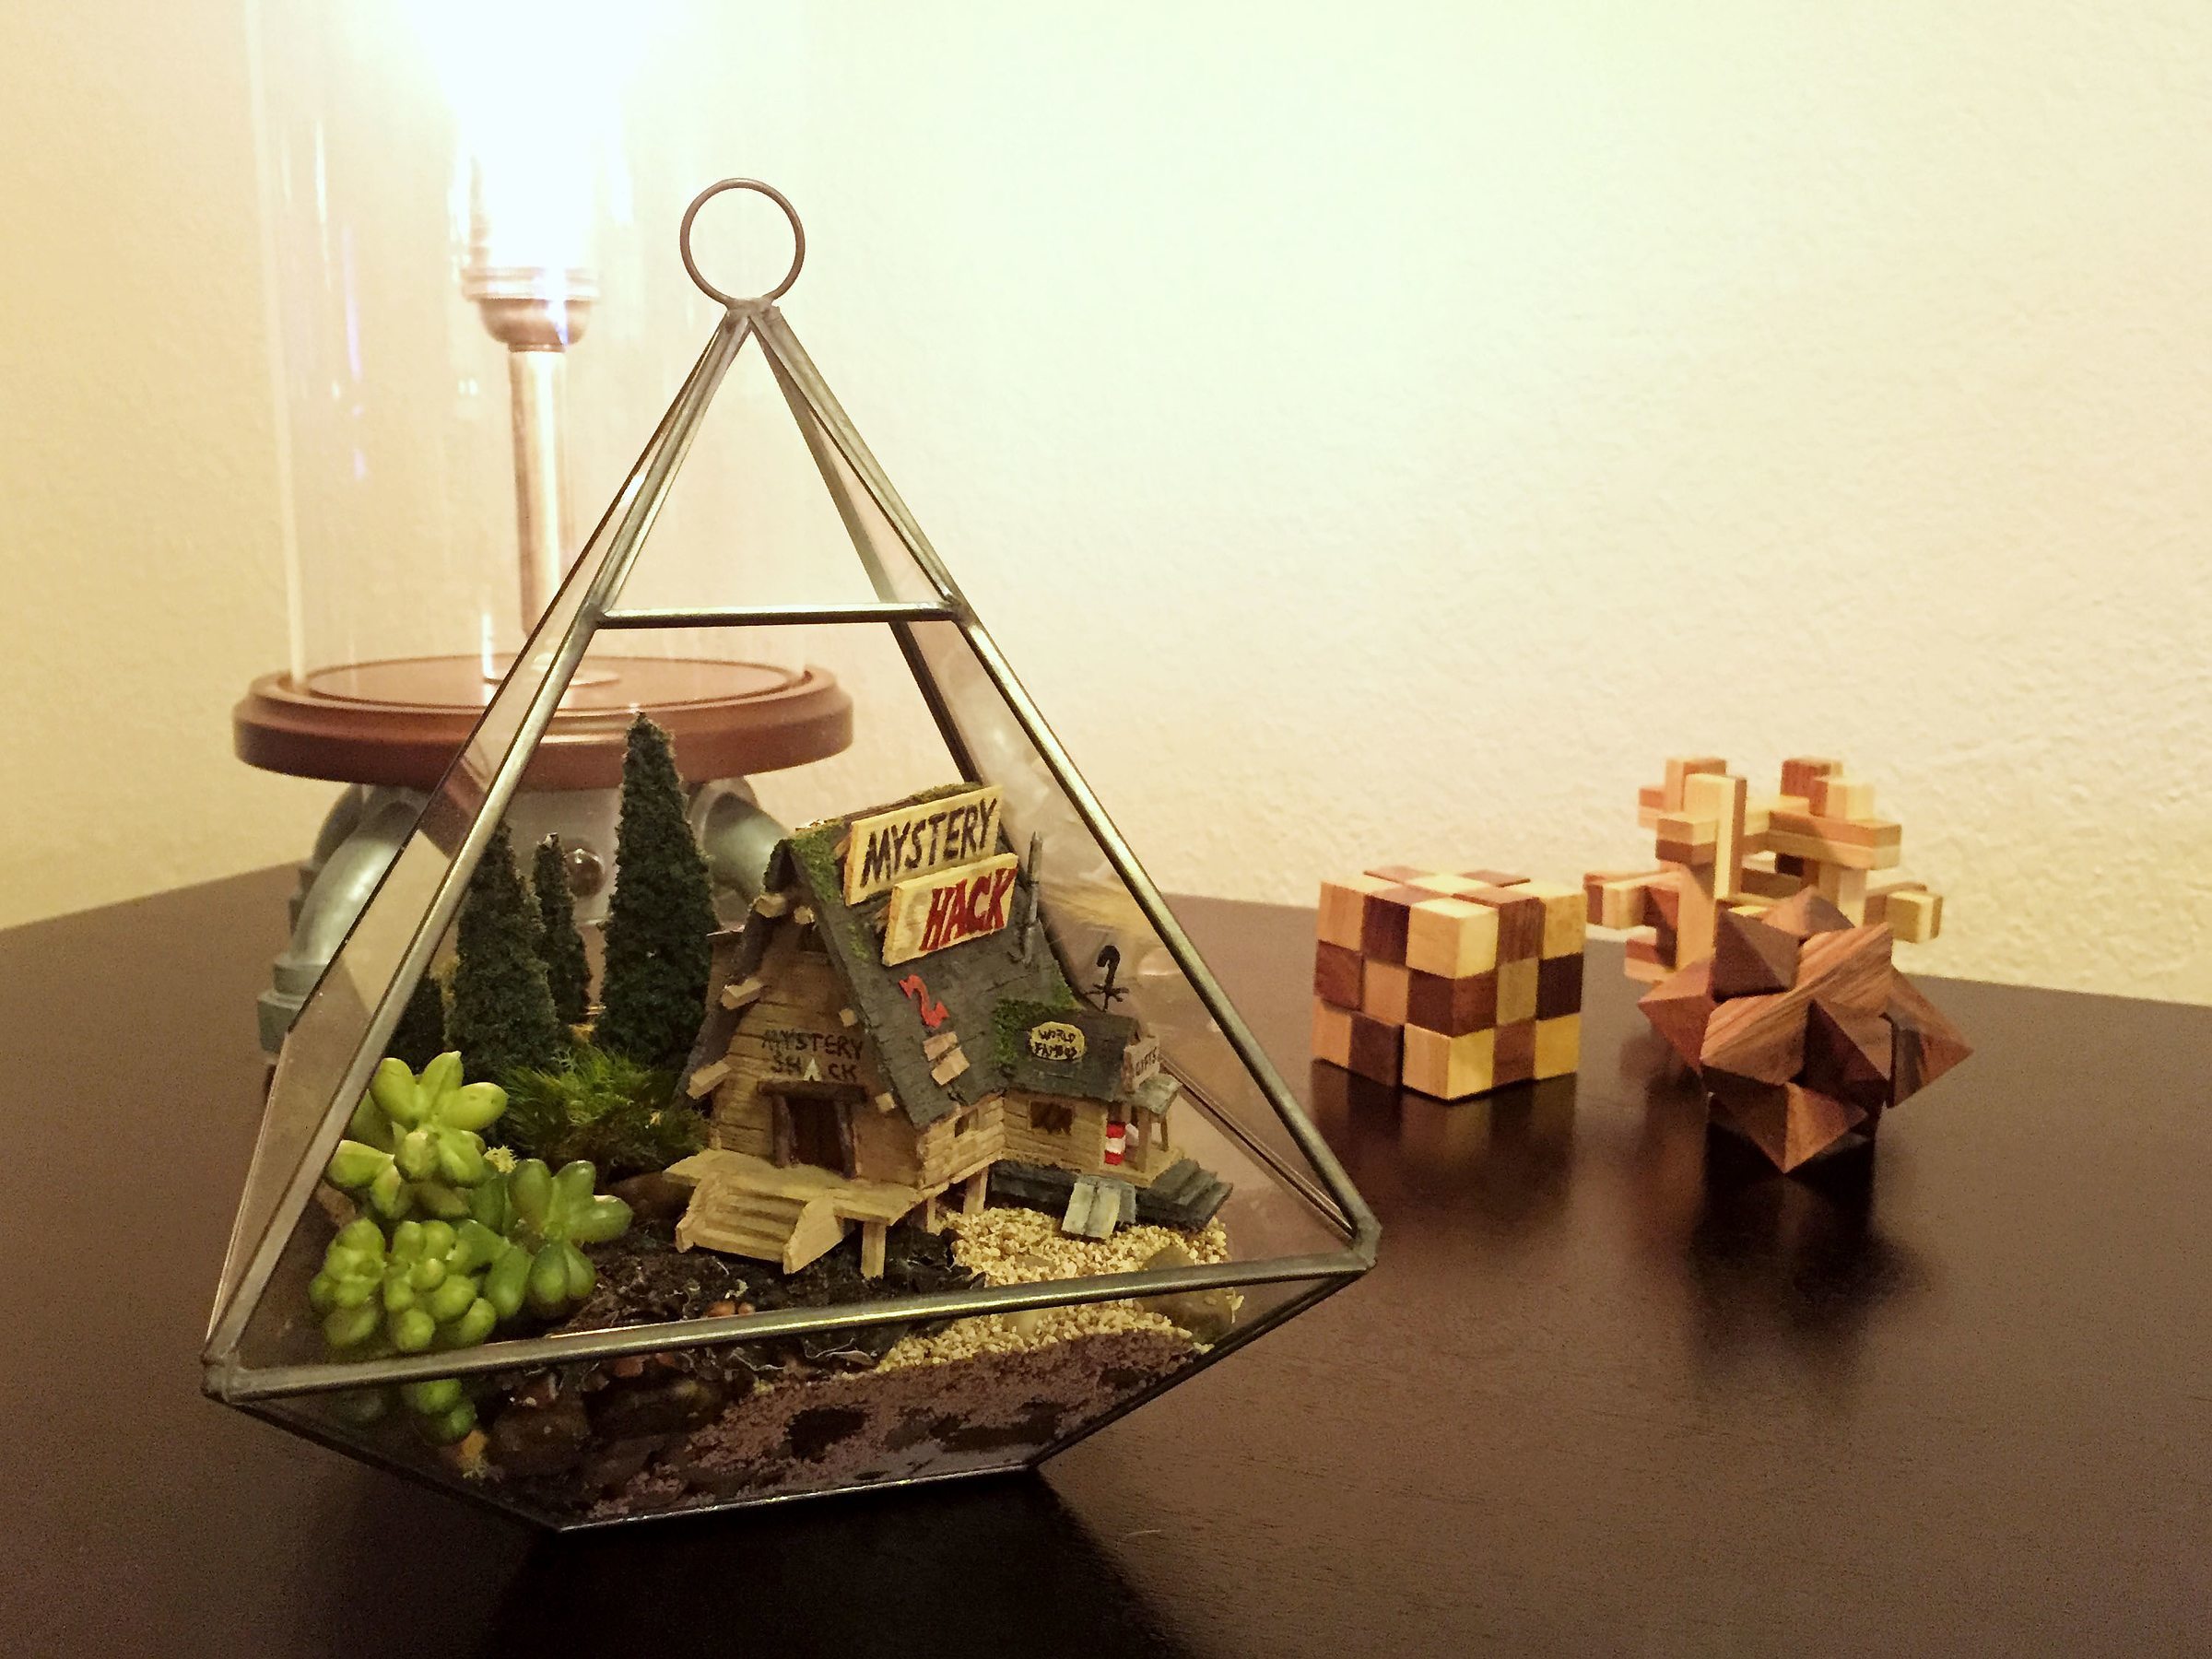
The finished diorama / terrarium.
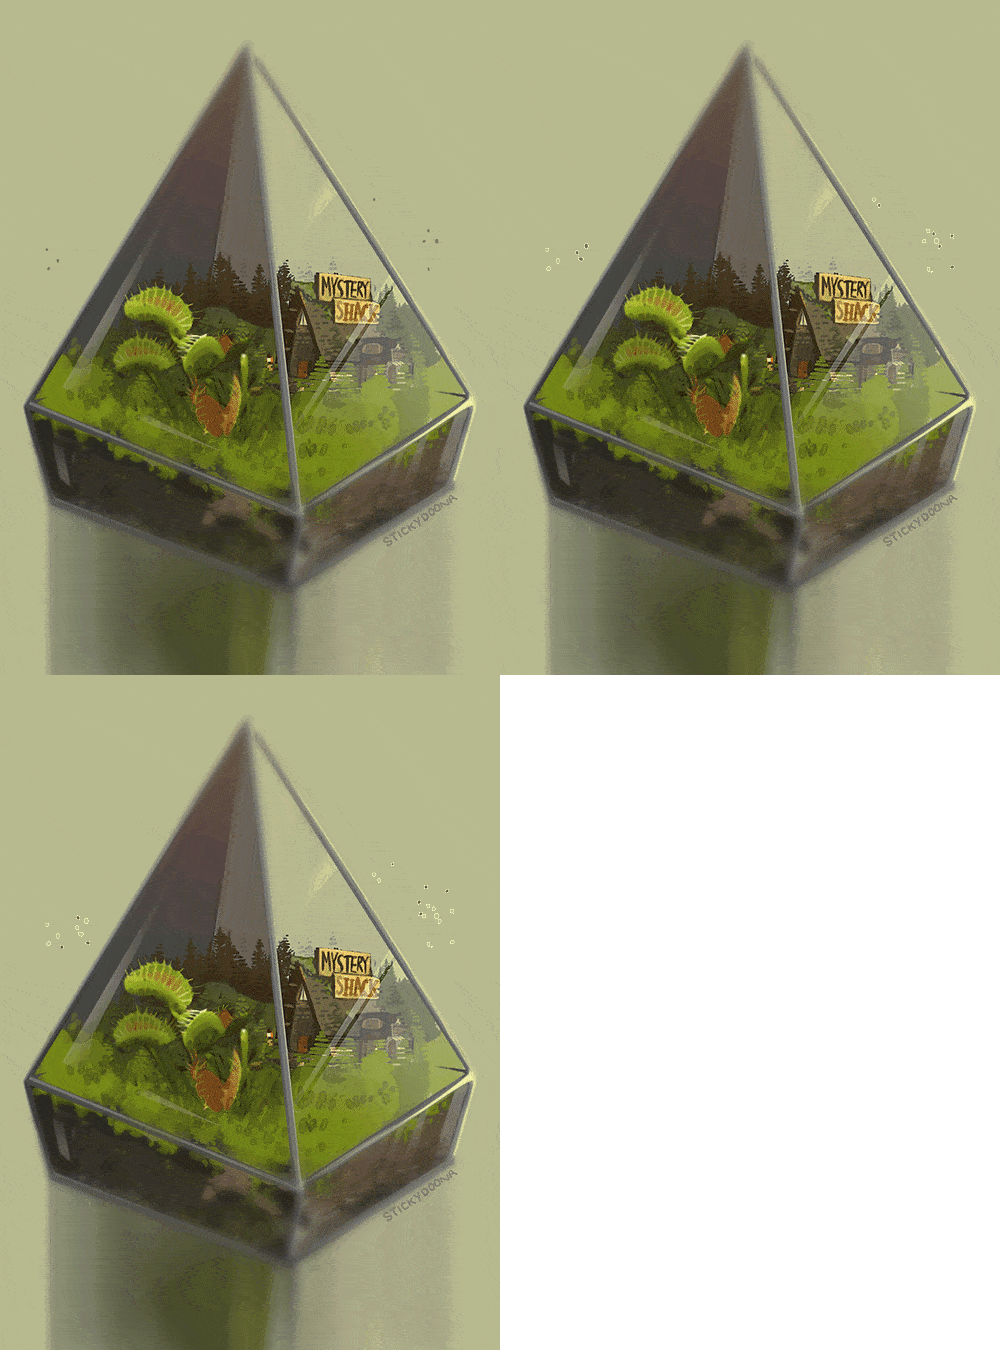
The inspiration for this project came from an image by stickydoona
The Mystery Shack is the main house where the events of the animated series "Gravity Falls" take place. Minor details of the shack are inconsistent throughout the show, so we picked the ones we preferred.
The Mystery Shack is the main house where the events of the animated series “Gravity Falls” take place. Minor details of the shack are inconsistent throughout the show, so we picked the ones we preferred.

What will the next generation of Make: look like? We’re inviting you to shape the future by investing in Make:. By becoming an investor, you help decide what’s next. The future of Make: is in your hands. Learn More.

Project Steps

1.

With the terrarium ordered from Amazon, we roughed out the dimensions of the pyramid to get the scale of the house right.

With the terrarium ordered from Amazon, we roughed out the dimensions of the pyramid to get the scale of the house right.

2.

Then we got to work on building the shack out of balsa wood.

Then we got to work on building the shack out of balsa wood.

To make the roof look shingled, I cut lines into the wood at a shallow angle to make flaps.
Then I cut the flaps into sections to make the individual shingles.
The house is about 2.5 inches tall, 2 inches wide, and 3 inches long
The house is about 2.5 inches tall, 2 inches wide, and 3 inches long.

3.

To make the corrugated metal roofs, I folded some aluminum foil into a strip, then used the back of the razor blade to press the waves into the foil.
Side, front, and back views of the finished (unpainted) shack.

4.

This is where my daughter took over. She painted the entire shack, and built a few more details like the Pitt vending machine, cooler, and couch on the back porch.
We cut the letters out of painted card stock.
Then we glued the letters to the sign and roof.
Writing on the tiny signs was the most difficult part.
Another angle of the fully painted shack.

5.

When the terrarium finally arrived, it was time to assemble it all. Most of the materials were leftovers from our Steven Universe terrarium (http://imgur.com/gallery/rr8to), but we picked up some miniature fir trees and fine gravel from Hobby Lobby.
When the terrarium finally arrived, it was time to assemble it all. Most of the materials were leftovers from our Steven Universe terrarium, but we picked up some miniature fir trees and fine gravel from Hobby Lobby.
Everything looks cooler with fake moss on it.
fwDOebN
It took some effort to get the trees to stay standing up straight. In the end we added some clay to their bases to keep them in place, and that worked nicely.
Finally, we add the gravel, moss, some artificial plants, and the shack.
Side view of the terrarium
The other side view.