Project Steps

Prepare your workspace!

Find a nice flat ground surface.

To save assembly time, move your materials as close as possible to the work site.

Place the main frame on the ground.

Attach primary arms

The primary arms do not have leg holders. (picture)

The arm with many mounting holes belongs on the right side. (picture)

Don’t tighten the bolts just yet!

Attach secondary arms

Attach front arm (cylinder mount, 4″ above the 6″ section). (picture)

Attach rear arm (6″ side below the 4″) (picture)

The machine is heavy and will tilt forward unless supported by holding, jacking up, or inserting machine legs.

Tighten everything.

Attach legs and feet

Insert legs into feet sleeves.

Attach legs to frame with bolts.

Be sure to use the outer, not inner mounting sections. (photo broken)

Attach solenoid valve

Attach solenoid valve to the mounting arm with 2 (3/8″) bolts. (picture)

Look below the pressure relief on the valve for the mounting holes.

Attach controller box

Attach controller box using 1 (1/2″) bolt to the frame just to the right of the solenoid valve.

Install roller guides

Position the guide body over the guide roller adjusters.

Do not overtighen the bolt that connects the roller guides to the u-channel.

The roller guides should be able to pivot slightly around this bolt. (picture)

Install the soil-loading drawer

Adjust the roller guide adjustment bolts (4 of them) such that the drawer can roll freely on the guides, with its bottom not touching the frame throughout its motion.

The top of the drawer should not touch the frame.

Adjust the roller guide ajustment bolt such that the top surface of the drawer almost touches the frame (but does not). (picture)

Install the hopper mounting plate

The wider edge of the plate should face forward.

Install the rear hopper supports,

Install the rear hopper supports.

Wait for the rear hopper sheet to be installed to determine the vertical adjustment of the rear hopper supports.

Install the back piece of the hopper.

Install the back piece of the hopper (largest sheet).

Bolt this sheet to the 2 hopper-attachment-plate hinges, and to the 2 rear supports using the bolts provided.

Attach the front hopper supports to the arms

Attach the front hopper supports to the arms, and install the front hopper sheet.

Bolt the front sheet to the hopper-attachment-plate hinges and to the support arms.

Attach the remaining side hopper sheets.

Attach the remaining side hopper sheets

Install shaker motor.

Insert rotor shaft through back hopper hole.

The shaft-with-eccentric-rotor must be taken out of the hopper shaker assembly for mounting.

To remove the shaft, loosen the two collars (set screw + turn), and loosen the bolts on the second pillow block bearing, and disconnect the coupler (bolt pin + set screw) from the shaker motor.

Mount the hopper assembly on the rear hopper supports, with the shaft in place through the hole.

Attach the hopper shaker to the second rear support with the provided connecting piece.

Tighten the shaft – start with the pillow block bearing and the shaker motor bolts. Tighten the motor bolts and pillow block bolts gradually, so that the shaft remains aligned and does not stiffen up. You should be able to turn the eccentric by hand easily once everything is tightened. If the eccentric does not spin freely, then loosen and retighten the bolts. Make sure that the shaft does not touch the hopper sheet, otherwise adjust the rear hopper sheet position.

Tighten the rear hopper supports, rear hopper sheet, shaker motor, and shaker motor shaft.

Mount the grate,

Attach grate mounts to hopper and rear hopper supports.

Lift grate into position (concave side pointed down).

Grab a friend to help. The grate is heavy!

Attach grate to mounts (smaller ones on the back).

Mount the soil sensor assembly

Mount the soil sensor assembly on the grate between bars 18 and 20.

The small gap (1″-2″) between hopper and grate should make it easy to attach soil sensor bolts underneath.

Hang the soil sensor cord over the grate edge.

Begin connecting the hydraulics.

Gather the main hydraulic hoses (3/4″ thick, 8′ long, black pressure relief valve on one end).

Attach hose inlet to power source, and the outlets to solenoid valve inlets.

Solenoid valve block inlet is on the right, while outlet is on the opposite side.

Don’t use thread tape! (compression swivels)

Tighten the fittings for a secure connection.

Connect main cylinder hydraulics.

Use 6′ hydraulic hoses.

Solenoid Port A connects to the top of the main cylinder, Port B connects to the bottom.

Install the secondary cylinder

Install the secondary cylinder by putting pins through the attachment eyes – on the secondary arms and on the soil-loading-drawer.

Attach secondary cylinder hose assembly

Attach assembly to the second solenoid from the left.

One plain hose goes directly from the base of the secondary cylinder to port B of the solenoid, and the more complex assembly screws into the rod-end-port of the secondary cylinder, with the opposite end of this hose assembly screwing into port A of the second solenoid. (picture)

Connect grate shaker hydraulics.

Due to swivels, it is recommended to screw shaker motor-side ends in first.

Connect a hose (6′) from grate shaker to third solinoid, port A.

Connect return line (6′, needle valve), from shaker to solenoid valve, port B.

Use thread tape on both ends .

(this should be the only place during assembly that thread tape is used)

Connect electronics to solenoid valves.

Connect the longest set (4 leads) to the first valve (main cylinder control)

Connect the second set (4 leads) to the second valve (secondary cylinder control).

Connect the last set of leads (2) to the third valve (shaker motor motor control).

Attach the main sensor

Attach the main sensor to the two power clamps on the right hand side of the main cylinder body, (about midway up, check the paint markings).

Face the cylinder toward the sensor magnet assembly. (picture, video)

Attach the secondary cylinder

Attach the secondary cylinder sensor by screwing it into the hole below the right mounting hole of the solenoid valve.

The top of the PVC part of the sensor should be even with the height of the upper edge of the machine arms.

Attach the sensor (break into new guide)

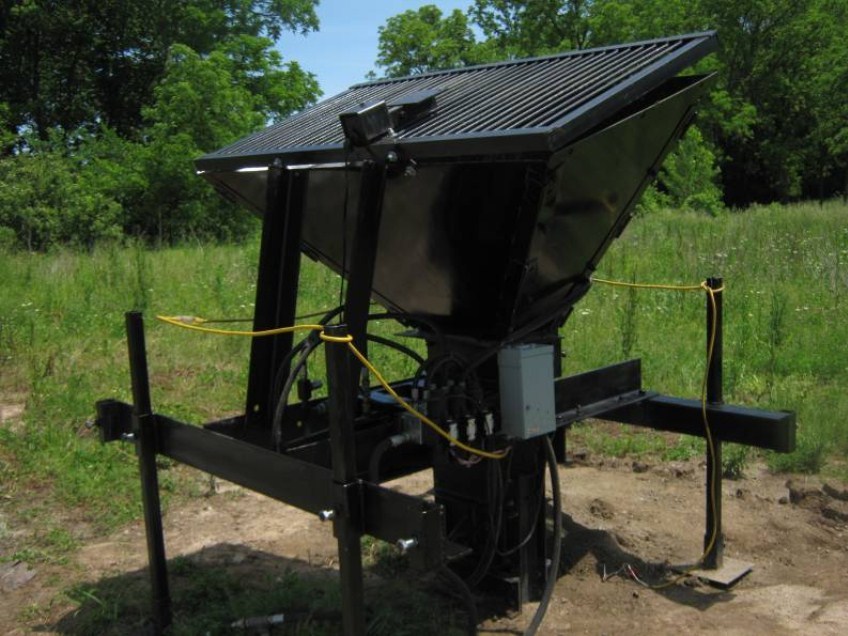
Attach the sensor to the a Arduino shield in the controller box.

Run the wires into the controller box’s right-hand knockout.

Pay attention to the fragile connection ends (they break easily). Connect them to the appropriate pins on the Arduino shield by unscrewing the terminals, putting in the lead, and tightening the terminal down.

Do not overtighten, or you may break the leads.

Pull on the lead to make sure it is connected securely.

The pins of interest on the Arduino shield are A5, A4, and A3 – left-hand-side terminals – which accept the blue (signal) wires of the sensors – for the main cylinder, secondary cylinder, and shaker motor sensors, respectively. For the remaining leads, the blue/white lead is the ground, and the orange/white lead is 5V.

Connect the ones for the main and secondary cylinder on the bottom of the shield – into any available slots, as determined by convenience. For the shaker motor, connect the ground and 5V on the top side of the shield. While the signal leads need to be attached to the exact slots, any ground or 5V pin will work for the remaining wires – and may be selected by convenience of location. The useful part about the Arduino shield is that it has a large number of slots for convenience.

Congratulations!