


Cocktail robotics is an engaging cross between engineering, art, and gastronomy that provides many entry points for making, craft, performance, and exploring hedonistic interfaces between technology and humanity.
Cocktail robots don’t need to serve alcohol, and they don’t need to be electronic. There are a lot of fun “cocktail robots” that dispense other drinks, and robots that dispense cocktails without a computer (see Benjamin Cowden’s “The Corpse Reviver”).
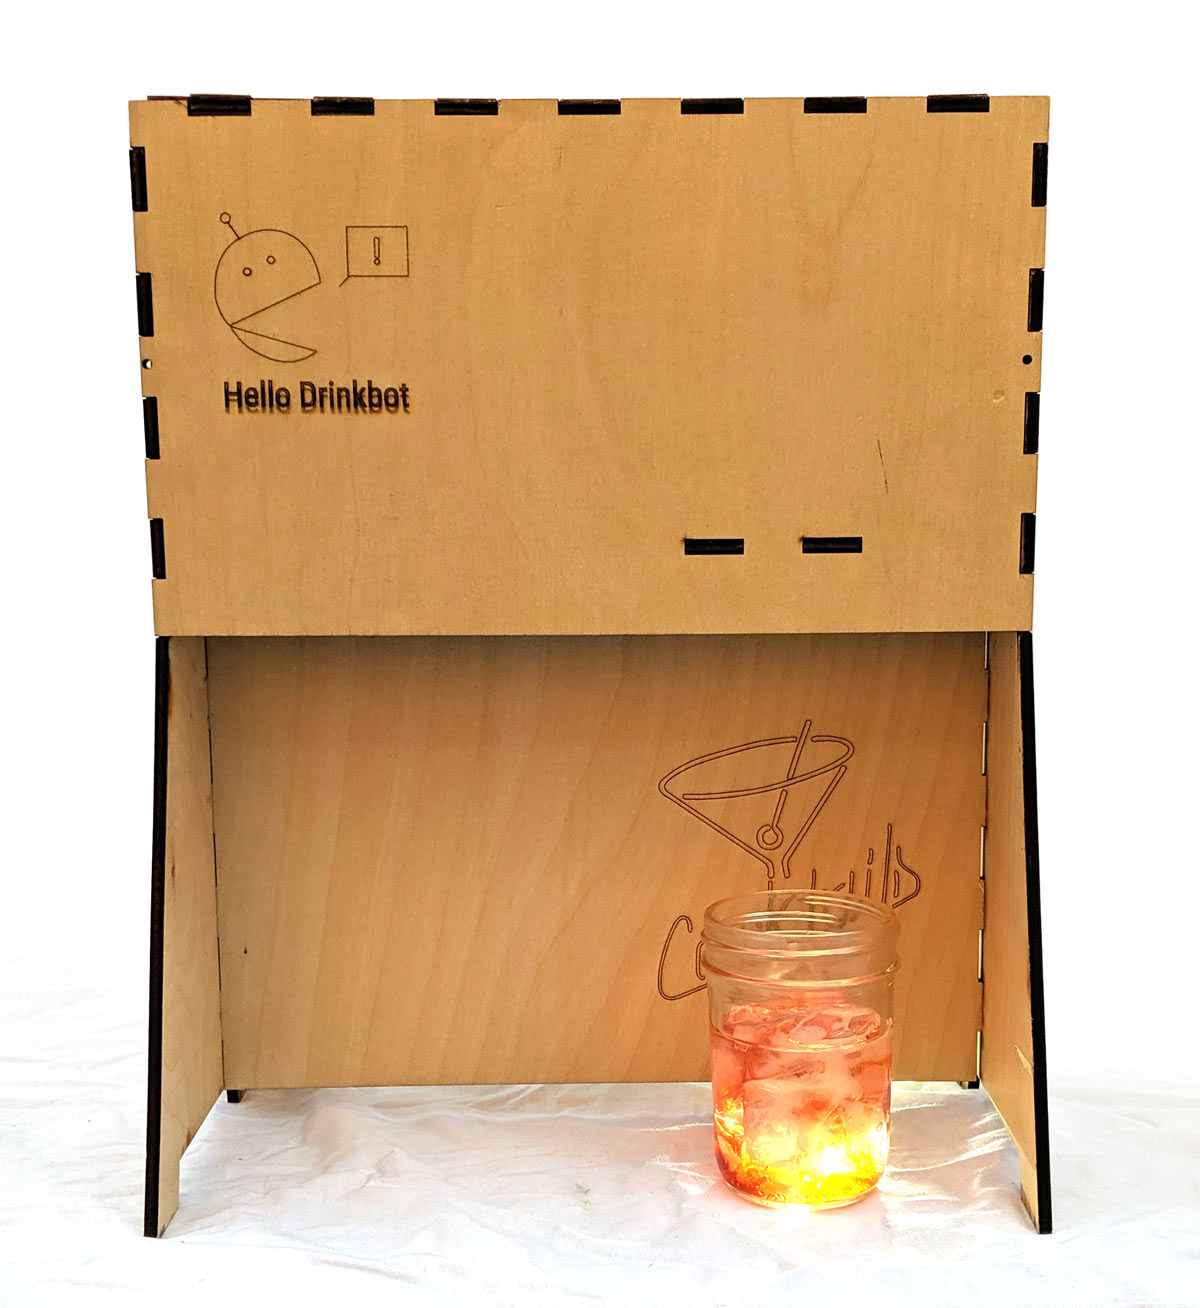
But the goal of the Hello Drinkbot project is to get people making more cocktail robots by providing a simple and affordable solution to the “hello world” problem of “How do I dispense cocktails under computer control?”
Hello Drinkbot aims to make it easier to get started, to lower the bar of entry so that more people can enjoy the rewards of this particular obsession. To paraphrase artificial intelligence pioneer Danny Hillis, we would like to provide a platform which tolerates the beginner’s skill and limited time, while rewarding more attention and creativity. This is “hello world,” so imperfections should perhaps be embraced!
This open source project includes plans and software to make a four-ingredient cocktail-dispensing (or Italian soda-dispensing) drinkbot, expandable to eight ingredients, as well as other resources and code you can use to customize, explore, and expand on the basic model.
I presented Hello Drinkbot as a hands-on activity at Maker Faire Bay Area 2019. The workshop was a lot of fun, and many lessons were learned. On the plus side, I think that all the robots went home able to dispense liquids. Yay!
Since then I’ve worked on tweaks, improvements, patches, and bug fixes. Hello Drinkbot is ready to start pouring for you.