In our prior house I patiently installed dozens of popup sprinkler heads all over my garden at a cost of a few hundred dollars and several days of work. When my wife and I moved into our new house I decided to take a more calculated (lazy) approach. I found a way to cut the cost in half, make the job easier, and keep it all hidden from view. Here’s the scoop.

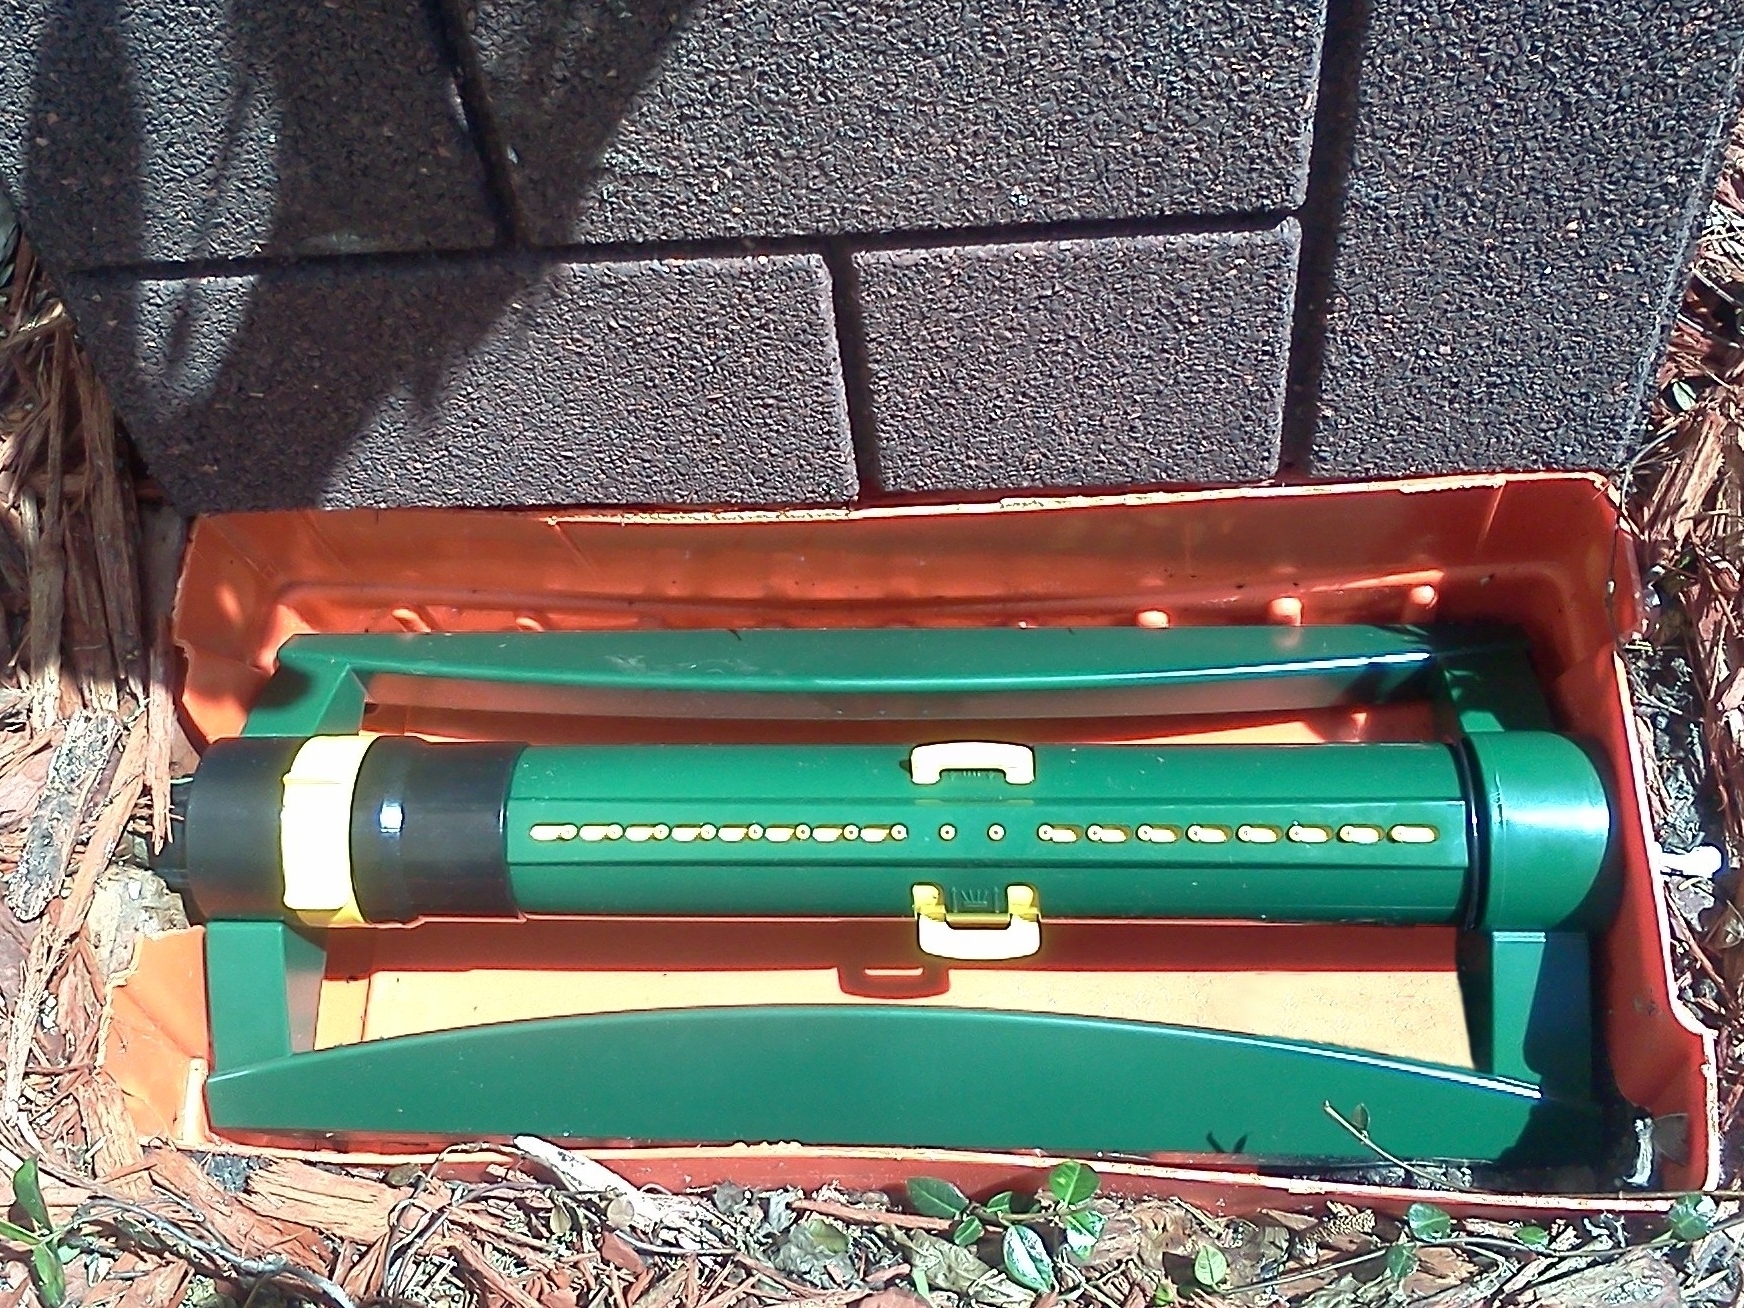
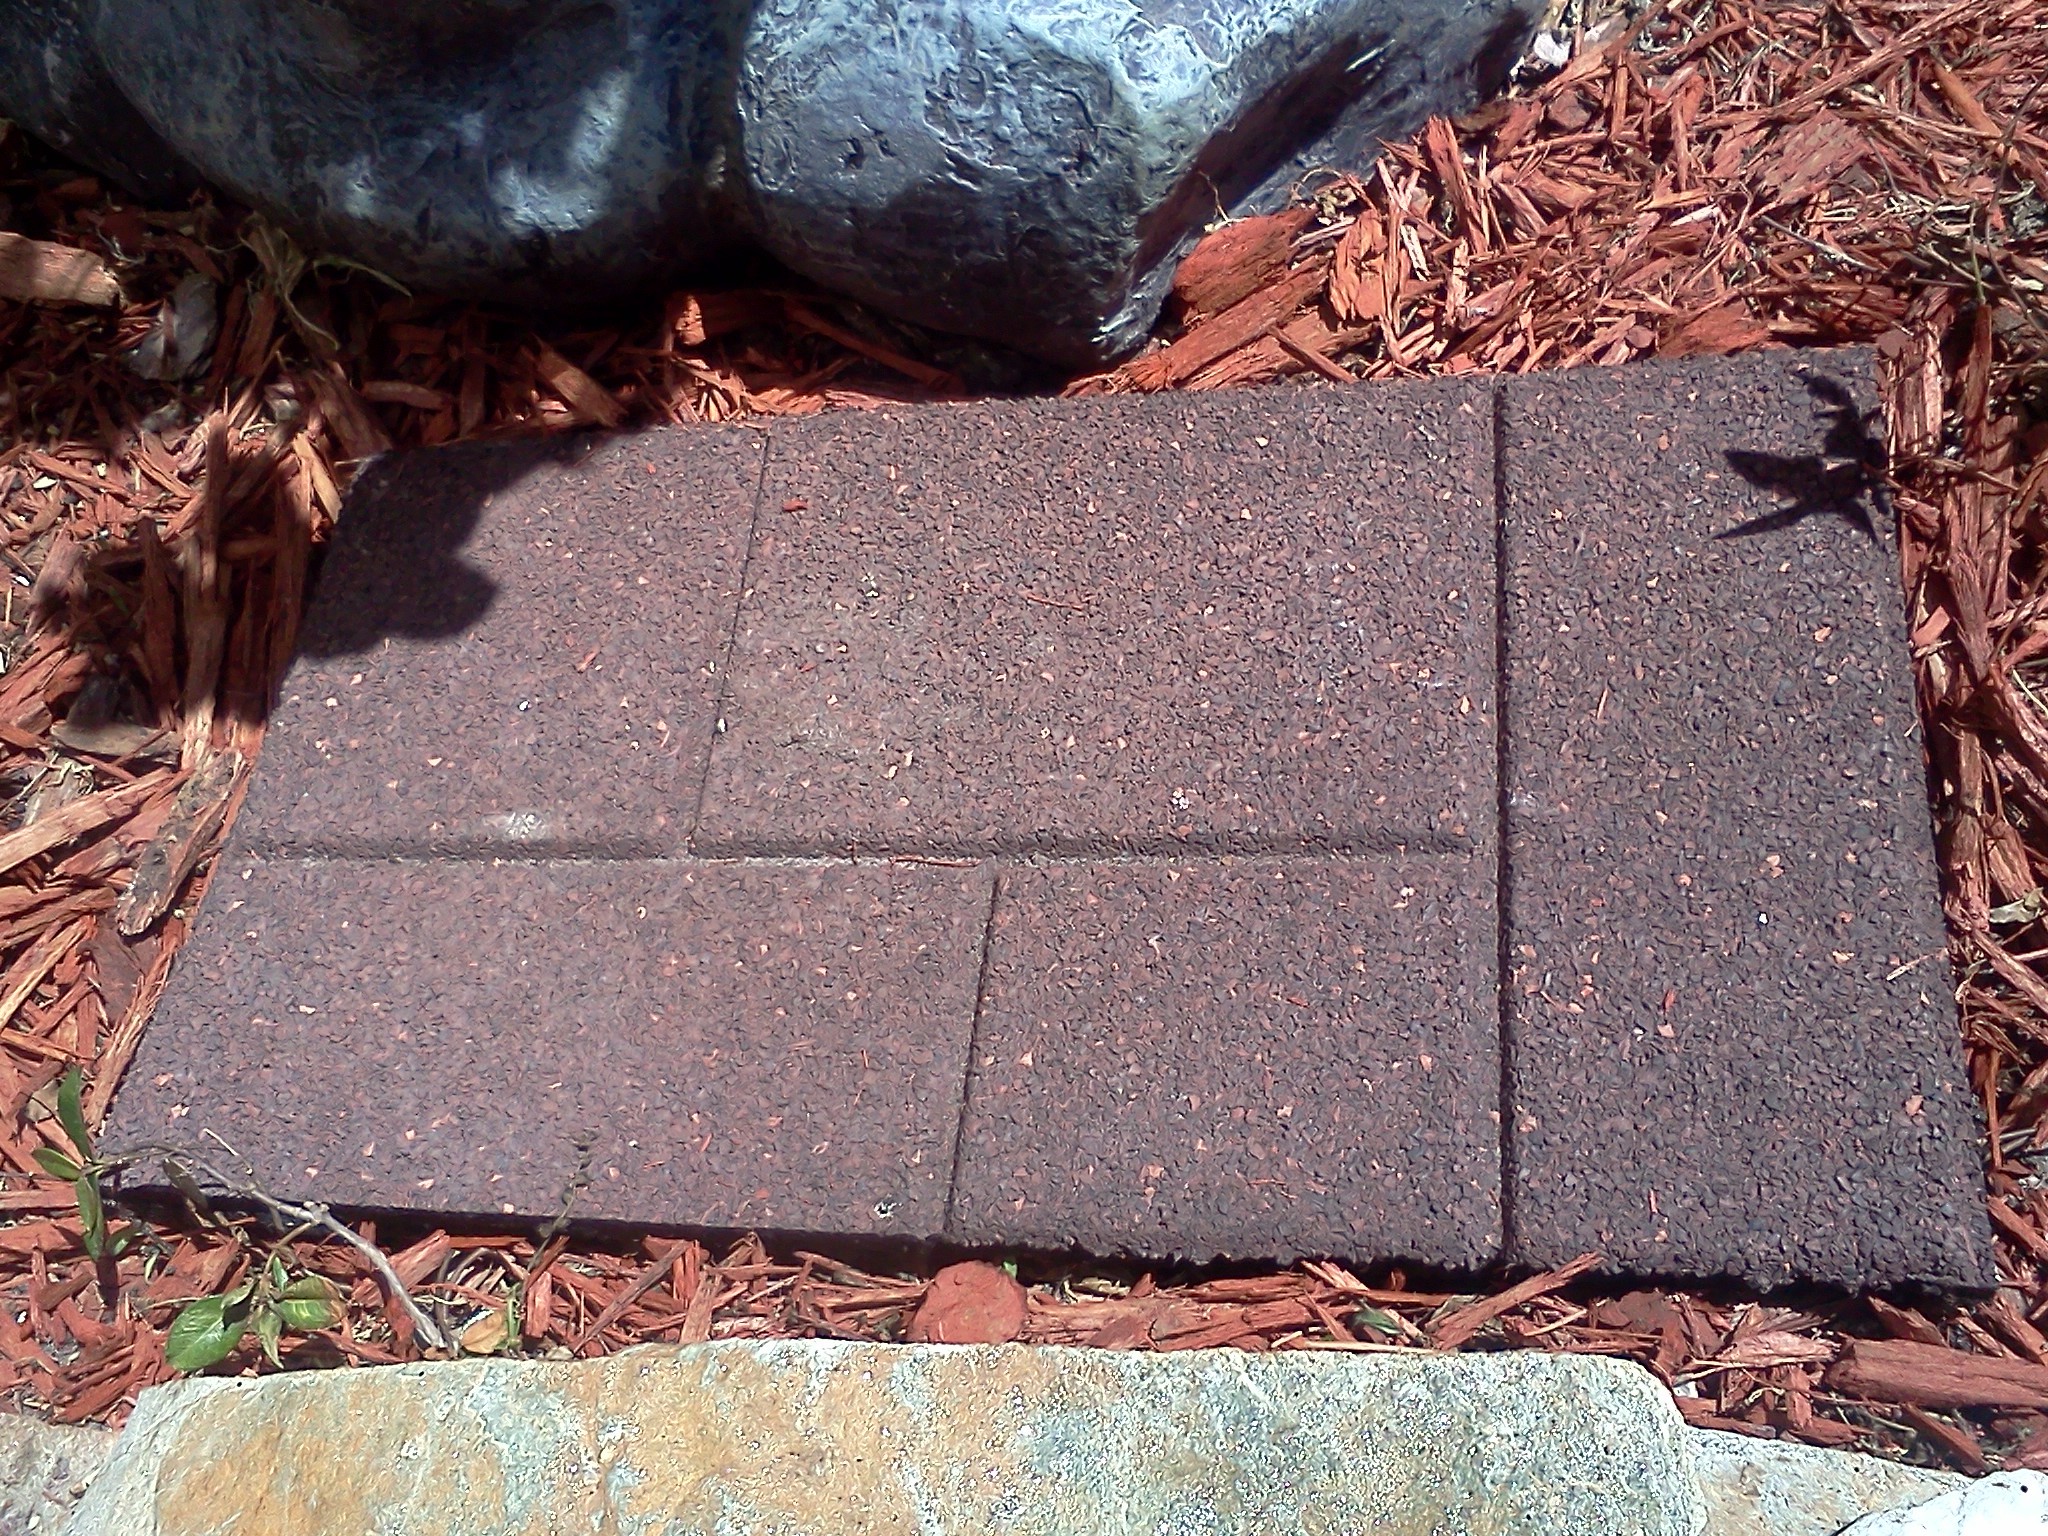
My garden is a mix of rectangular areas and it takes a number of partial-sweep sprinkler heads to get full coverage, whereas a single oscillating sprinkler can be adjusted to cover the entire rectangle. But I didn’t want to leave these green-and-yellow sprinkler monstrosities scattered around our beautiful garden all of the time. So I came up with a plan: I put the sprinklers underneath the walkway. Now when I want to water the garden I just flip over a few pavers and the turn on the sprinkler system at the hose bib. It’s easy, cheap, and totally out-of-sight when not in use.

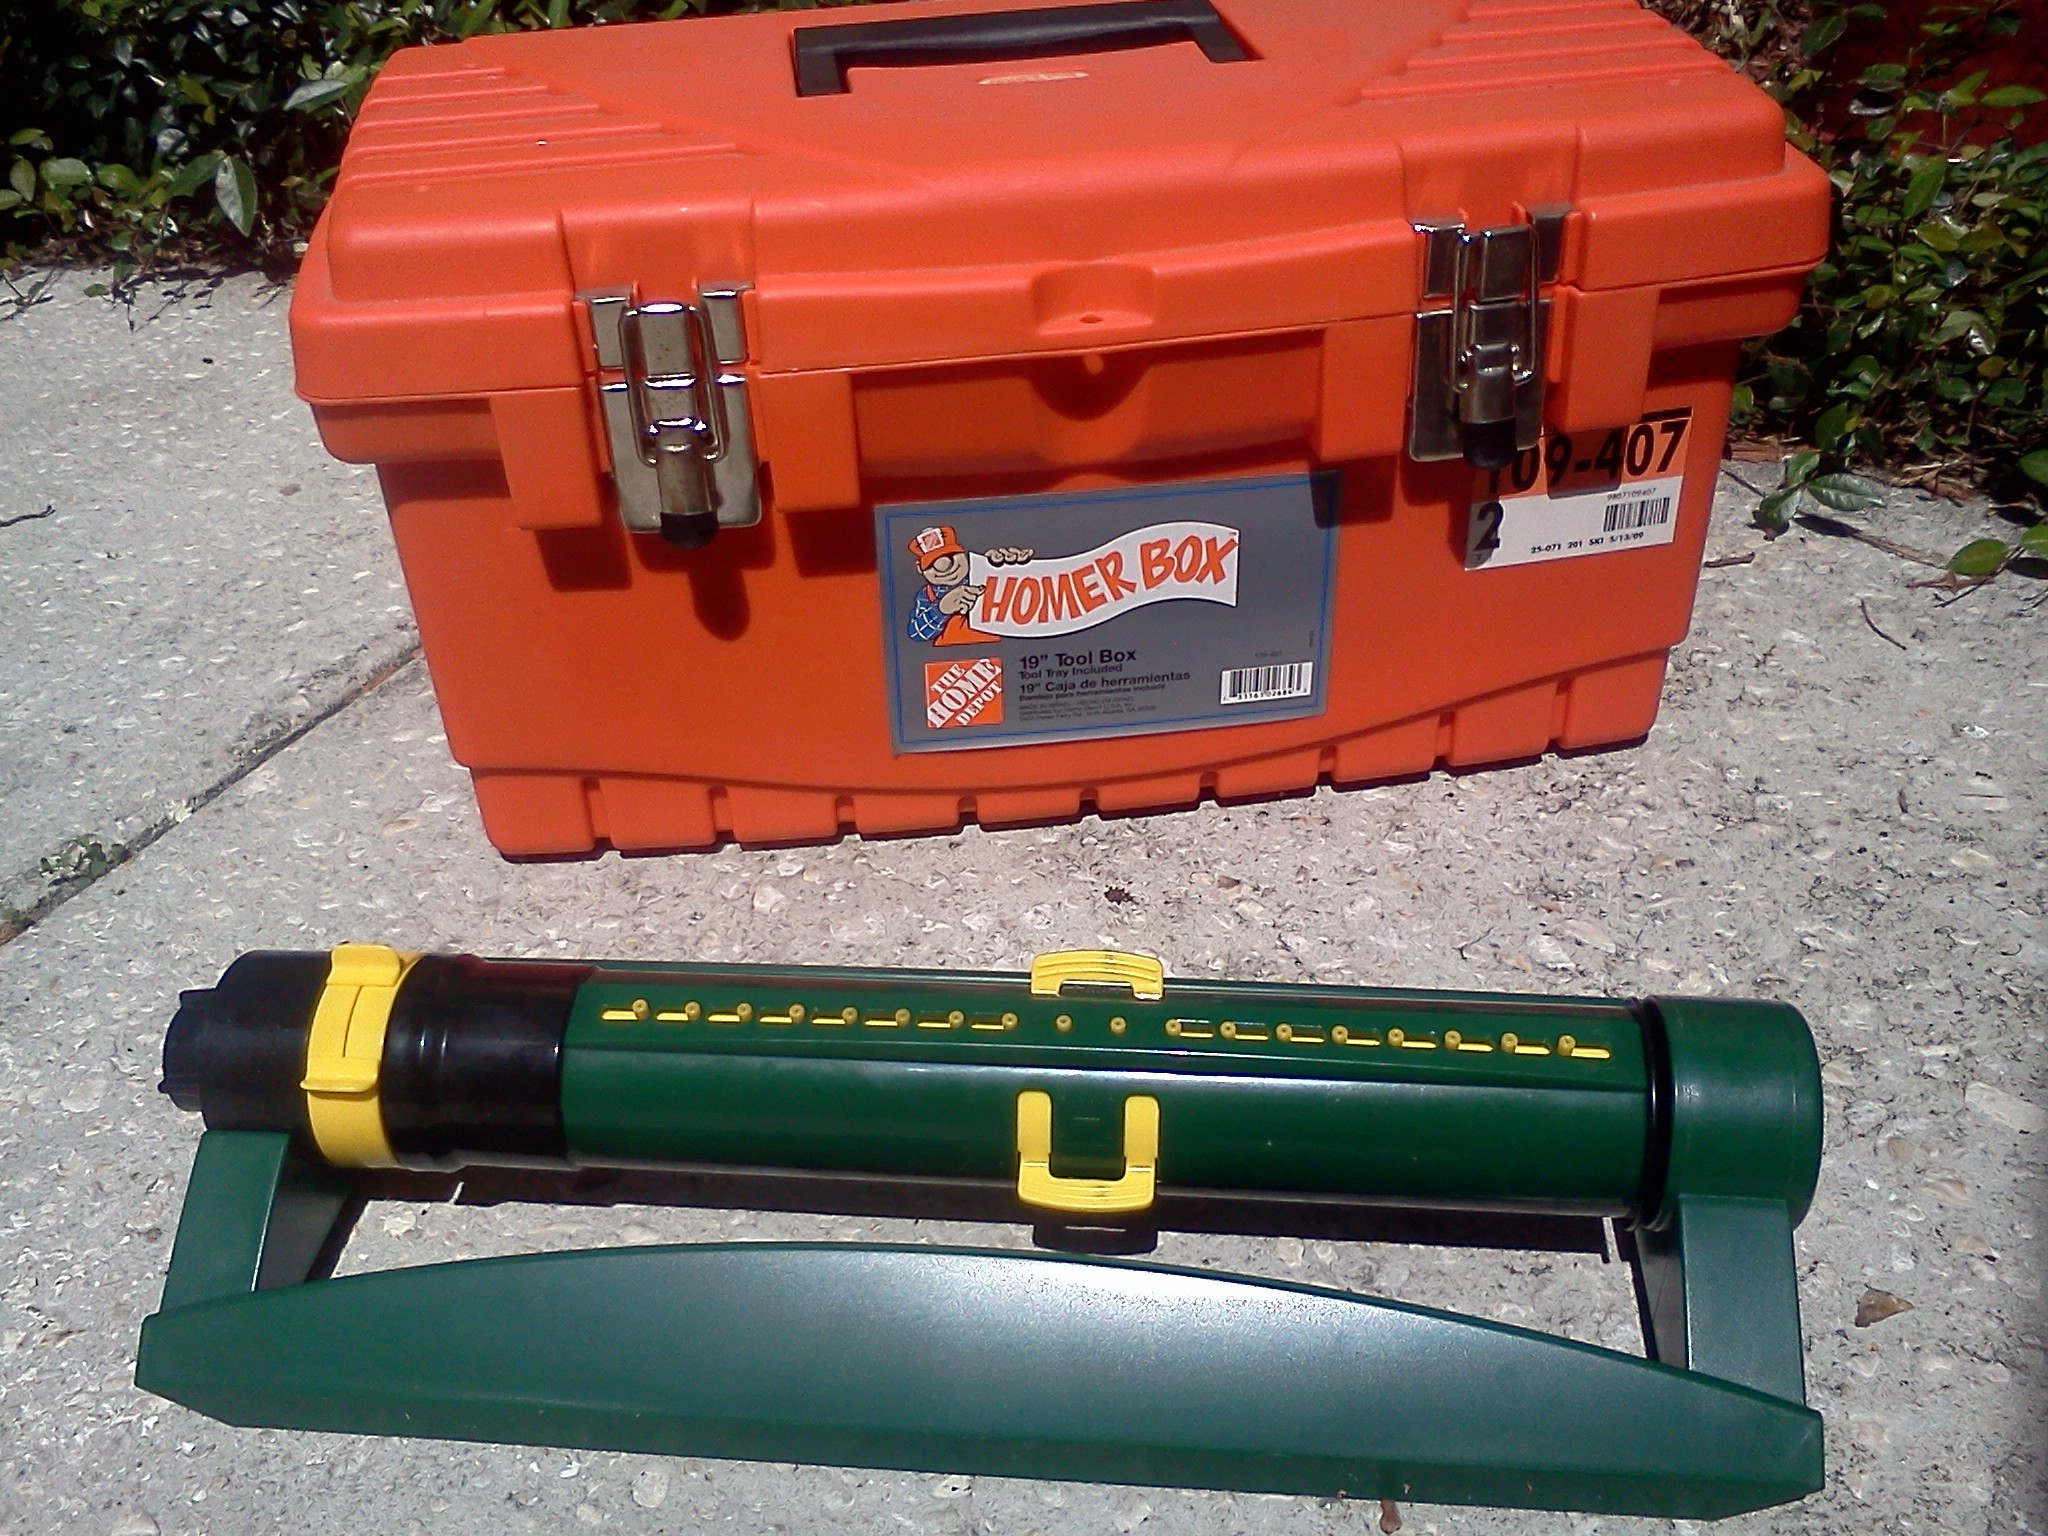
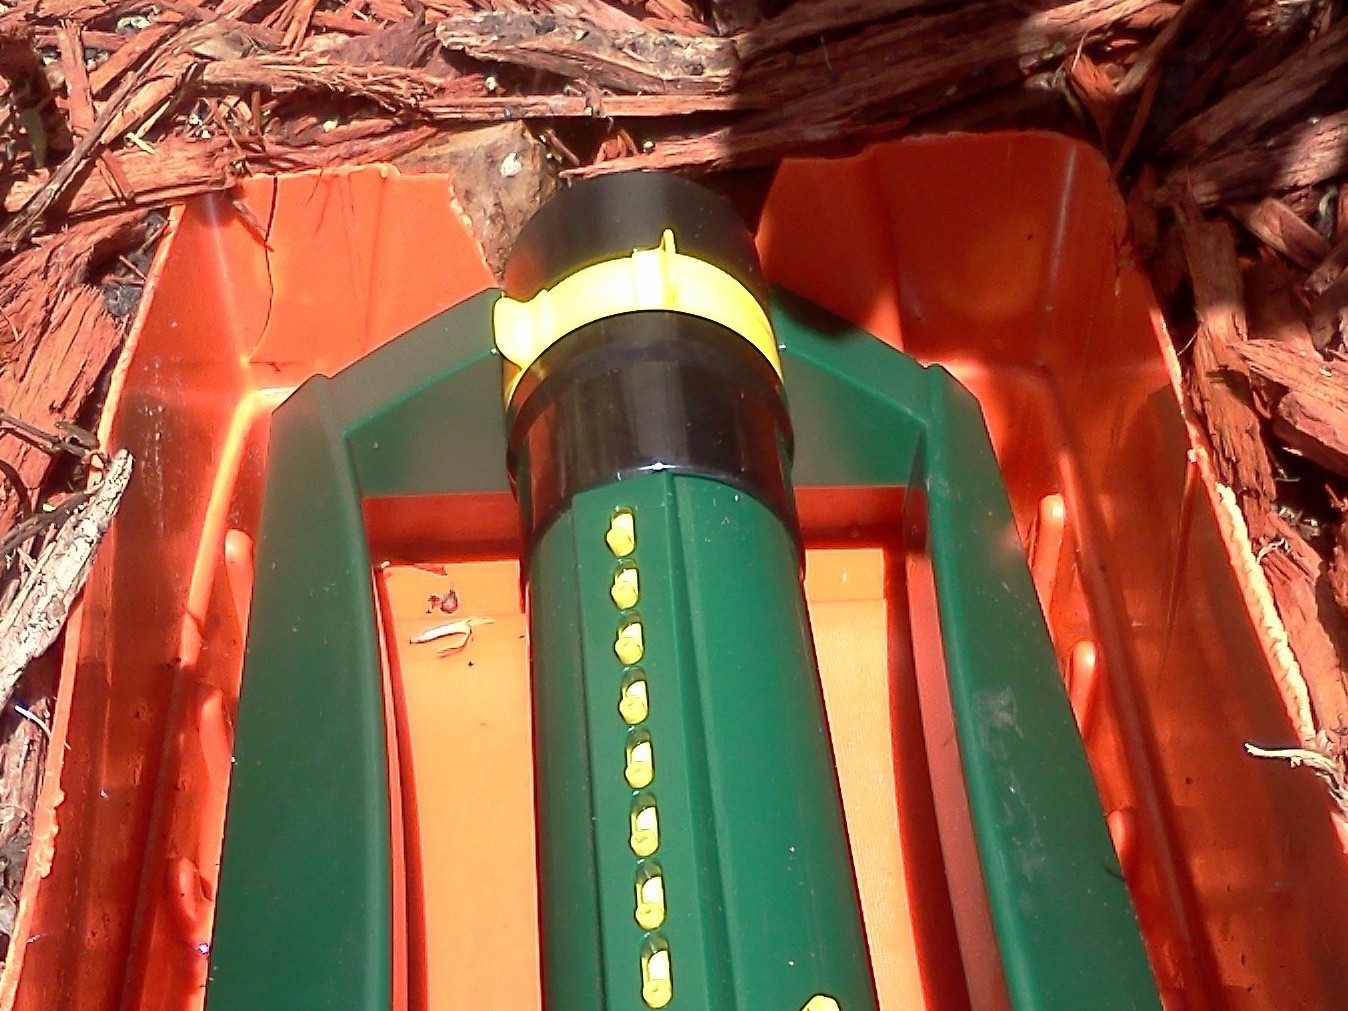
Each subterranean unit is built from the base of a plastic toolbox you can buy at your local building supply store for less than ten dollars. Decide where you want to place the sprinklers, generally under your garden walkway, but some can be in locations where you want to add a lone paver as a steppingstone. Each sprinkler can cover a rectangular area that is over 50 feet long and 50 feet wide.

Project Steps

Ensure that the toolbox you buy is large enough to accommodate the base of the sprinkler. In my case I found that a Vigoro variable-width oscillating sprinkler ($19.99) fit nicely into a Home Depot Homer Box. ($8.97)

Cut each toolbox so that it is one half of an inch deeper than the height of the sprinkler. In my case I used a sprinkler that was three-and-a-half inches high, so I made a basin that was four inches deep.

Cut an opening on one end of the basin (toolbox) to allow for the hose to be connected to the sprinkler. If your sprinkler is similar to mine then you can use the provided template.

Also remember to drill some holes in the bottom of the basin so that it doesn’t fill up with water when in use.

Wherever you want to locate a sprinkler in your garden, dig a hole that is large enough to accept the basin. In my case this required a rectangular hole just under 18” long, 9” wide, and 4” deep.

Also dig a four inch deep trench, two inches wide, from the area of the hose bib to each of these locations in which to route a hose.

Press a plastic basin into each pit, being careful to orient it so that the hose opening is aligned with the trench for the hose. The top edge of the basin should project just slightly above ground level in order to prevent gravel and mulch from falling in. Pack dirt in around it.

Set a sprinkler into each pit with the hose coupling facing the trench.

Attach the Y-hose adapter to your hose bib and route hoses to each of the sprinkler pits. The existing hose can be connected to one side of the Y-adapter and the new hose that feeds the sprinklers can be connected to the other side.

Bury the hoses, packing the dirt down firmly so that the hoses don’t work their way up. Depending upon the number of sprinklers you may have any number of hoses and adapters. Each hose should terminate in a pit – just barely reaching it. Then twist the sprinkler’s coupling onto the hose firmly.

Cut pavers to fit over each pit. I used 18×18 pavers that I had cut to 18×10. Rubber pavers are easy to cut but they won’t support the weight of anyone standing on them. Concrete pavers can be cut with a brick set or masonry saw. Place a paver on top of each pit.

Conclusion

This turns out to be cheaper and easier than using popup sprinklers and it leaves your garden uncluttered as well.