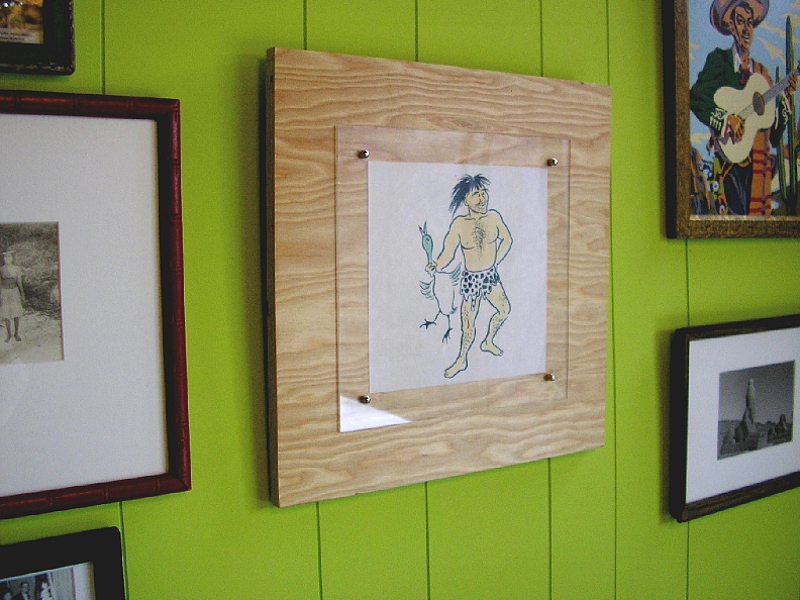
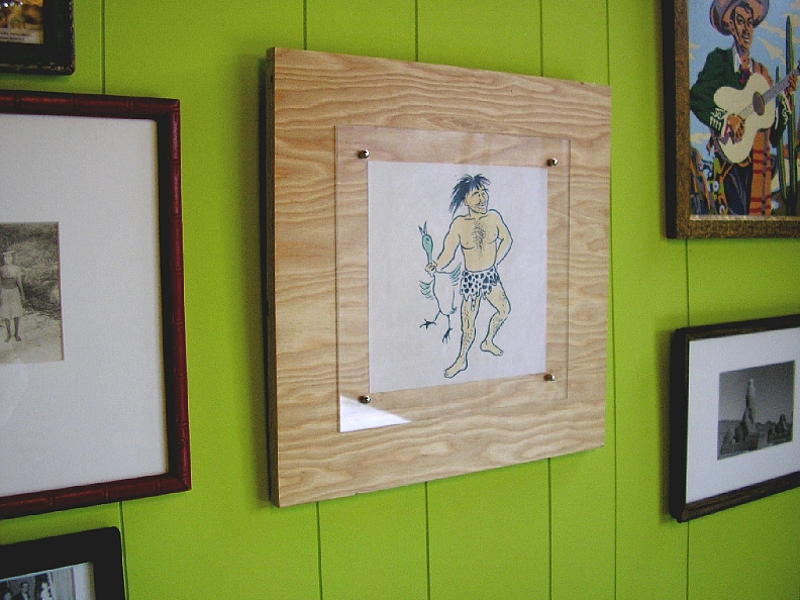
Some scrap plywood and a sheet of plexiglass fitted with a few cents’ worth of hardware is all it takes to get those must-frame items out of your drawers and onto your walls. This framing project can be built to suit, but for the sake of a starting point, I’ve sized the frame to accommodate an 8″×8″ block print.

A note on materials: I like fir plywood because it’s cheap and tends to bear the most exaggerated grain; 1″ plexiglass is available cut-to-size at a decent hardware store or can be purchased precut at most framing supply shops.

Using varnish on the wood will accentuate the grain and give it a satin finish. You may also leave the wood unfinished.

What will the next generation of Make: look like? We’re inviting you to shape the future by investing in Make:. By becoming an investor, you help decide what’s next. The future of Make: is in your hands. Learn More.

Project Steps

Prepare the surface and mark the board corners.

Prepare the surface using fine-grit sandpaper wrapped over a flat wood block; sand the choice-side surface of the plywood smooth.

With a dry cloth, wipe the plywood completely to remove the dust created by sanding. Brush the surface with Aqua ZAR varnish. Allow the varnish to dry completely, lightly sand the varnished surface, wipe off the dust, and apply a second coat. Repeat. (Apply 3 coats of varnish in total.)

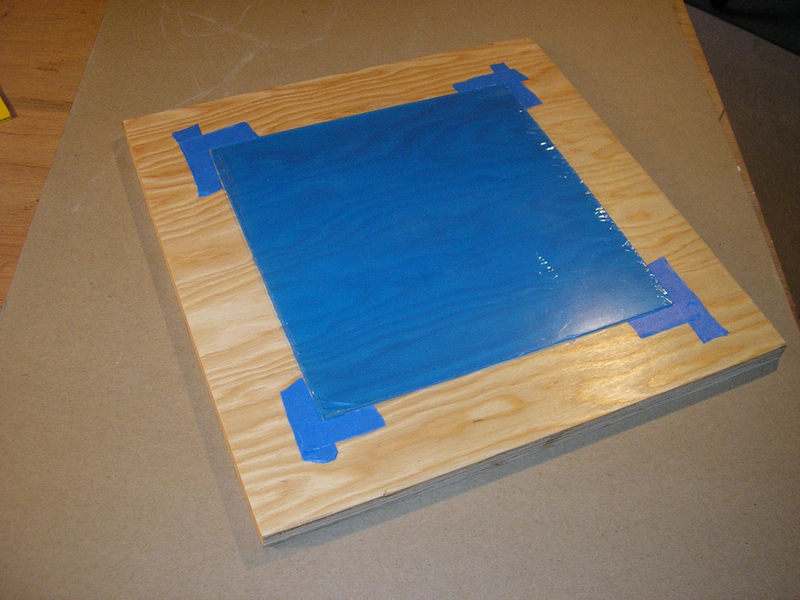
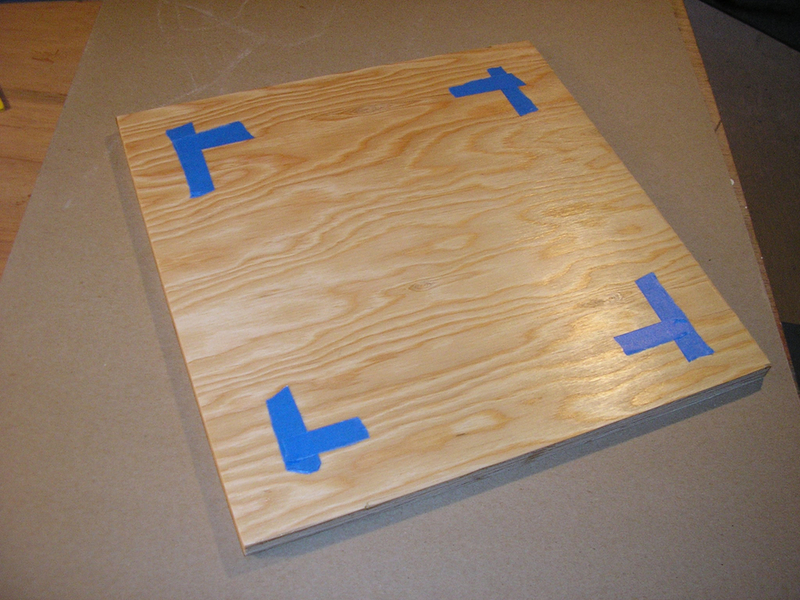
Use a ruler to establish the centered placement of the plexiglass; each edge of the plexiglass should be 2½” from each edge of the plywood. With masking tape, mark the corner points.

Mark the plexiglass.

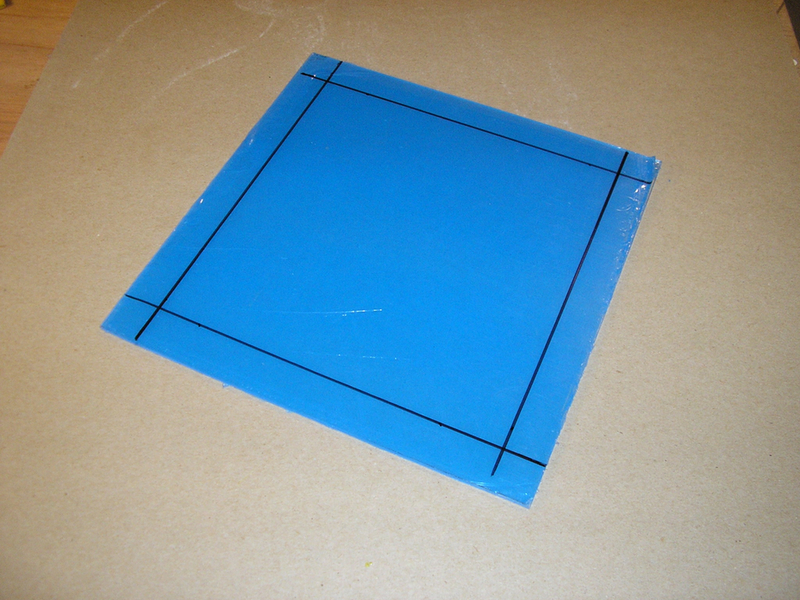
Using a Sharpie marker, draw 4 straight lines 1″ from each edge of the plexiglass, on the protective film (not on the plexiglass itself).

Drill the holes.

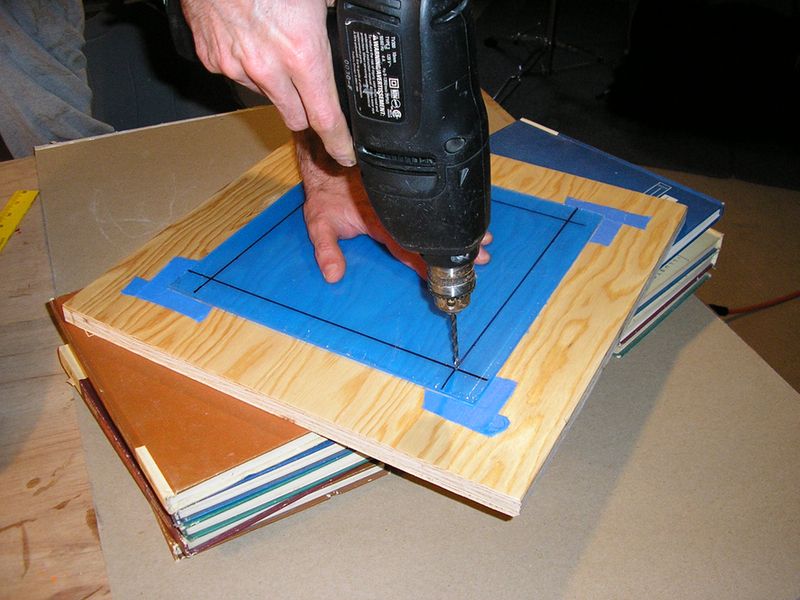
Prop up the plywood a few inches above your work surface with scrap lumber or books.

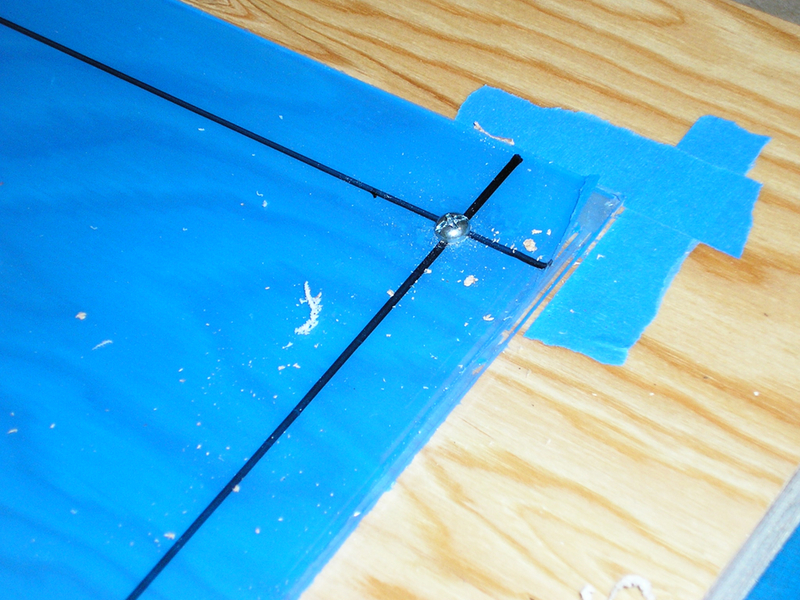
Hold the plexiglas centered on the plywood using the taped corner guides, and drill a hole at each point where the lines drawn on the plexiglas intersect.

Drill straight through the plywood (taking care, of course, not to drill through the books).

Insert screws and eye bolts.

After drilling each hole, slip either a machine screw or an eye bolt into the shaft to anchor the placement of the Plexiglas while the remaining holes are drilled.

Do not force the drill because the Plexiglas is likely to crack.

Place artwork in frame and secure.

Remove the tape from the plywood and remove the protective sheets from each side of the plexiglass. Clean both the plywood and the plexiglass clear of drilled shavings. Sandwich your artwork so that it’s centered between the plexiglass and the plywood.

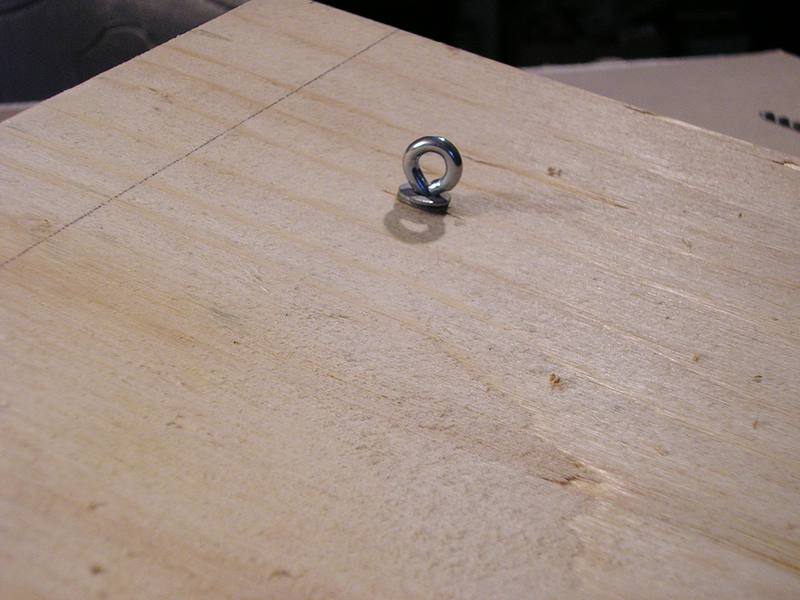
Slip the washers over the eye bolts and screw the hex nuts onto the machine screws. Slide the eye bolts and machine screws through the drilled holes from the backside of the frame, and secure them with the acorn nuts (the 2 eye bolts should be placed through the “top” holes in the frame to allow for picture wire and hanging). In order to fit the acorn nuts flush to the plexiglass, the hex nuts may need to be adjusted.

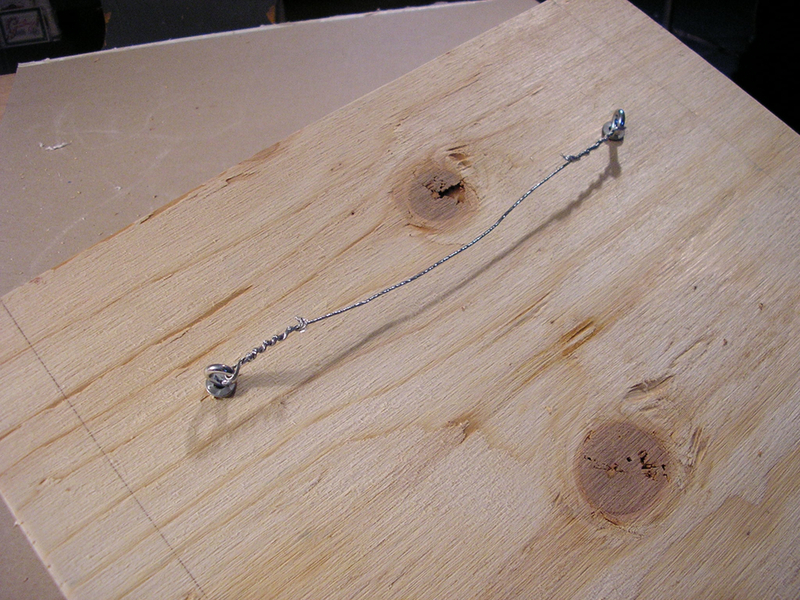
Run the picture wire through the eyes of the bolts, winding each end tightly to secure.

Conclusion

This project first appeared in CRAFT Volume 01, pages 139-140.