I have owned several shop vacuum cleaners, but regardless of the make, I never liked the way the casters worked. They never rolled where I wanted them to.

When I recently had to replace a worn-out shop vacuum, I looked for a way to improve the mobility of the new machine. That’s when I realized that the vacuum’s discharge air might be a way to do this.

I decided to make the vacuum self-levitating, to turn it into a hovercraft. Then it would just obediently float along the floor behind me.

Here’s how I did it.

What will the next generation of Make: look like? We’re inviting you to shape the future by investing in Make:. By becoming an investor, you help decide what’s next. The future of Make: is in your hands. Learn More.

Project Steps

Mount the vacuum to the hovercraft deck.

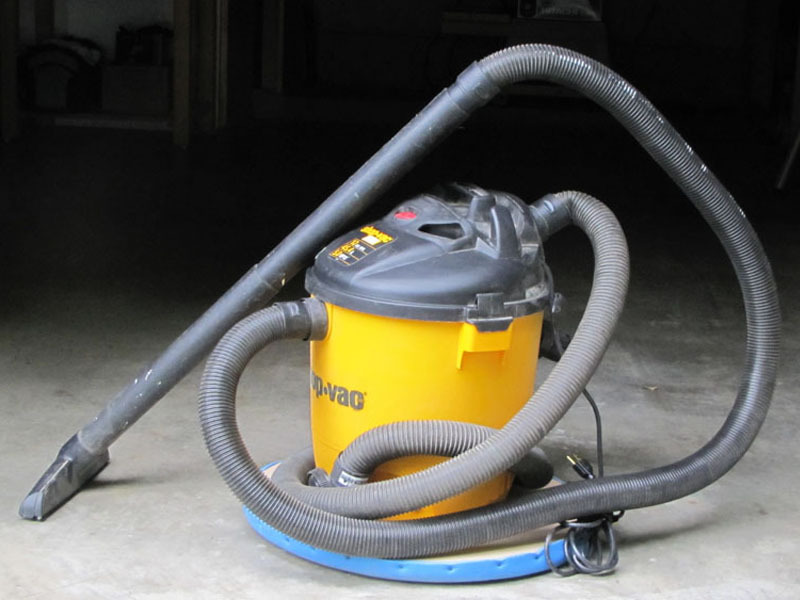
First I bought a ¾”-thick × 24″-diameter MDF disk at a local home center, and attached my new vacuum, without wheels, to the center of the disk with a few ½” wood screws.

The canister is made of plastic, and the screws can be driven right through the bottom into the MDF. Don’t worry about the holes in the canister; they’re small and could easily be patched later.

Install the hover hose.

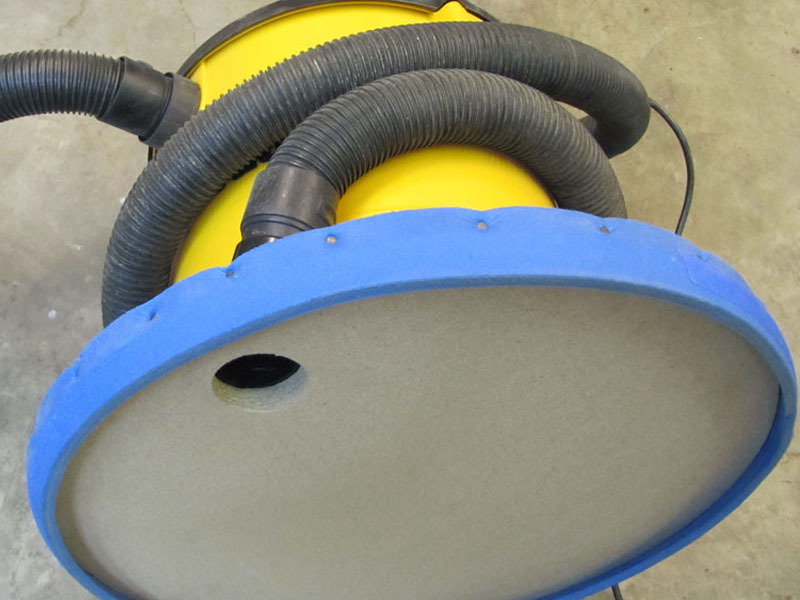
I used a hole saw to cut a 2″-diameter hole in the disk, and used more wood screws to attach a 2½” universal dust port fitting for connecting a hose.

I had kept the hose from my old vacuum, so I used it to connect the air discharge on the new vacuum to the new fitting on the deck. It’s a standard 8′-long, 2½”-diameter Shop-Vac hose, which I wound around the canister so that I wouldn’t have to cut the hose.

The hose only needs to be about 2′ long; if you cut it down, be sure to use the threaded end to connect to the vacuum’s discharge port.

Make the hover skirt.

Making and attaching the skirt is the only challenging part. The skirt needs to be strong enough to support the vacuum when it’s not in operation, but flexible enough to form a seal to hold in the air when hovering.

After some experimenting, I cut a 1½” wide strip from an old ½”-thick exercise mat, but similar material will do. I attached the skirt using 1″ roofing nails spaced about 2″ apart. Other small nails will work fine also, but don’t use anything under 1″ length.

If you cut the skirting material carefully, it will be straight enough to create a good air cushion for the vac to float on.

A schematic cross section view of the deck and foam skirt is shown in the last figure.

I was initially concerned that performance of the vacuum might be affected by partially restricting the air discharge. This proved not to be an issue, as the suction and volume of air through the vacuum are the same now as before I turned it into a hovercraft.

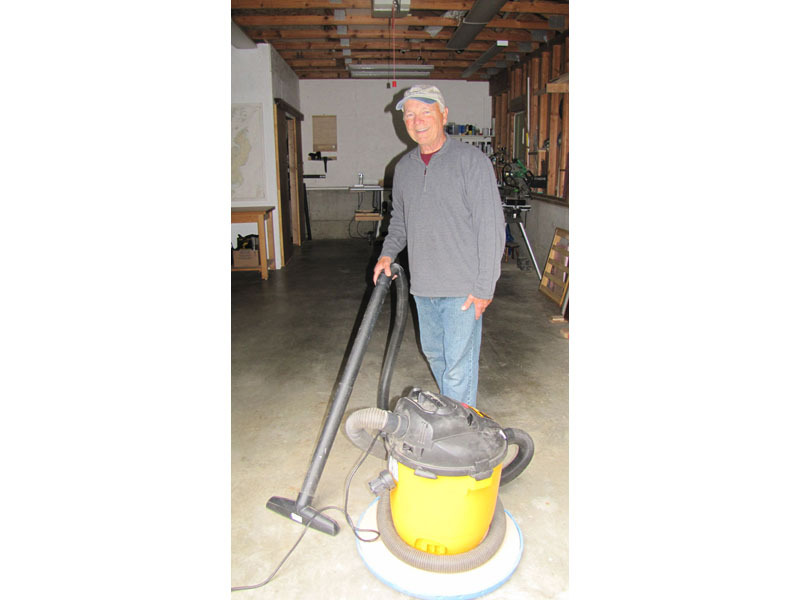
As I had hoped, the vacuum now effortlessly floats along the garage floor behind me on its own cushion of air. As you might expect, it works best on uncarpeted floors. Come along, my little shop vac hovercraft.

Conclusion

This project first appeared in MAKE Volume 29.