This article is from Make: Vol. 73! Subscribe now to make sure you don’t miss out on any of our awesome builds.

This project is a continuation of my quest to build a robotic clock that can write and rewrite the time continuously, day in and day out. My first attempt, Doodle Clock, was a failure due to the marker drying up. Doodle Clock #2 failed because the display — a kids’ magnetic drawing board — soon got scratched.

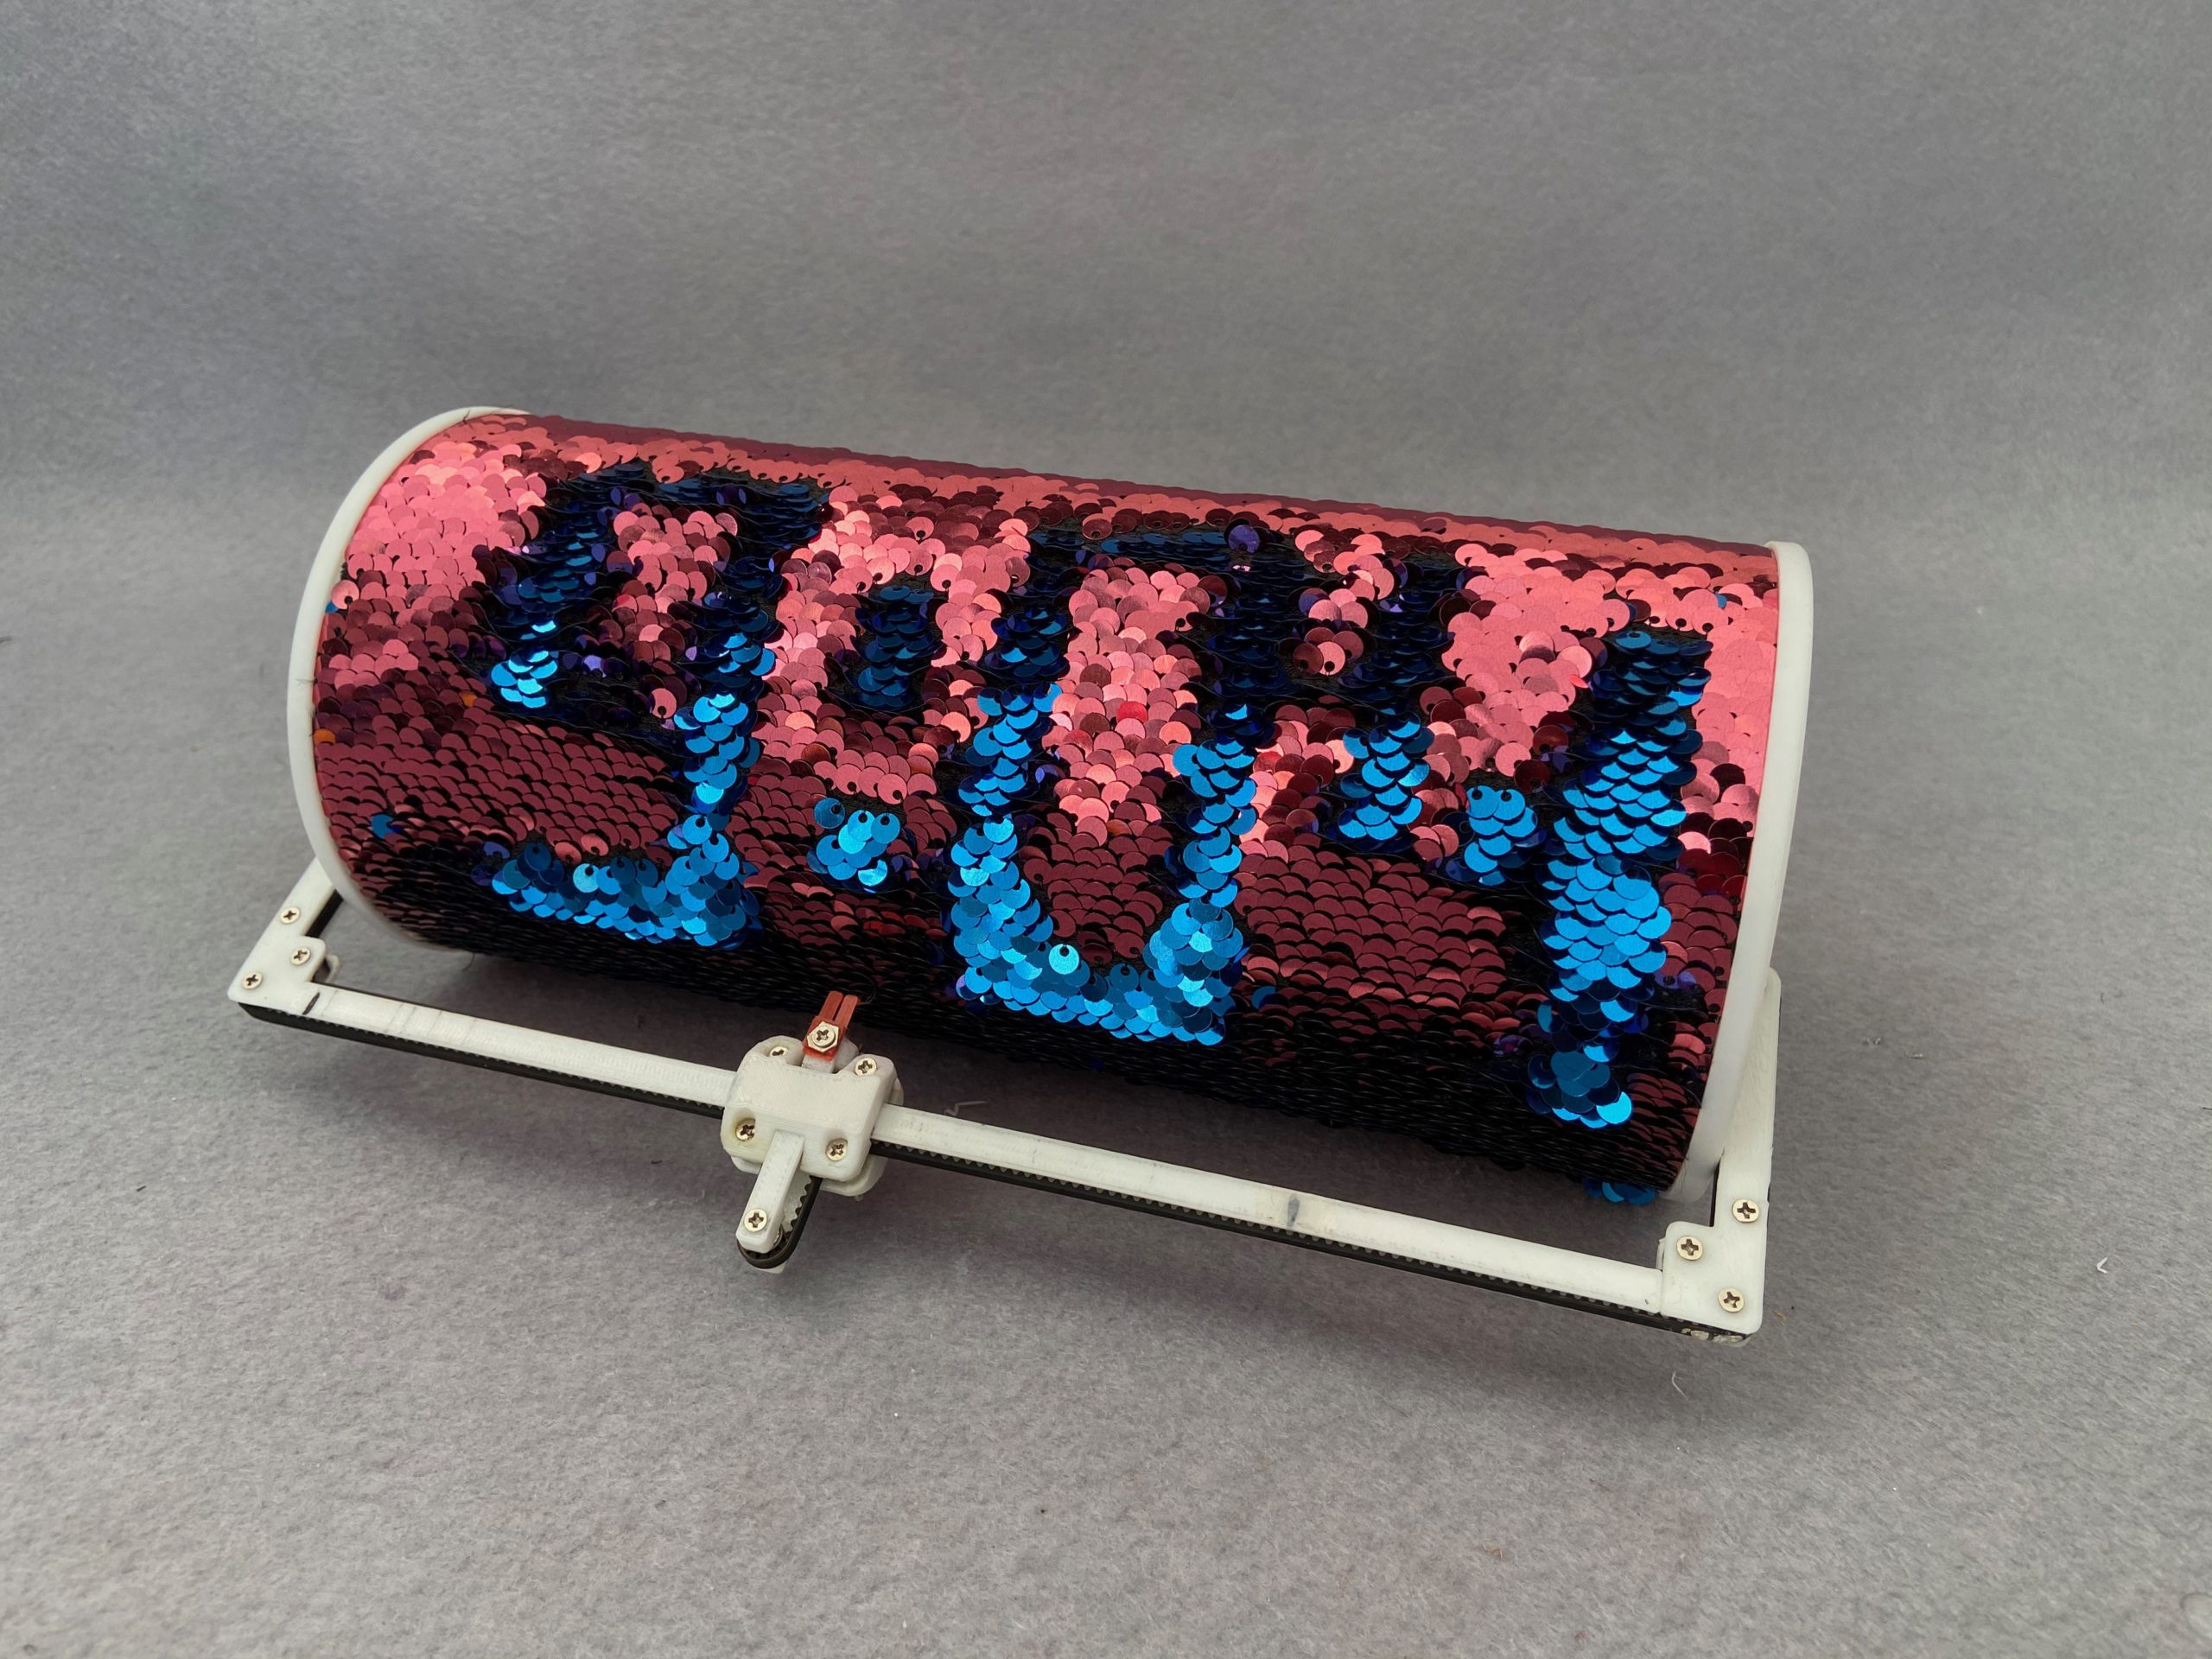
This new clock, Sequino, was inspired by my daughter’s T-shirt with the pattern-changing sequin cloth glued to it. After getting some stock sequin fabric from a vendor, I figured out the size of the clock based on the minimum resolution of the cloth: it has 5mm circular sequins stitched 3mm apart. Another limit of the clock was my 3D printer bed size of 245mm×170mm.

What will the next generation of Make: look like? We’re inviting you to shape the future by investing in Make:. By becoming an investor, you help decide what’s next. The future of Make: is in your hands. Learn More.

Project Steps

THE KINEMATICS

A

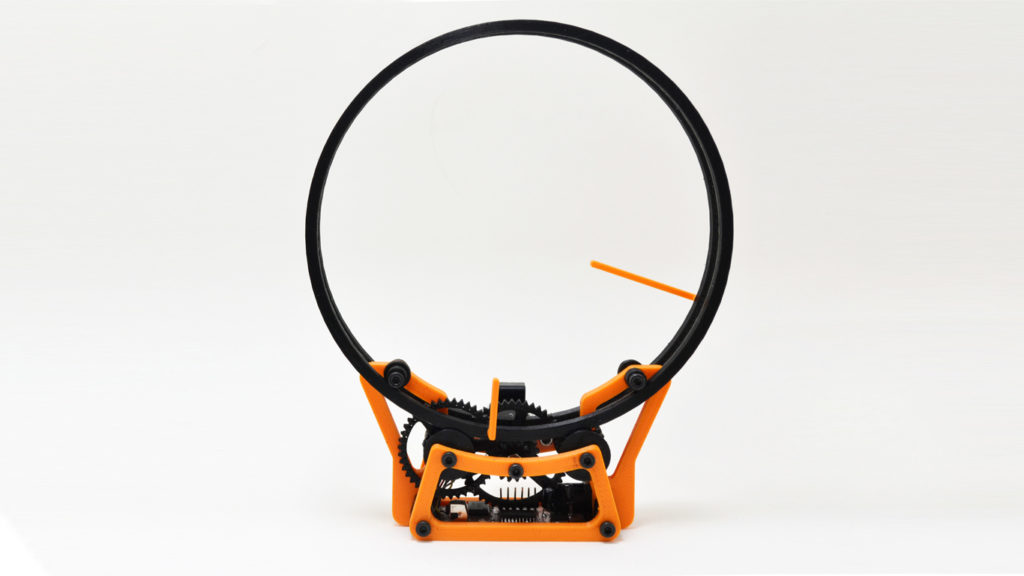
The kinematics of the clock consists of a mix of H-bot and Cartesian systems (Figure A). The y-axis is a hubless axis consisting of two rings on the extreme ends of the clock (Figure B) driven by two 24BYJ48 motors. The rings are basically gears constrained in outer rings, similar to a hubless wheel.

B

The x-axis consists of a strut holding the two rings together and driving a belt routed on a H-bot based path (Figure C). The belt is driven by two motors; when these move in the same direction, the pen carriage moves left or right on the x-axis, and when they move in opposite directions the belt tension moves the “pen” up or down (z-axis) to engage with the sequins.

C

The y-axis homes to a Hall sensor on the backside and the x-axis homes to an optical sensor on the right side with the help of a white mark on the rubber belt. The pen homing is tricky. After a lot of trial and error I found a way out, by first homing the x-axis, then backing up a bit and then homing the pen at a known belt mark to a sensor on the left side of the clock (shown in Figure E), and then finally moving a fixed distance to zero it. This isn’t perfect, as it sometimes overshoots the mark, but an error of 1mm on the pen is OK in this case.

FIGURING OUT THE CLOTH BACKING

The sequin cloth consists of shiny sequin discs that are stitched to a fabric backing. The sequins, colored pink on one side and blue on the other, flip easily with a finger when they’re mounted on a T-shirt or a bag with a soft backing. But the moment I mounted it on a cylinder it stopped flipping as the discs got over-constrained by the hard backing. First I tried a ribbed structure as a backing with the fabric stretched on it. This worked but was very complicated to construct.

D

Finally I figured it out that a simpler way was to just add a 3mm sponge foam layer as a backing to the cloth to give the sequins the freedom to flip (Figure D).

THE TIP OF THE PEN

The tip of the pen was very tricky to figure out. Getting a material to act like the tip of a human finger is not simple. The disks are very slippery and need just the right friction to flip them. The final solution was a tip made of TPU plastic (thermoplastic polyurethane) with a split hook (Figure E).

E

WHAT’S NEXT

Sequino is still a prototype, although I’ve tried to use maximum off-the-shelf components. It can be built by an advanced user — the 3D printing is a bit tricky and the optical sensors need a little bit of work. I intend to make it a kit sometime soon, and to share an Instructable, but I’ve been a bit stuck as I am in Beijing and things have been held up due to the outbreak!

Conclusion

More of Kalsi’s Clocks

You can find them all here and get build details for most of them here.

1. TORLO

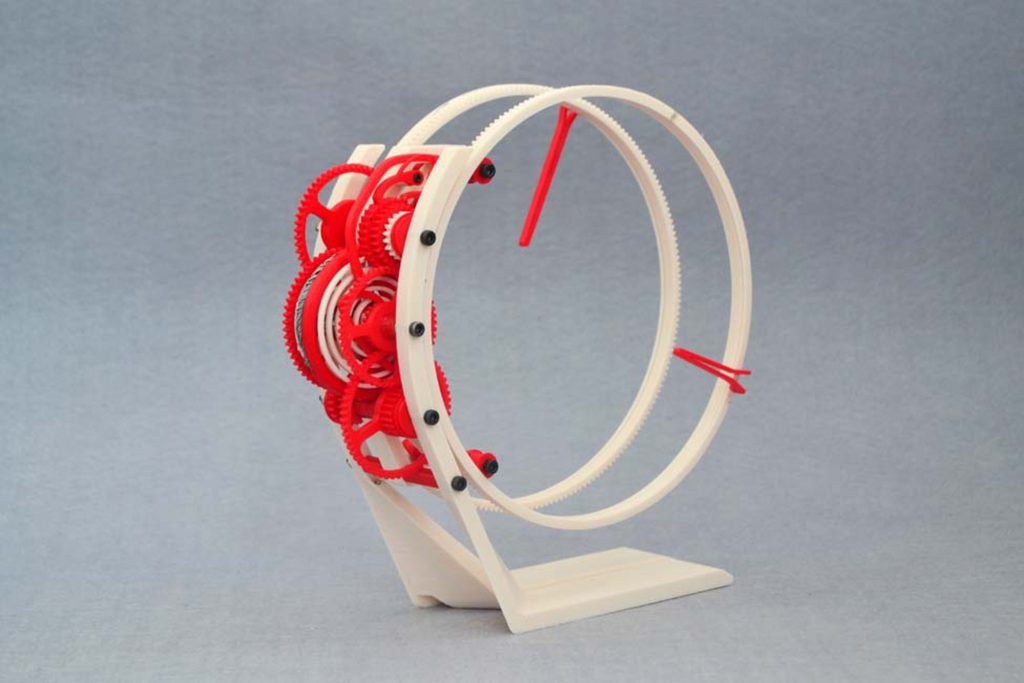
The Torlo was born out of the idea of using a simple oscillating motor as a power source. The voice coil of a scrap laptop hard drive fit the bill nicely; it’s pulsed by an ATtiny2313 every 2 seconds to drive the balance wheel, which pushes a cam and a ratchet to turn the clock 2 seconds further. The rest of the clock is a simple drive train driving the minute and hour rings, which display the time.

2. EDGYTOKEI

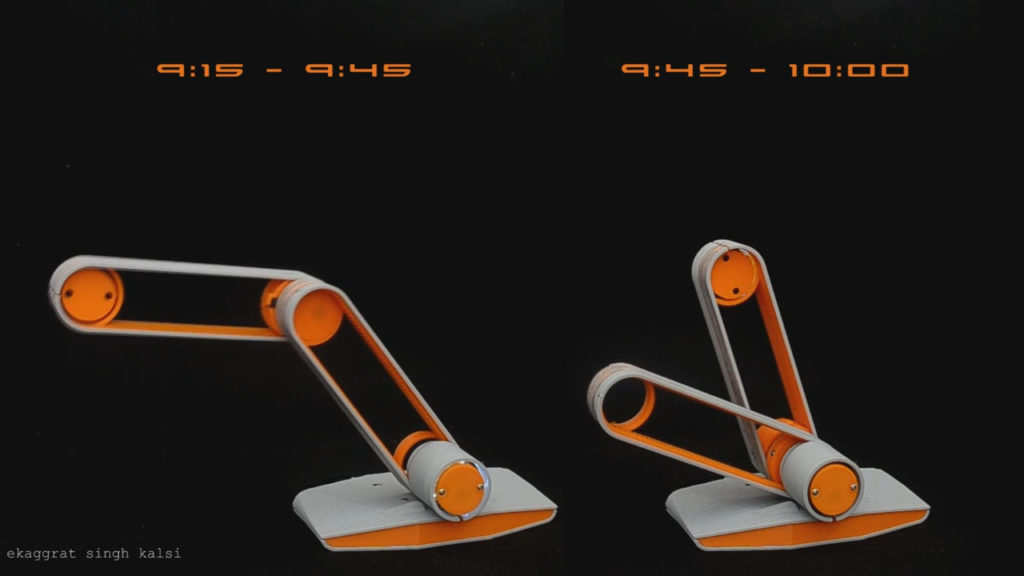
The Edgytokei (“edge clock”) is inspired by Japanese nunchucks — just a pair of arms displaying the time by balancing themselves on edge. Both arms are of equal length, as their roles change with different hours of the day. The fulcrum of the clock flips from the center to the left or right every quarter hour, so that the clock can always stand on edge. Both arms have LEDs; whichever one represents the hours lights up.

3. DOODLE CLOCK #2

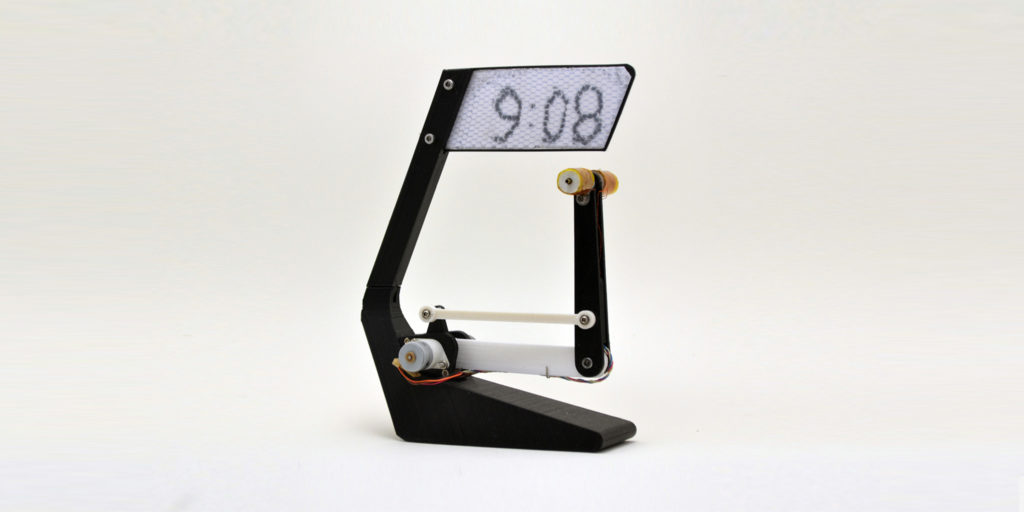
I built my first Doodle Clock with marker pens as a joke, but watching it work was so mesmerizing that I wanted it to be a practical desk clock. The problem was the markers dried up after 30 minutes. So the solution I found was magnetic writing boards made for children. I used 2mm cylindrical magnets inside a solenoid to write and erase the text, and small geared steppers to make the clock silent and smooth. The clock is run by an ATmega644p with Arduino bootloader, the motors are run by the standard StepStick drivers, and the coils are run by a 1293DD dual H-bridge. The kinematics for the arm were solved by a user on the RepRap forum!

4. HOLOCLOCK

My first 3D printed clock, based on a single geared stepper motor I found in surplus, 10 for a dollar. It’s driven by an ATtiny2313 and ULN2803 Darlington circuit, with the code written in Arduino IDE. The ATtiny pulses the motor every minute to move a gear train, which in turn moves the minute ring and hour ring. I still sell it as a kit.

5. SPIRE

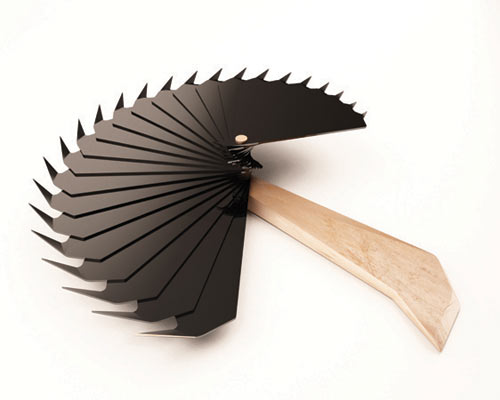
The spiral form of this clock unfolds and folds in the rhythm of a Japanese fan. This project, co-designed with Darshan Soni, won a Red Dot Design Award.