Photos by Hep Svadja
Read articles from the magazine right here on Make:. Don’t have a subscription yet? Get one today.

Hydro dipping is a simple way to apply graphics and “skins” to your 3D prints. The process transfers images from a thin hydrographic film onto nearly any three-dimensional object by floating the image in a tub of water. Professionals have used this technique since the ‘80s for custom automotive and motorcycle parts, and it’s recently become popular with printing enthusiasts.

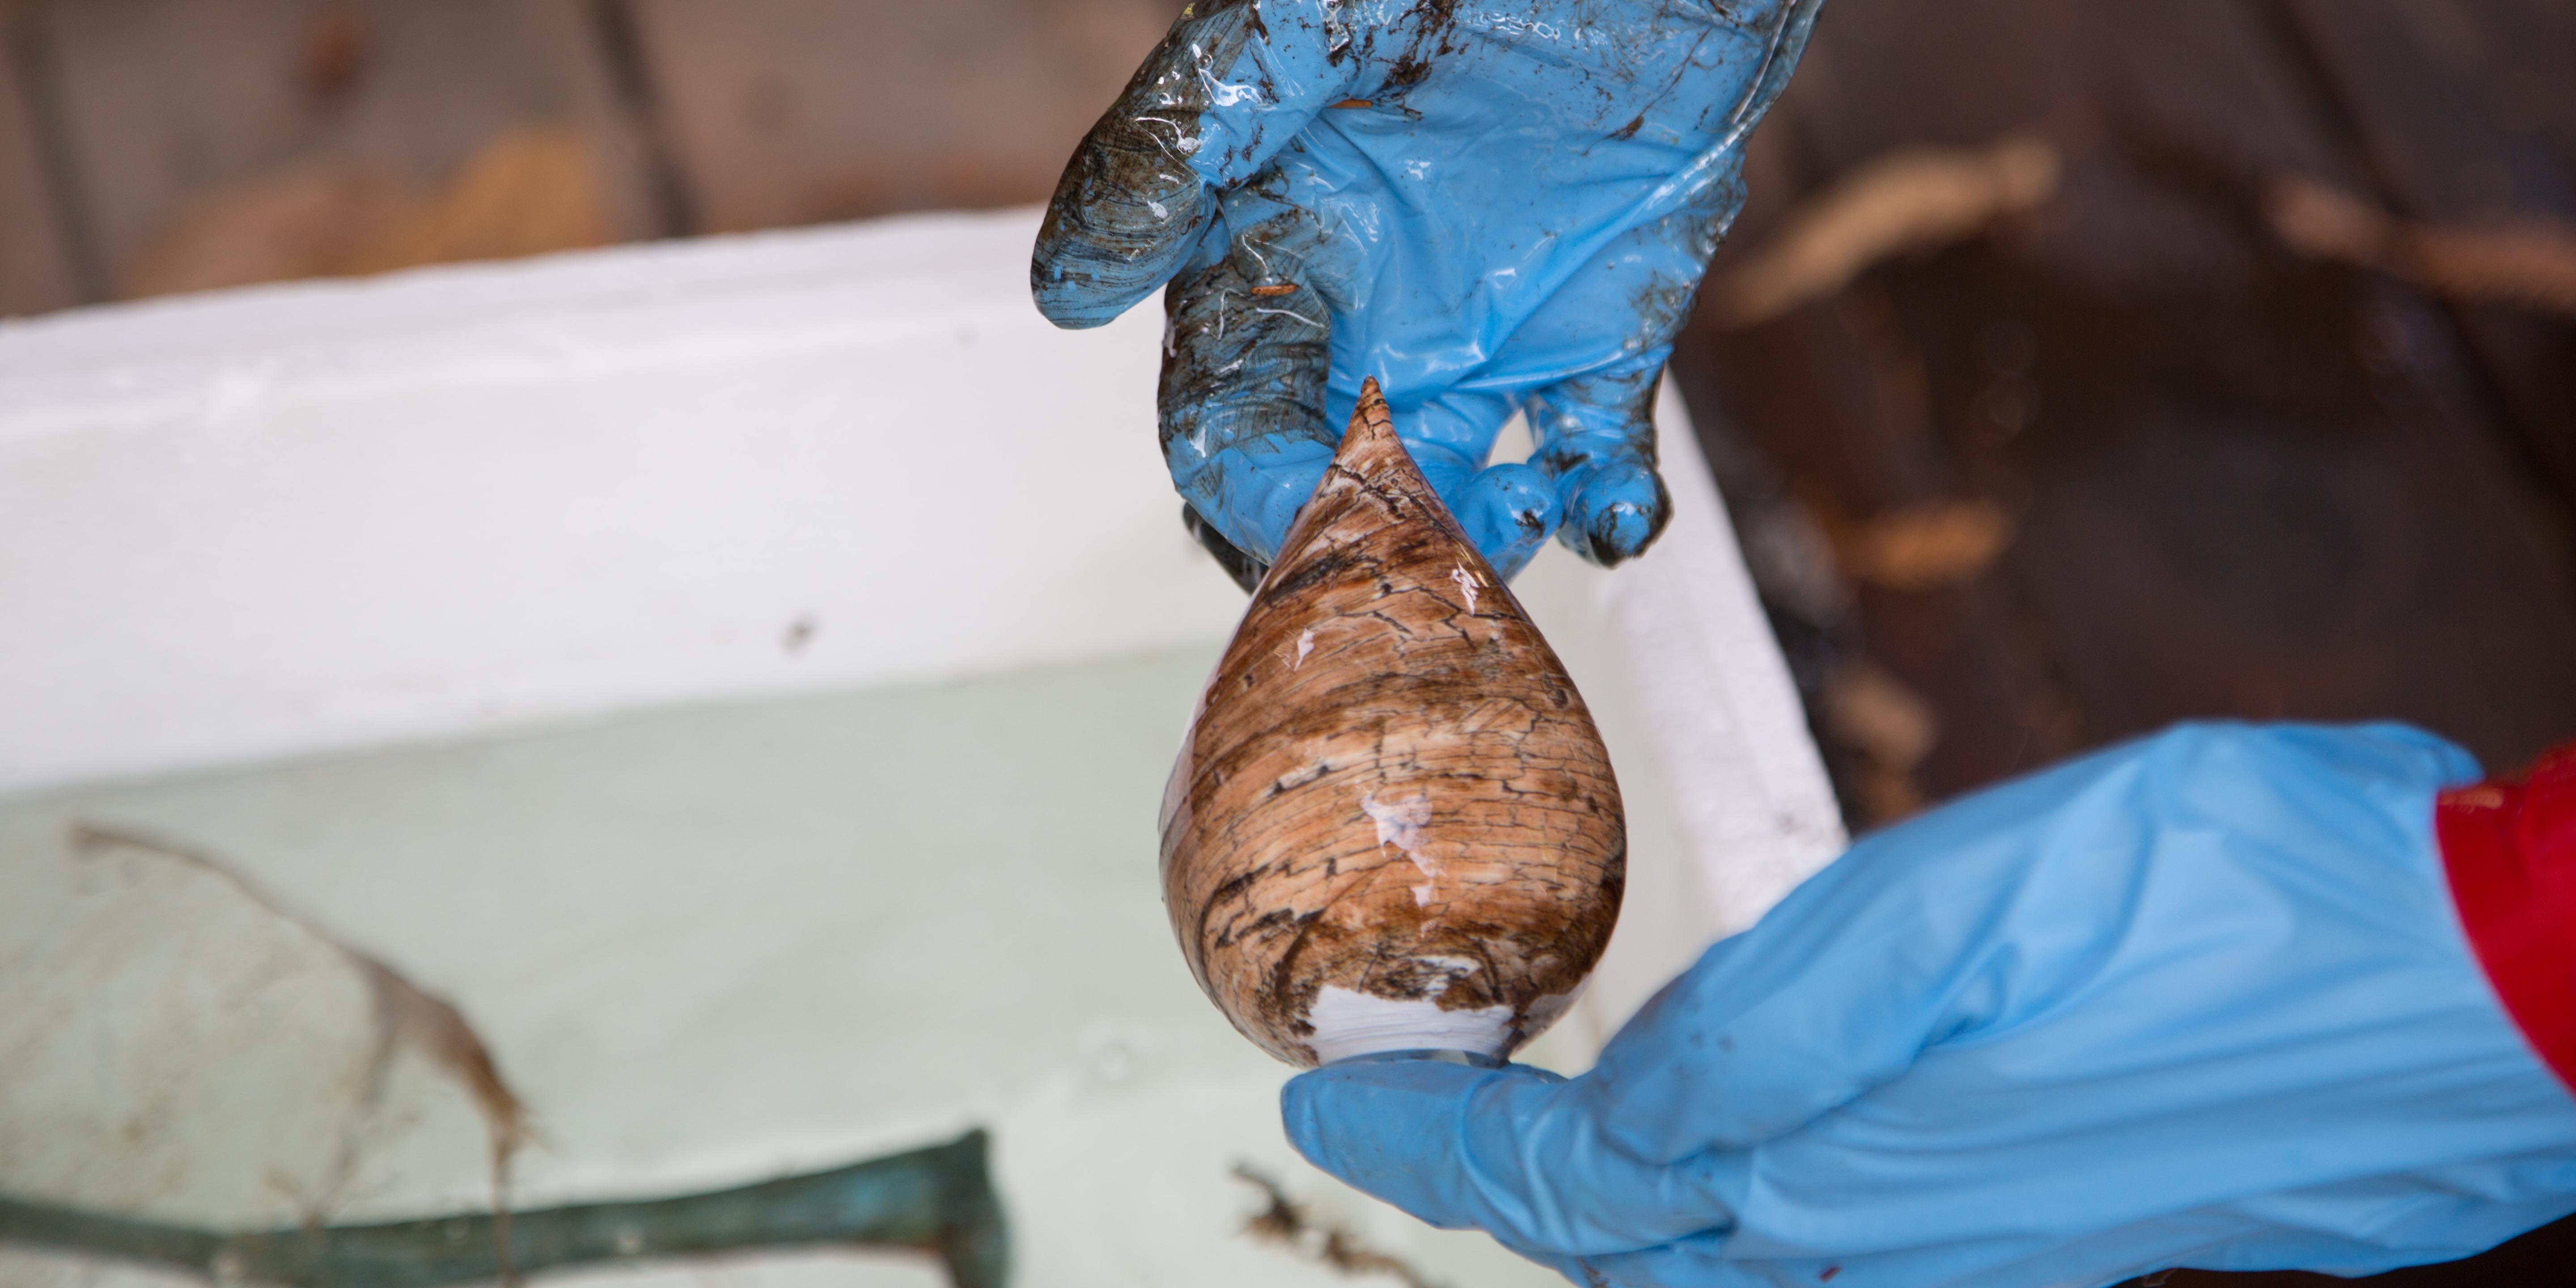
The graphics come on clear film and can be purchased online. You apply it by carefully laying the film on top of the water and spraying it with an activator solution. This activator dissolves the film — the ink is left floating on the water’s surface, ready to adhere to your 3D print. As you dip your 3D object into the water, the surface tension allows the graphic to curve around the contours of your 3D print.

Project Steps

1. Spray-Paint Primer

Make sure you are in a well-ventilated area and (optionally) give your 3D print a coat of spray-paint primer.

Cut a piece of film sized to cover your print (Figure A).

Figure A

Depending on your print, you may want to glue a small handle on the bottom of it. A craft stick works great, but you can also use whatever scraps you have lying around, or a loop of tape.

2. Fill Bucket With Water

Fill your bucket or tank with room temperature water. I applied strips of tape to help keep the design centered and off the sides of my container. Put on your gloves and place the hydrographic film on the water’s surface with the dissolvable side down (Figure B). (Rub a scrap with wet fingers to test for this.)

Figure B

3. Wait

Wait about 2–3 minutes. The graphic will wrinkle (Figure C) and then smooth back out as the film dissolves. You need this to happen before you spray the activator.

Figure C

4. Shake the Activator

Shake the activator can vigorously and give the top of the graphic a light spray to make it sticky (Figure D). It’s ready for application once it turns glossy — about 10–20 seconds (Figure E).

5. Dip Your Object

Hold your object by one end (or, optionally, by the handle you’ve affixed to it) and dip it slowly into the tank to allow the graphic to wrap around it (Figure F). Then give the object a twist to disconnect it from the floating ink.

Figure F

Let it Dry

Remove your print and allow it to dry overnight (Figure G).

Figure G

Optional: Spray with a clear coat of the finish you desire (glossy or matte) to protect your print.