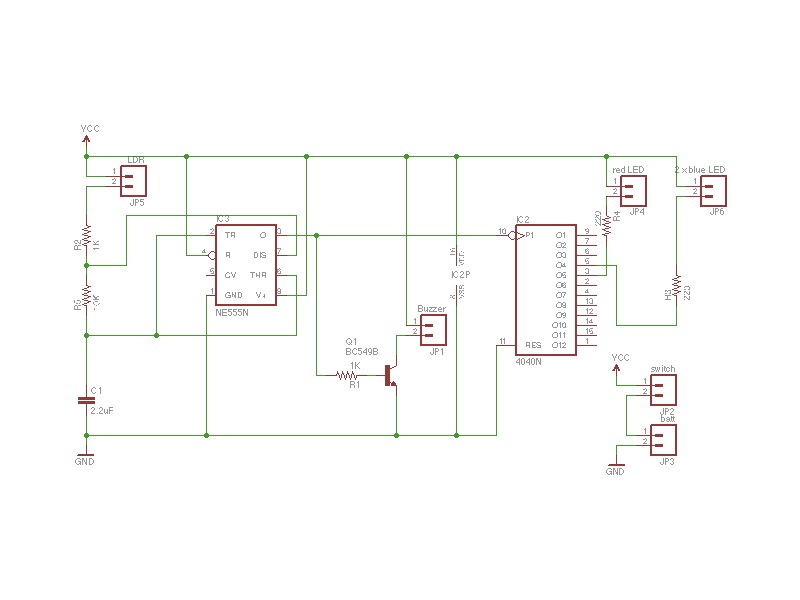
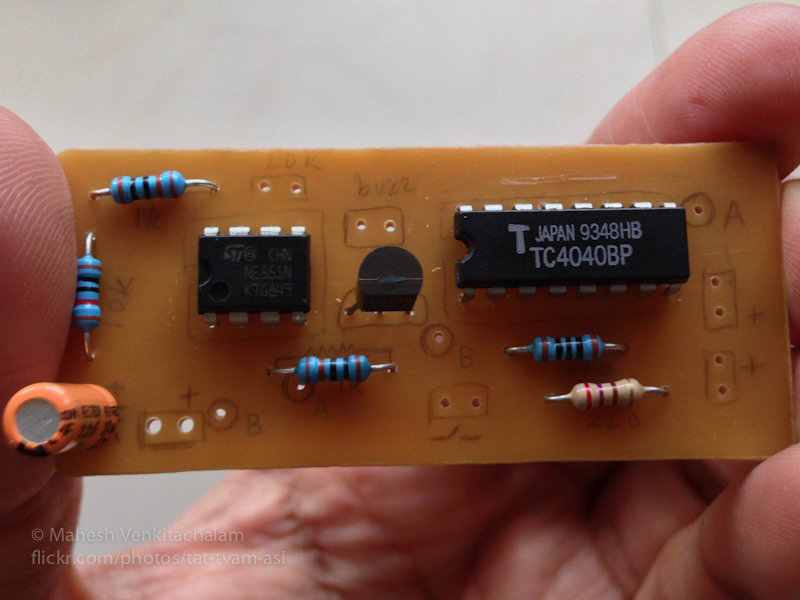
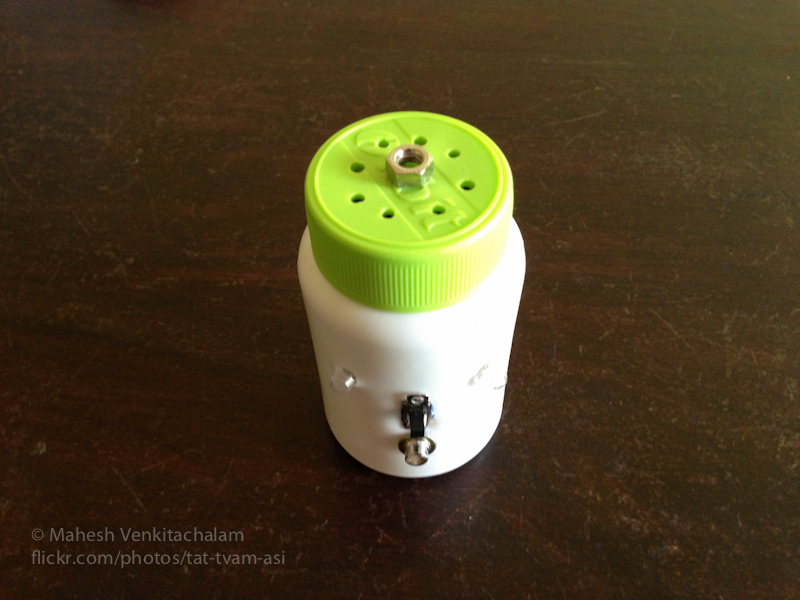
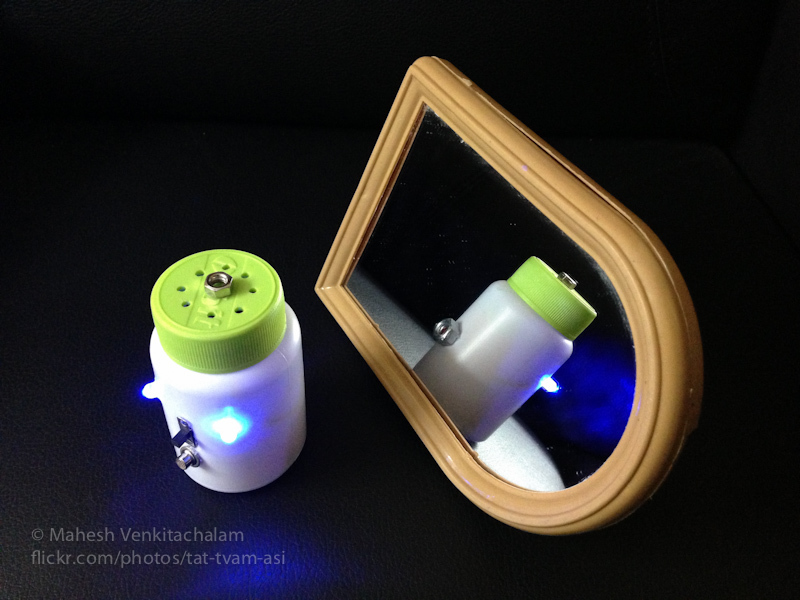
This project is an attempt at designing a simple toy based on the principle of a light sensitive oscillator. It produces sound and light that vary in frequency with the intensity of light falling on it.
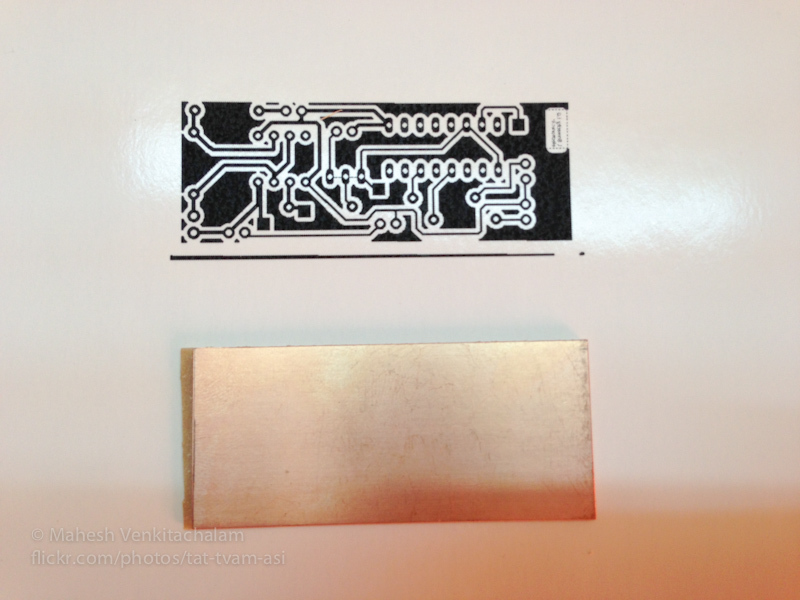
You can use a general-purpose PCB for this project. But it’s much cleaner to use a custom PCB.
You can easily make a PCB at home using the toner transfer technique described in this link.
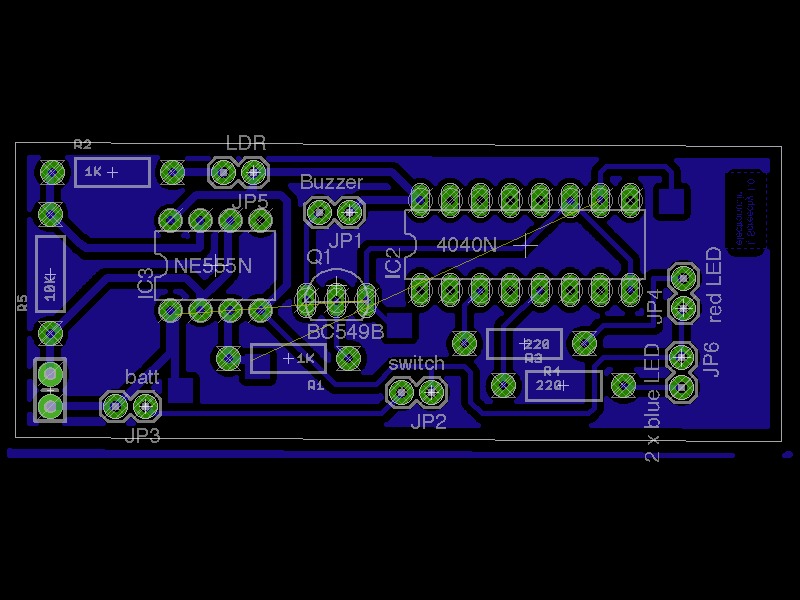
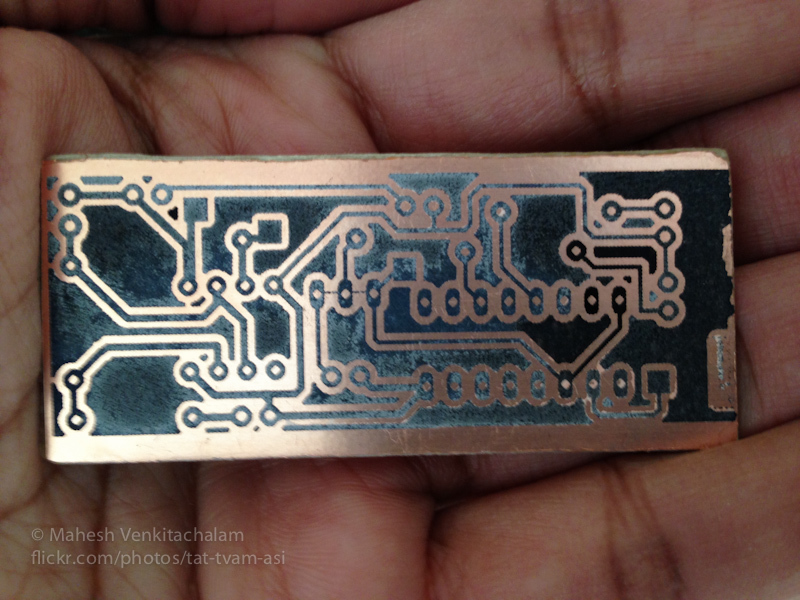
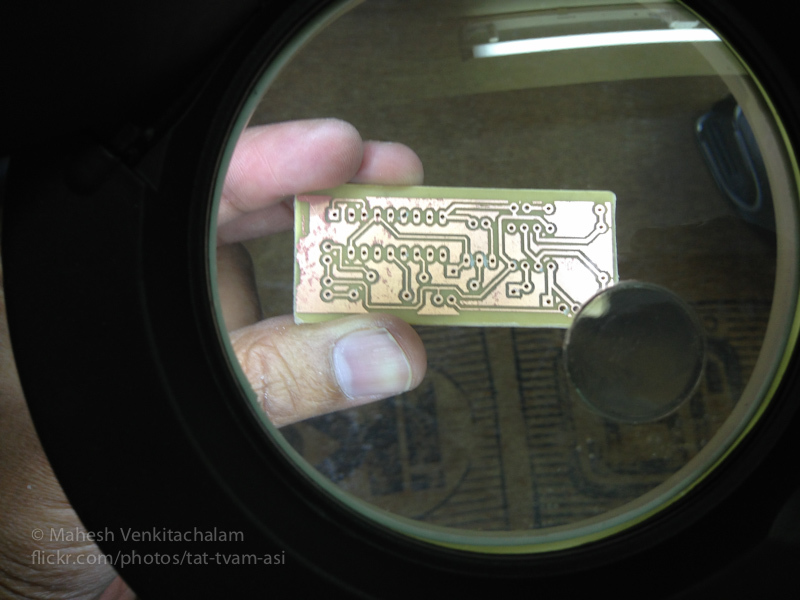
Using the above link as guide, print out the PCB design on photo paper on a laser printer, iron it on to the copper laminate, and once the toner sticks, etch it out with ferric chloride. You can then drill holes in the PCB using a 0.8 mm bit on a Dremel tool.
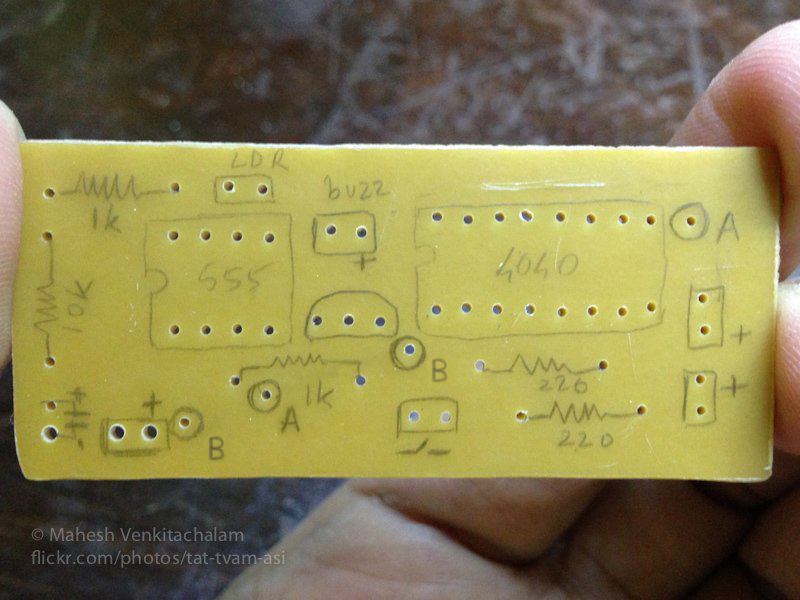
A pencil drawing on the non-copper side of the PCB will help you place the components easily. There are 2 connections that need to routed over the board manually using wires. Connect a wire between the two points labeled “A”, and another wire between the two points labeled “B”.
Solder the components on to the PCB.
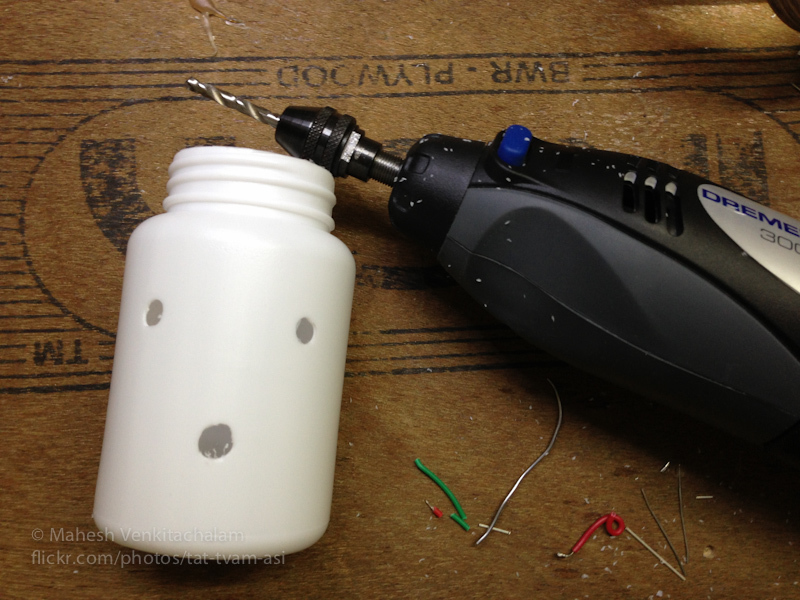
Use a dremel or any other tool of choice to cut holes for the LEDs, LDR, and switch.
Solder wires to LEDs, LDR and switch, and fix them on to the enclosure before soldering the other end of the wires to the PCB. I did it in the opposite order first and had to cut the wires to fix it!
Drill some holes in the cap to let the sound out.
Insert the PCB and 9V battery into the bottle. Place a small sheet of plastic in between to protect the PCB’s solder joints from shorting on the battery.
Enjoy your screechy robot!


