The big video game companies create best-selling titles every year, but for the rest of us, bringing our own unique game ideas from wishful thinking into reality is notoriously difficult.

Creating even the simplest functionality can take tens of thousands of lines of code. Luckily, the MIT Media Lab has created free software, Scratch (scratch.mit.edu), that lets kids create their own games or interactive stories using an easy drag-and-drop interface and some elementary programming.

Download, install, and launch Scratch, and soon you’ll be creating simple “side-scrollers” — games like Super Mario Bros., where characters navigate obstacles left-to-right. You can also make your characters communicate via speech balloons, like an animated cartoon. Scratch makes no distinction between games and animations; it’s all in your programming.

What will the next generation of Make: look like? We’re inviting you to shape the future by investing in Make:. By becoming an investor, you help decide what’s next. The future of Make: is in your hands. Learn More.

Project Steps

How Scratch works.

In software parlance, Scratch is an object-oriented, event-driven, visual programming environment. Let’s take those terms separately.

Object-oriented means that you design each character in your game (each sprite) by putting together scripts that dictate its behavior. Then when you run the game, the sprites all just do their own thing. To influence each other, the sprites pass coded messages called broadcasts.

Event-driven means that every script you assemble for each sprite runs in reaction to some triggering event, like when the player clicks on the sprite, or hits one of the keyboard keys, or when another sprite broadcasts a message.

Visual programming environment means that blocks on the screen represent basic programming elements, and you assemble a series of instructions by dragging-and-dropping the blocks together into stacks. The blocks are color-coded and shaped so they only fit together in ways that make sense programmatically: the triggering events look like folder tabs, and the subsequent steps fit together like jigsaw puzzle pieces. Numbers fit into round holes, text strings fit into rectangular text boxes, and conditionals fit into diamond-sided holes that look like decision points in a flowchart.

Get familiar with the screen.

Scratch’s main screen has 3 columns:

The program blocks are on the left, organized into menus by type.

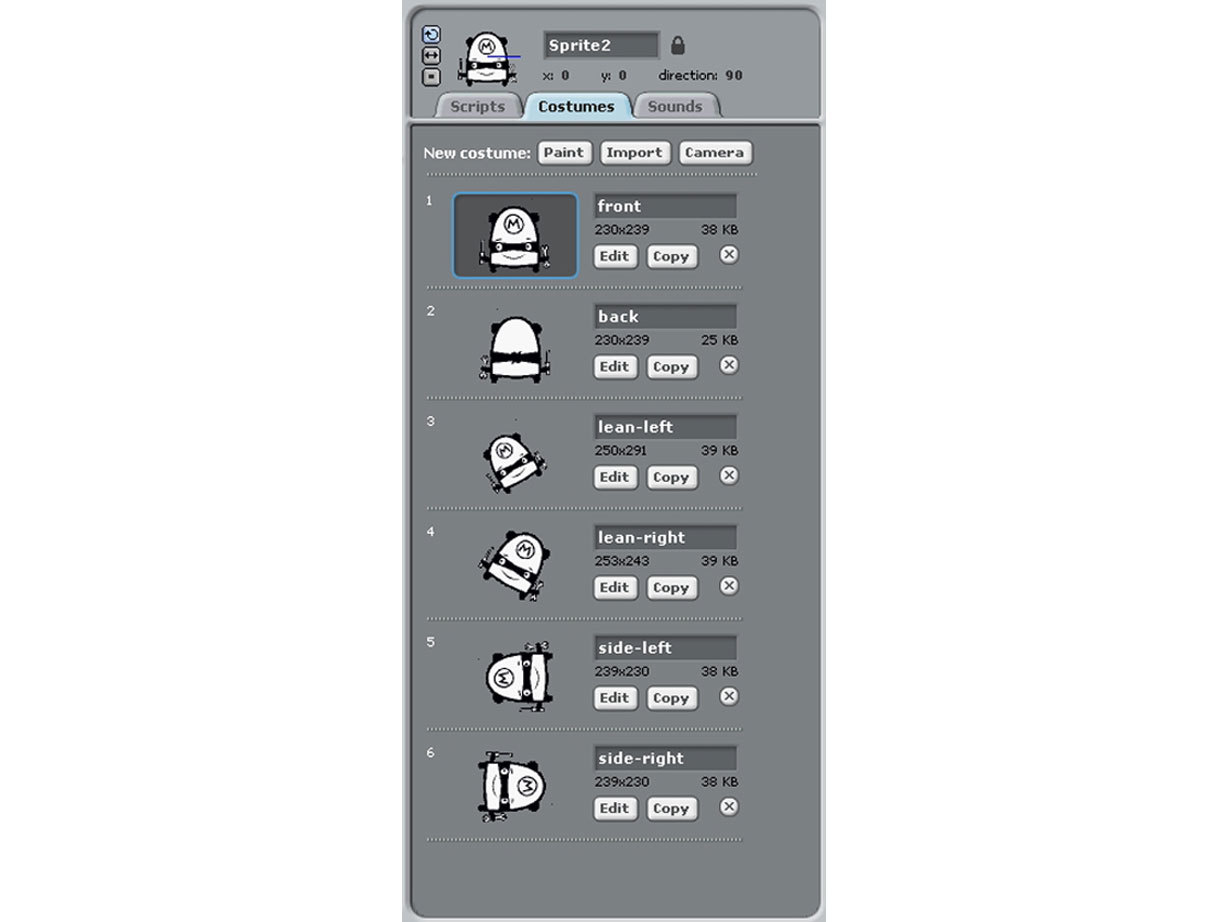
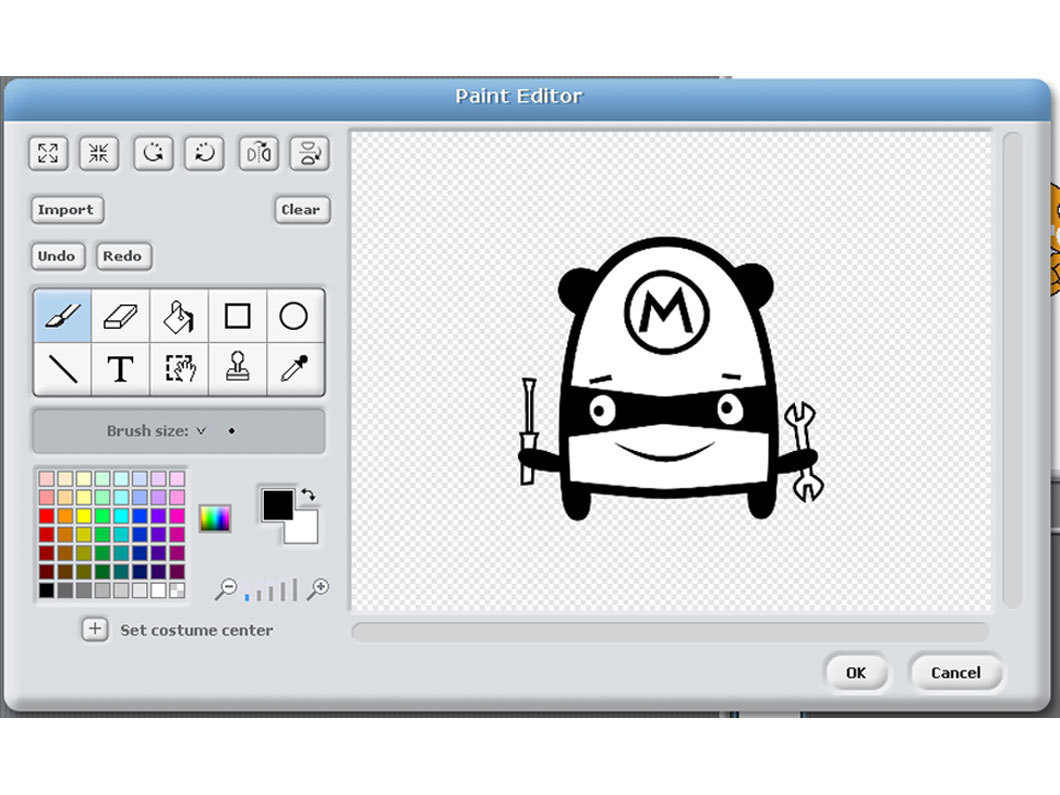
The middle column is where you stack the blocks into a sprite’s scripts. Tabs at the top also let you customize the sprite’s costumes (the different ways it can appear) and the sounds it can make. You can select costumes from a native library of animals, things, and people, or else design your own using the Paint Editor pane. Similarly, you can select sounds from a library of effects, or record your own by clicking the Record button.

The right column contains the stage, where the game’s action takes place. When you first open the program, the stage is a white rectangle containing one sprite, the orange cat that’s Scratch’s icon. To run and stop your game, you click the green flag or the stop-sign button above the stage.

Below the stage, you see thumbnails of all the sprites in your game. This is where you manage your cast of characters, creating new sprites and selecting the one you’re working on. There’s also a thumbnail for the stage itself, because it works as a special sprite; you can control its appearance, to paint backdrops, for example, but you can’t make it move around.

Learn to walk the cat.

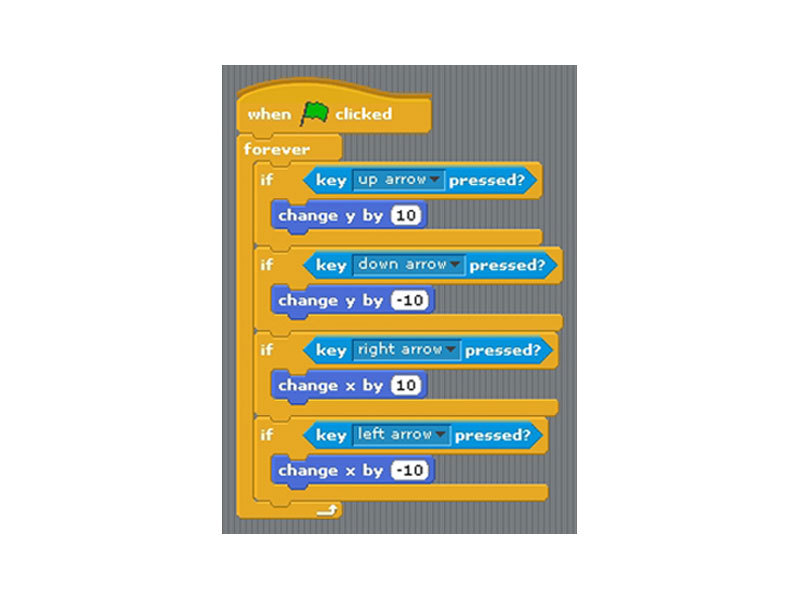
To illustrate Scratch programming technique, here’s how you can make the cat move with the arrow keys. To start a program, open the Control program blocks on the left and drag the first block, when (green flag) clicked, into the center of the Scripts pane. This block instructs the program to start this script as soon as the program is started.

The Control tab contains blocks that trigger scripts and blocks that determine their flow, such as loops and if statements. Add a forever block under the green flag block; this sets up an endless listen-respond loop. Next, drag 4 if blocks into the forever loop. We’ll use these to check for the 4 different arrow keys.

Look under the Sensing tab and drag a key [space] pressed? block into one of the if block slots. In this game, we want to know if the arrow keys are pressed, not the space bar, so click the box in the block and change space to one of the arrow keys. Fill the other 3 if blocks to sense the other 3 arrows.

Under the Motion category, move a change x by 10 block into the if blocks for the right and left arrows, and a change y by 10 into the up/down blocks. To correct the directions for left and down, put a minus sign (–) in front of the 10.

Your program should look like the photo. Click the green flag, and you should be able to maneuver the cat around the screen. You can see that the if statements inside the forever loop evaluate as true if the key is pressed and false if not. The movement blocks then adjust the position of the cat accordingly.

Conclusion

References and Community

Scratch is well documented at http://info.scratch.mit.edu/ support, which has a good How to Get Started document and a Reference Guide that documents all of the blocks. With these resources, you should have no trouble creating your projects. And if you want some inspiration for coming up with ideas, the Scratch website also boasts more than 500,000 projects you can view and play online. To explore what others are doing with Scratch, go to http://scratch.mit.edu/channel/recent.

The Scratch community lets you share your projects and comment on others. To join, go to http://scratch.mit.edu/signup. Sharing your project is as easy as clicking Share at the top of the Scratch window and then choosing “Share this program online.” If you like someone else’s project, you can download and change it yourself, which is a great way to learn. But if you gain inspiration (or code) from other people’s projects, make sure you credit them.

For people to play your Scratch games directly, they need to have Scratch installed on their own machines. But there are also ways of converting Scratch projects into .exe executable files that will run on any Windows machine.

Visit https://makezine.com/21/diykids_scratch for downloadable examples of user created games.

This project first appeared in MAKE Volume 21, page133.