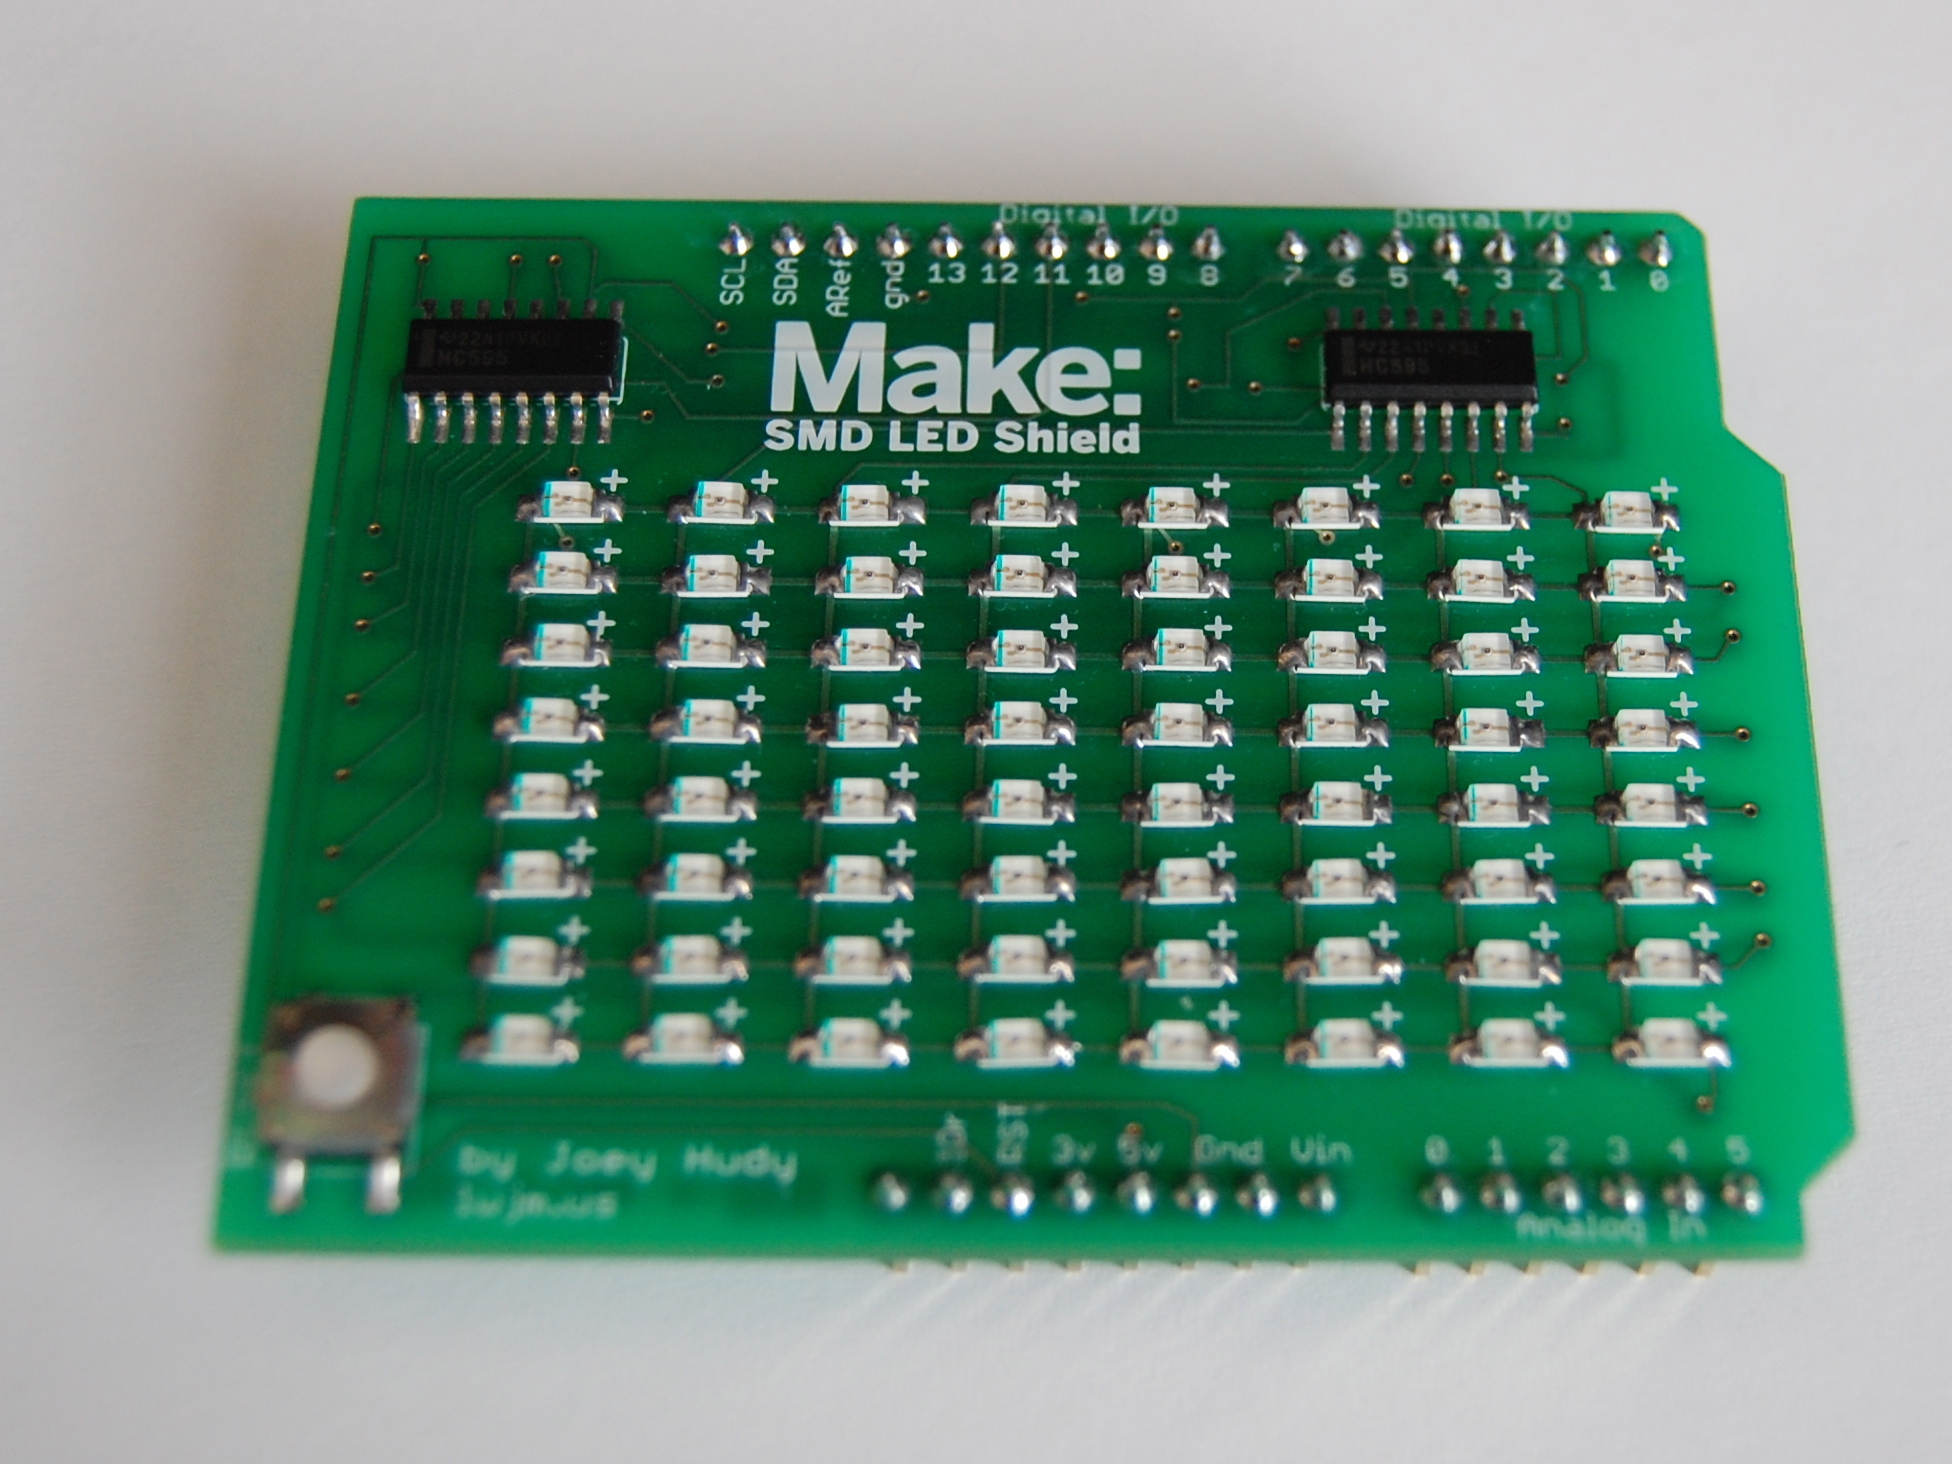
Get your shades on … these SMDs are bright!

Are you a beginner who wants to learn surface-mount soldering? This is the kit for you. Designed by young maker Joey Hudy, this kit is easy and straightforward to build. The LEDs are individually addressable, and everything is included except soldering tools and the Arduino. Your Joey #1 SMD Arduino Shield Kit can be built in less than 2 hours.

What will the next generation of Make: look like? We’re inviting you to shape the future by investing in Make:. By becoming an investor, you help decide what’s next. The future of Make: is in your hands. Learn More.

Project Steps

Kit includes:

PCB (1)

Shift registers – 74HC595 (2)

10 pin Arduino header (1)

8 pin Arduino header (2)

6 pin Arduino header (1)

SMD LEDs (it comes with 73 — you only need 64)

Button (1)

You will need:

Soldering Iron

Solder

Tweezers

Flux: optional, but recommended

Safety glasses

Arduino

Before getting started: Some tips

This technique locks your items in place for easier soldering:

If using flux, place flux on the spot you will be soldering.

Place a dab of solder on one joint, as shown in the first image. (This is the way I do it … not necessarily the only way.)

Put the item to be soldered in place.

Warm up your solder by placing your soldering iron on the dab of solder, as shown in the third image.

This will lock your piece in place. It makes it easier to solder the rest of the joints.

Continue soldering the joints.

SMD LED configuration on the shield:

VERY IMPORTANT: Notice in the first image that the SMD has a green line on the side.

The green goes on the left side on the PCB, as shown in the second image.

Start your kit: Solder the SMD LEDs

SMDs are tiny. Don’t forget to use your tweezers — and maybe a magnifying glass!

Place your little dab of solder on the left pad, as shown in the first image. Really, you can use whichever side is easier for you. The idea is to lock it into place.

Place your SMD on the board, and heat up your solder. Remember this will help lock it into place.

Don’t forget about the green line. It goes on the – side (left side).

Solder the other end, as shown in the third image.

Continue on to solder all 64 SMDs.

Solder the shift registers

Note that the shift registers have to be put in the correct way:

There is a little circle on the shift register. Trust me, it’s there!

There is a notch on the PCB where the shift register should be placed, as shown in the first image.

The circle edge on the shift register should be on the same side as the notch — the left side.

Solder using same technique as in Step 3.

Don’t forget there are 2 shift registers!

Solder the button

Solder the button in place as shown in the first image, using the same technique.

Solder the Arduino pins

Place each Arduino pin into the correct holes on your Arduino. The long ends go into the Arduino, as shown in the second image.

Place your PCB on top of the pins. You will see the very short pieces through the top, as shown in the third image.

Solder.

Soldering complete

You’ve done it! You soldered an SMD shield for Arduino!

Attach the shield to the Arduino

Attach the shield to your Arduino. Line up all the pins with the headers and gently press it into place.

Install test code

Connect your Arduino to your computer, and install the test code.

Test code can be found here.

Try more code — or make your own!

Remember all the SMD LEDs are individually addressable.

Have fun!