What will the next generation of Make: look like? We’re inviting you to shape the future by investing in Make:. By becoming an investor, you help decide what’s next. The future of Make: is in your hands. Learn More.

Project Steps

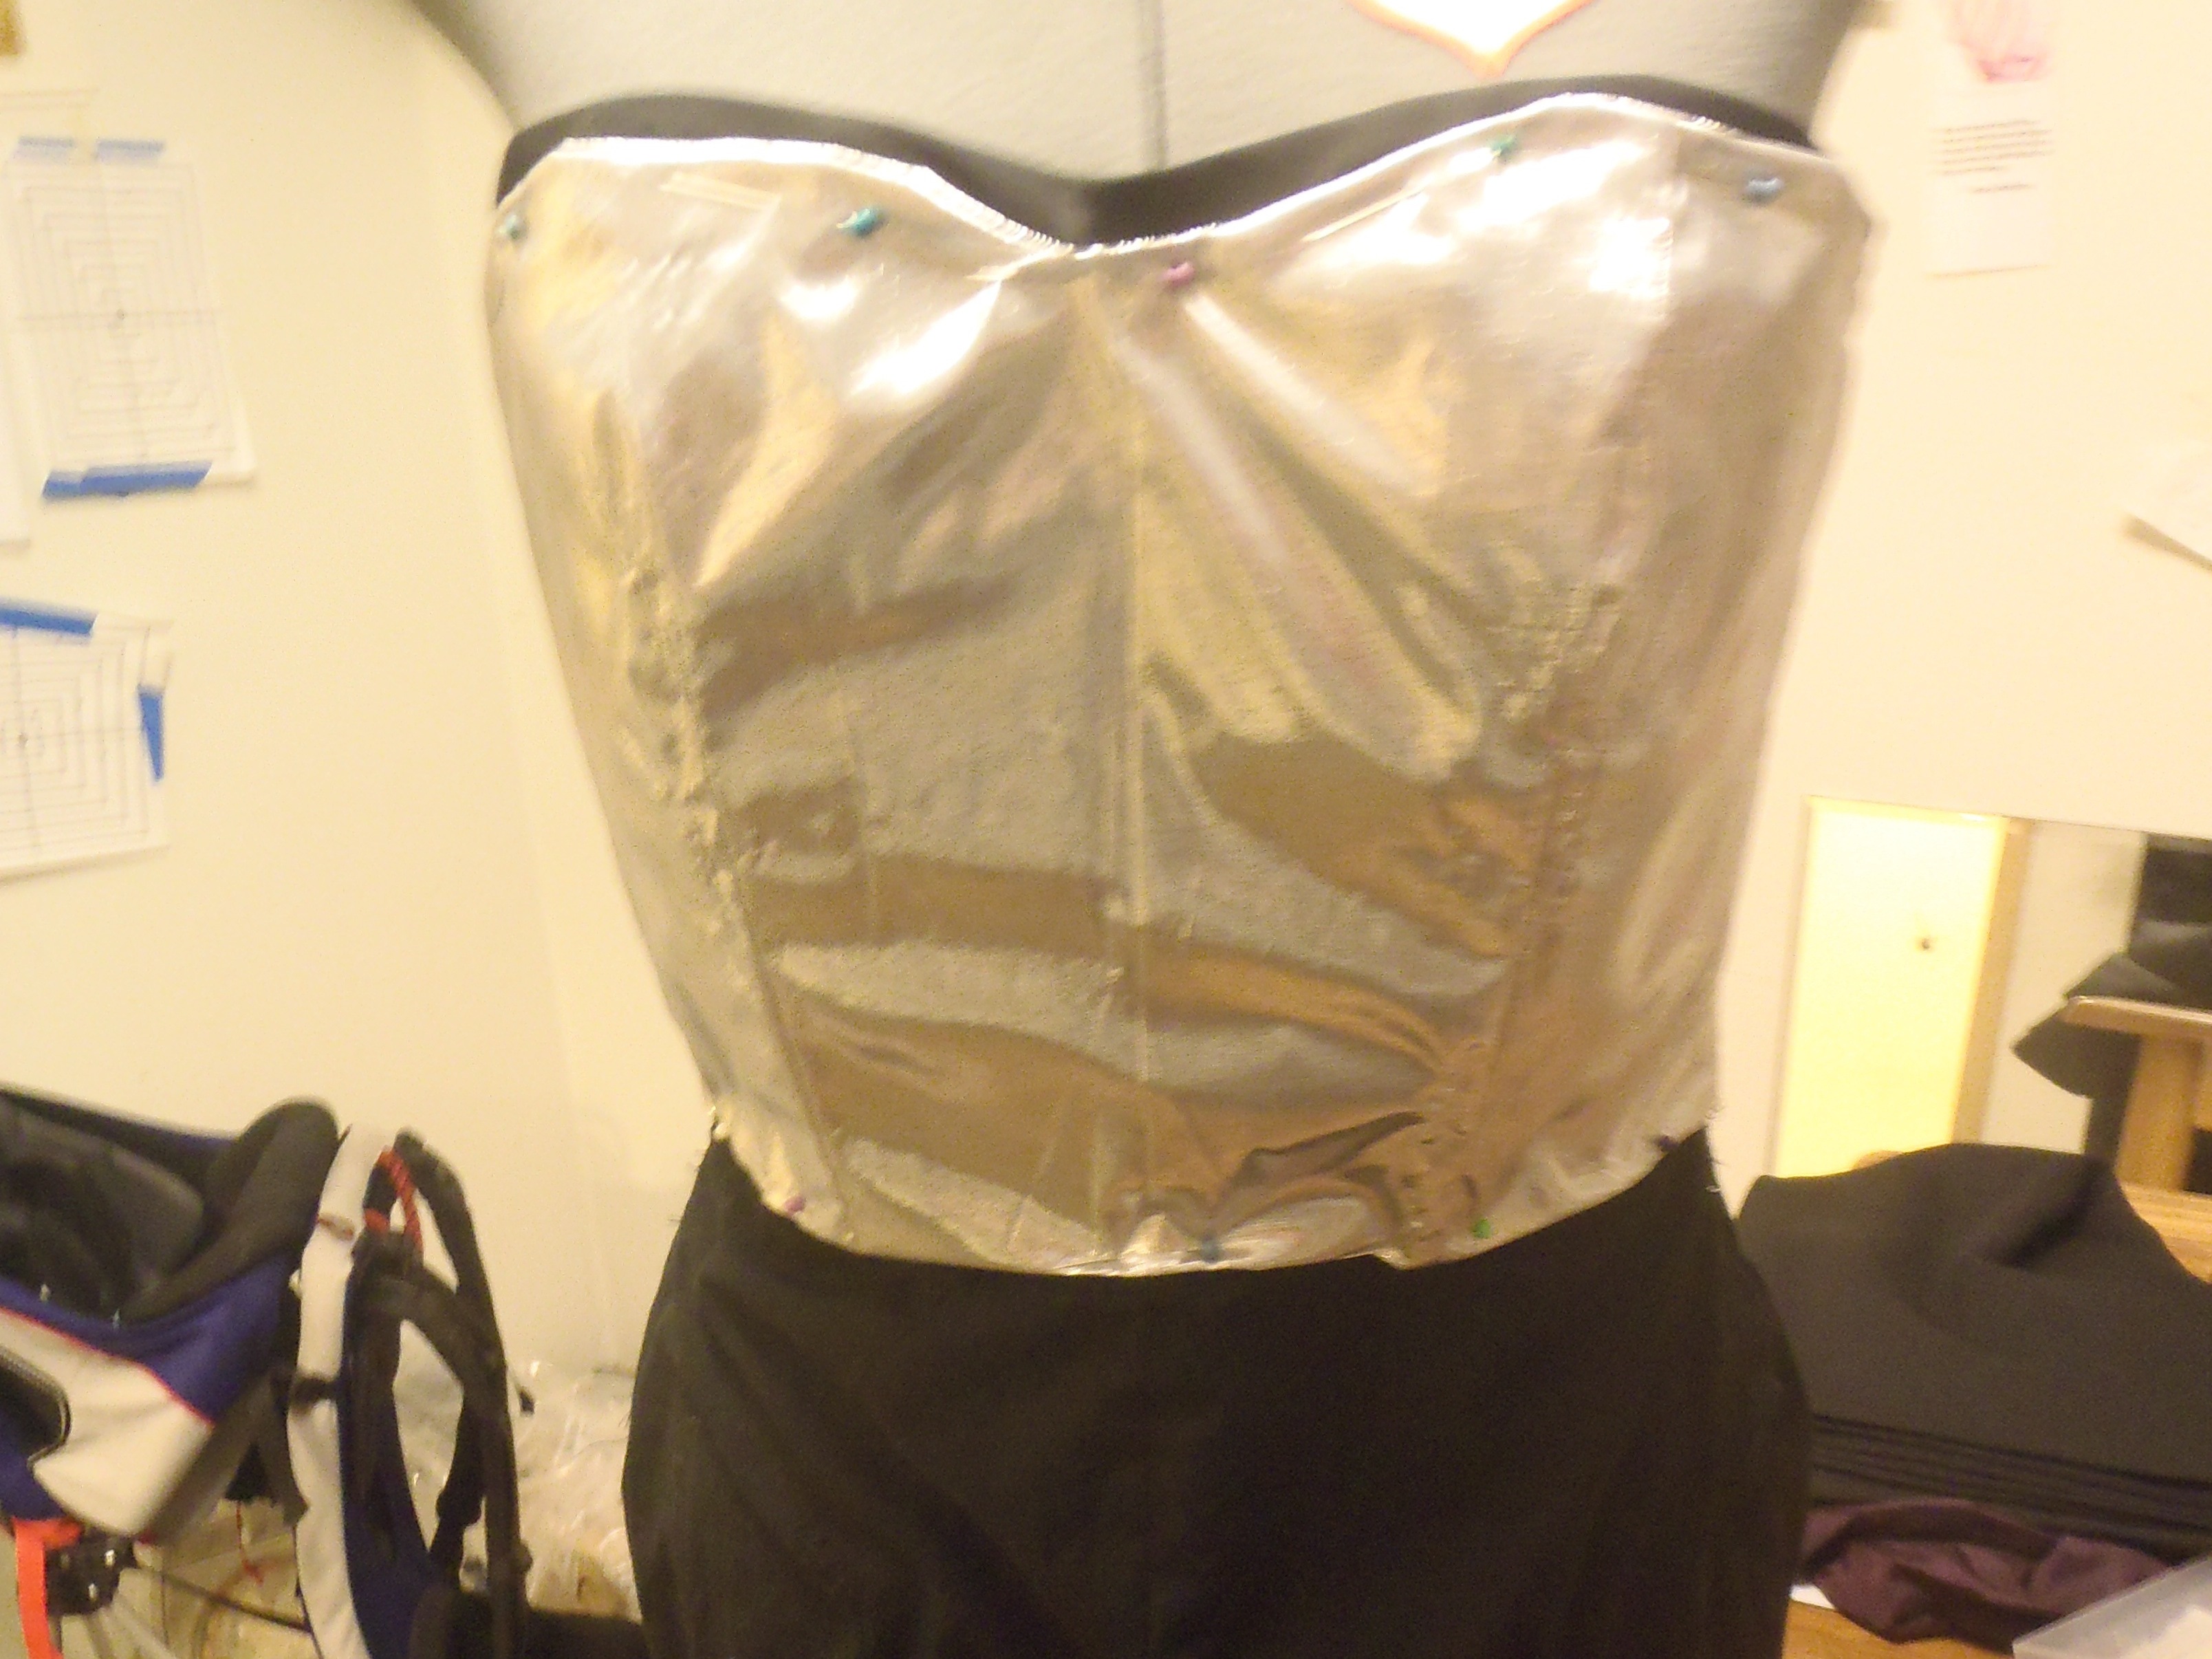
Make costume liner per directions with the following modifications:

no ruffle – move the pleats at front to a dart at the hip – narrow the pant legs – instead of sewing the liner to the outer fabric, finish the edges and install a zipper.

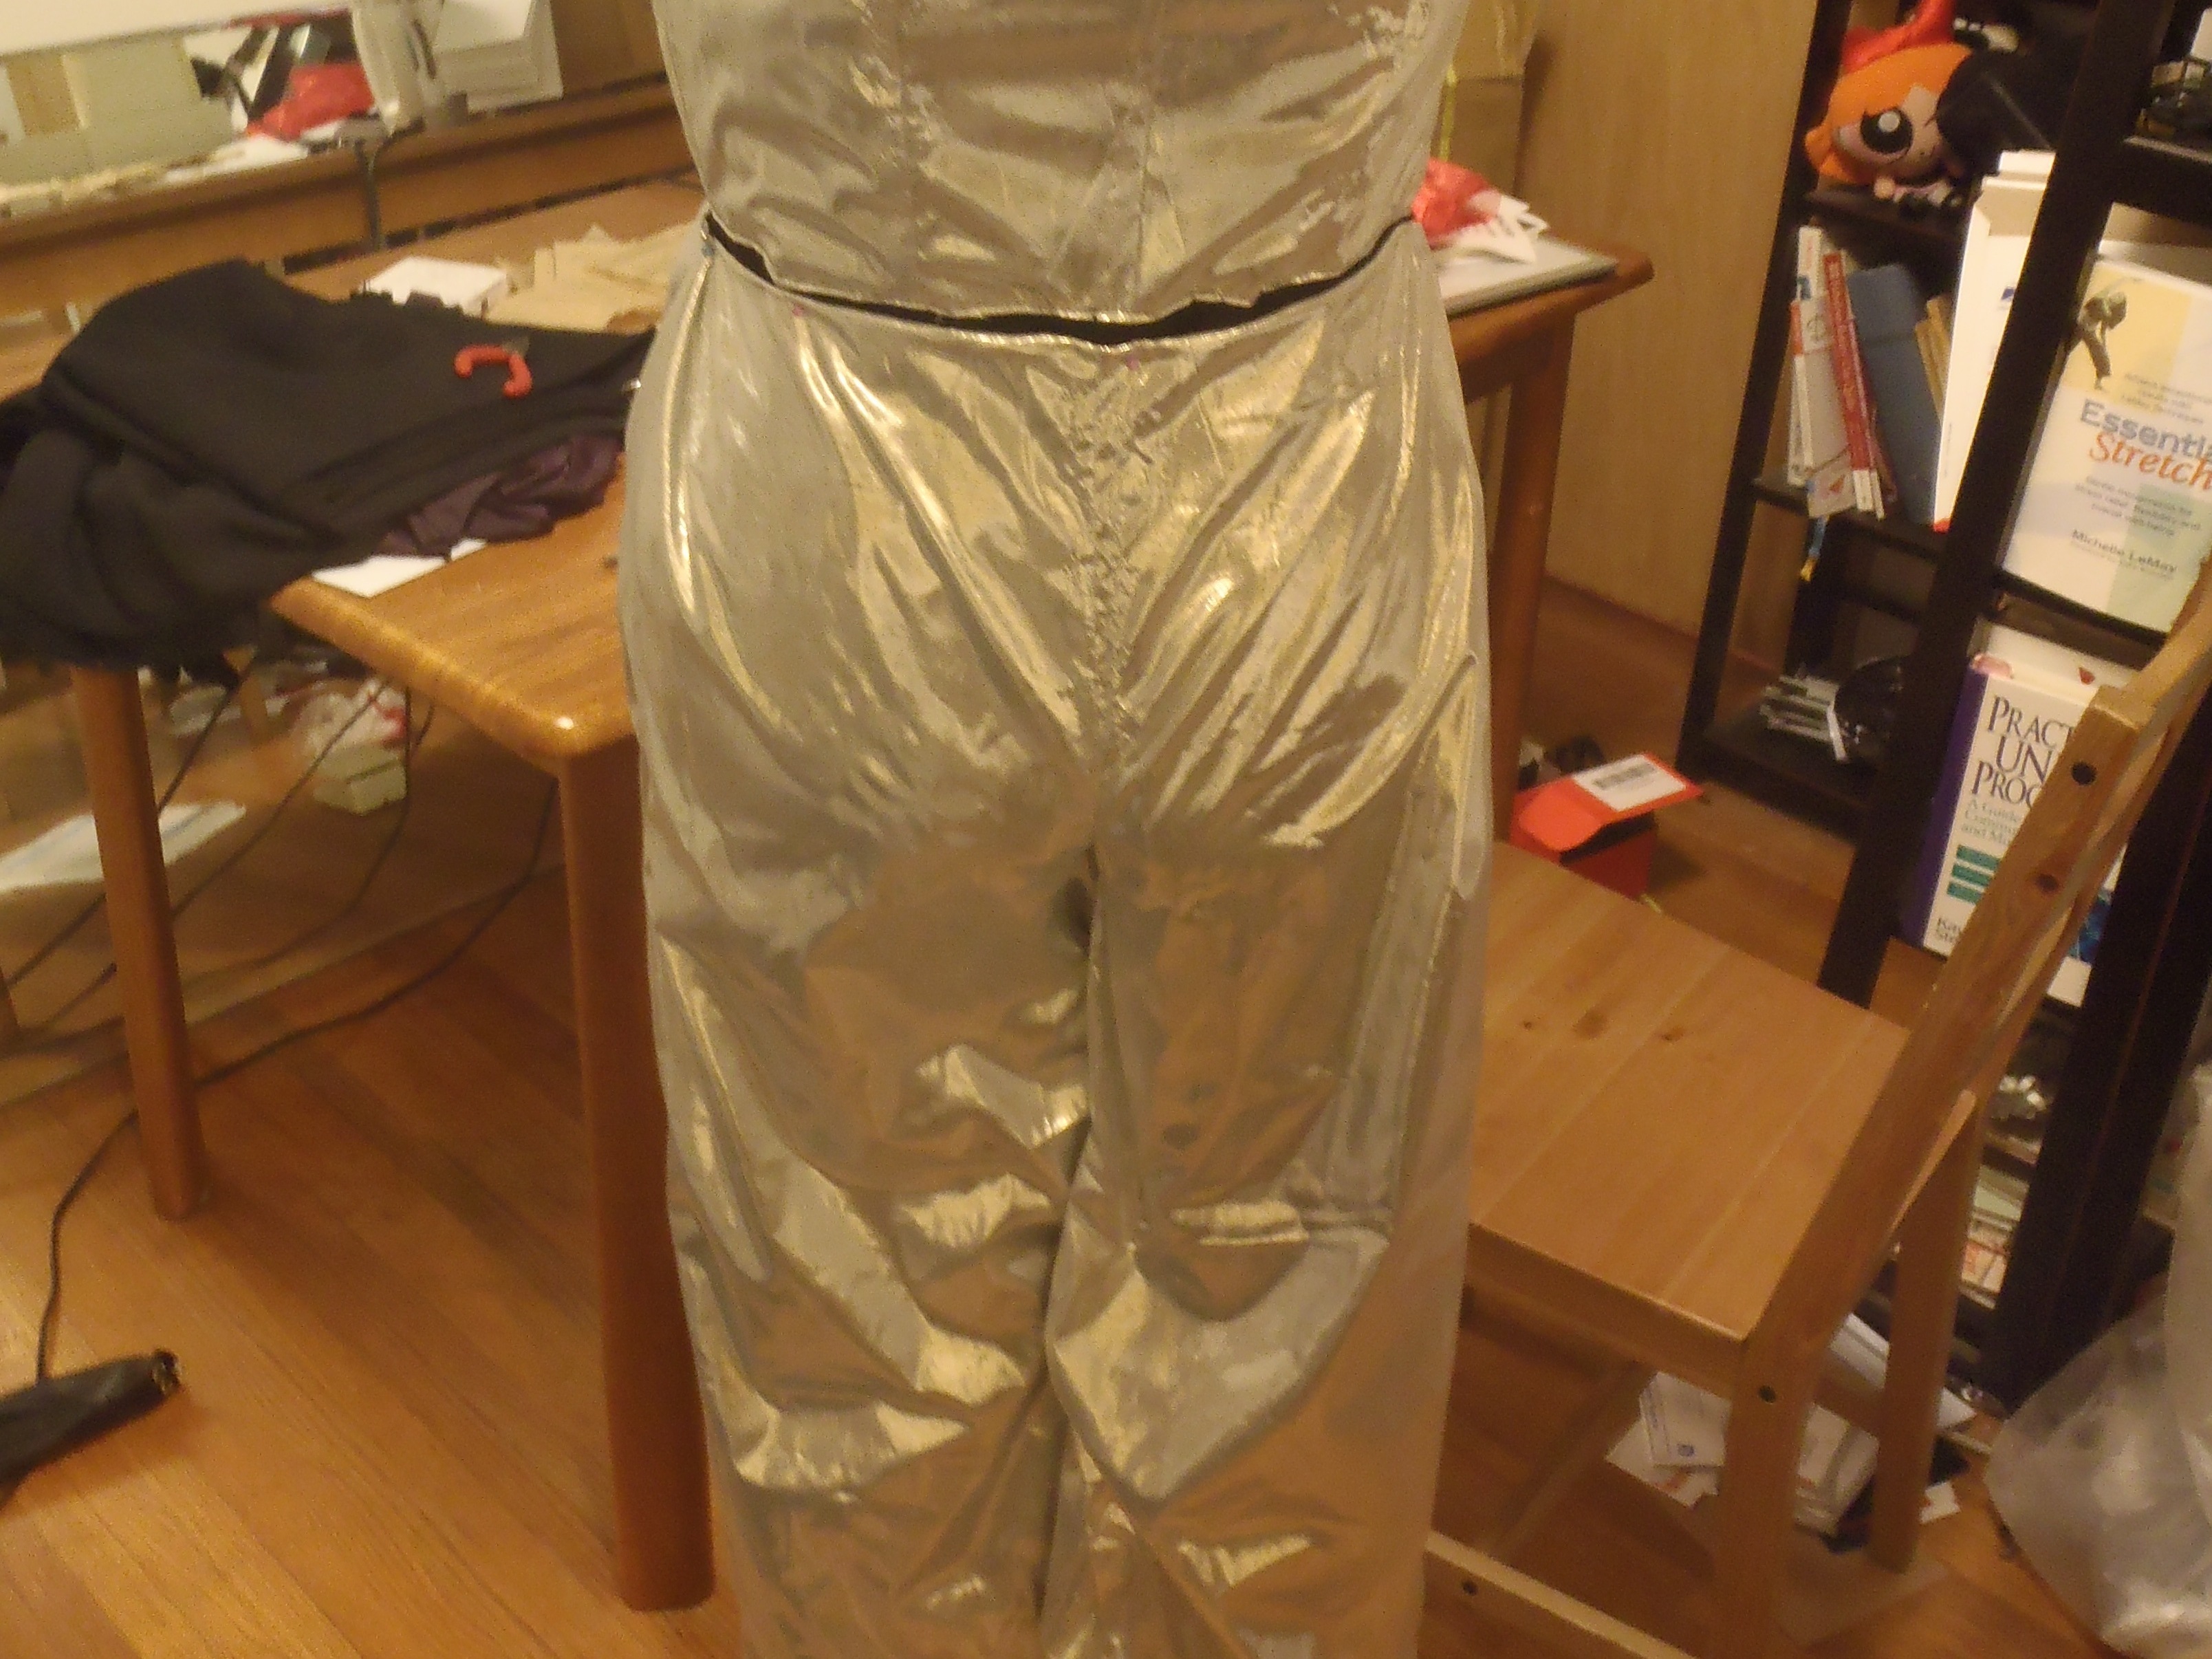
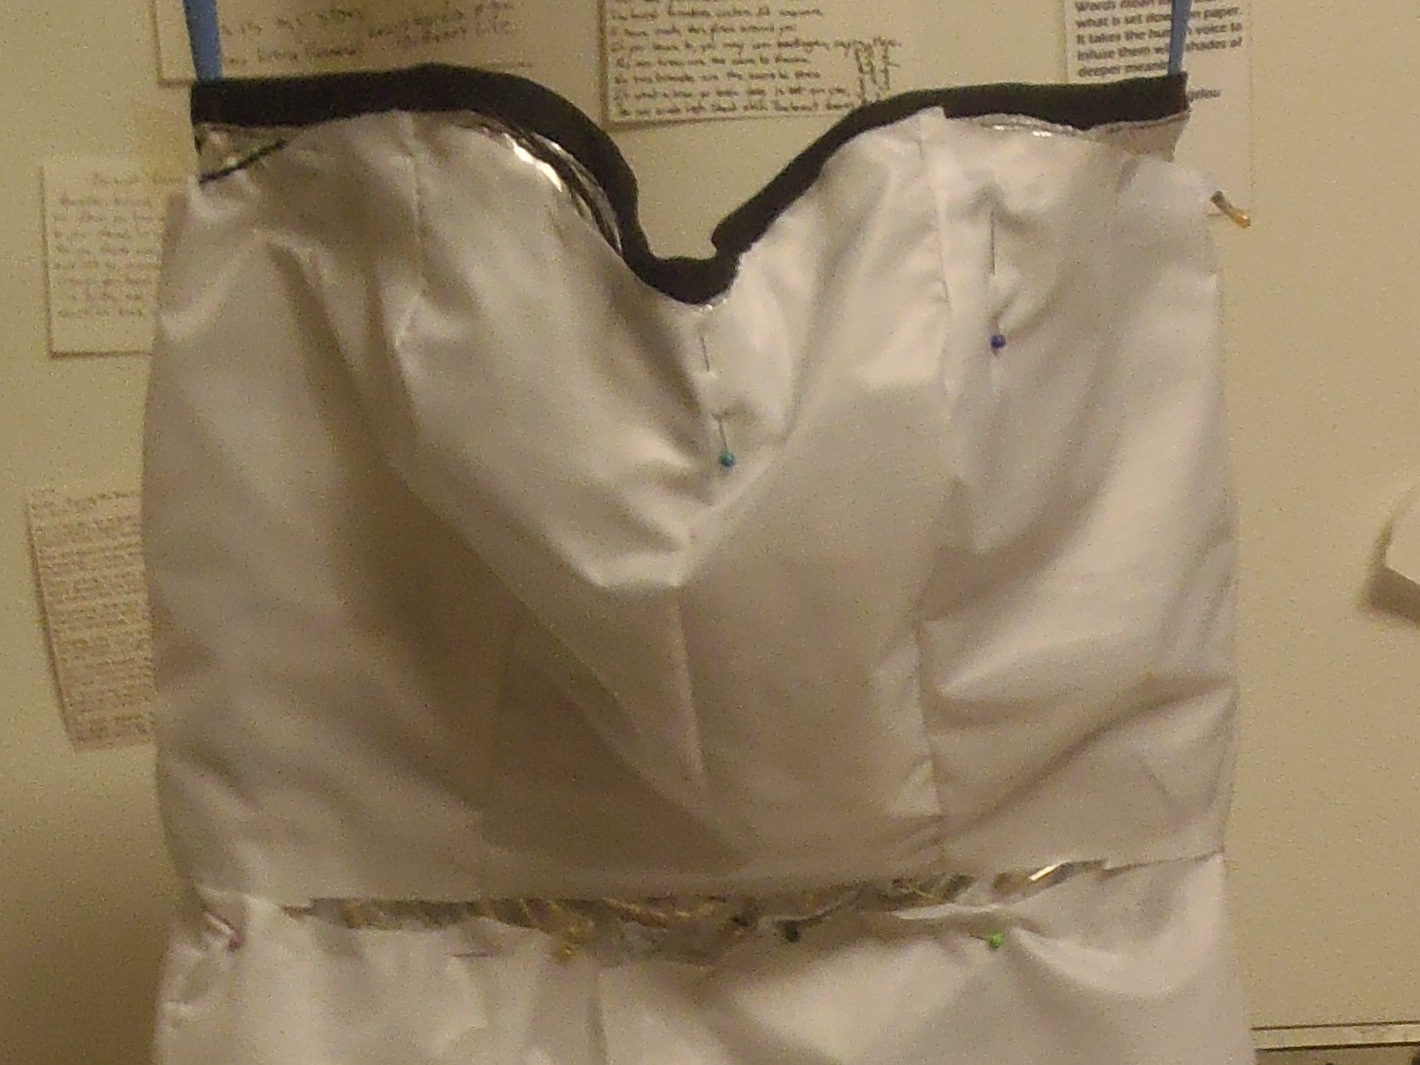
Cover liner with a reflective fabric.

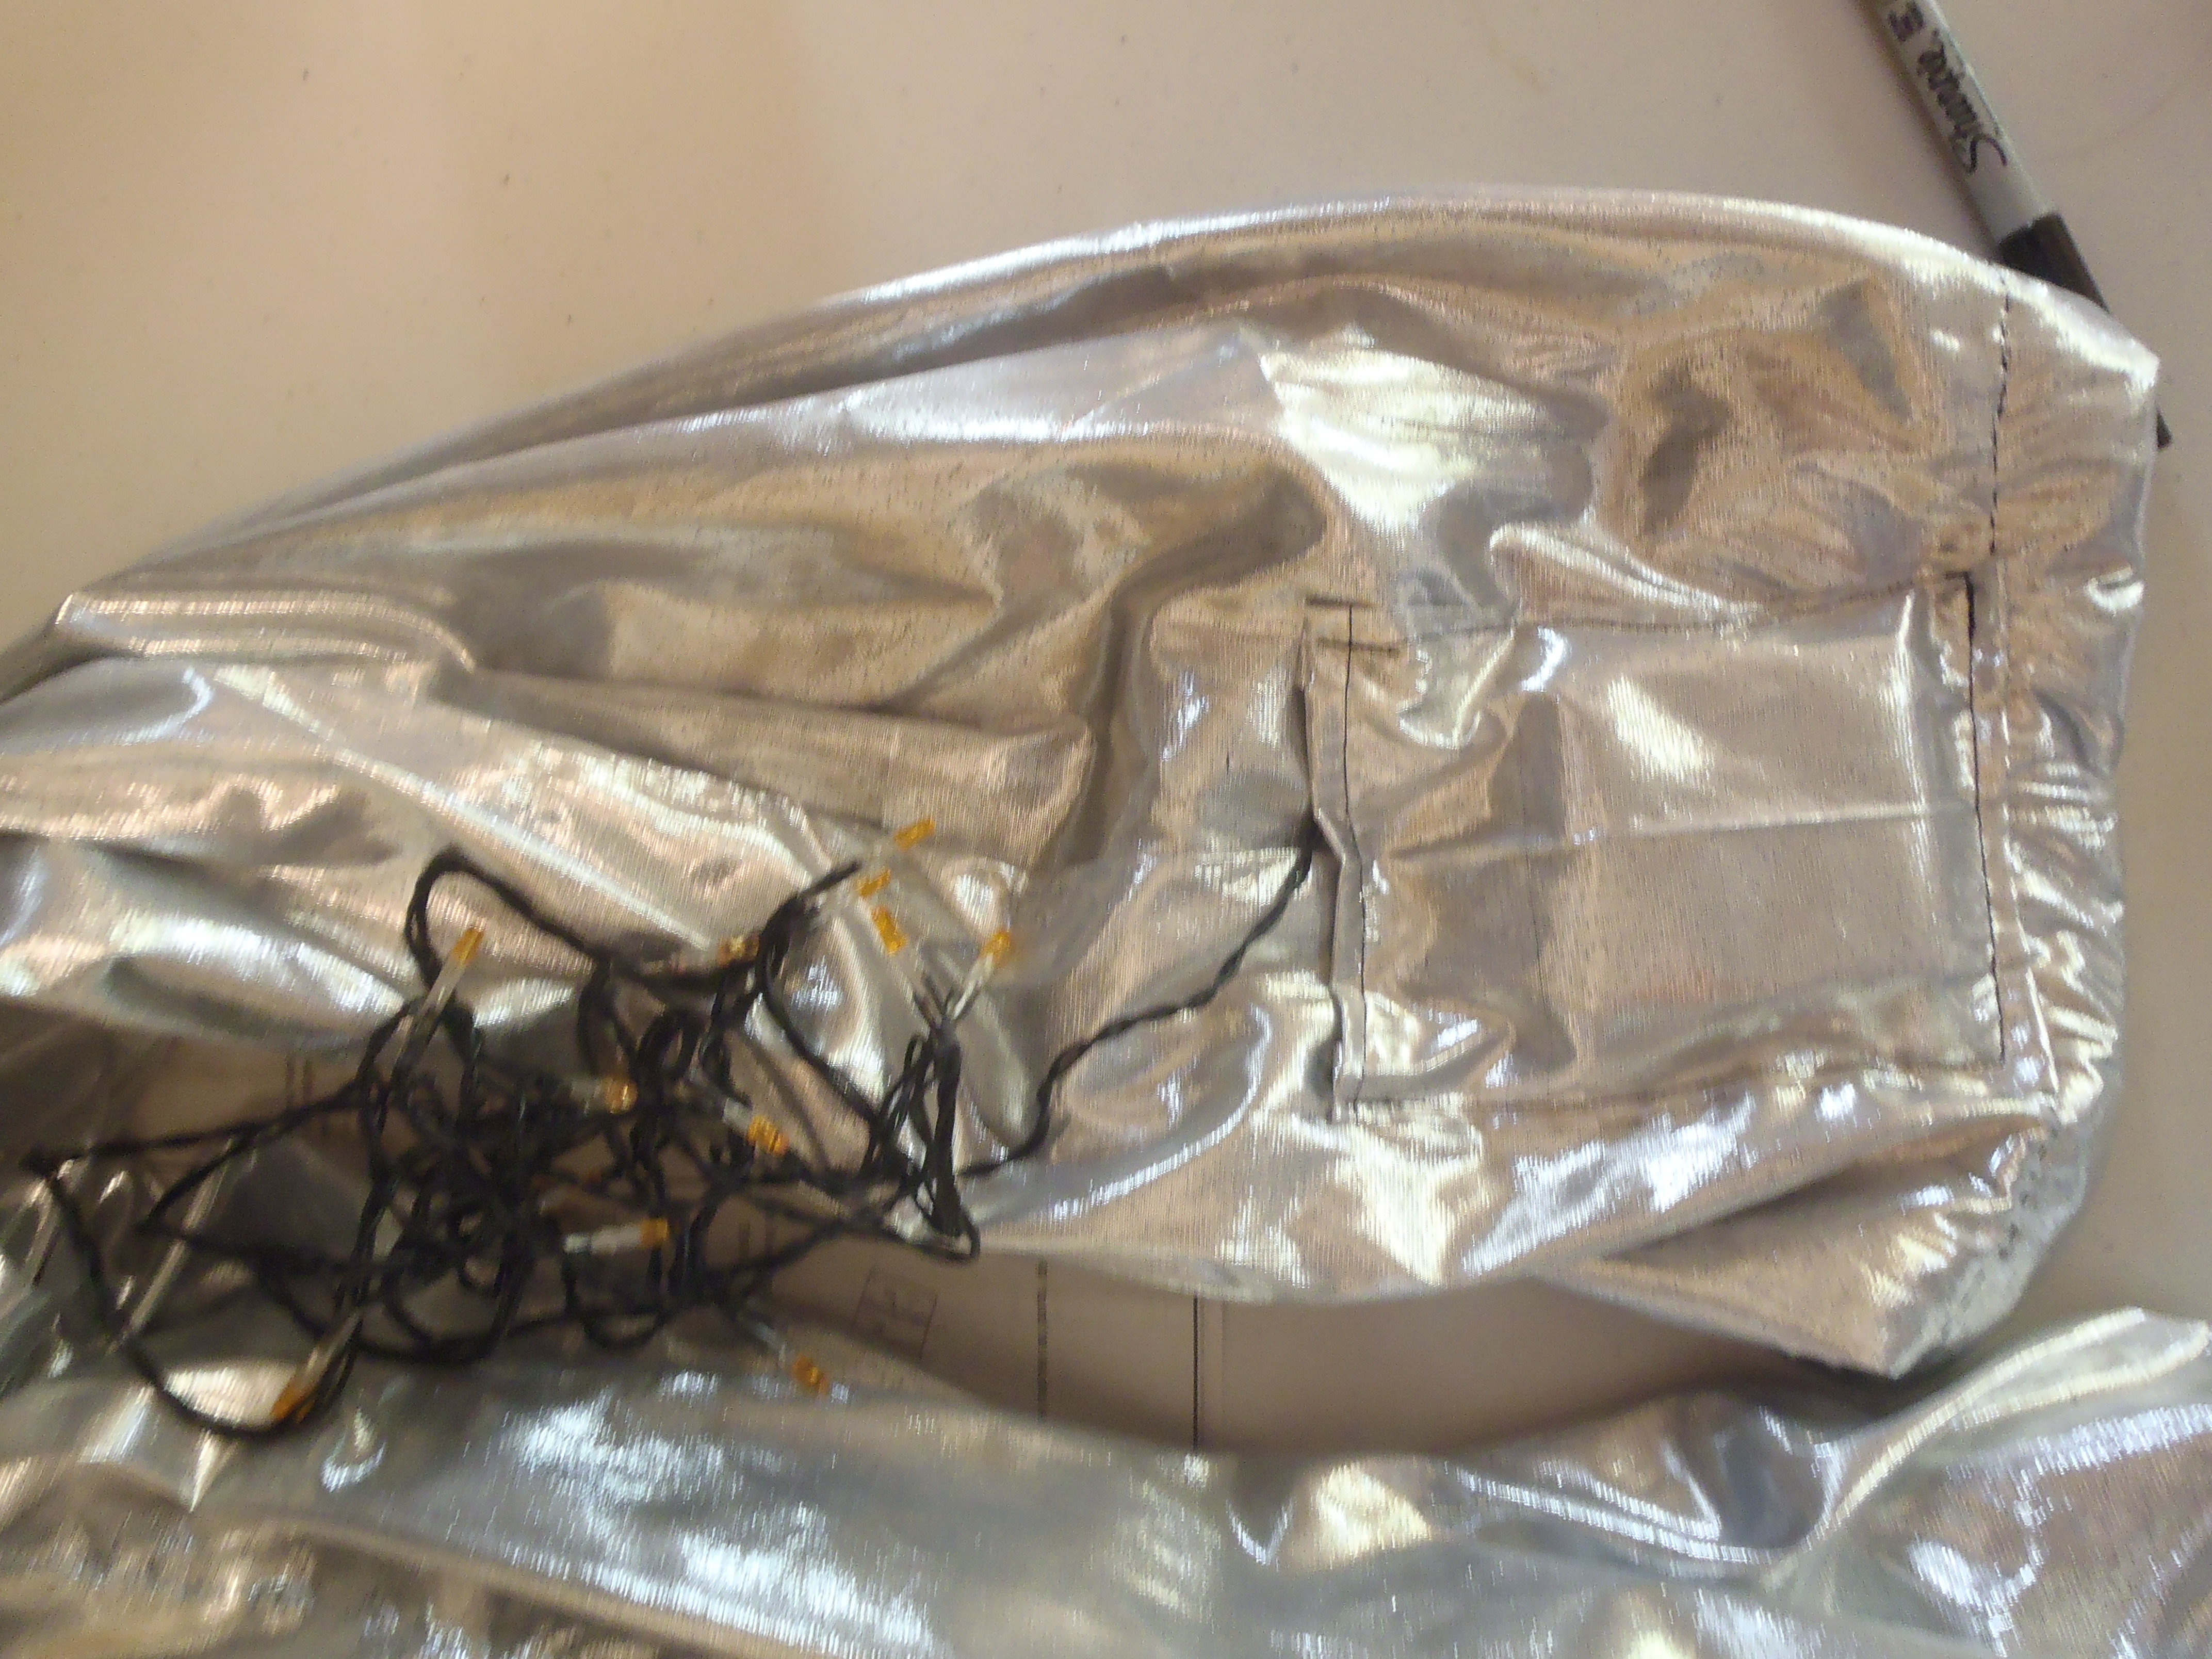
Sew pockets for the battery packs for the lights – three along the outer edge of the pant leg. Make sure to space them out so you can spread the lights around enough.

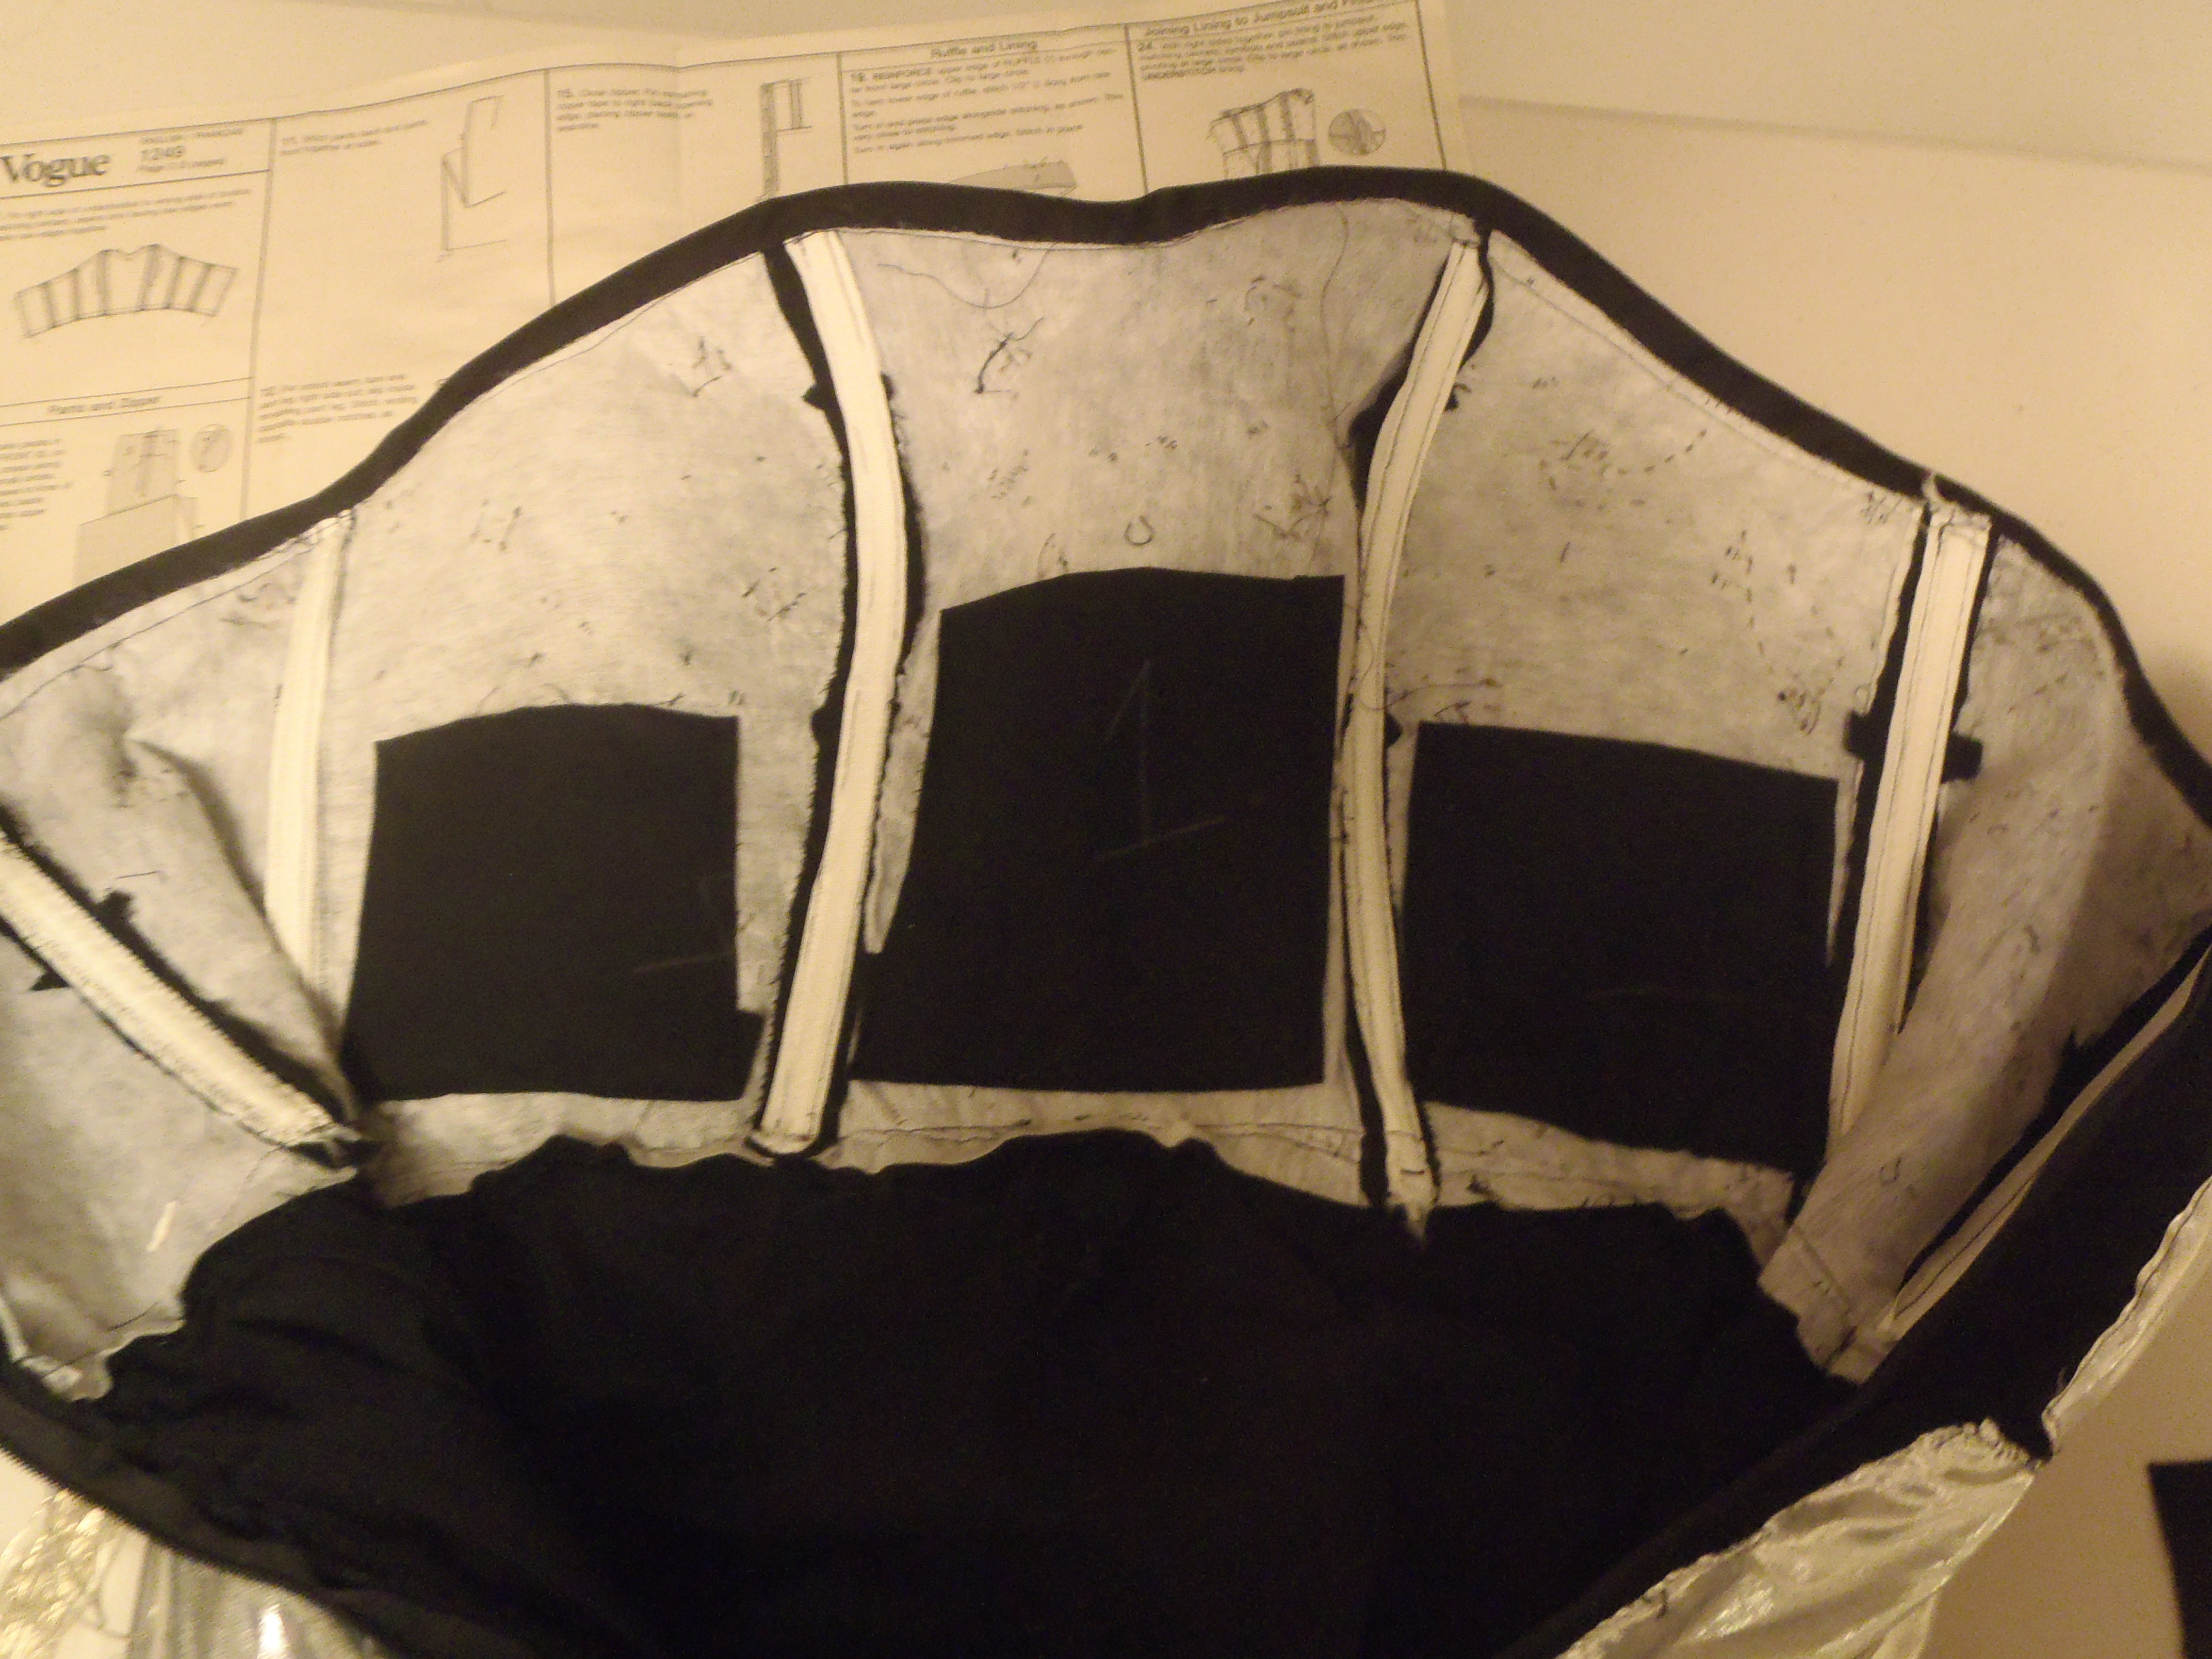
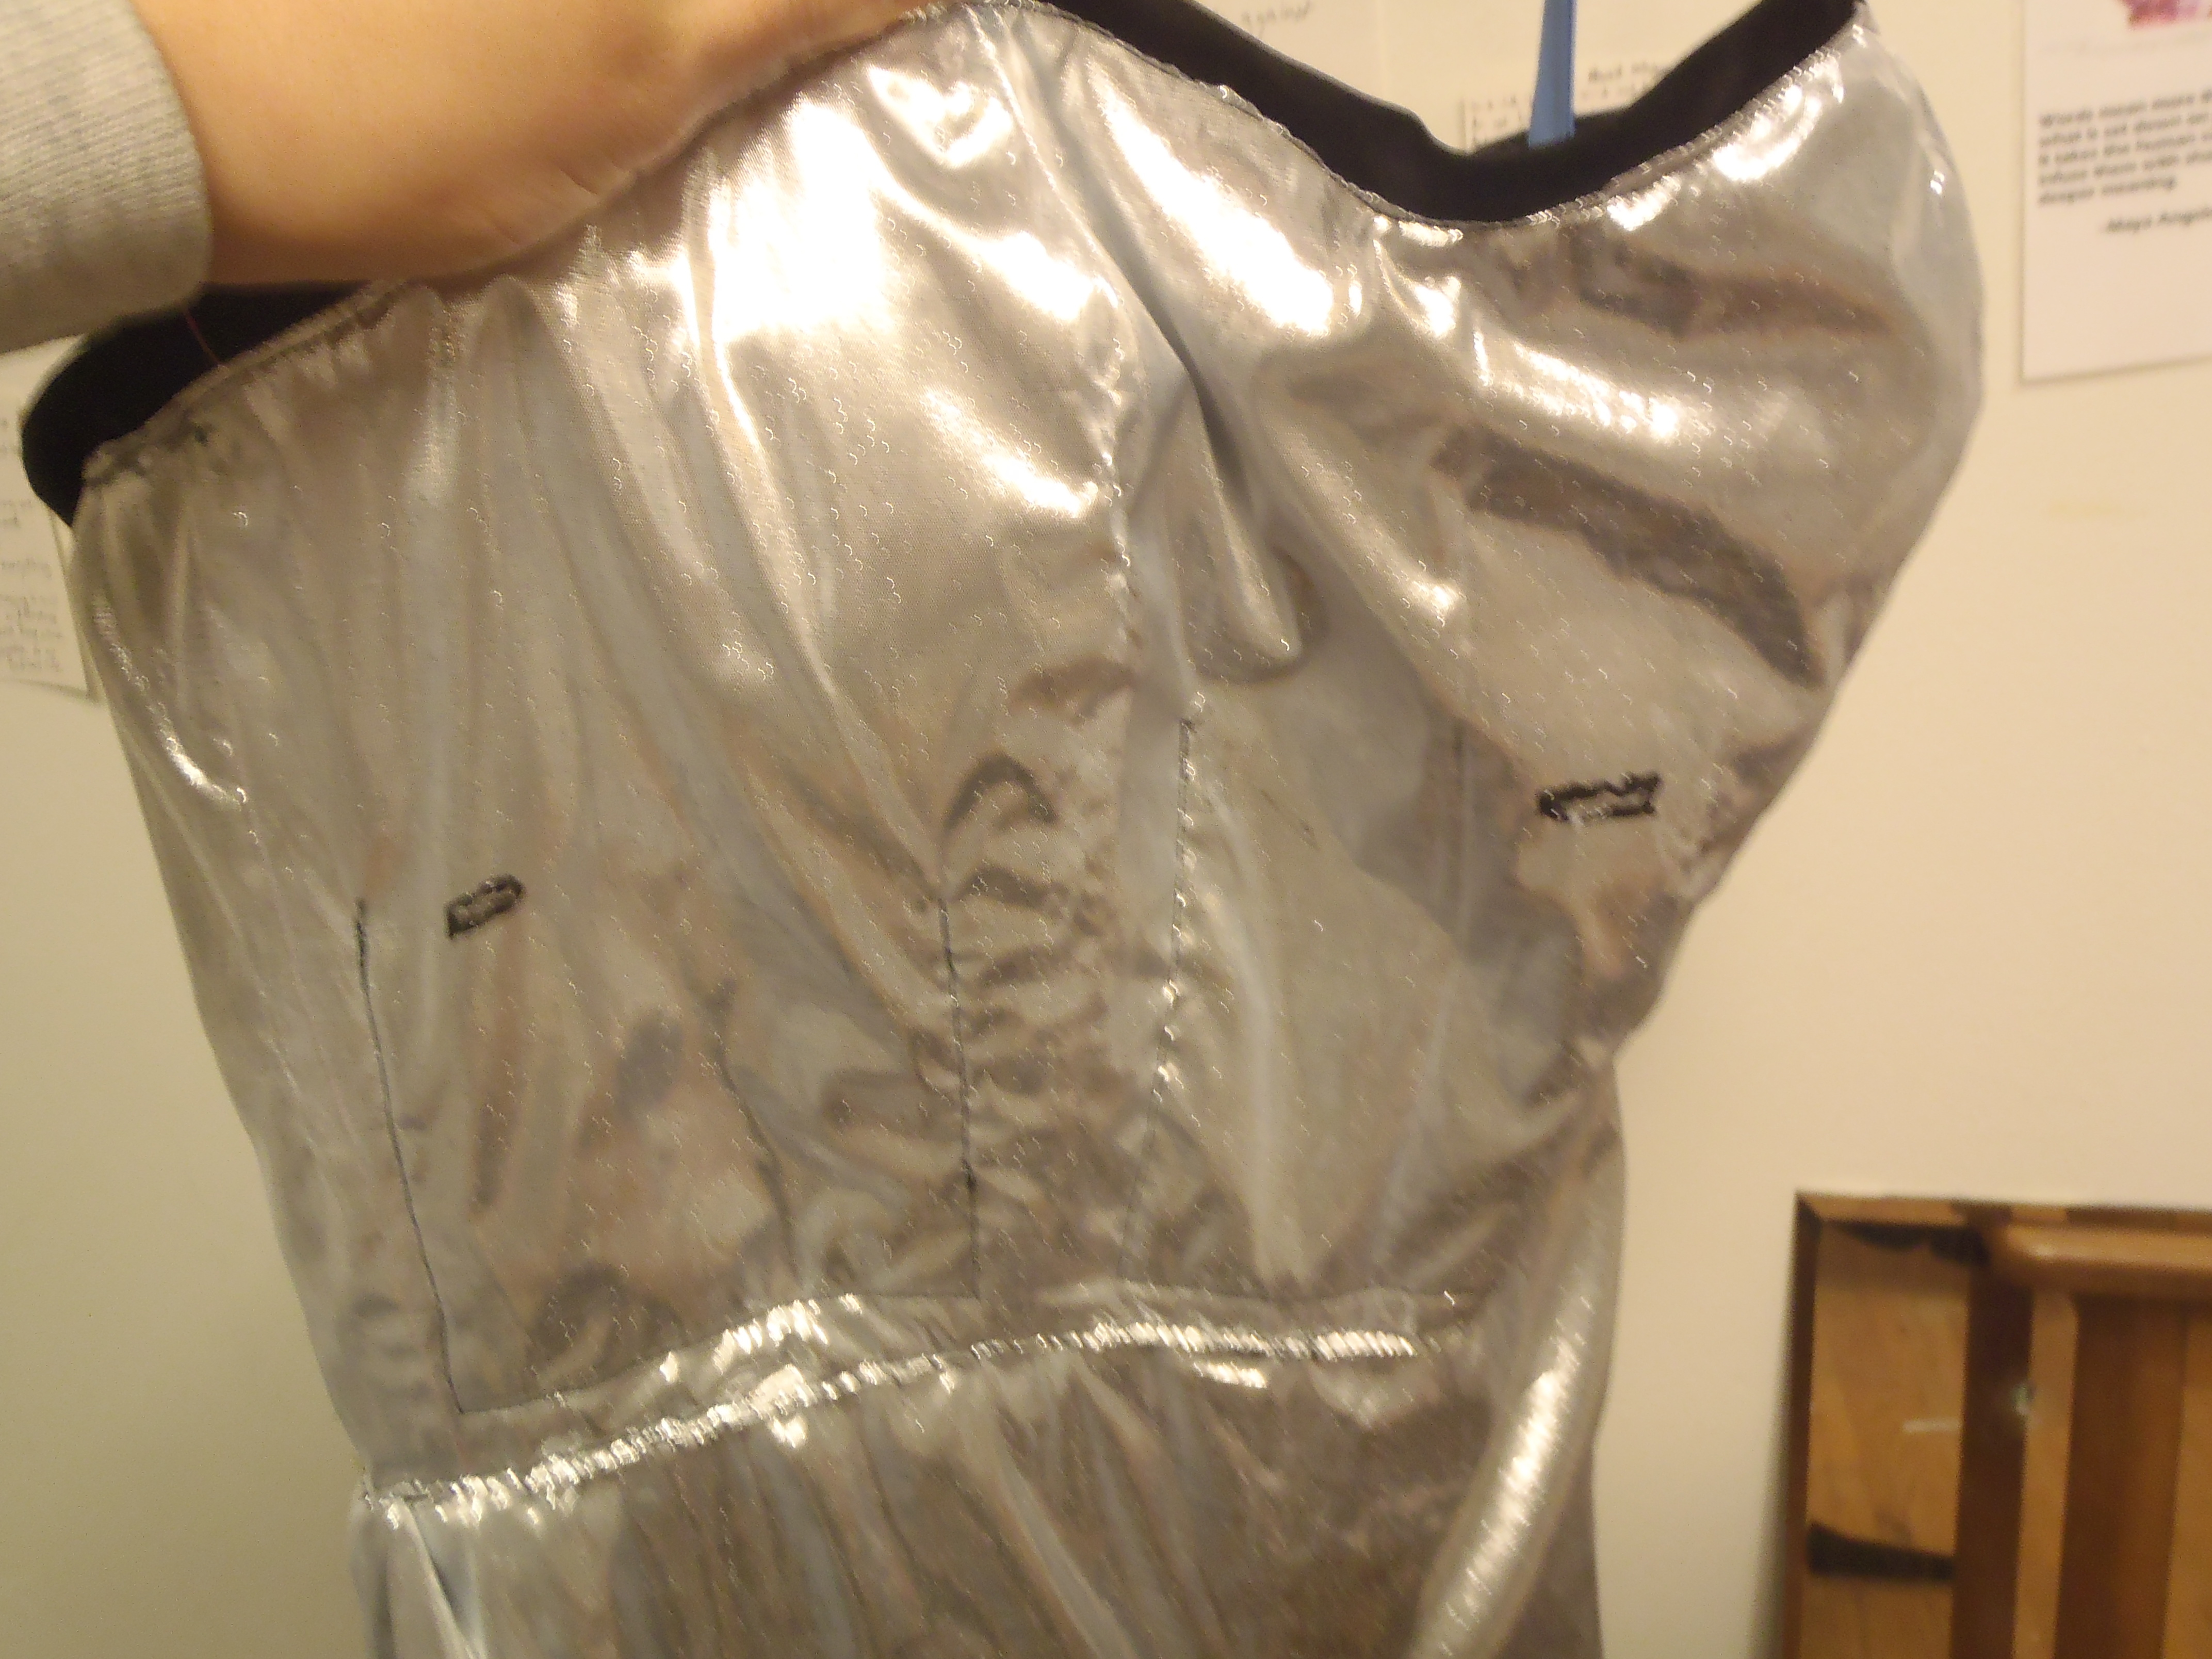
Sew three pockets INSIDE the bodice for the remaining light strings. You need to make slits in the fabric to allow the lights to be strung through the back to the front. Be sure to seal the slits somehow – I used fabric paint.

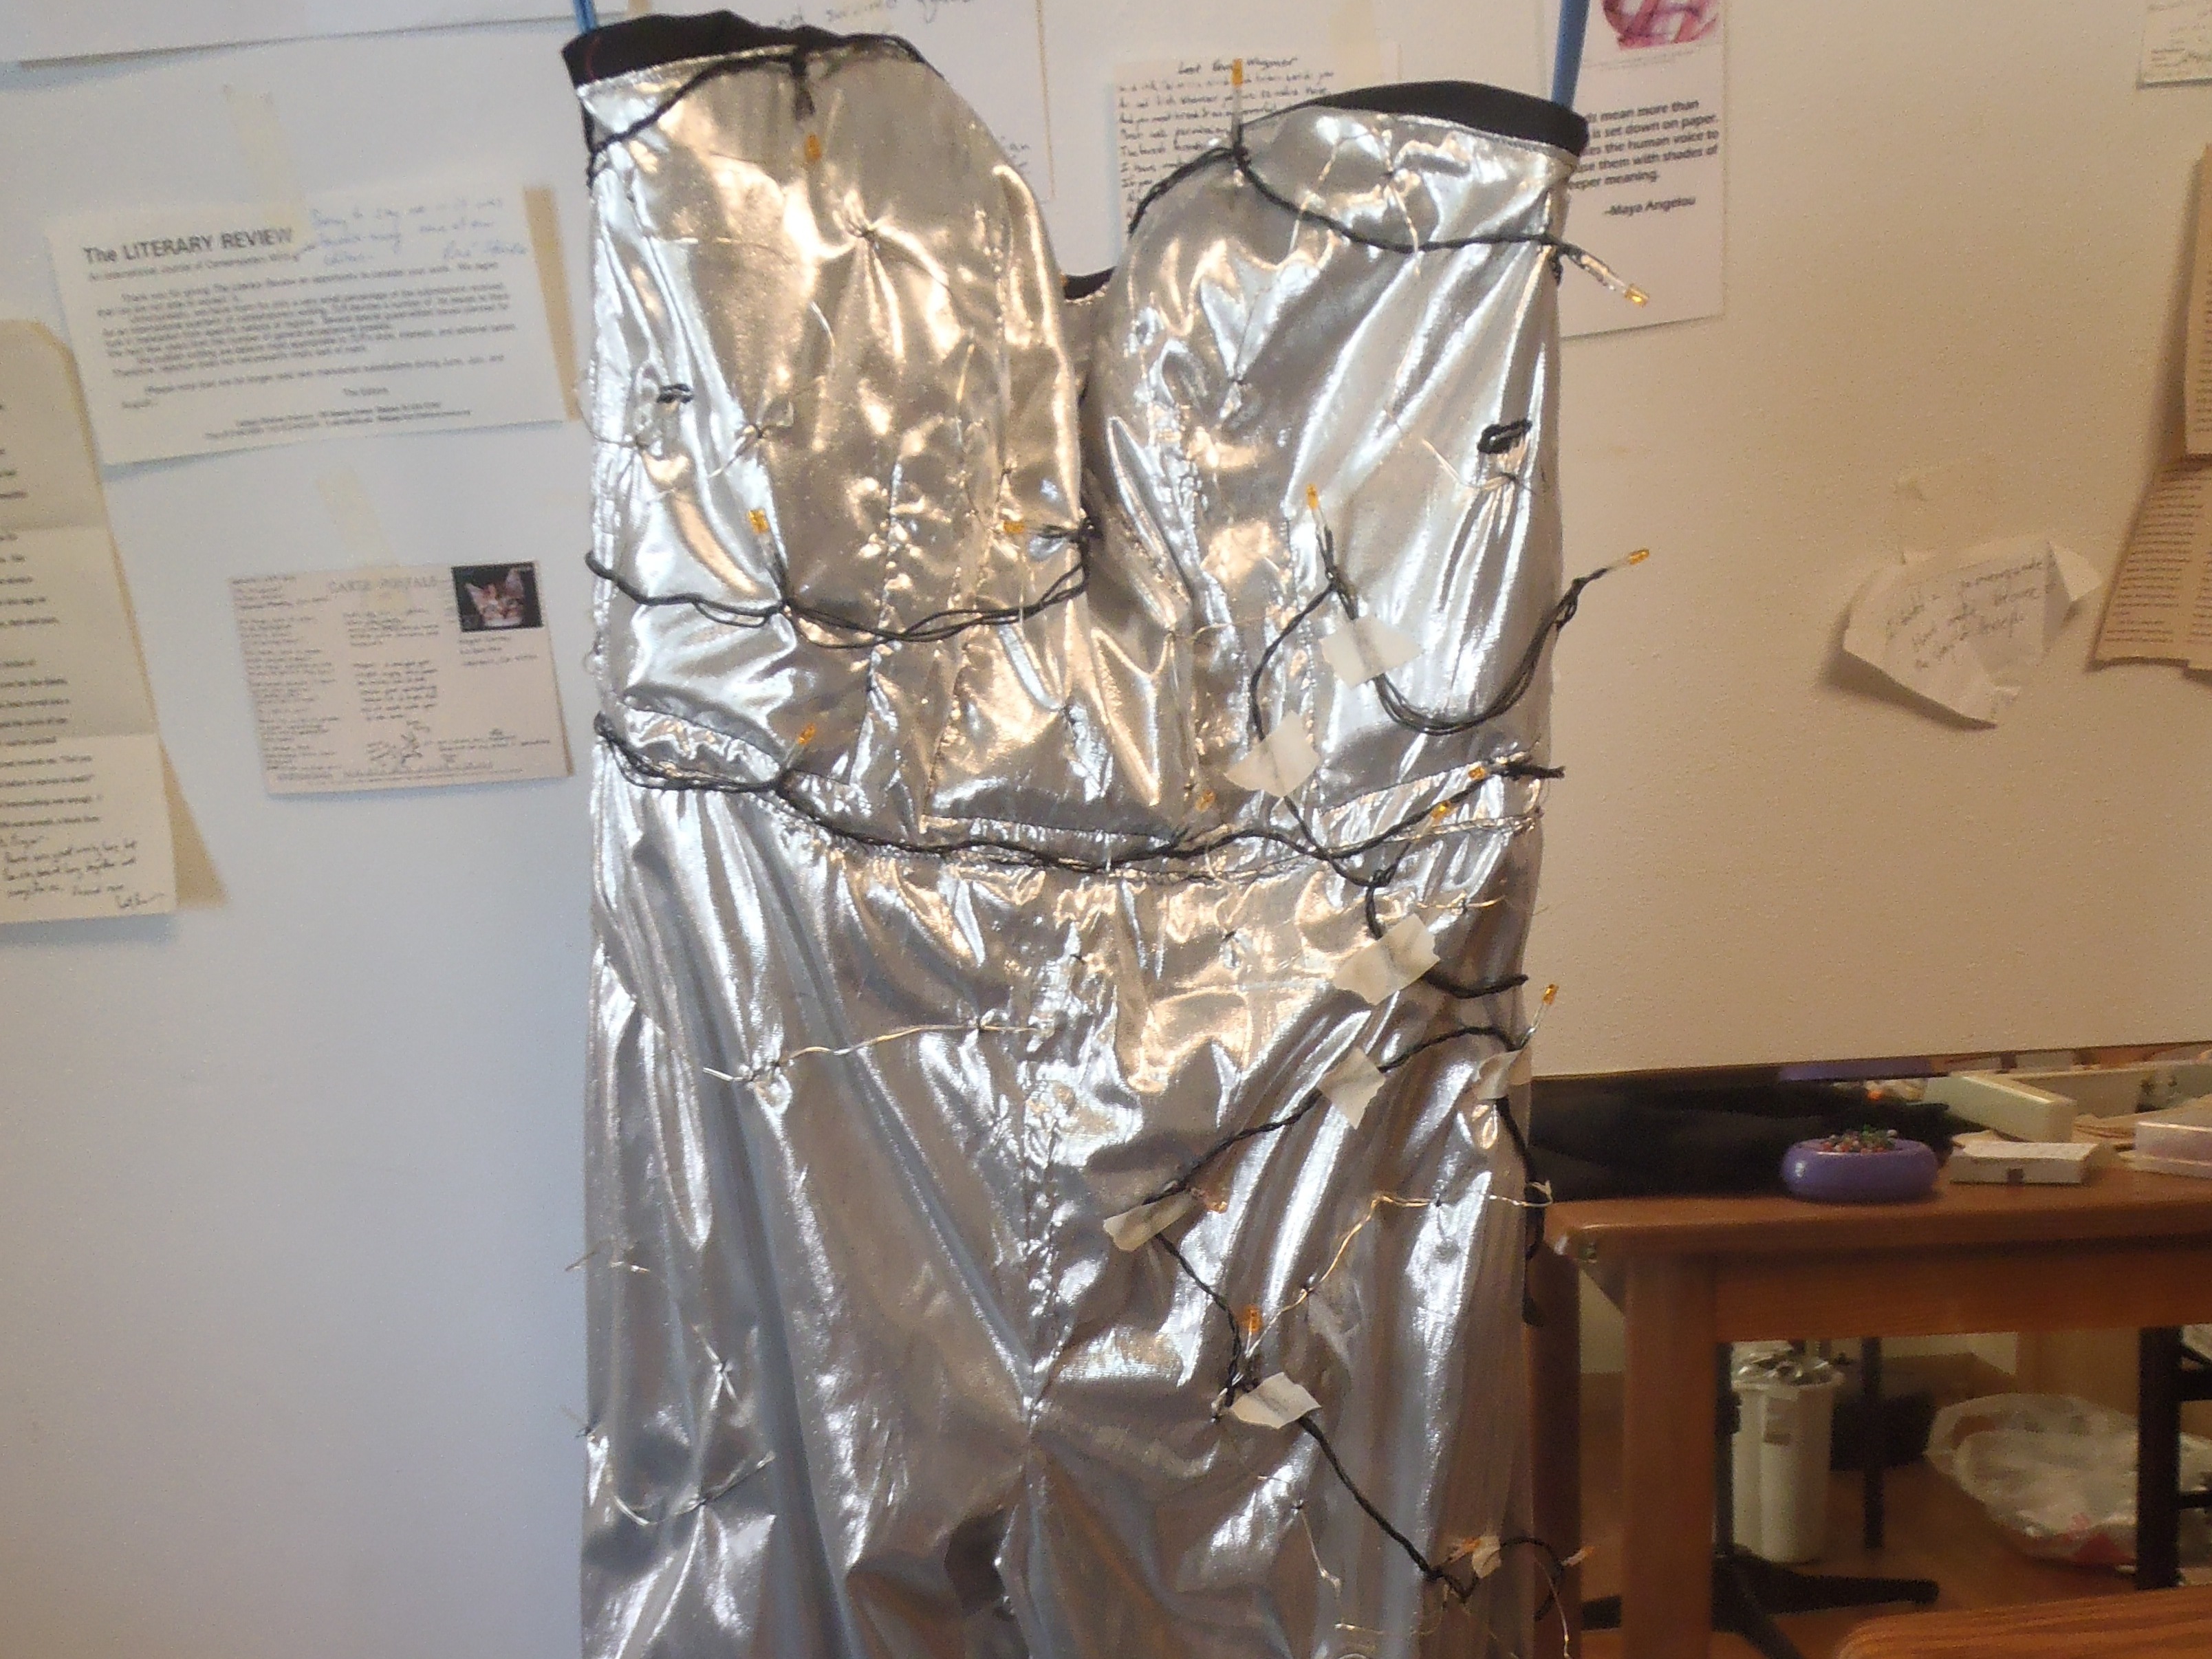
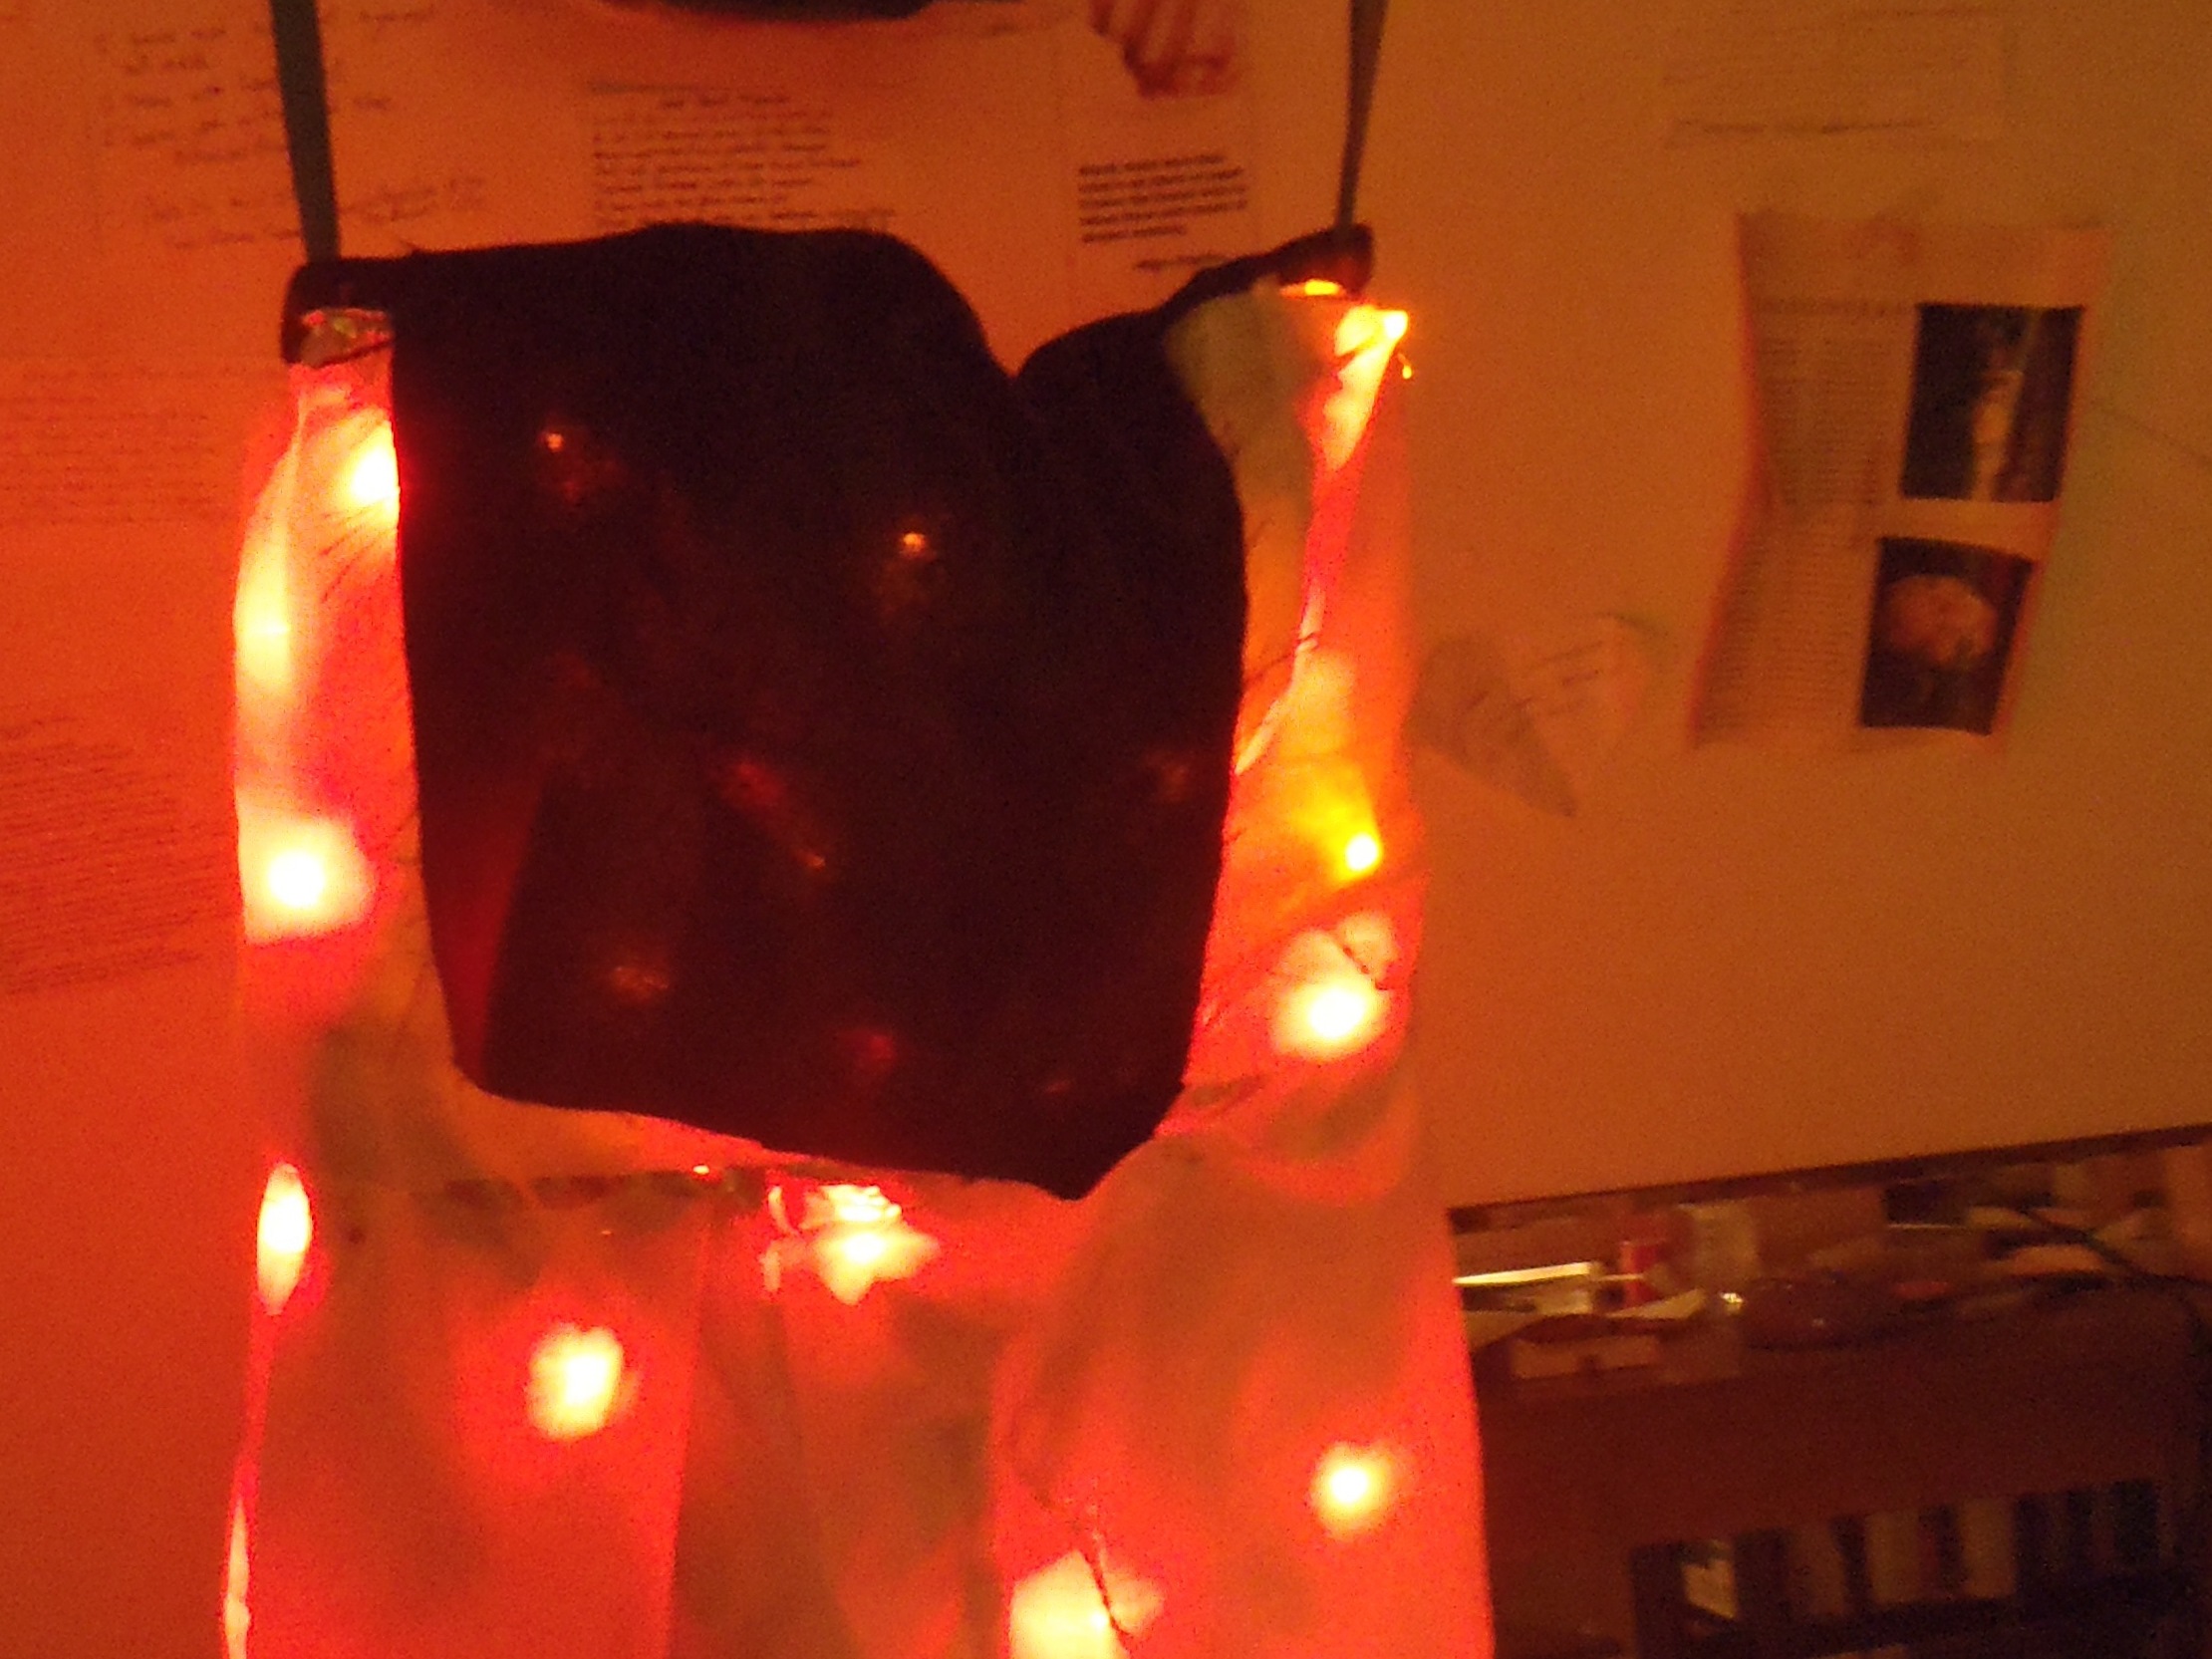
Sew the lights on, be sure to distribute them as evenly as possible and be careful not to put any lights on. . .specific places.

Cover the lights loosely with the nylon fabric. Be careful to attach the fabric in a way that you can still reach the battery packs on the legs. For a preview, you can drape some of the outer fabric over the costume and turn on the lights.

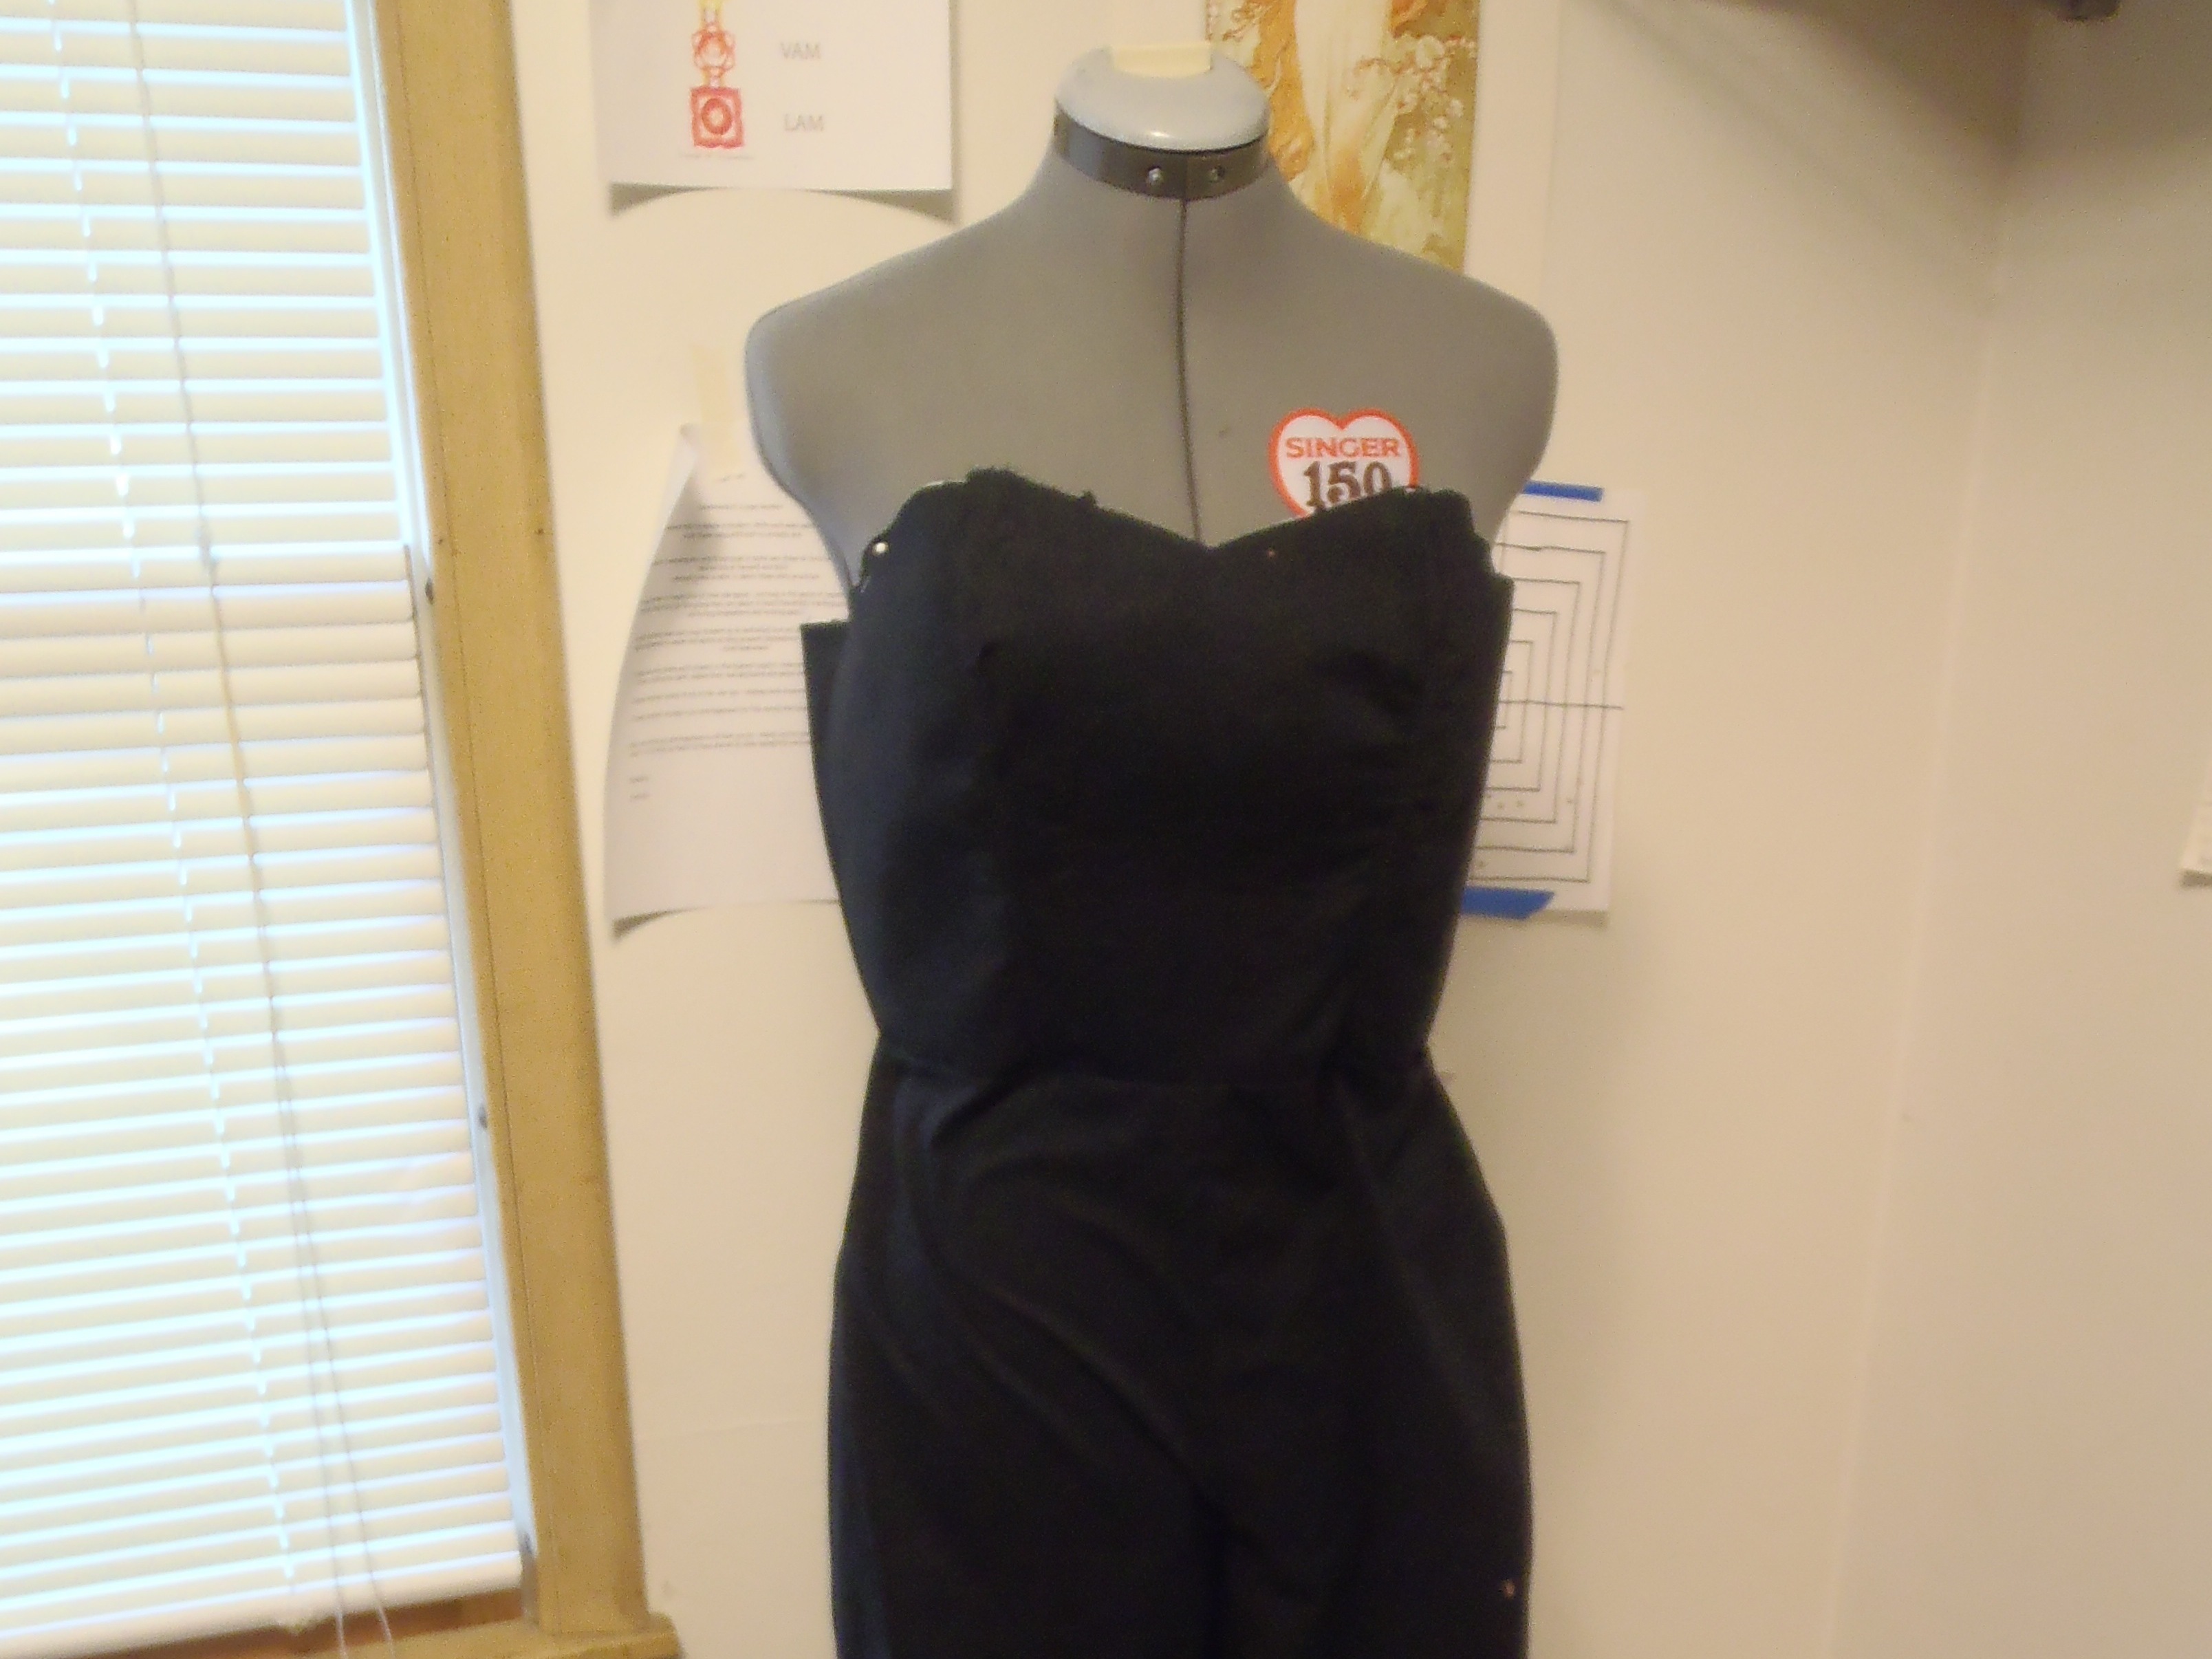
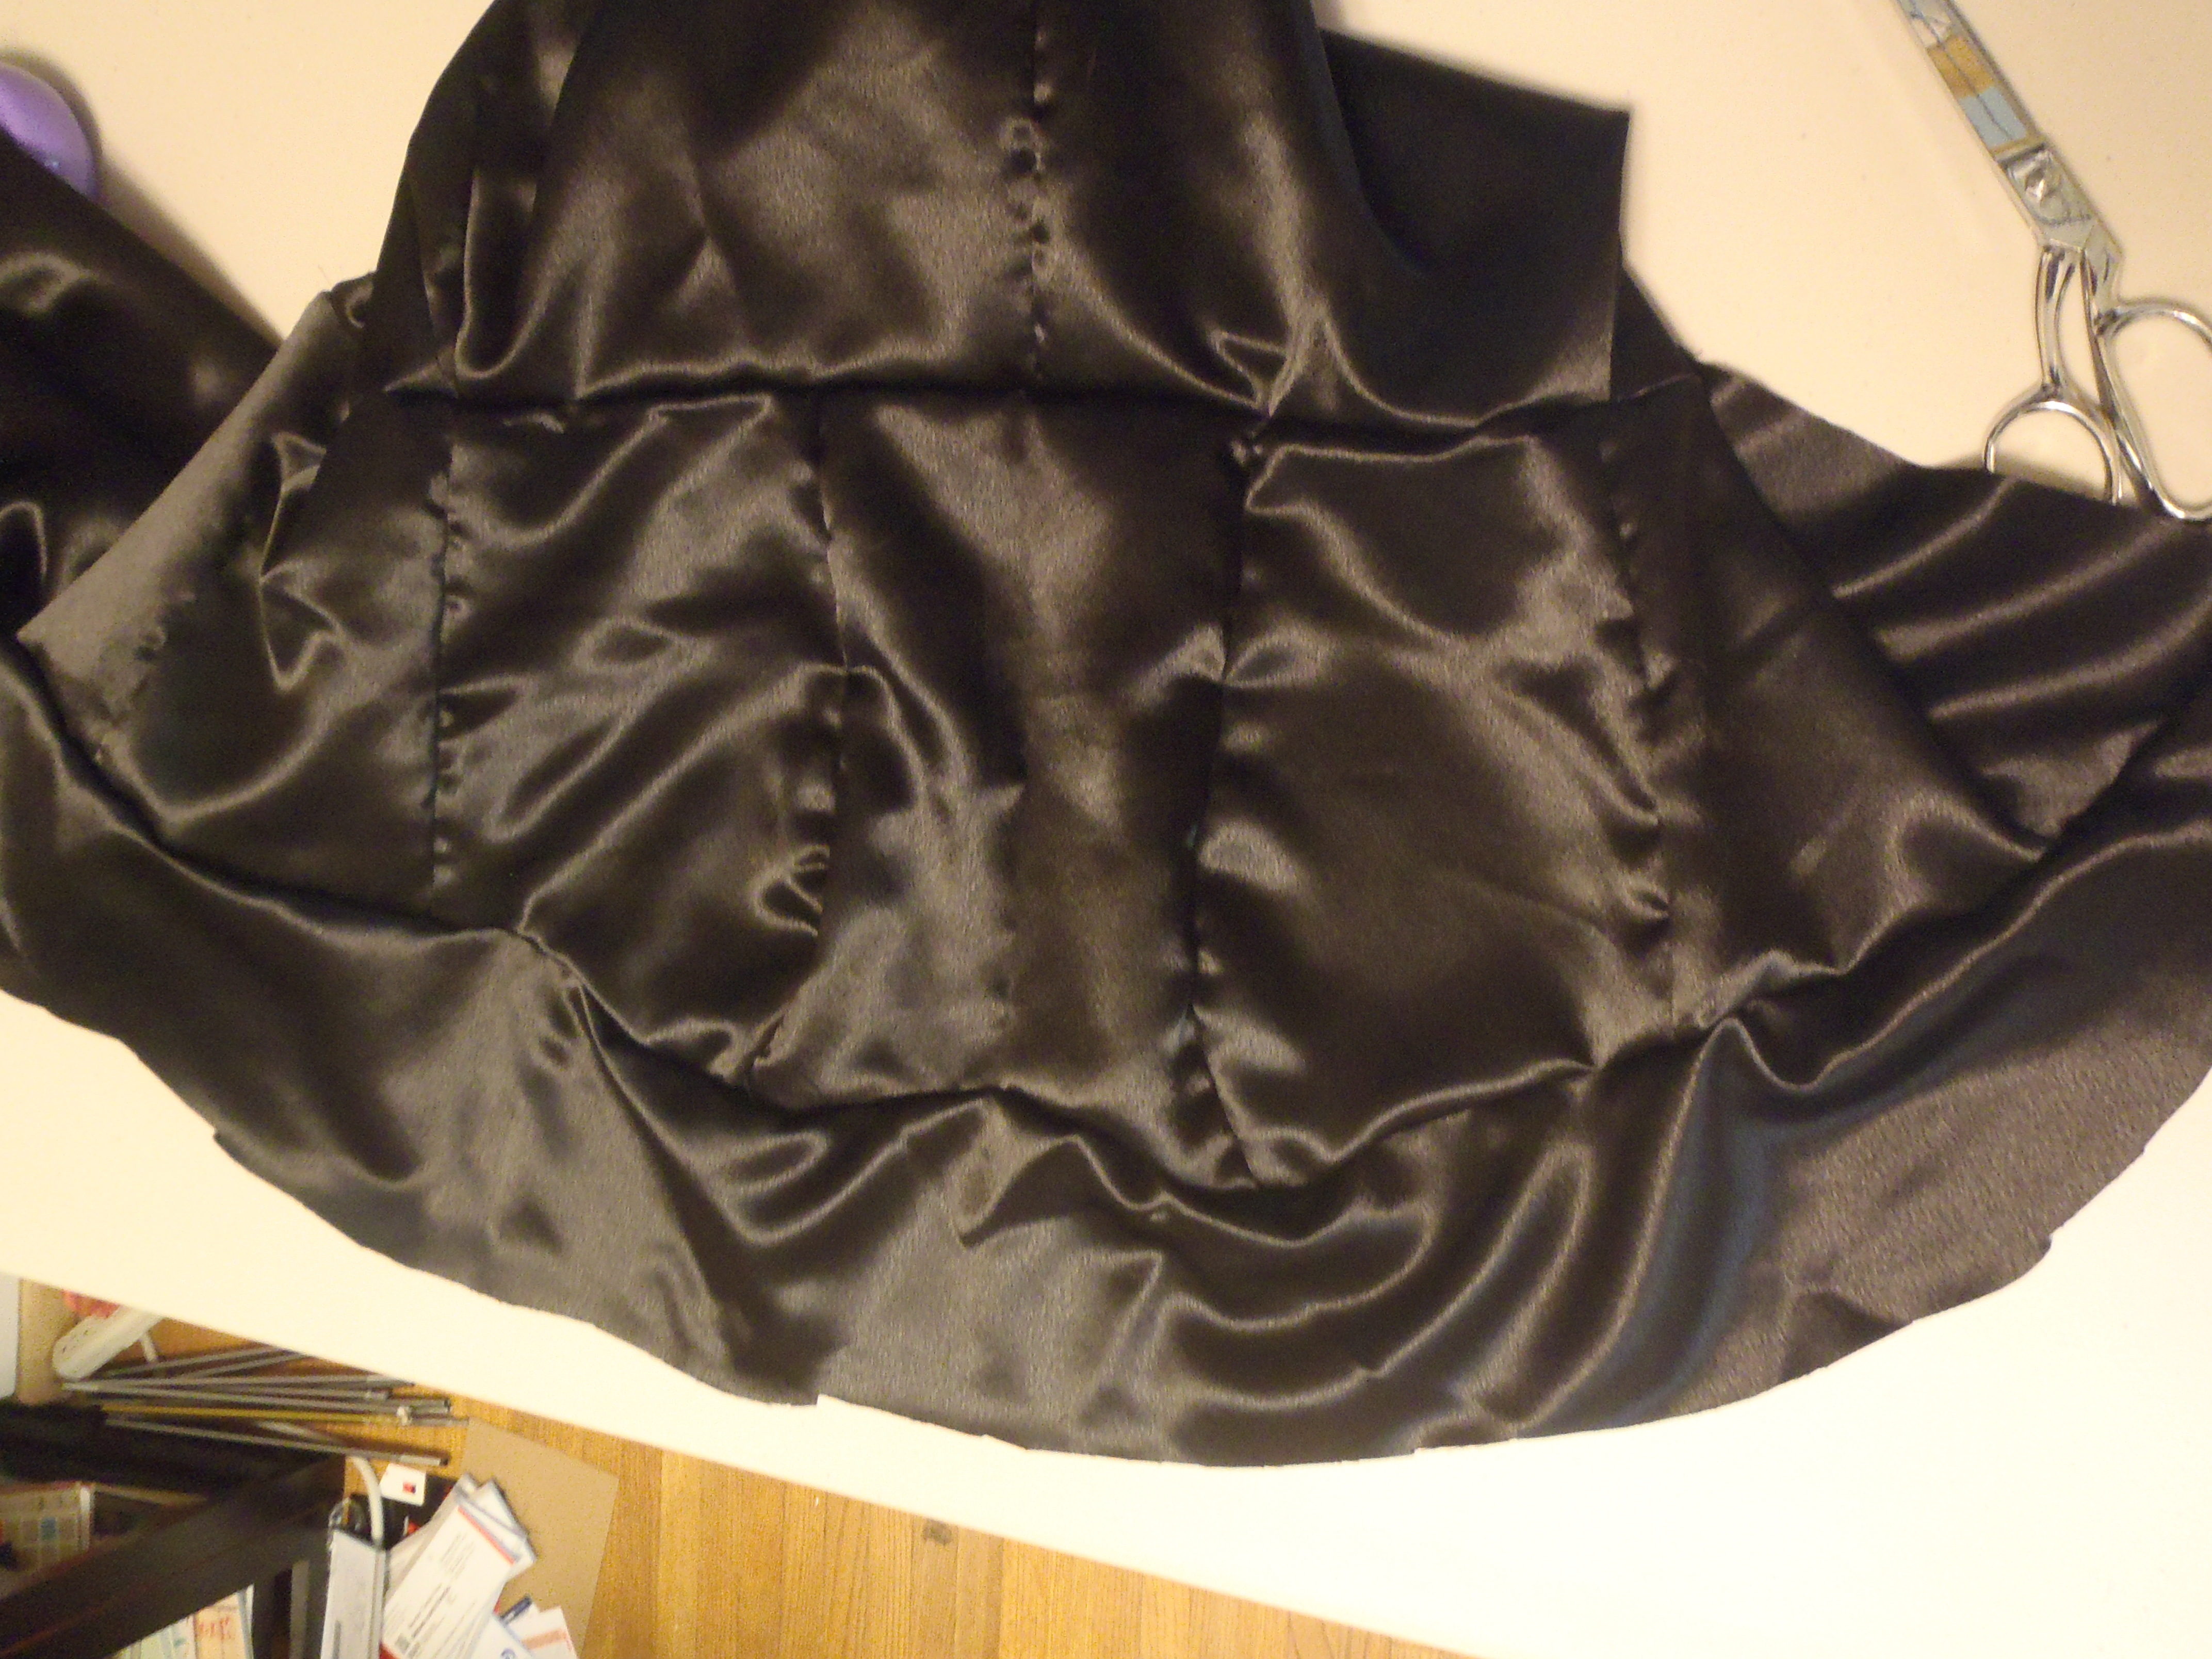
Make the outer part of the costume out of the satiny fabric per the the pattern directions – adding one extra band of fabric on top of the bodice and leaving out the ruffle – pictured here.

If you chose to adjust the pleats and pant leg width, make the same changes. Be sure to leave a little extra room to leave room for the under layer.

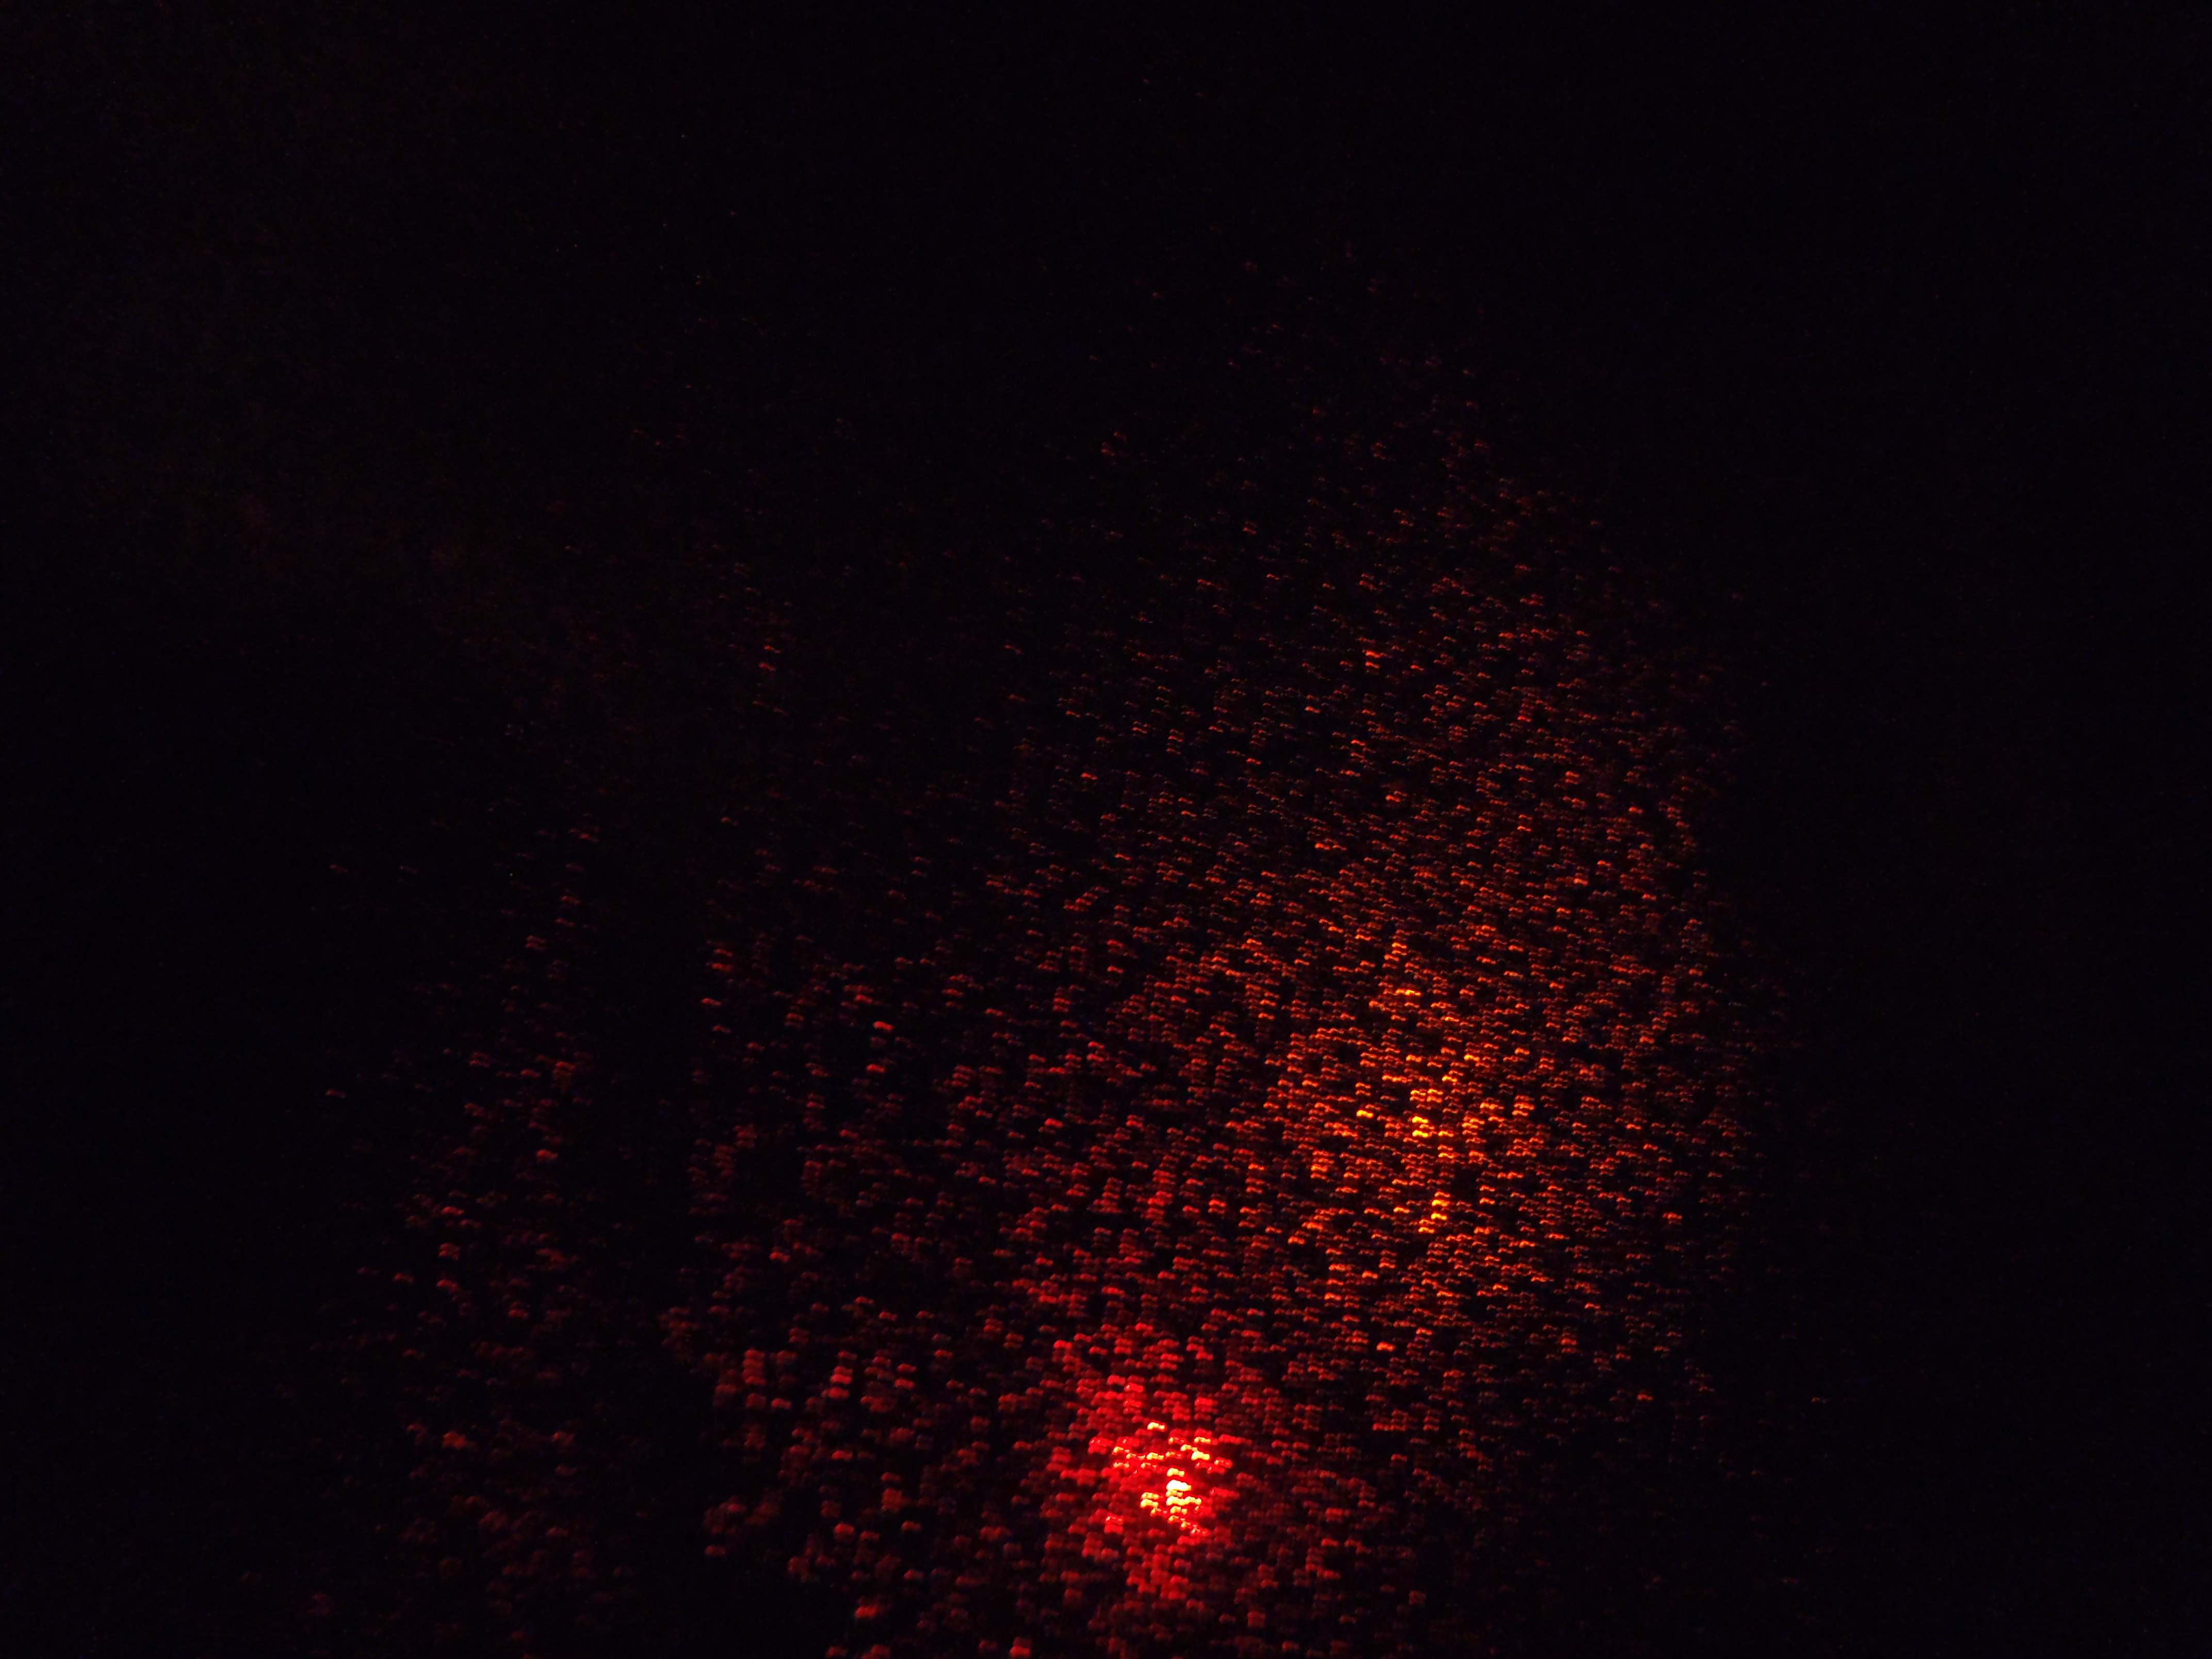
Wear. :) Here’s what the fabric looks like up close. It’s hard to get a good picture of the costume as a whole because it looks best in the dark.