If you use your garage as a home workshop, things can get noisy at times. This is generally acceptable, but if your child is sleeping and you’d like to use a miter saw, or you want to run your CNC router while others are watching TV, a little noise reduction can be quite helpful. Here’s one option to help keep things quiet, based on panels meant for home theater use.
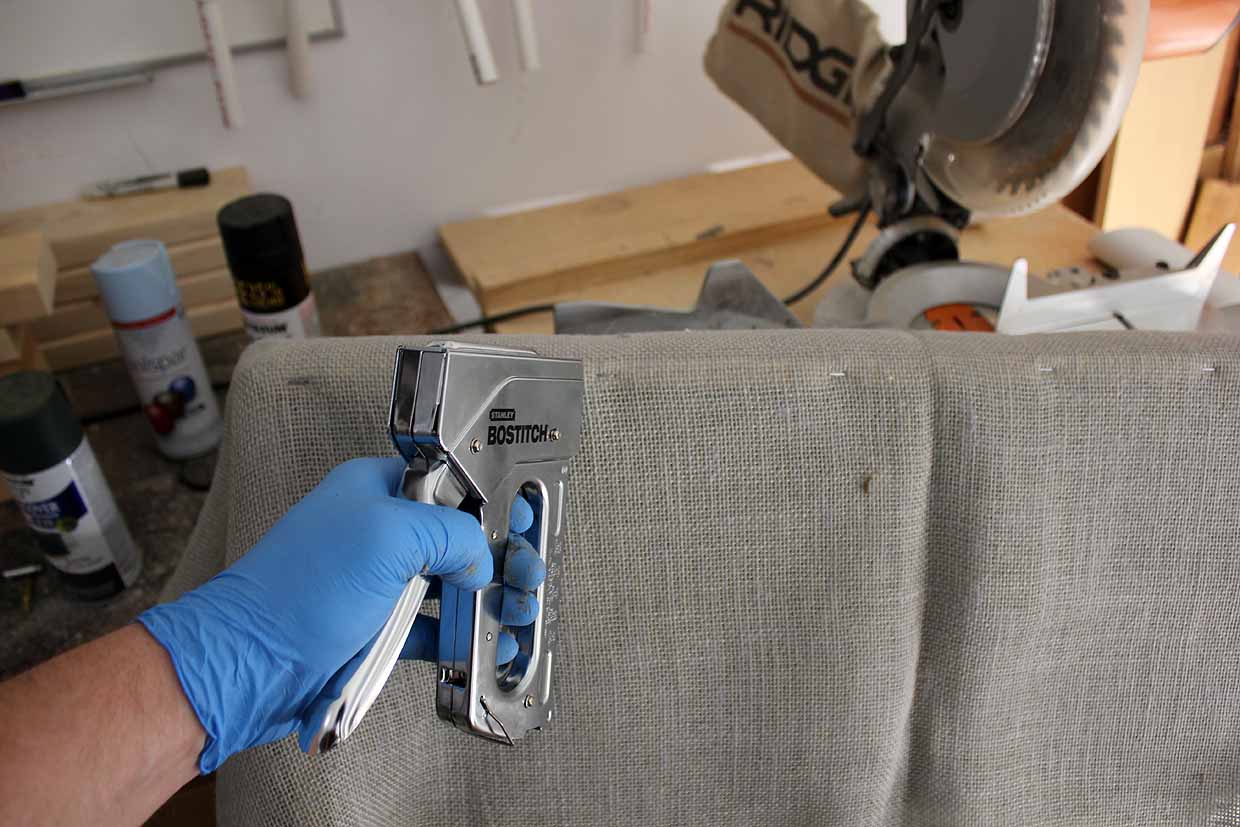
As good as those instructions are, I’ve made a few modifications that I think improve on the design. I put my panel up in my garage near the door to help muffle the sound entering the house. It could work equally well for keeping noise out of a home office, or even in a home theater as it was originally intended.
Construct the Frame
Cut the furring strips into two 48″ lengths, and two 25 1/2″ lengths. Apply glue to one side of each 48″ strip, and place a 25 1/2″ strip on top, with the long pieces aligned with the 25 1/2″ edge. Attach each strip with a nail to avoid having to clamp the assembly. Do the same on the other side to complete the frame.
I used a Square to make sure the frame was constructed with what were at least close to right angles.
Attach Drop “Cloth” Backing
In order to keep the insulating material in place, I attached the thickest plastic drop cloth I could find at the hardware store to the back. For this step, duct tape was used to keep it in place, but it was stapled later when the cloth covering was put on. If you happen to put a hole in it, you can always patch it up with a piece of duct tape; it will be hidden while in use.
Insert Insulation
Once the frame is constructed and properly-backed, the insulation should easily drop in, while touching the wooden (or plastic covered) edges. Spray the sides of the insulation with adhesive, then maneuver it into place. Let the adhesive dry.
Use gloves and a respirator to minimize your exposure to the insulating material while working with it.
Cover with Cloth
Place your selected cloth over the side of your frame not covered with plastic. Fold over as neatly as possible and staple tightly. You can trim the excess material, or use duct tape to keep it from flopping around.
Attach to Wall
Attach picture hanging hardware as shown in the first two pictures, then hang the insulation panel. Be sure to use hardware on the wall that can support the weight of this panel.
After installation and testing with a sound level meter, there seems to be a small amount of noise reduction, but not as significant as one might hope. Regardless, this type of design has been used successfully with home theater setups, and with a more “refined” fabric than the burlap I’ve used here, would work well indoors.
One should also note that, although similar designs have been used successfully elsewhere, one should minimize exposure to fiberglass, especially during the build and installation phases. I haven’t noticed any problems with it when it’s simply hanging in my garage, but the material could possibly escape from the fabric covering, especially from cloth with a loose weave like the one that I’ve used here.
If you have any reservations, there are plenty of “buy” options, and as with any project here, proceed at your own risk!
I think you’ve misunderstood something here. Soundpanels like these do not reduce the sound transmission at all. They’re reducing reverberation (RT60) and resonances, but only INSIDE the room and only in the range of 80 to 400 Hz (assuming this size and kind of contruction). Below this, you’ll need a Helmholtz resonator, above some efficient diffusors.
They don’t lower the sound pressure or transmission to room nearby at all. Maybe your saw or CNC router sounds nicer with some of these absorbers on the wall – but that’s all … It’s a sound treatment regarding the sound quality, not the sound pressure or level.
If you want to have a soundproof solution, you have to build an airtight room with an isolated (floating) floor and heavy, decoupled walls, called a “room in room” construction.
Nevertheless, it’s a nice instruction how to build plate transducers.
Hi Markus – thanks for the discussion.
I definitely agree that it wouldn’t eliminate all of even most noise, but the idea that it wouldn’t reduce it at all to nearby rooms doesn’t seem correct to me. I have my panel near the entrance to the door to the main part of the house, which, I would think, in theory would reduce some of the reflected pressure waves heading in that direction.
Or if you put it directly behind a saw, I would think it would reduce the noise headed to that wall. I’m certainly not an expert in audio transmission though, so I certainly could be missing something.
“my Aunnty Maria Is getting. pay hourly on the laptop 98$.”….!n216ctwo days ago black.. MkLaren P3 bought after. earning. 18,512 DoIIars,,,it was my. previous month’s check. just a little over.17k DoIIars Last month.3-5 hours job a day.and get weekly payouts..it’s realy the simplest. job I have ever Do.. I Joined This 7 months. ago. and now making over. hourly 87 DoIIars… Learn. More right Here !n216c:➽:➽:➽➽➽➽ http://GlobalSuperJobsReportsEmploymentsAfterGetPayHourly98$…. .❖❖:❦❦:❖❖:❦❦:❖❖:❦❦:❖❖:❦❦:❖❖:❦❦:❖❖:❦❦:❖❖:❦❦:❖❖:❦❦:❖❖:❦❦:❖❖:❦❦:❖❖:❦❦::::::!n216………
Hey Jeremy, You have definitely put together a great tutorial on building absorption panels, but like Markus has mentioned below, they don’t actually reduce the sound level. The panels you have constructed indeed reduce reverberations and reflections. I think it would be prudent to change the title of your post from “noise insulation” to something along the lines of “acoustic treatment panels”. Otherwise, great article and I thank you for taking us through this step by step. it is actually something I have been wanting to build for a while but didn’t have clear instructions. Thanks!
Thanks for your comment, and for your thoughts on it being a good tutorial.
Let me give that a little more thought, or perhaps my comment above will further clarify things.
Great work here mate! I’ve made a heaps very similar to this over the years.
As pointed out already, these panels don’t make any meaningful contribution to sound proofing, but are fantastic for room treatment, to reduce reverb and reflections.
I’ve found putting the insulation in a garbage bag is the best way to avoid splinters without compromising the absorption.
One more hot tip, my most recent ones for home theatres, I’ve build behind an artwork on canvas.