diyspaceweek_1_jbr2-short

launchit1

The LaunchIt is an inexpensive and customizable model rocket launching system you can make yourself.

Seeing the Mythbusters setting off pyrotechnics and rocket motors with a drill battery and a couple of wires inspired me to create my own launching system. I’ve been interested in the subject since building and launching Estes rockets as a kid.

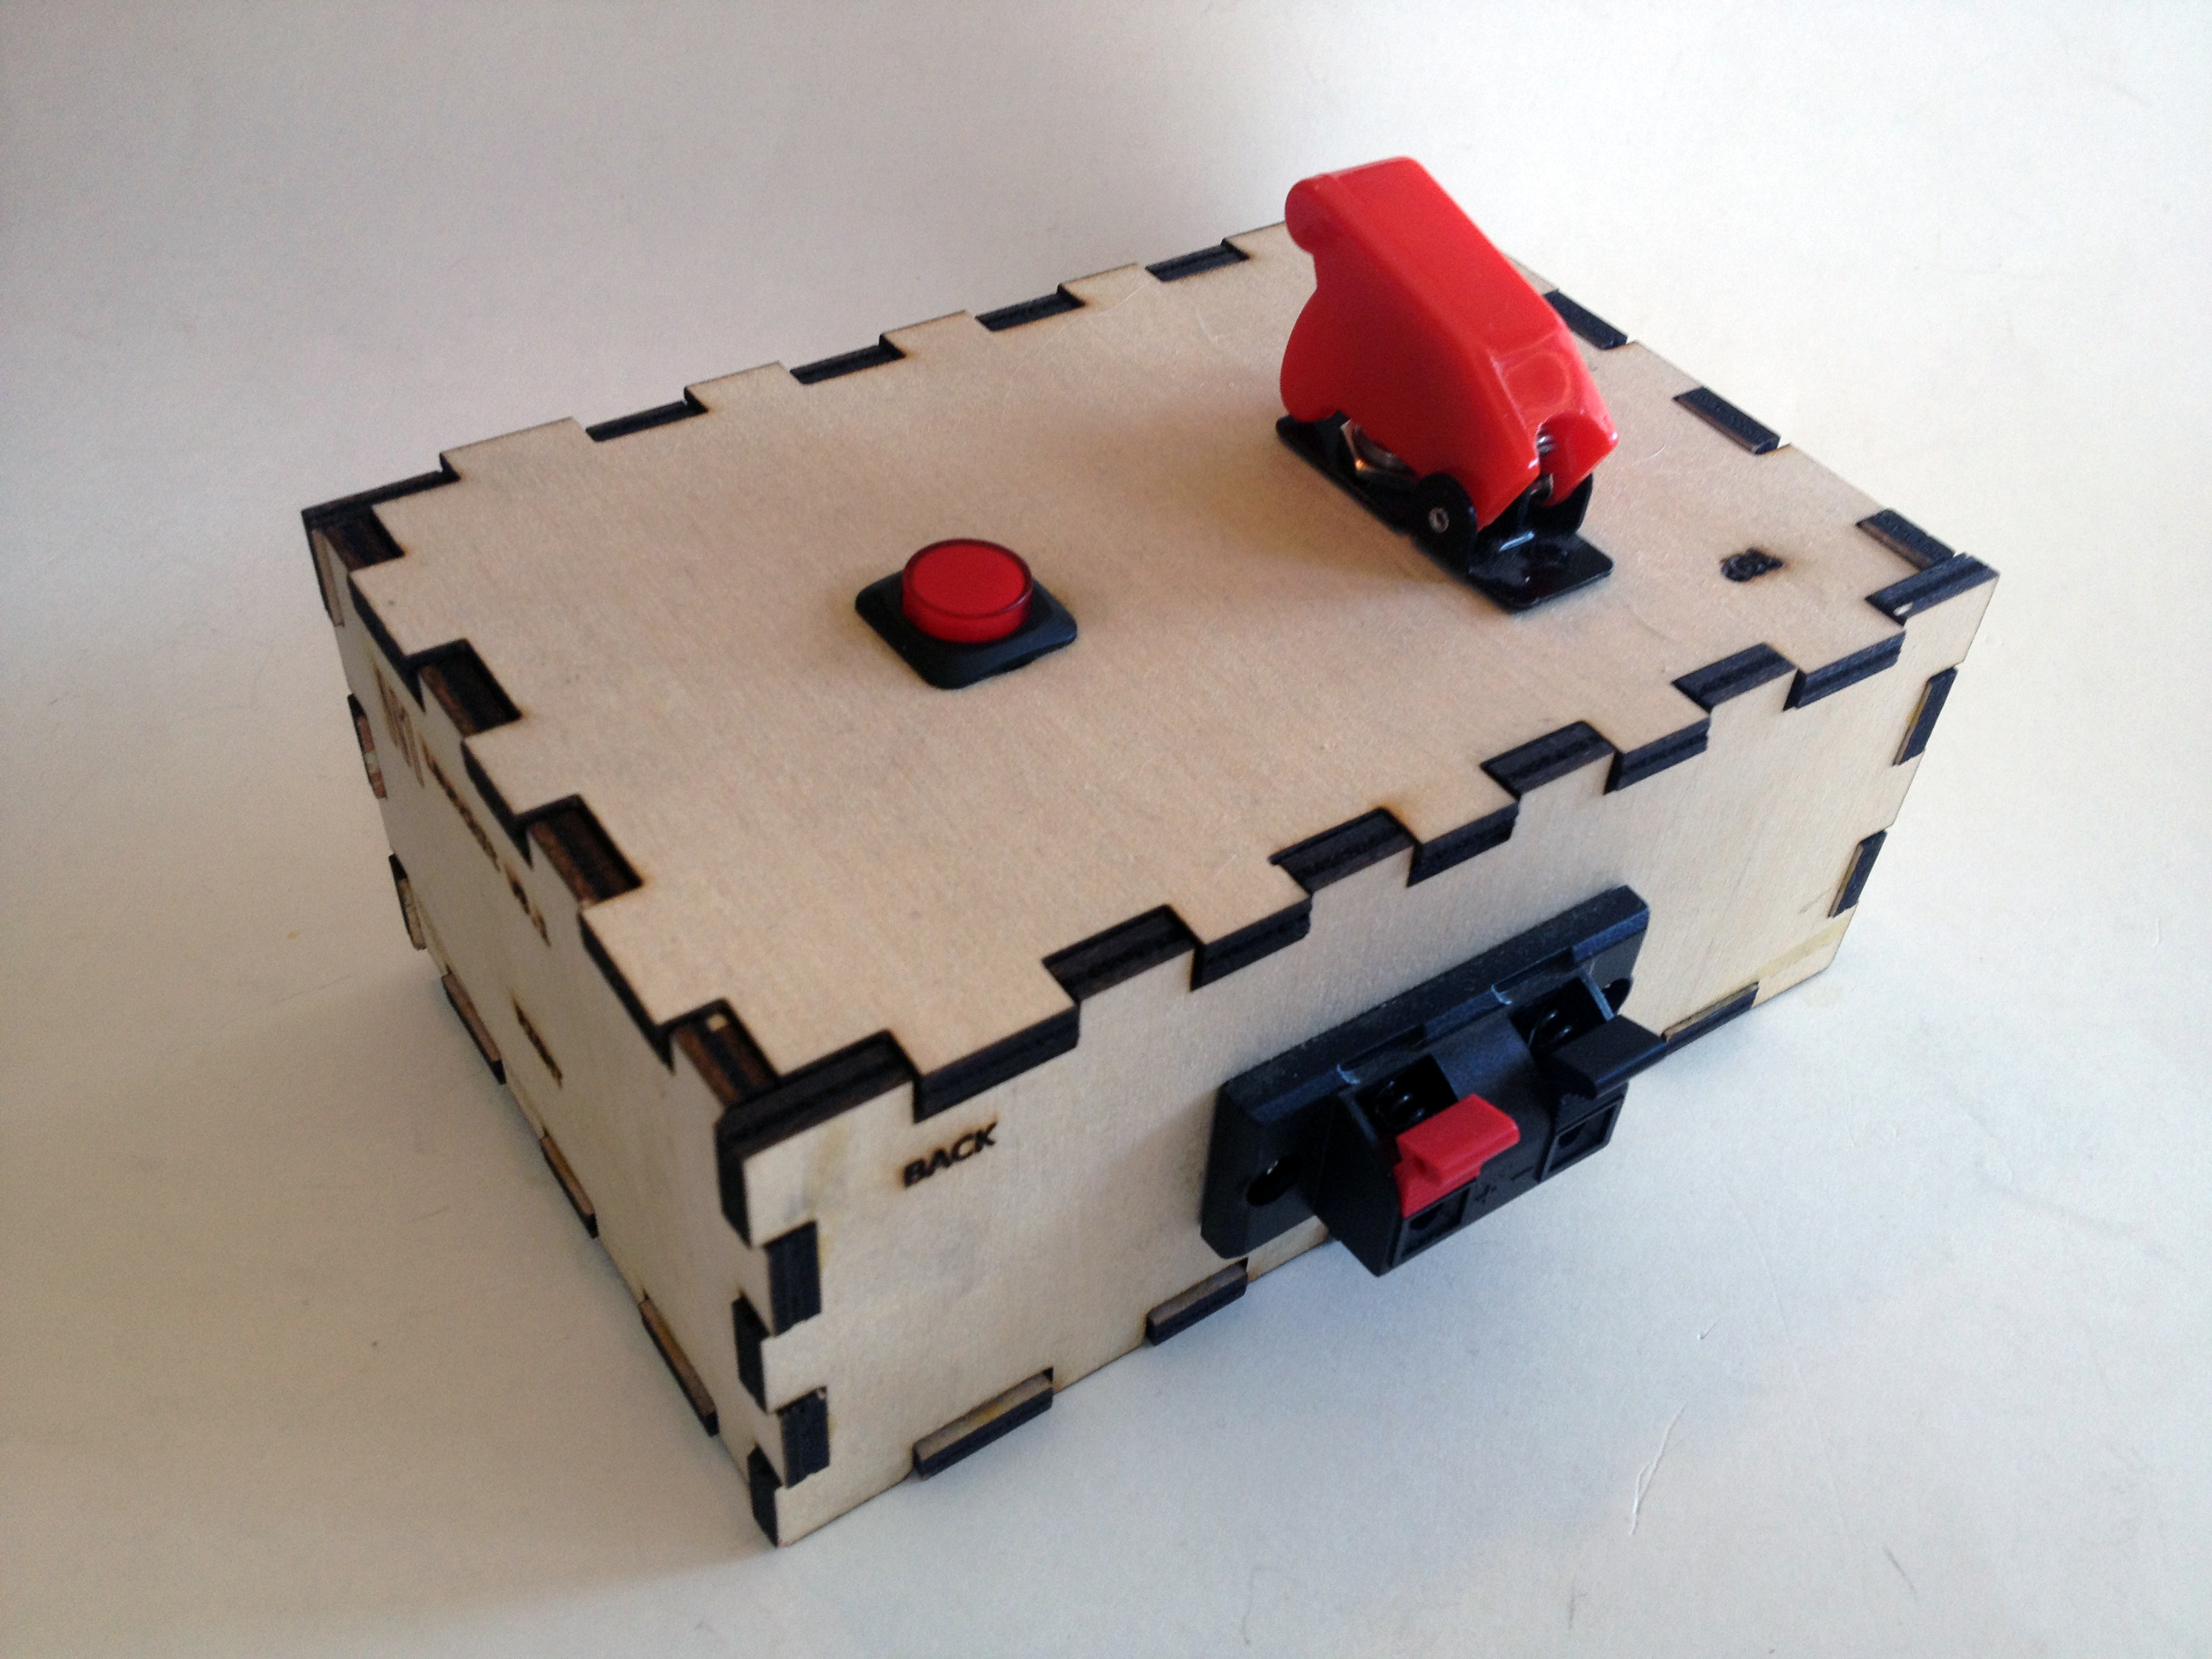
The LaunchIt consists of a laser-cut wooden box equipped with a battery pack, a safety switch, launch button, warning buzzer, and a transistor to control all of that. When you flick the switch, an LED in the button lights up and the buzzer sounds an alert. The button is now armed, and when you press on it, 6 volts flow through speaker terminals on the back of the LaunchIt, and if you have an ignitor connected to those terminals, your rocket will launch.

You’ll need the following parts to make your LaunchIt:

parts

What will the next generation of Make: look like? We’re inviting you to shape the future by investing in Make:. By becoming an investor, you help decide what’s next. The future of Make: is in your hands. Learn More.

Project Steps

Laser-Cut and Build the Enclosure

You can download the design for the enclosure on my Thingiverse page.

If you don’t have access to a laser, don’t fret! You can totally use a commercial project enclosure (Jameco P/N 18906 is somewhat similar in size) or plastic storage box, or even a cardboard box instead.

When the parts are cut, glue the sides to the bottom using wood glue. You will access the guts of the LaunchIt exclusively through the top.

Attach the Button, Switch, and Speaker Terminal

The button and switch come with mounting hardware, and simply screw into the appropriate holes in the enclosure. The speaker terminals connect easily as well, but require #4-40 screws to secure.

Wire Up the Proto Board

Next, grab your protoboard or breadboard and start adding the components, following along with the wiring diagram (click to see the full diagram). Note that I couldn’t find the right illuminated pushbutton, so I showed it as both a button and an LED. You can figure it out!

Add the TIP120 transistor to the proto board. As shown on the diagram, it has 3 leads: The base; the collector; and the emitter, respectively from left to right.

The collector (middle lead) connects to a power bus, shown as an orange wire.

The emitter (right-hand lead) connects to the positive terminal of the button. This is a purple wire on the diagram. The negative terminal plugs into the ground bus of the proto board.

Add a wire from the power bus to one terminal of the switch. The other terminal plugs into the base (left-hand terminal) of the transistor, and this is shown as a teal wire.

Connect a resistor to the same terminal strip as the base. The end not plugged into the base’s strip gets connected to the positive lead of the LED, shown as a green wire in the diagram.

The negative lead of the LED plugs into a ground bus. This is shown as a yellow wire on the diagram.

I hot-glued my buzzer to the proto board. The positive lead plugs into the base’s terminal strip as shown in the diagram, using a brown wire.

The negative terminal of the buzzer plugs into the ground bus of the proto board.

Connect the battery pack’s appropriate leads to the power and ground buses.

Add the Electronics to the Enclosure

You can hot glue the battery pack and proto board onto the bottom of the enclosure, or you could screw them in if you’d prefer. There’s enough room to have the battery pack and proto board side by side.

Flip the Switch and Push the Button

Liftoff!