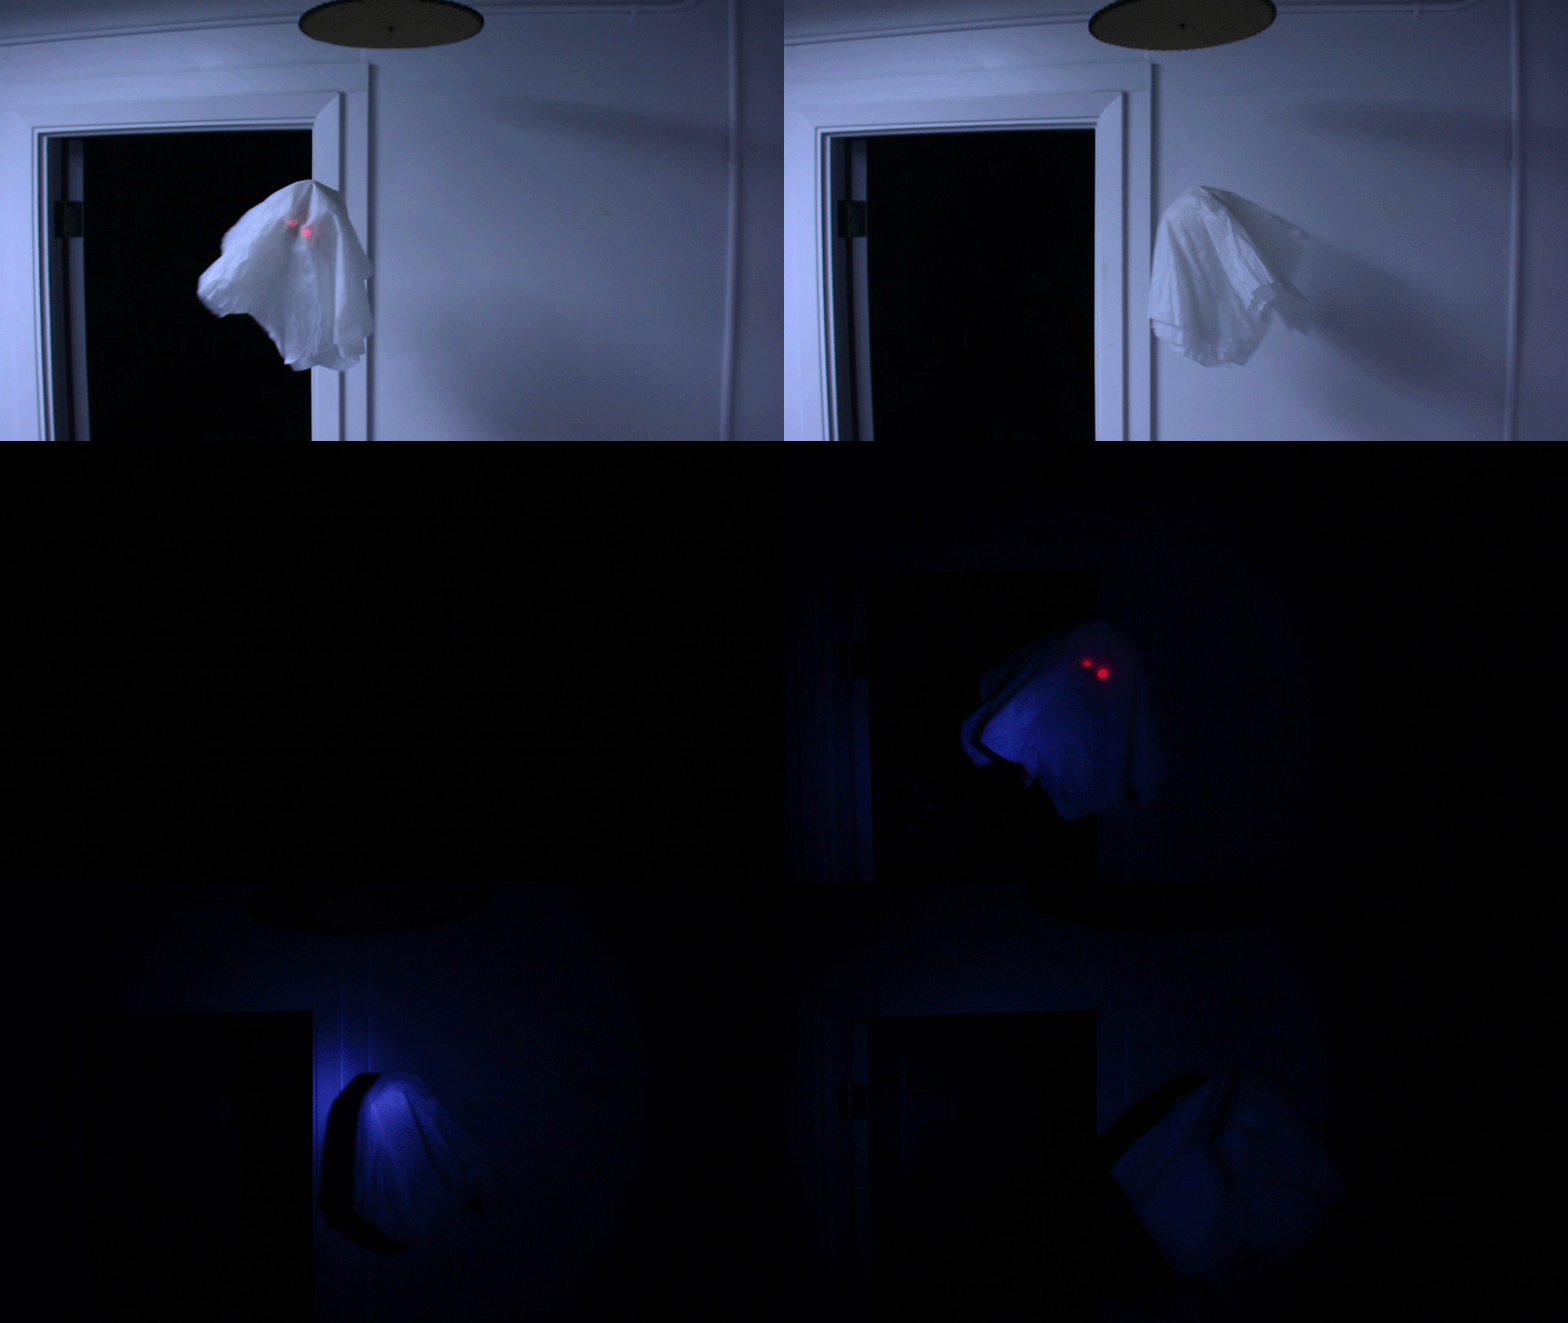
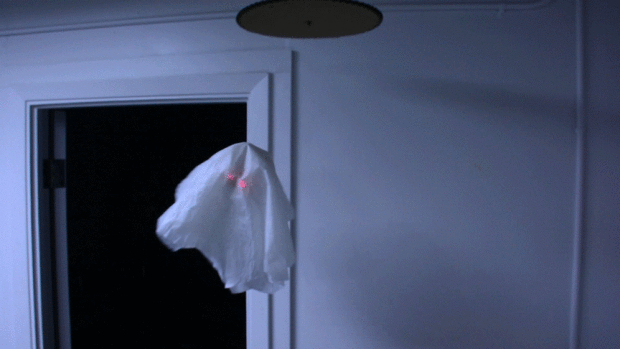
ghost-mobile

Halloween is the holiday for Makers. Year after year, people come up with incredible creations to add to their costumes or to decorate their homes.

With all the different tools we have available, things can get really complicated really fast. Using some simple parts, you can create a spinning ghost mobile to spook the kids coming to trick-or-treat.

This is a simple idea, so feel free to upgrade/tweak as much as possible. You could add bats, witches, spiders, or a ton of other Halloween spooks! It would be even more fun if you added some sensors to trigger it when someone approaches. The cherry on top would be if you added sound effects to go along with your creation to really get the heart racing!

DSC_3521

What will the next generation of Make: look like? We’re inviting you to shape the future by investing in Make:. By becoming an investor, you help decide what’s next. The future of Make: is in your hands. Learn More.

Project Steps

Create your gears

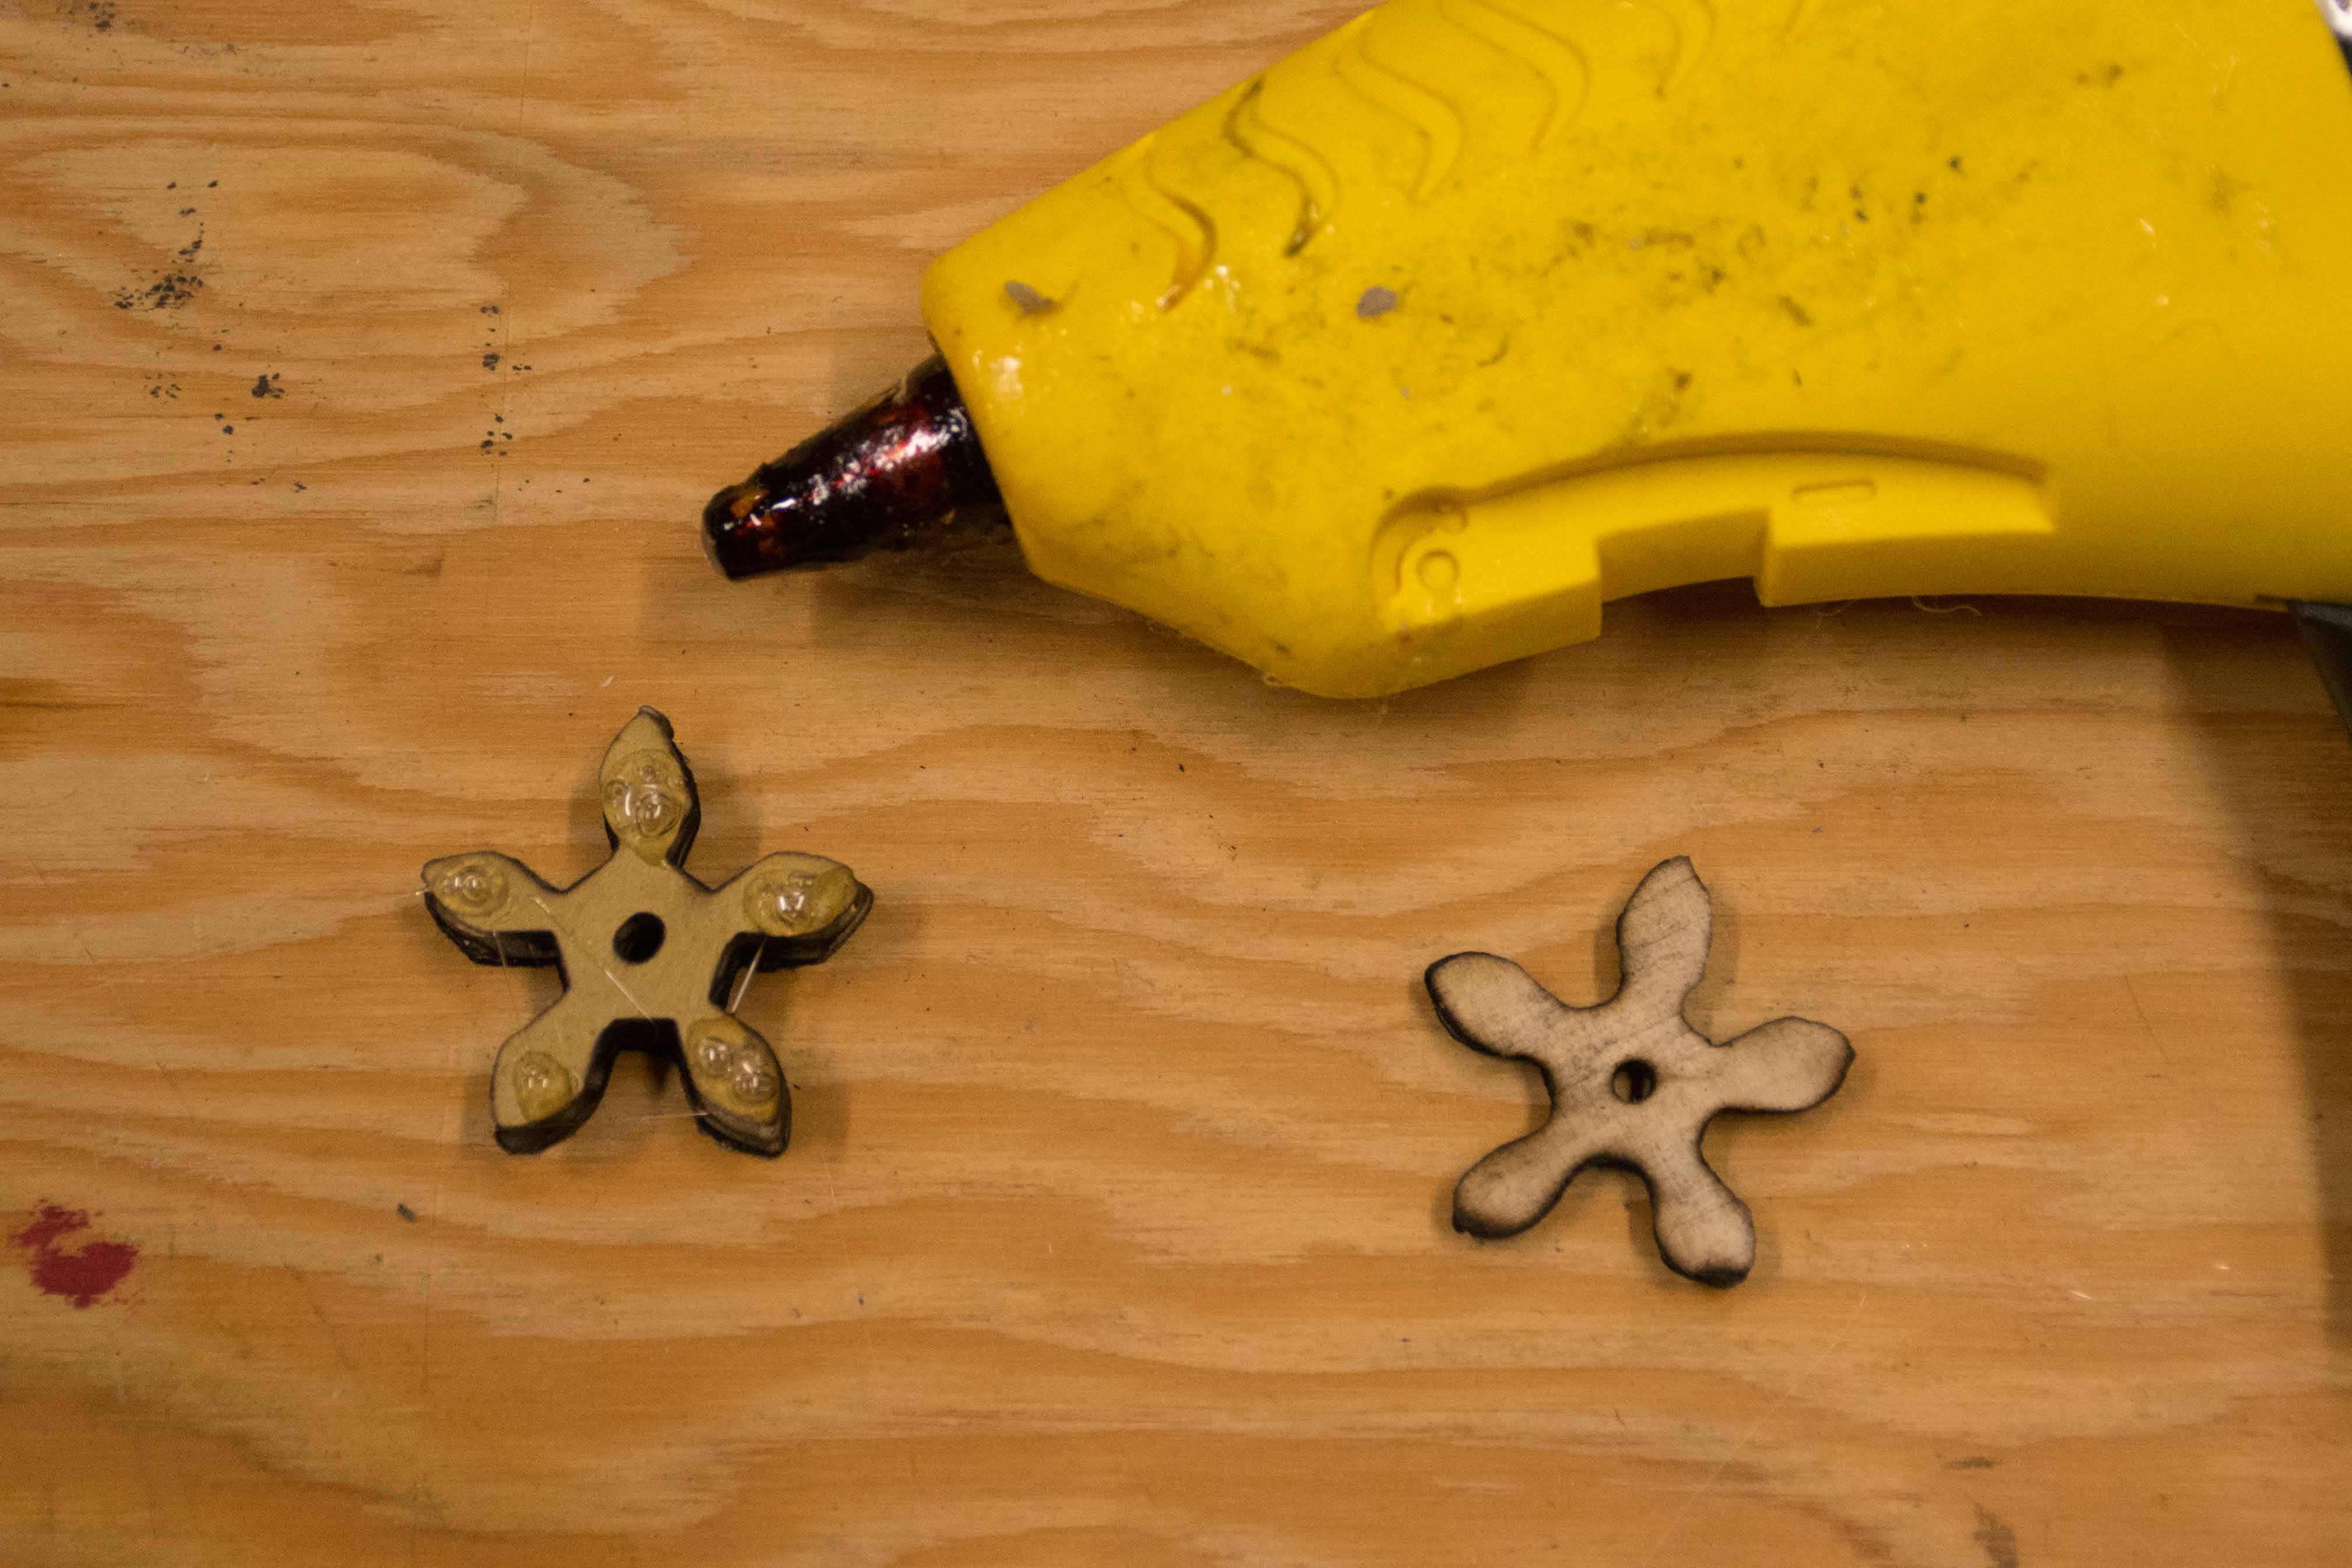
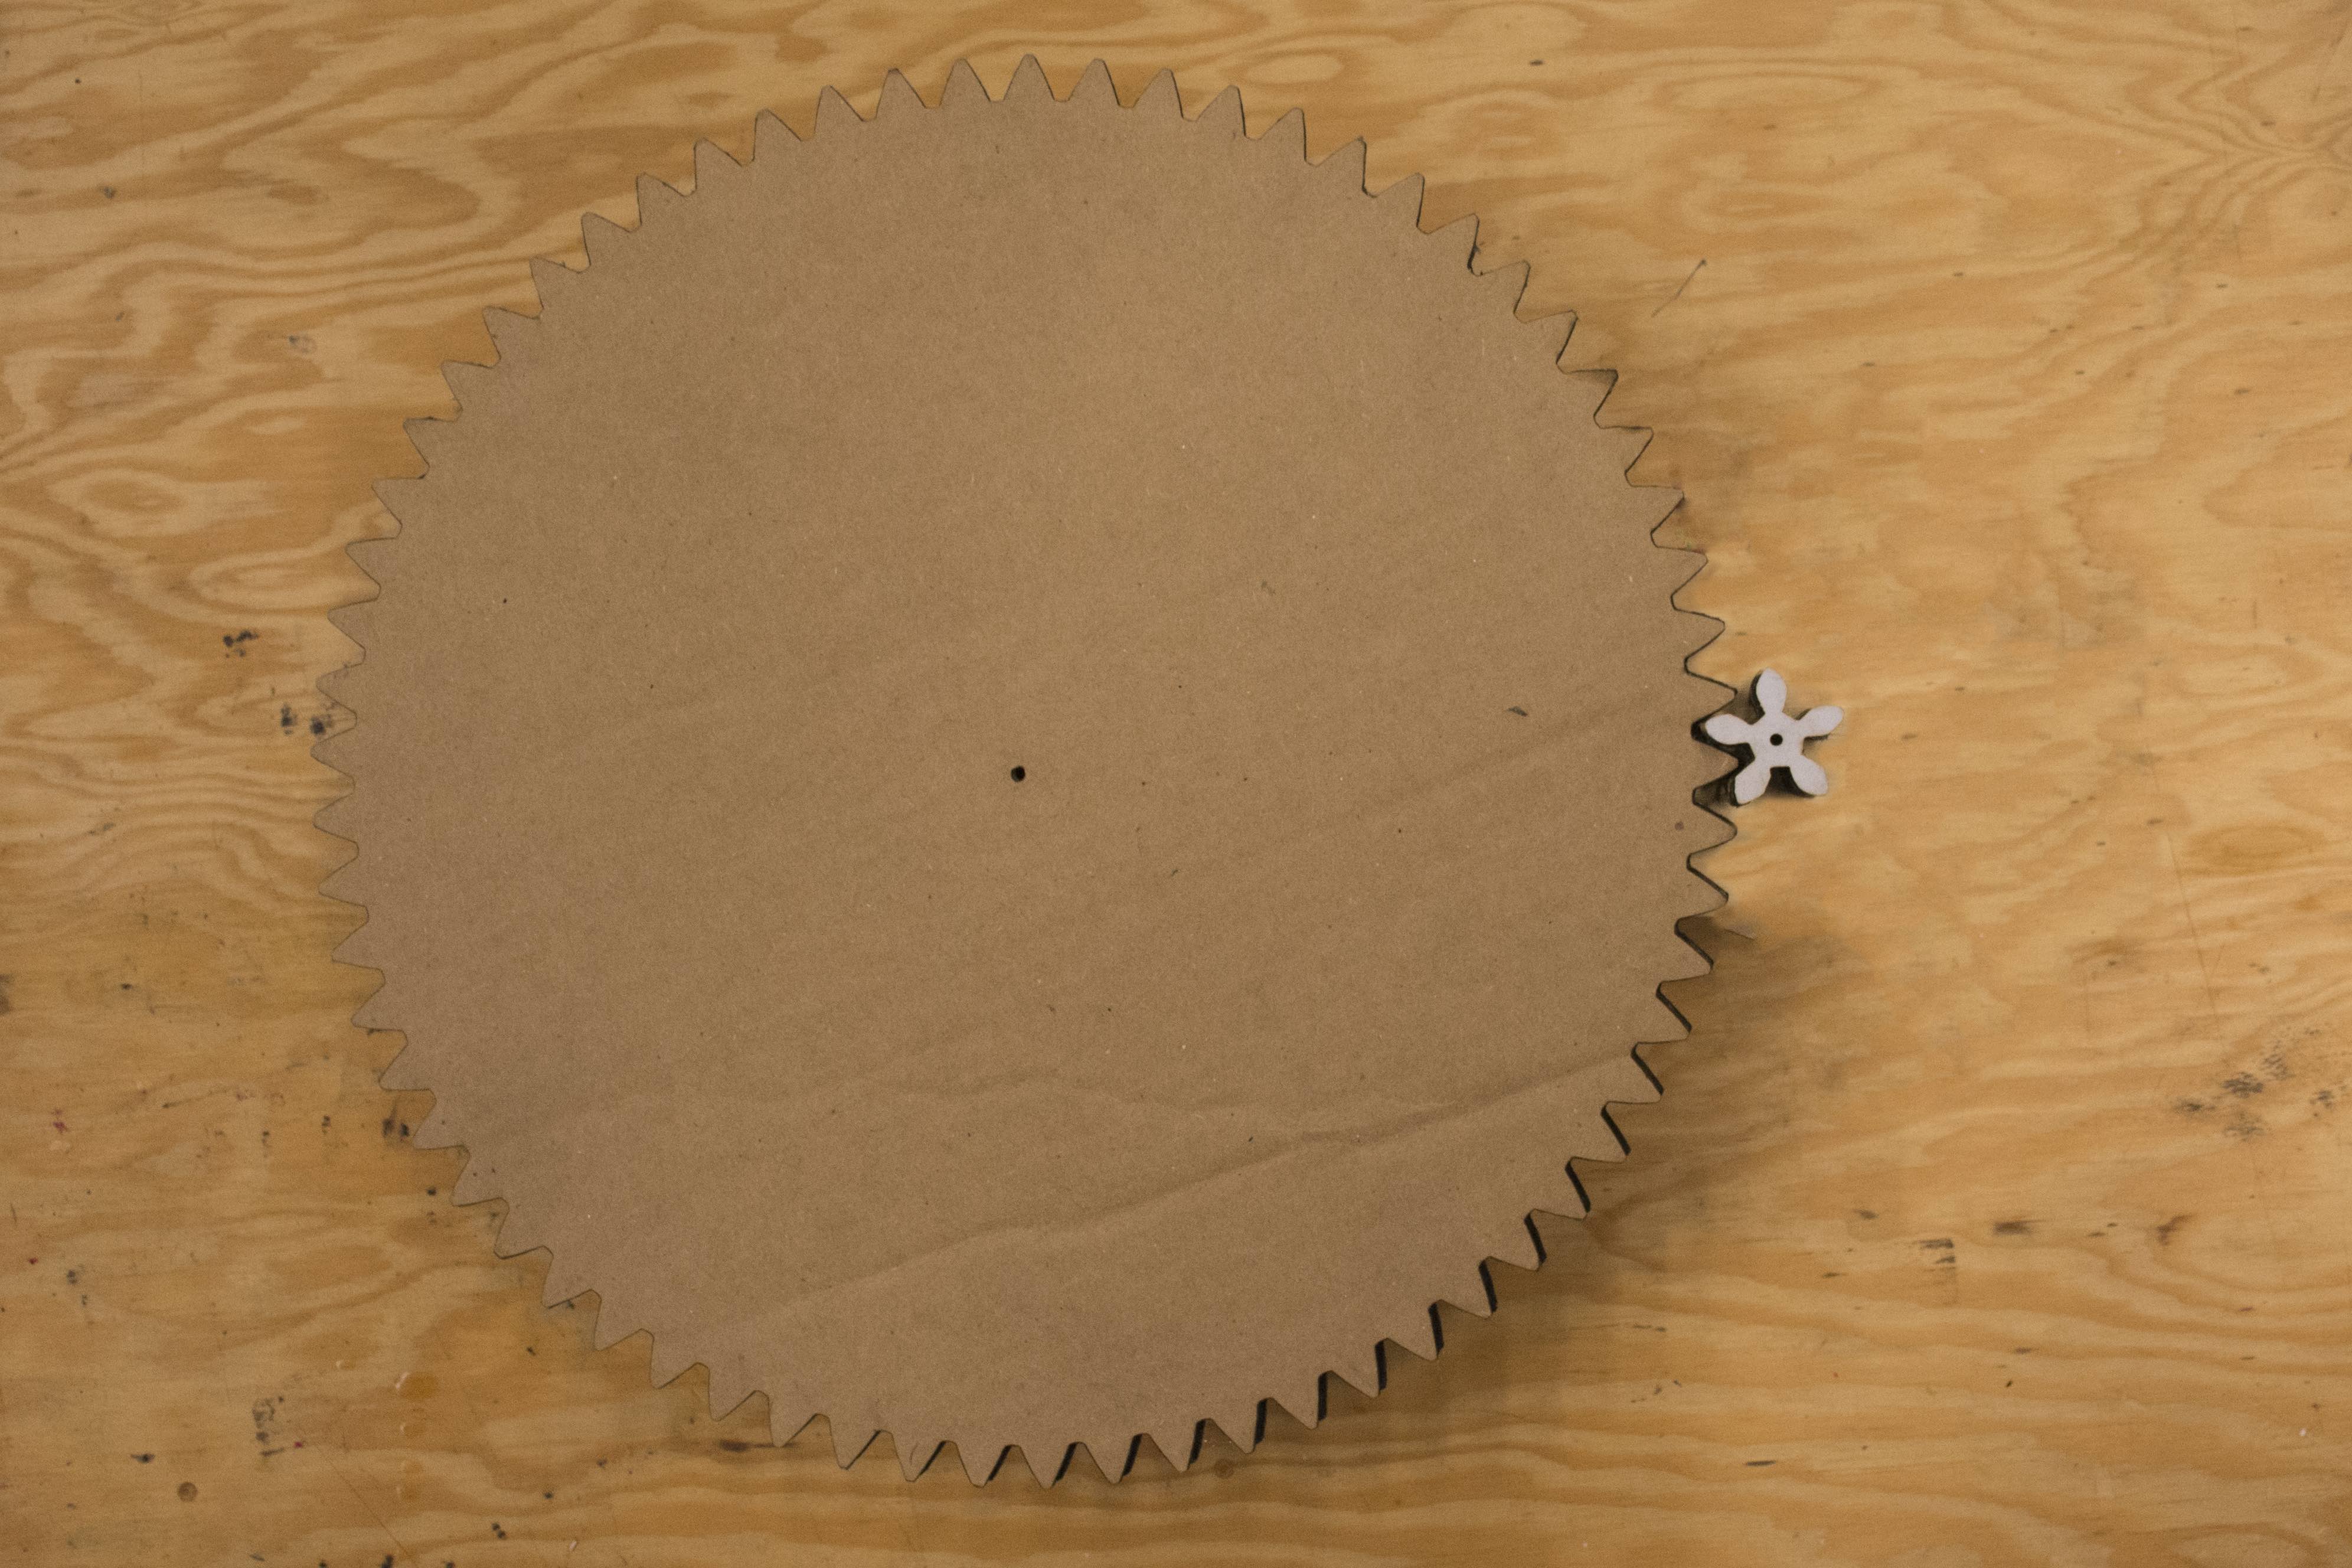
Using geargenerator.com, I designed two gears. The first one has 5 teeth, and the second one has 65 teeth.

Remember, you want to connect your motor to the gear with the least teeth to make sure the bigger gear spins slower. That way, your mobile doesn’t spin really fast, making it seem unrealistic. Design your gears so that your mobile spins as fast or slow as you want it.

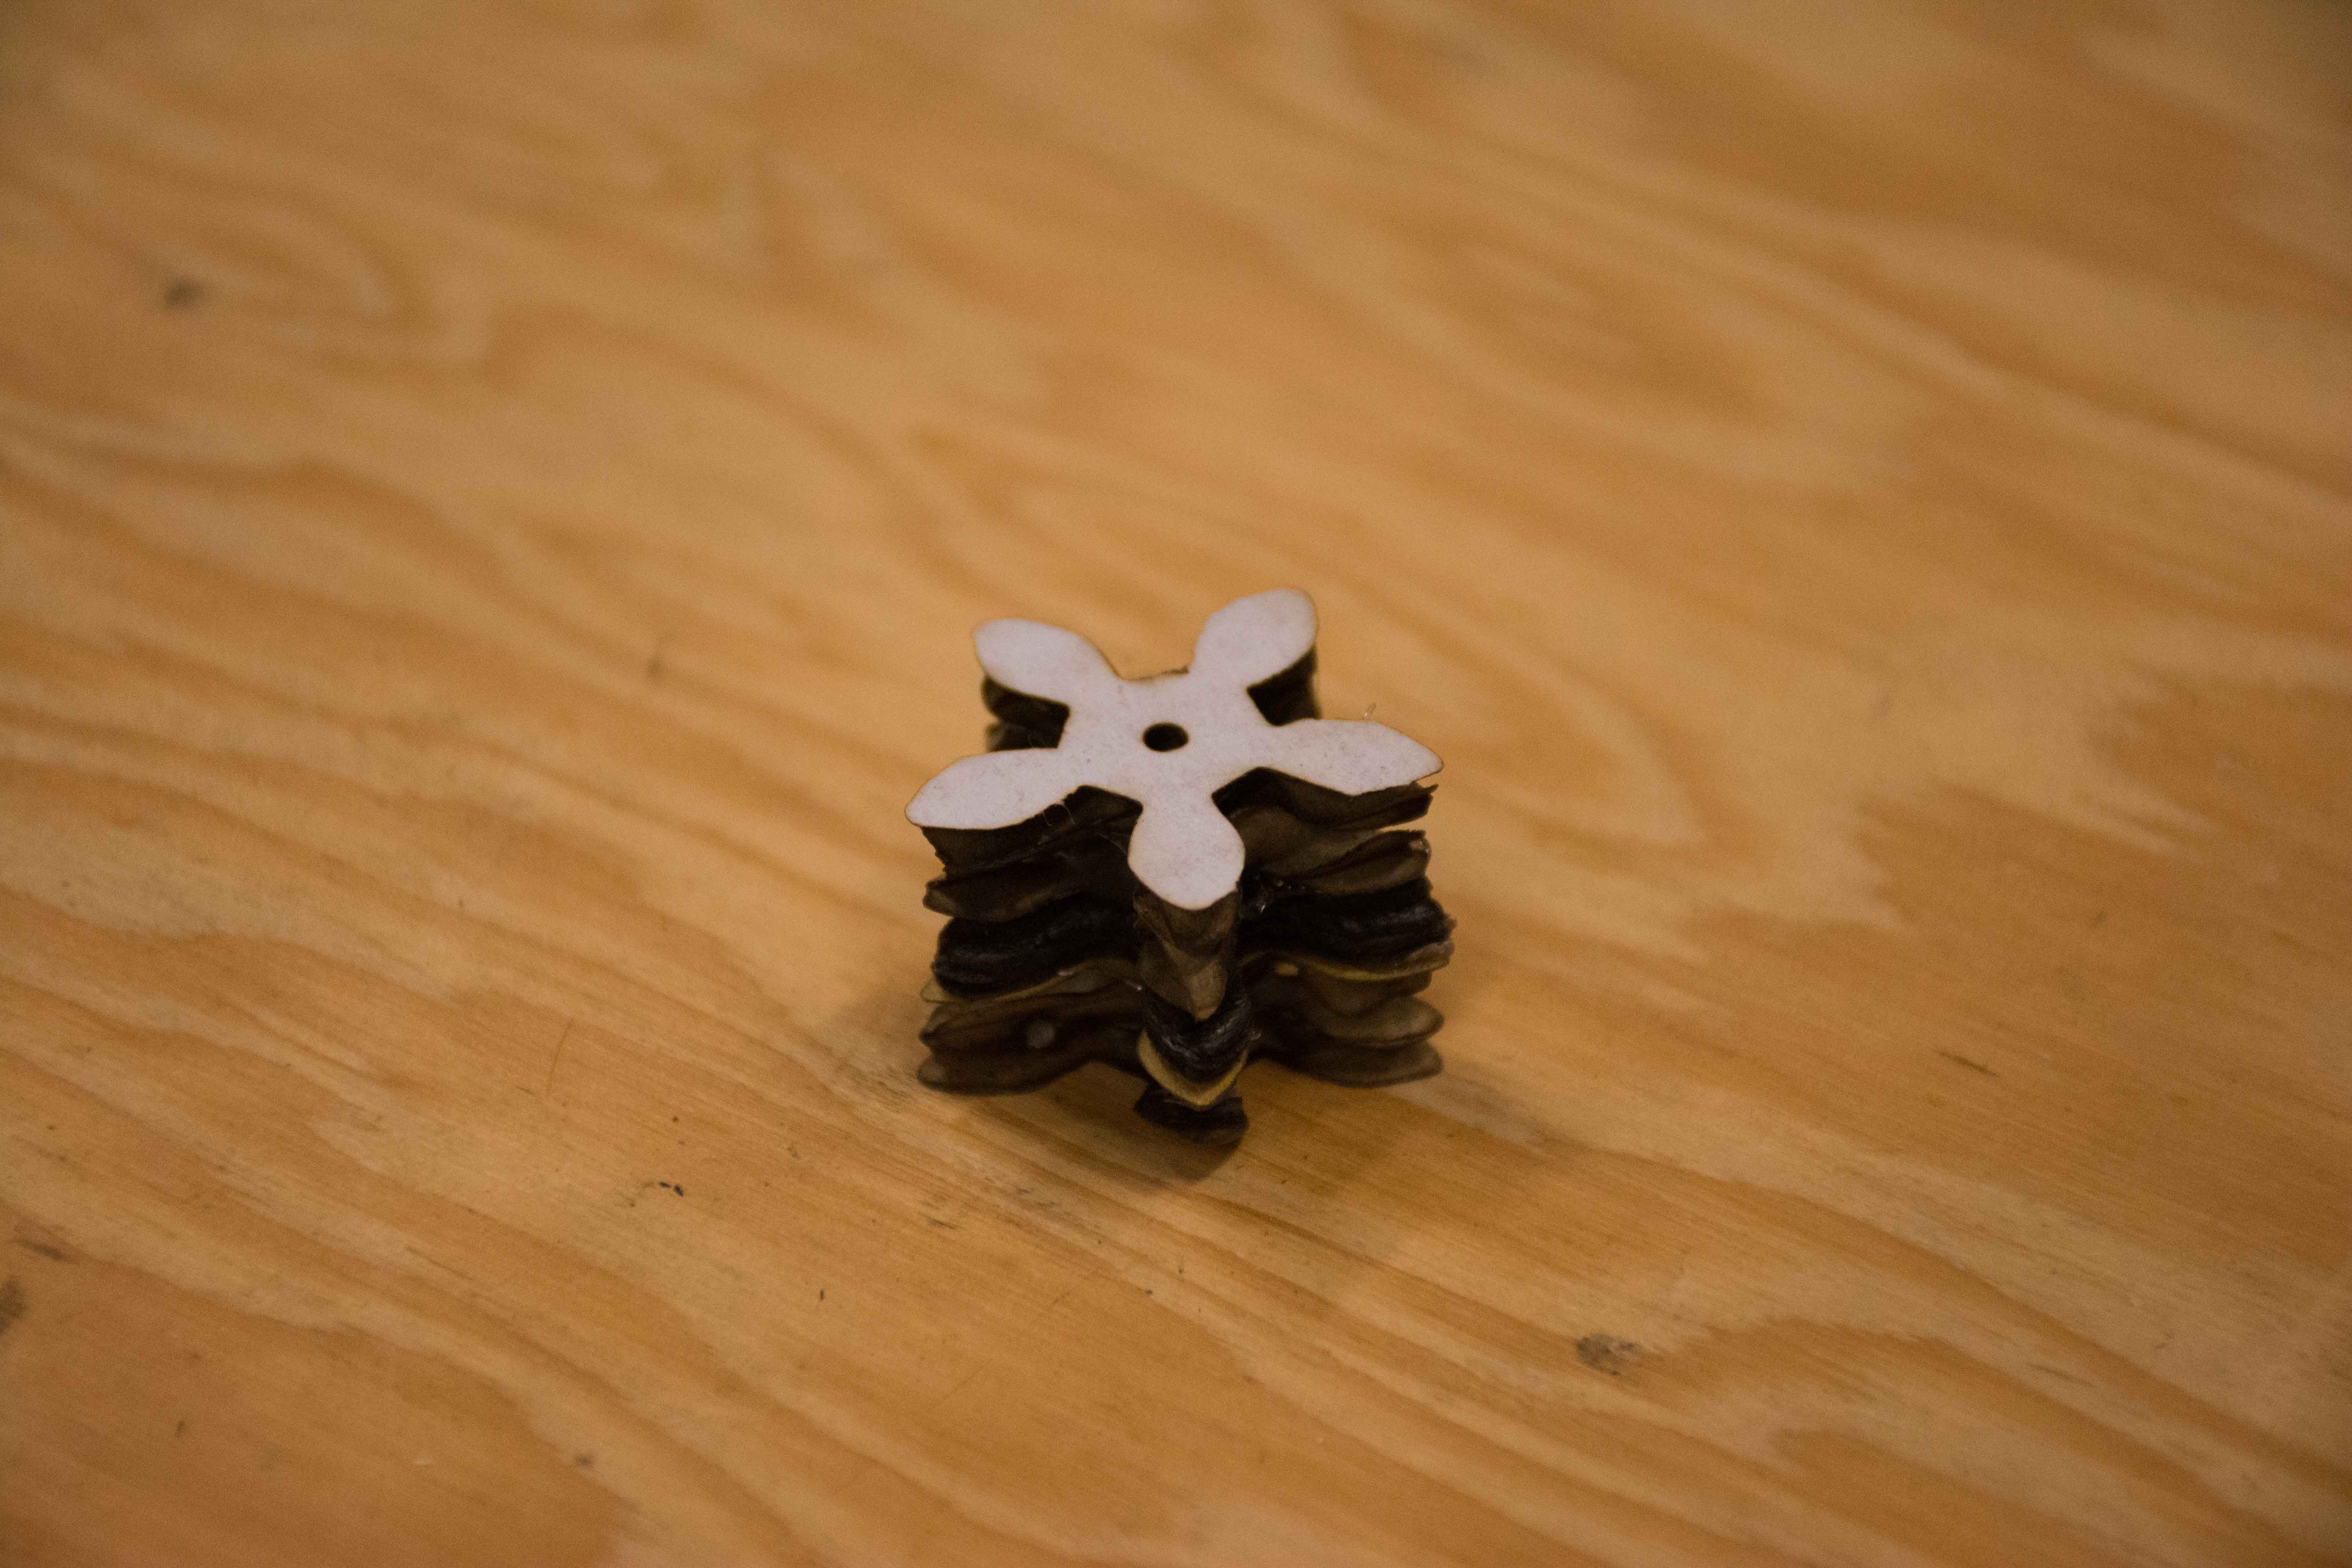
I used a laser cutter to create my gears out of a ⅛” piece of plywood. It takes a lot of power to cut through wood, even thinner pieces, so I also cut my gears out of cardboard and sandwiched the wood between cardboard gears.

If you don’t have a laser cutter readily available, you can print out the the gears on a sheet of paper, glue it to cardboard or foamcore, and cut them out by hand. If you try this instead, make sure you create at least two sets of gears so you can stack them and glue them for thicker gears.

Create the frame

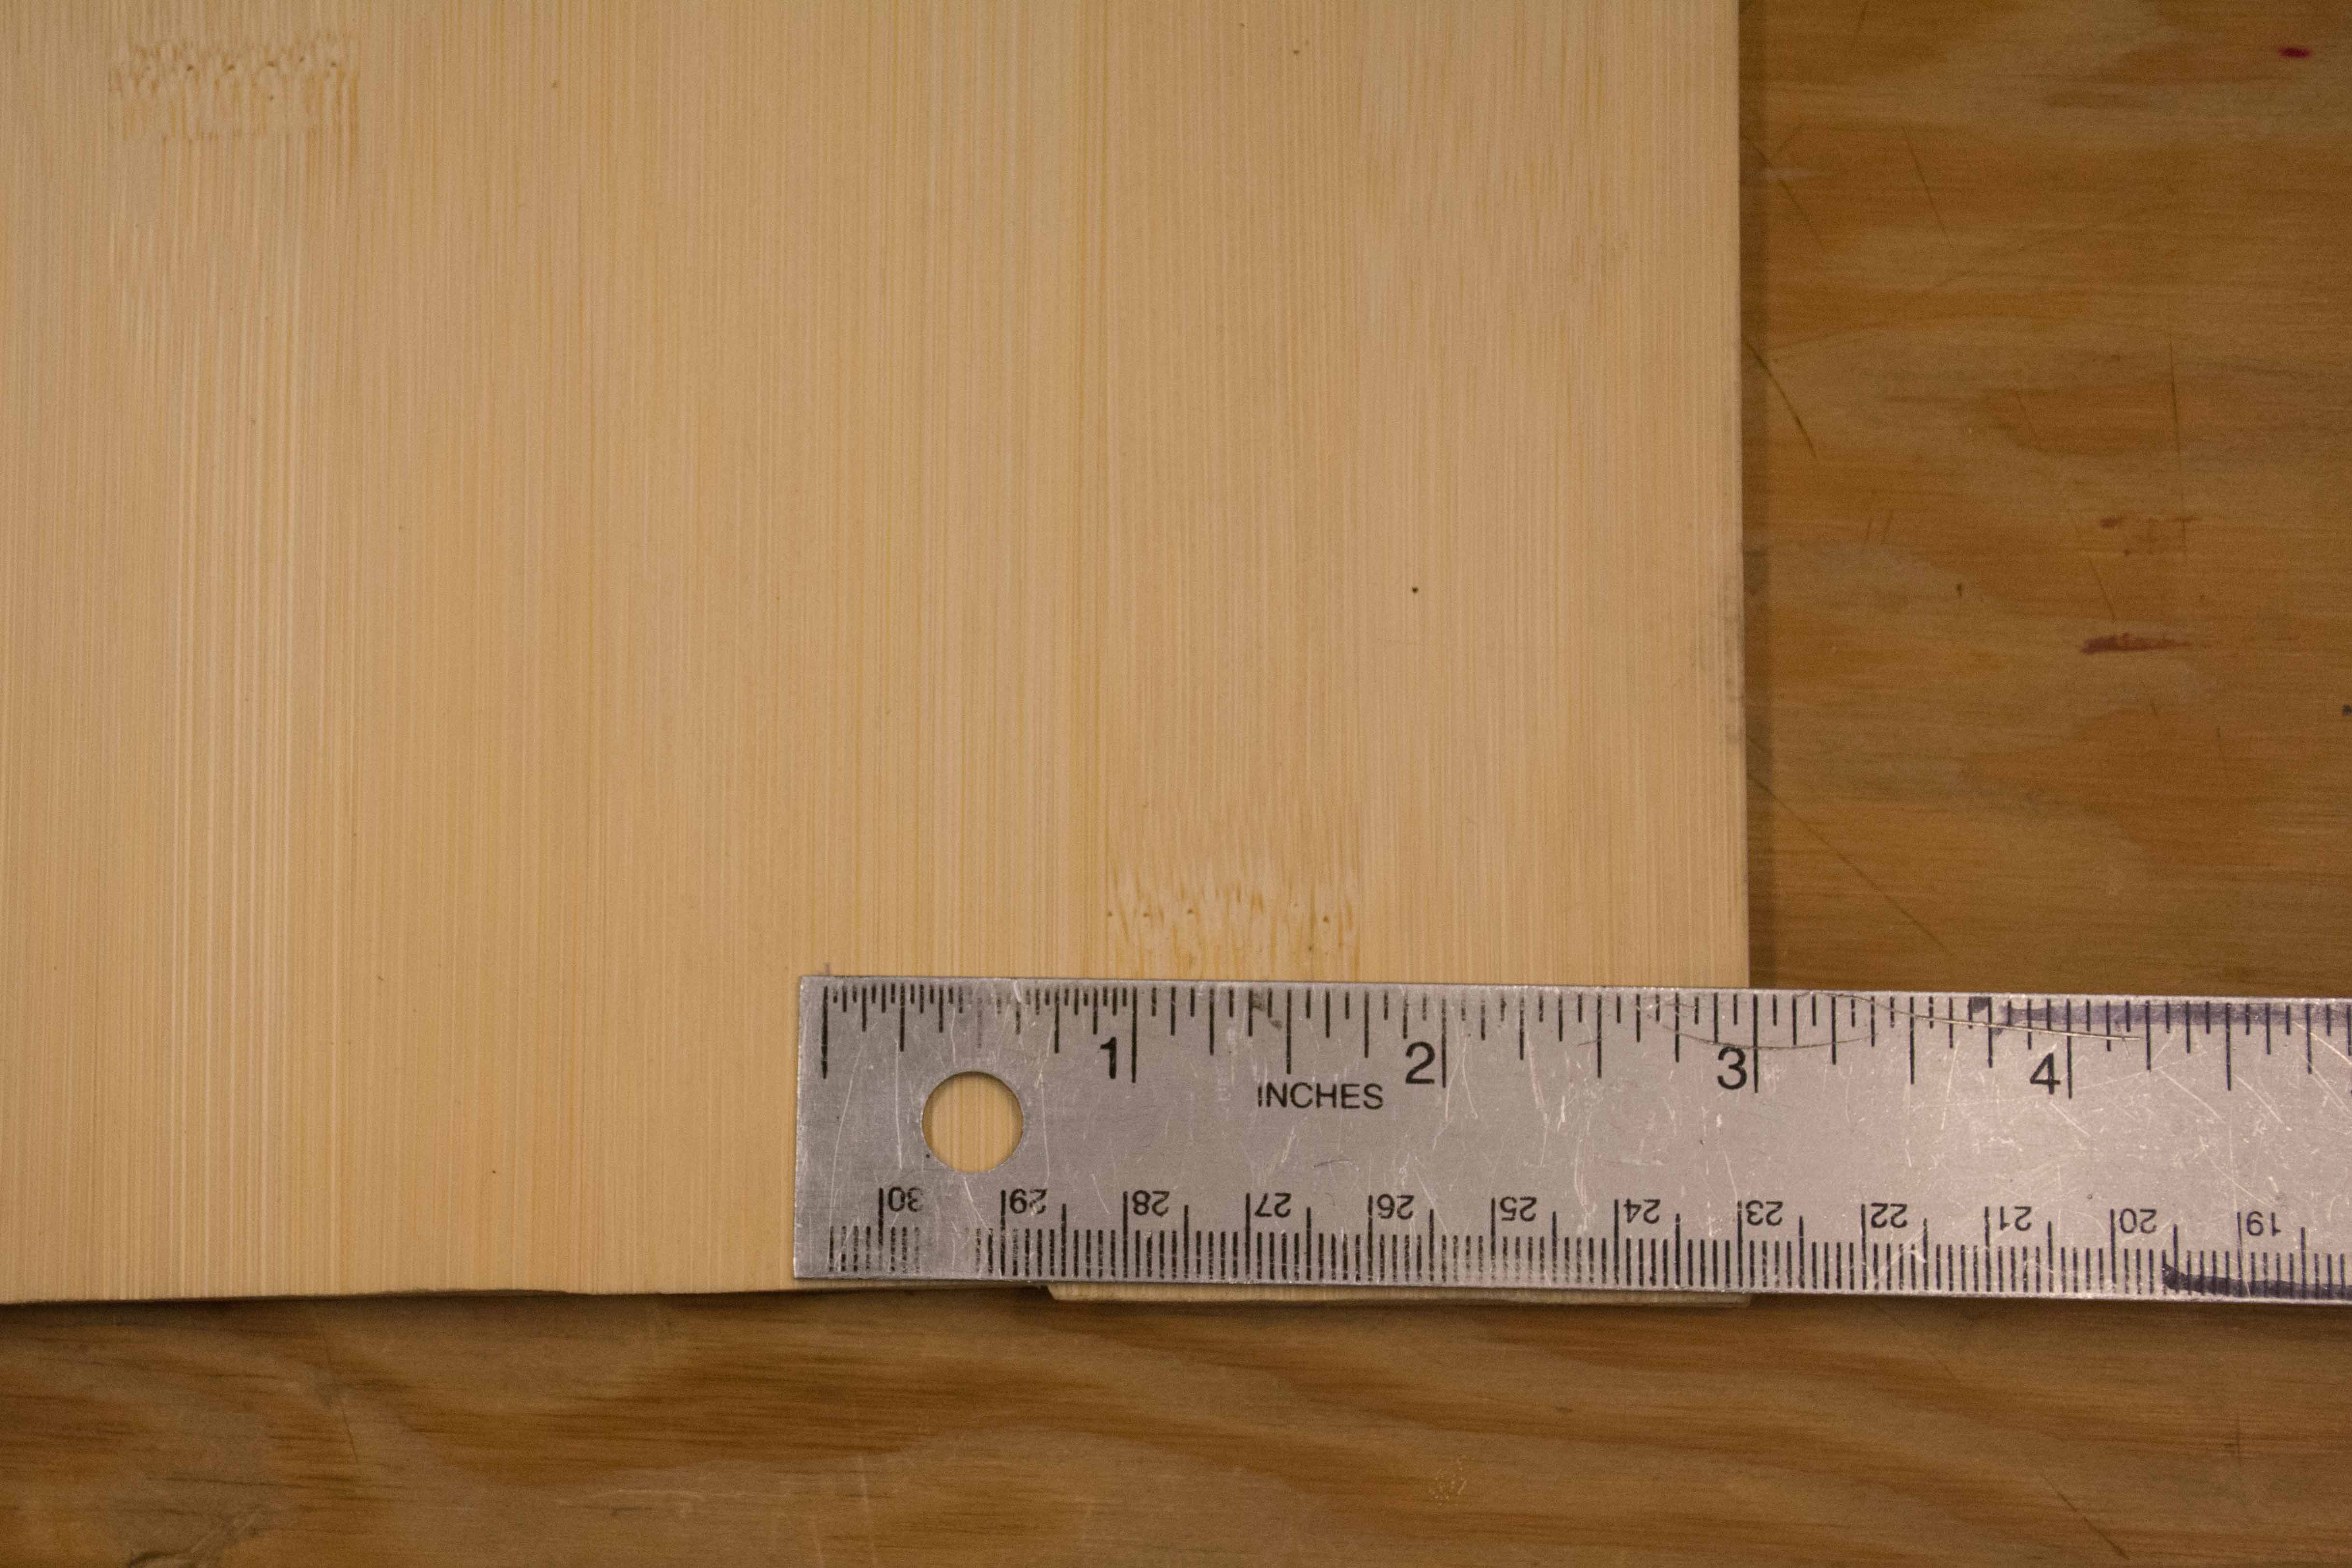
Put your gears together so that they interlock and measure the distance between the two center points. Then add at least 3″ to your measurement. This will be the length of your frame.

Measure the longest side of your battery pack. This is the minimum width of your frame.

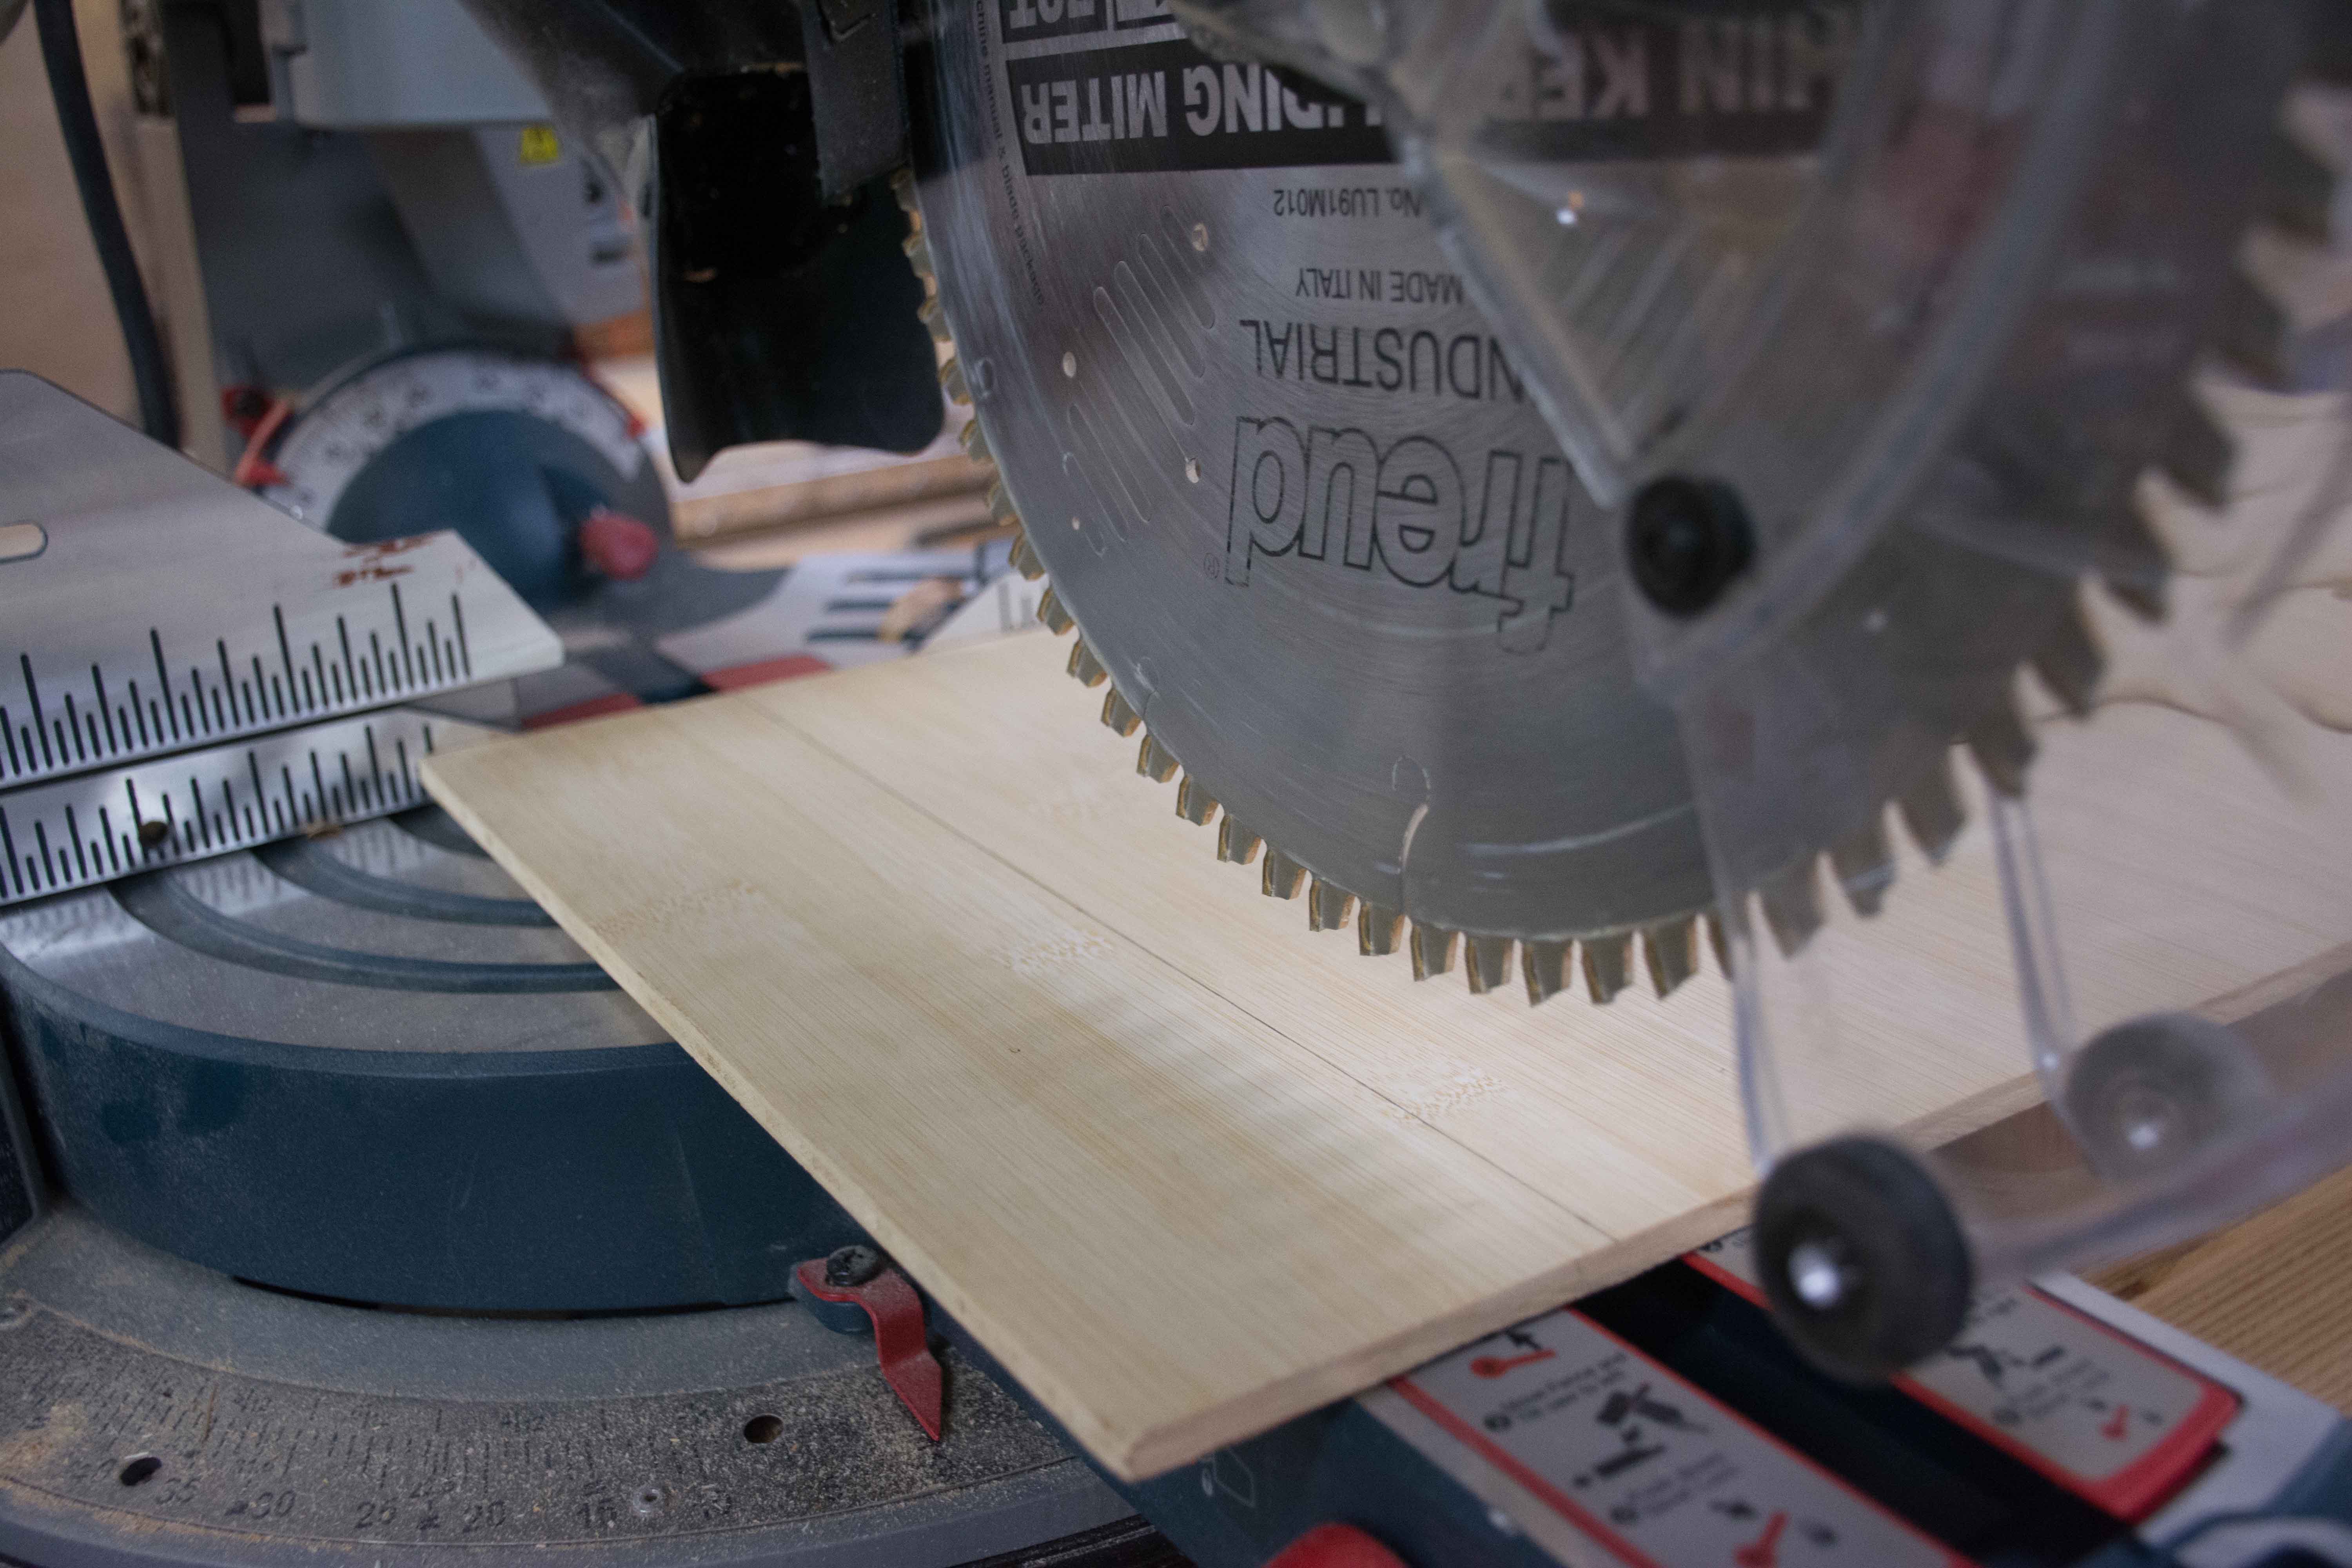
Cut your rectangular frame out of a piece of wood. I used a scrap of bamboo ply that I found.

Drill the holes

The frame will need seven holes drilled into it. One for the switch, motor shaft, a pin for larger gear, and a hole at every corner for the string.

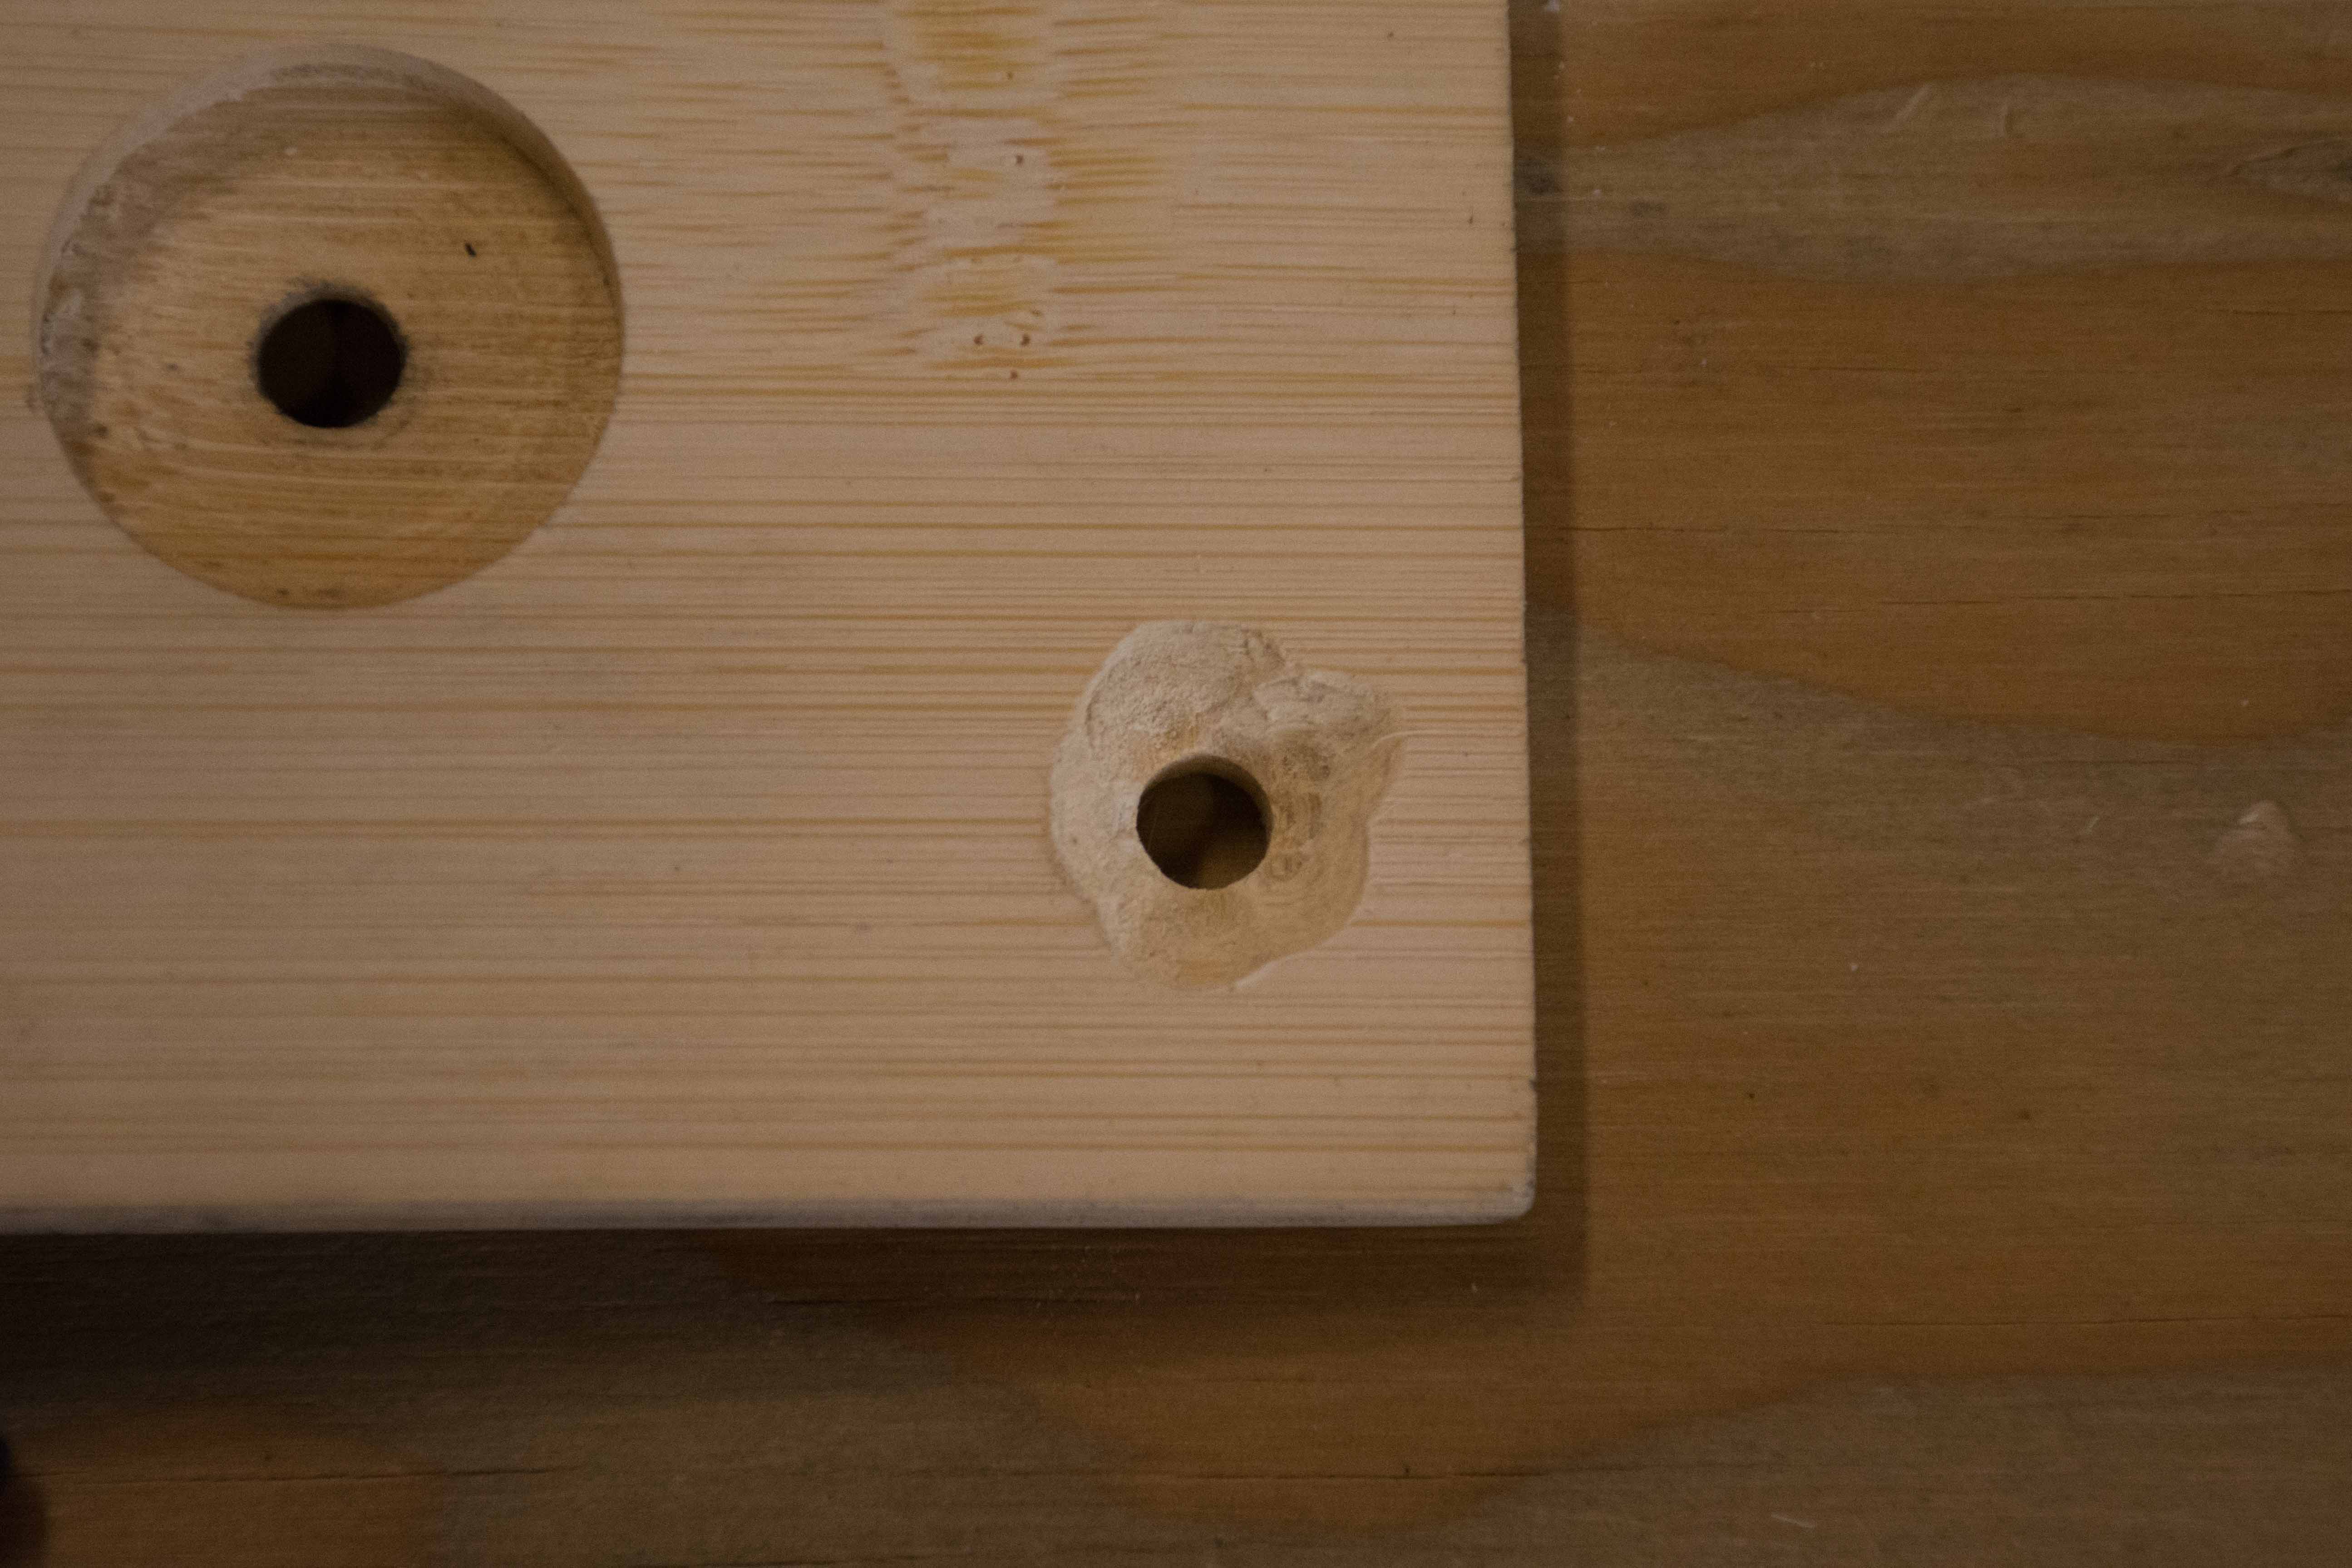
First, determine the placement of your motor. It should be about an inch and a half from the edge of the frame (make a mark so you know where to drill). Drill a hole that is just large enough for the shaft of the motor.

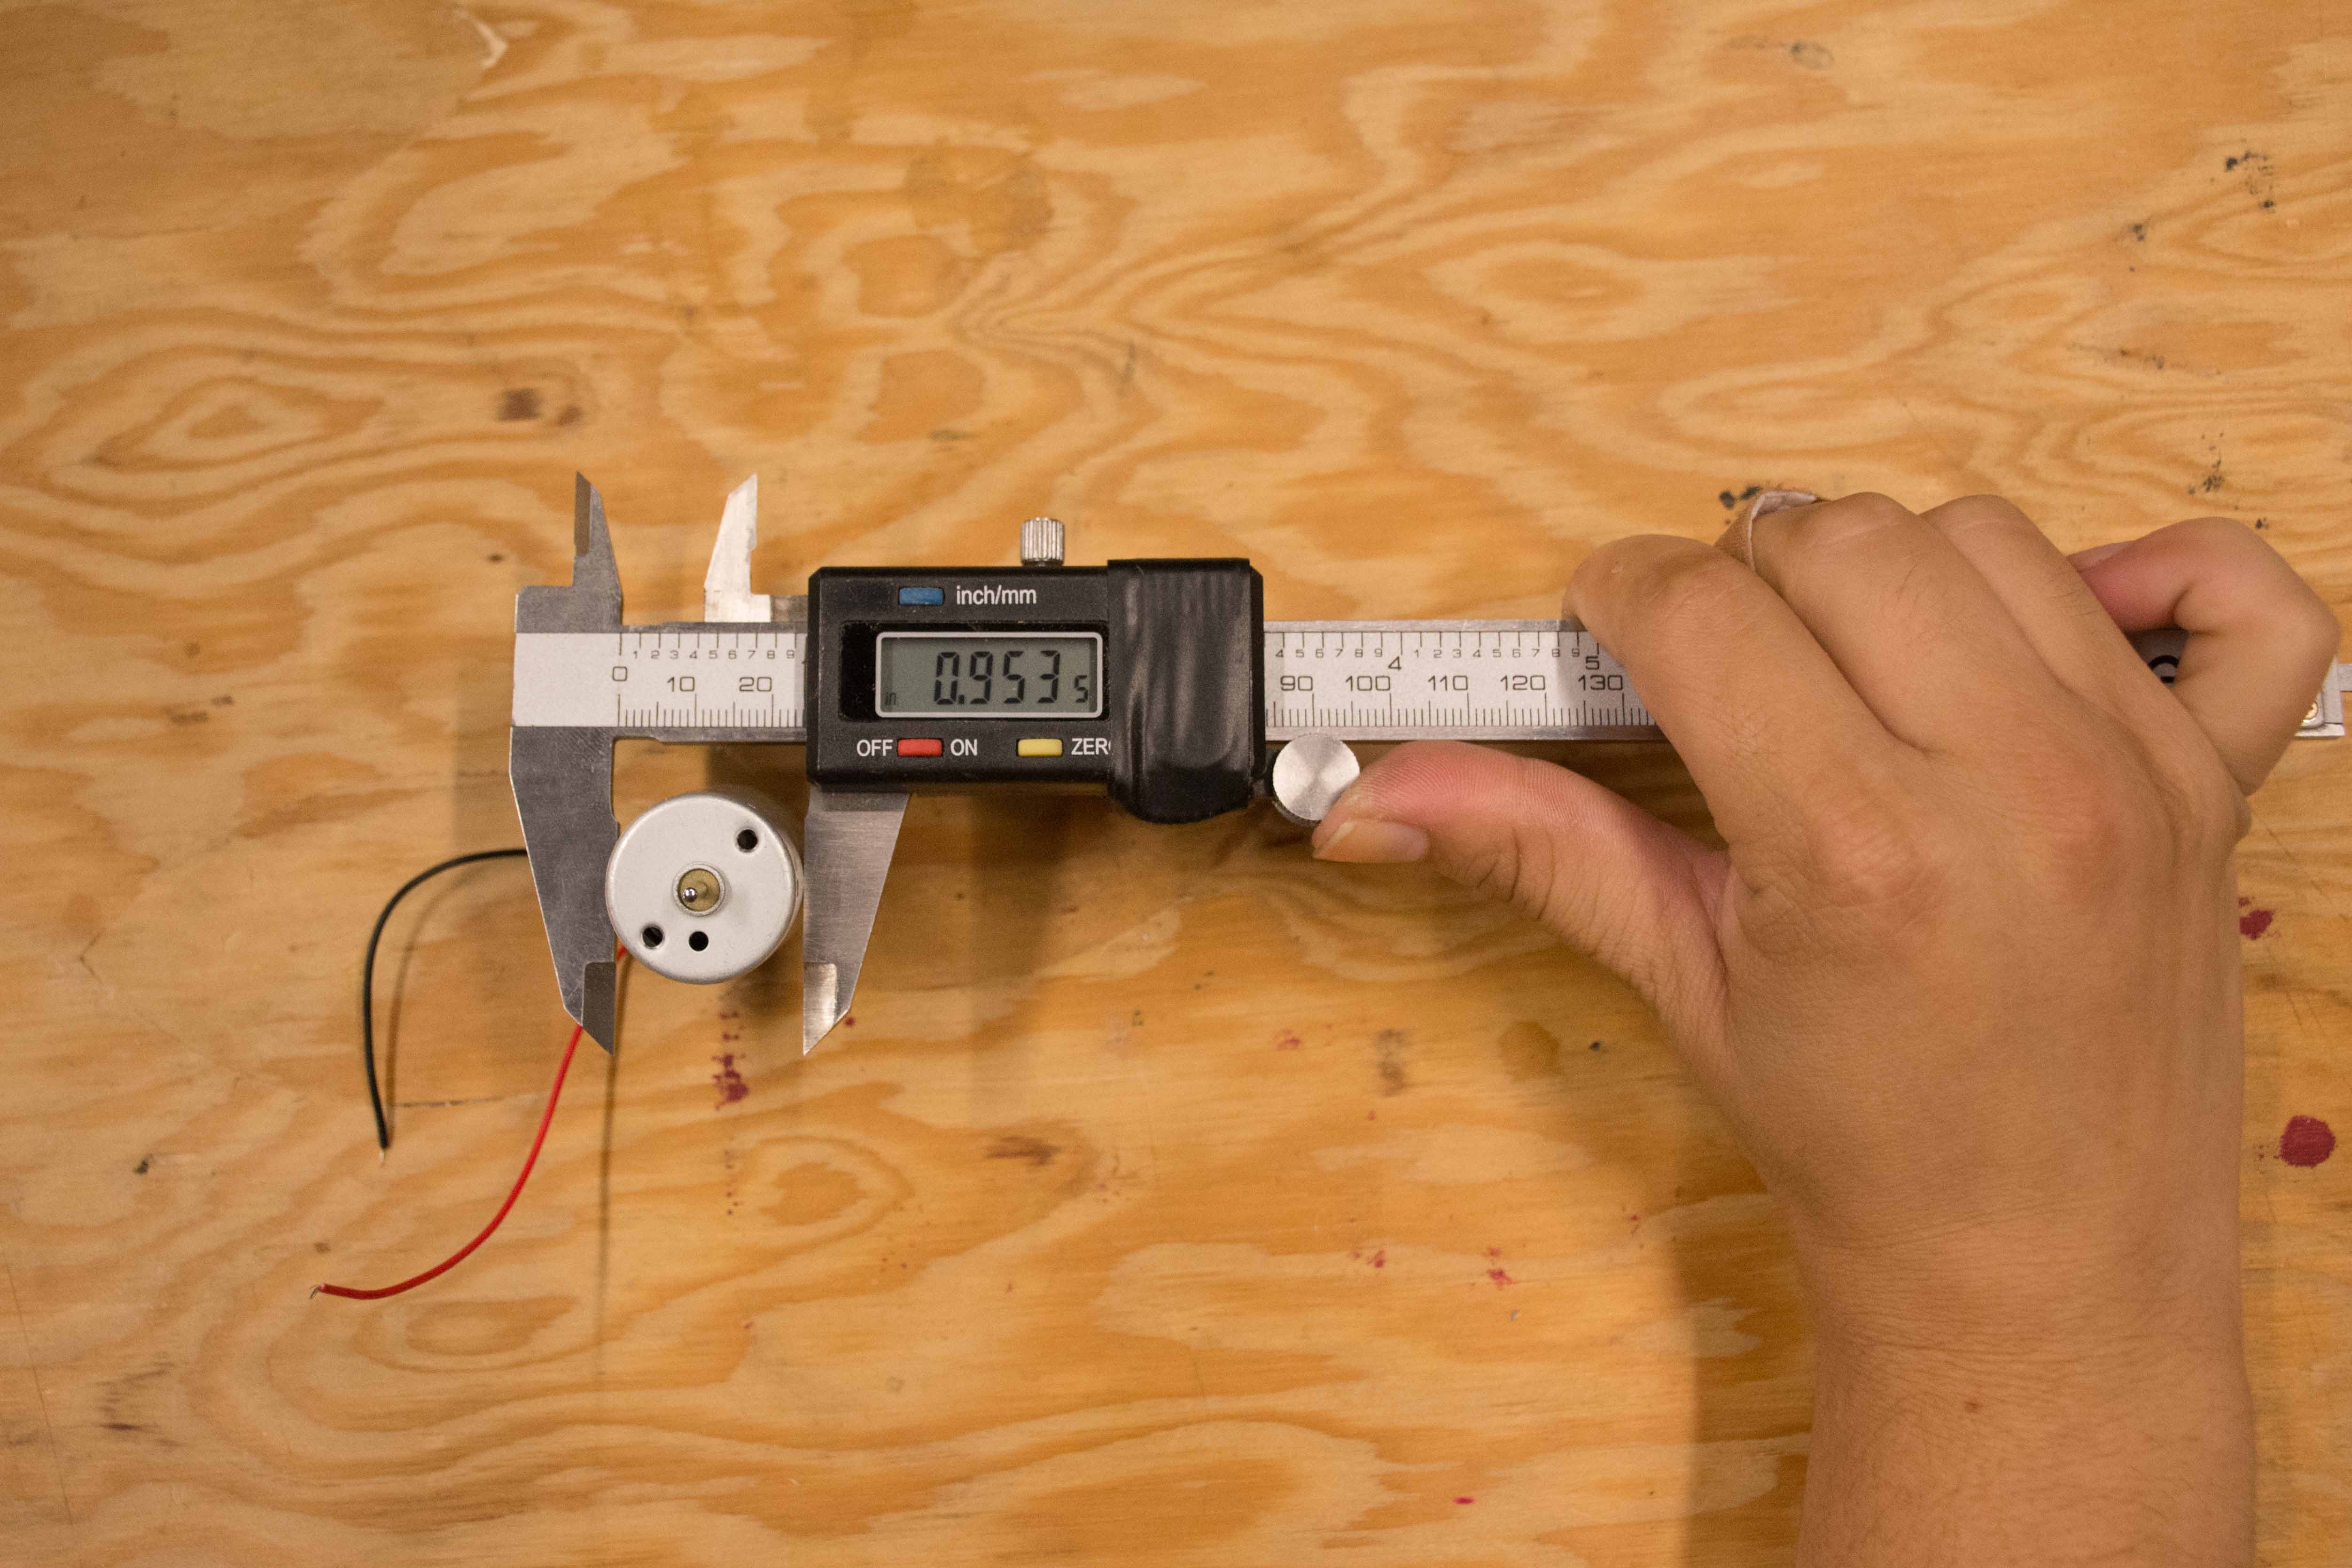
Use a Forstner bit that is slightly wider than the diameter of your motor to create an indentation for the motor to sit in. Make sure not to drill all the way through the frame.

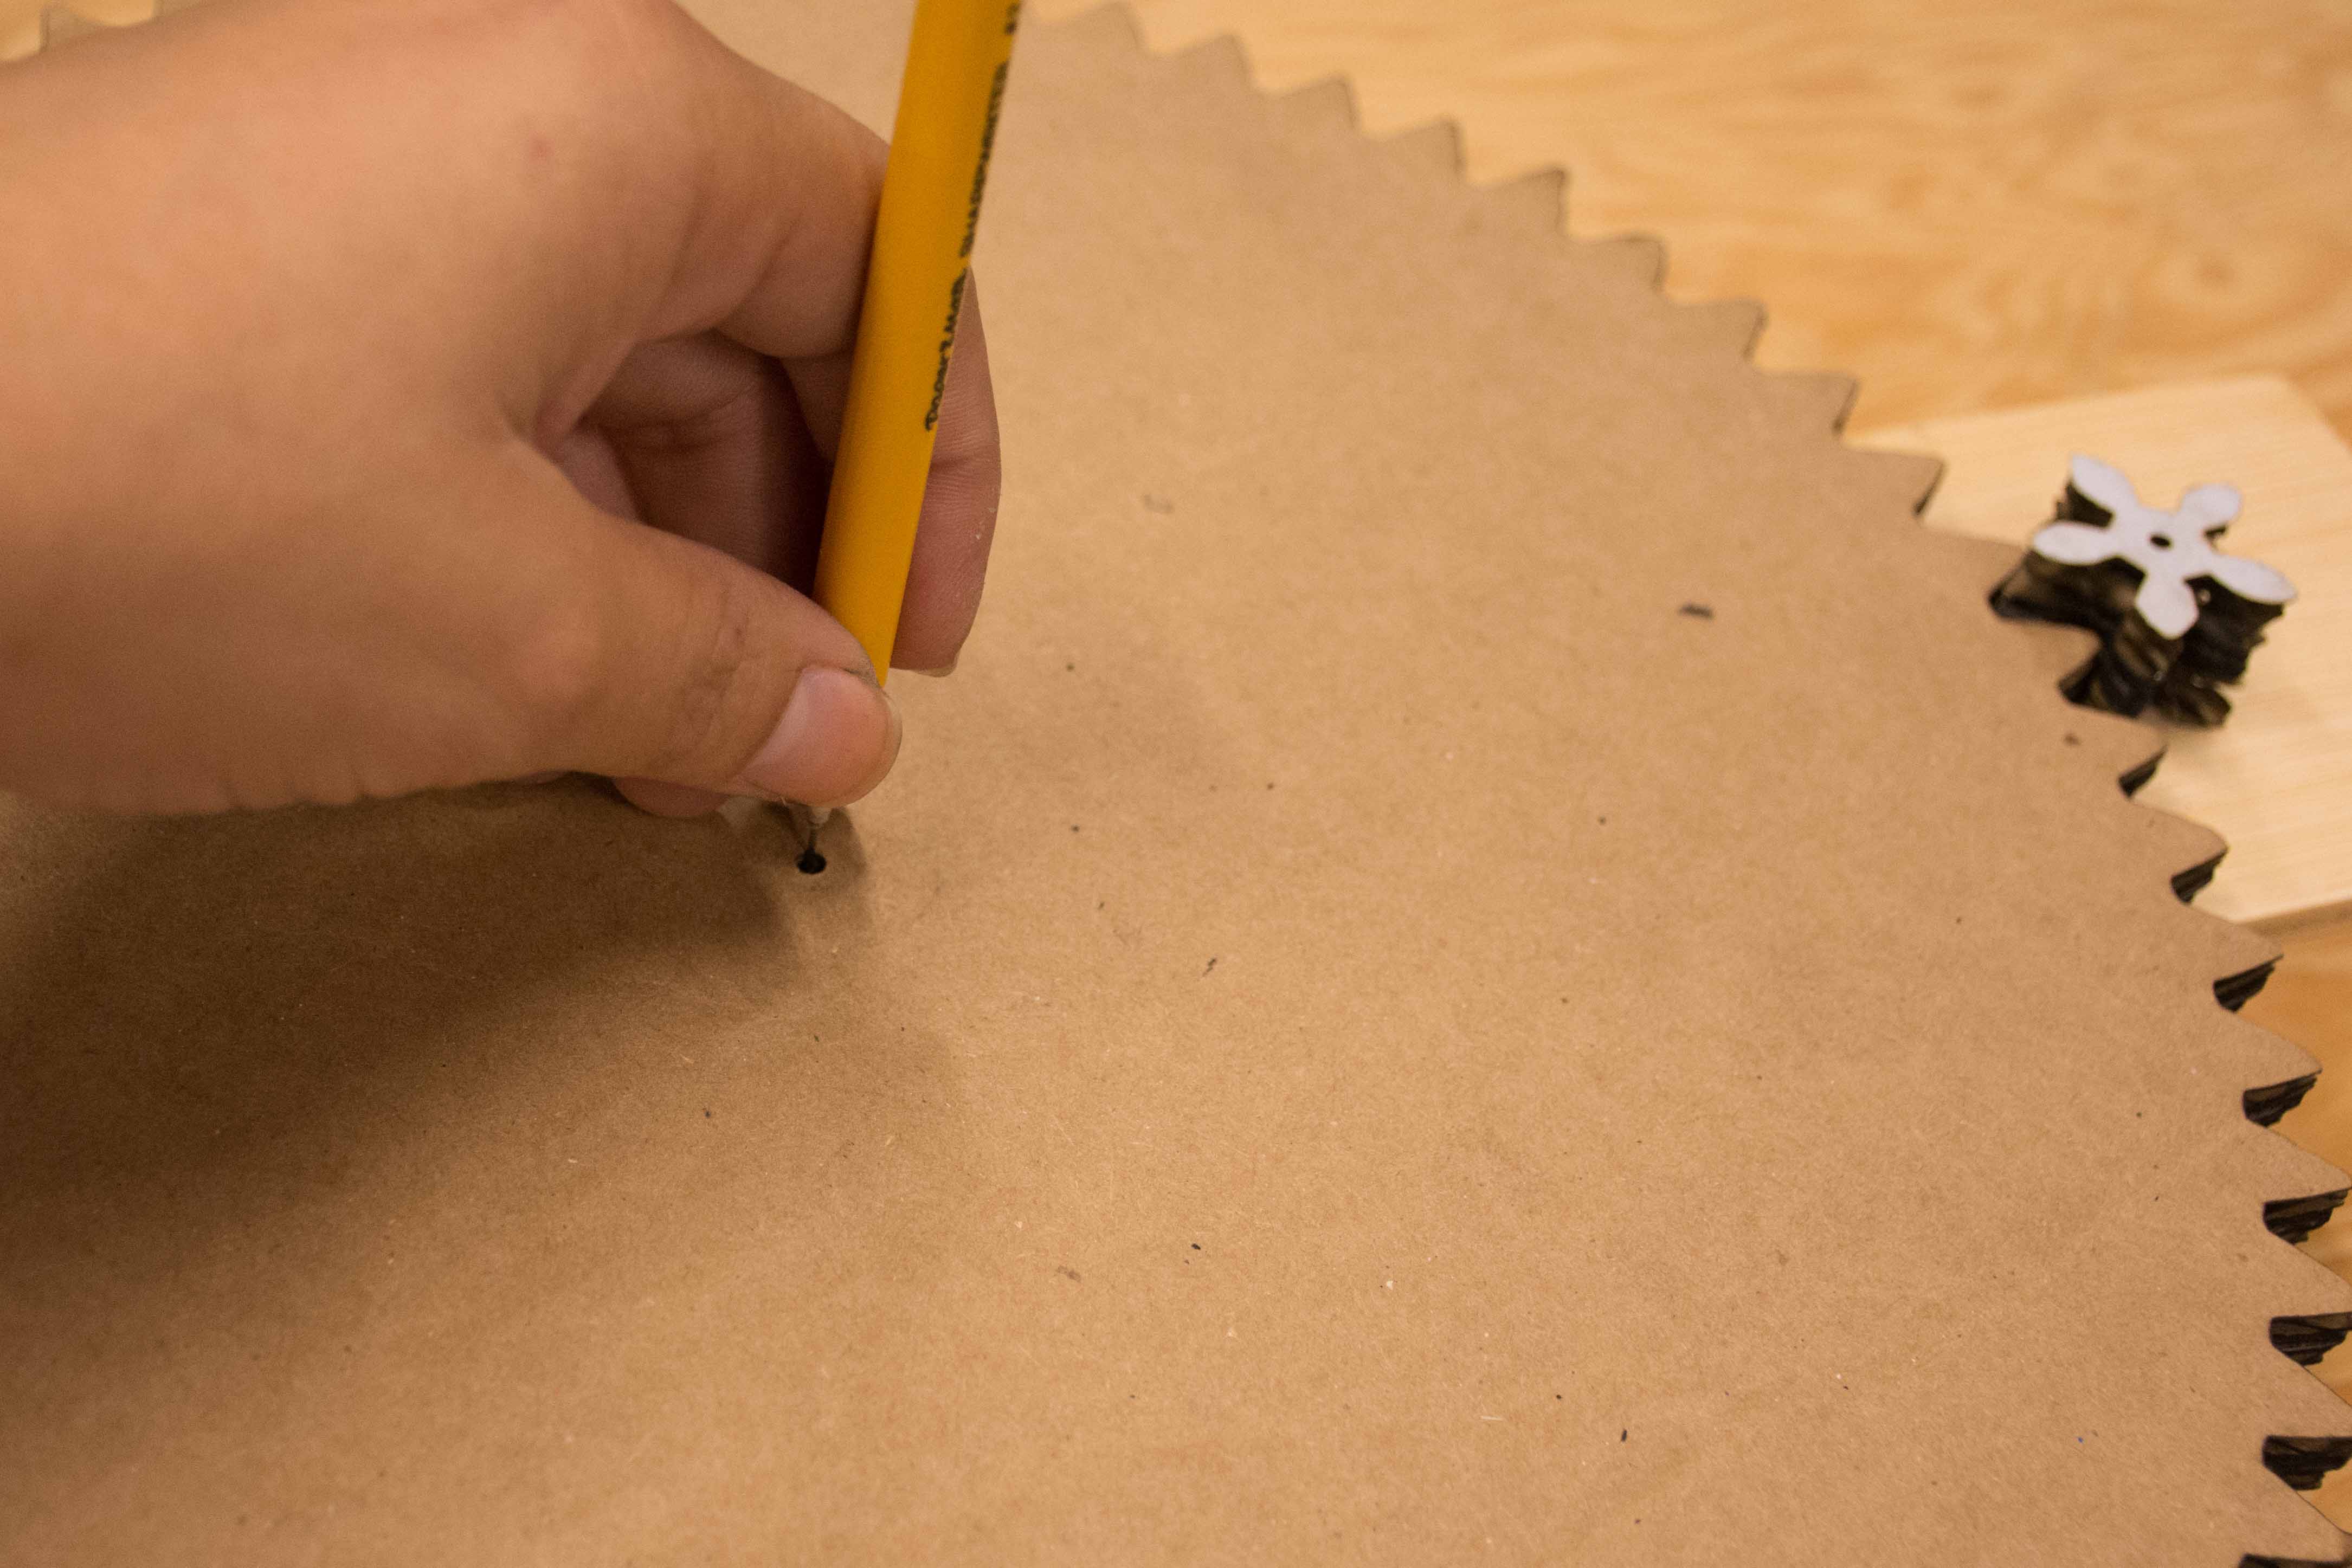
Dry fit the motor in the frame and slide the smaller gear onto the shaft. Place the larger gear on the frame so that it interlocks with the smaller gear. Using a mechanical pencil, extend the graphite lead so that it can be used to mark where the hole for the pin should go on the frame. Remove all the parts and drill a hole big enough to fit the nail through that will act as your pin as it spins freely.

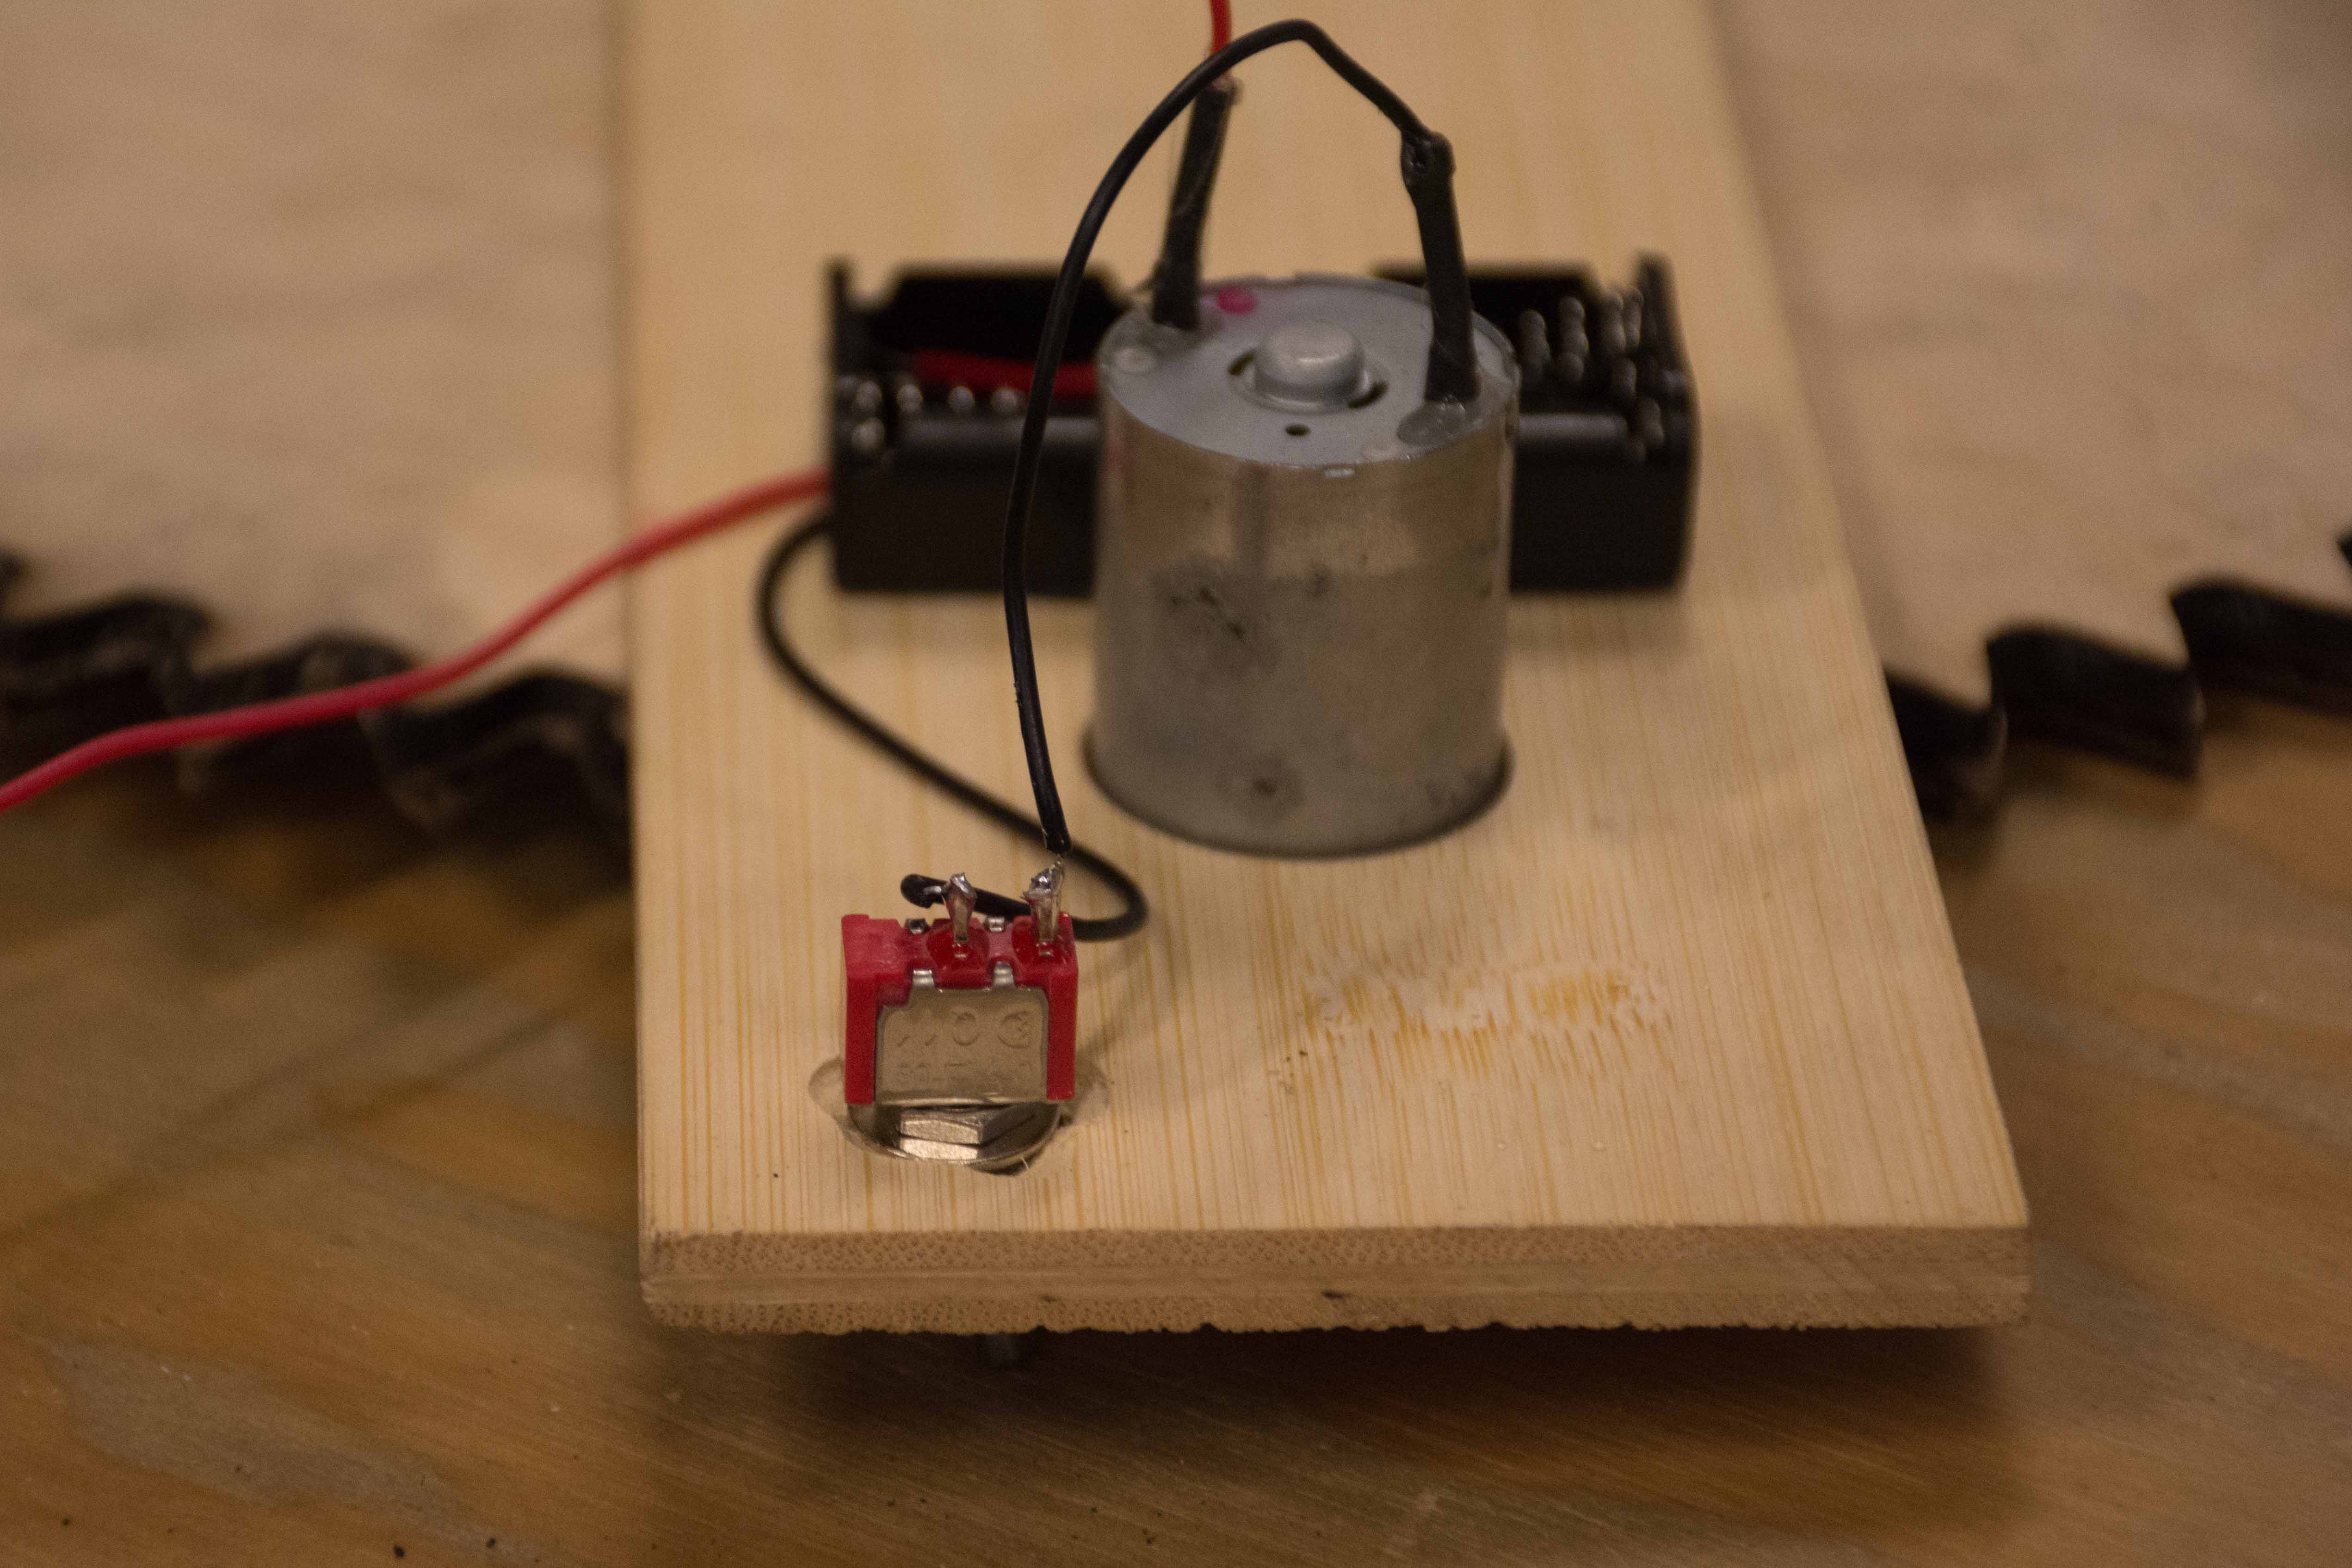
Drill a hole for your switch somewhere near the motor. If the switch isn’t long enough to go all the way through the frame, then you might need to create an indentation in your frame.

Lastly, drill a hole at each corner of the frame so the string can go through it.

Modify hardware

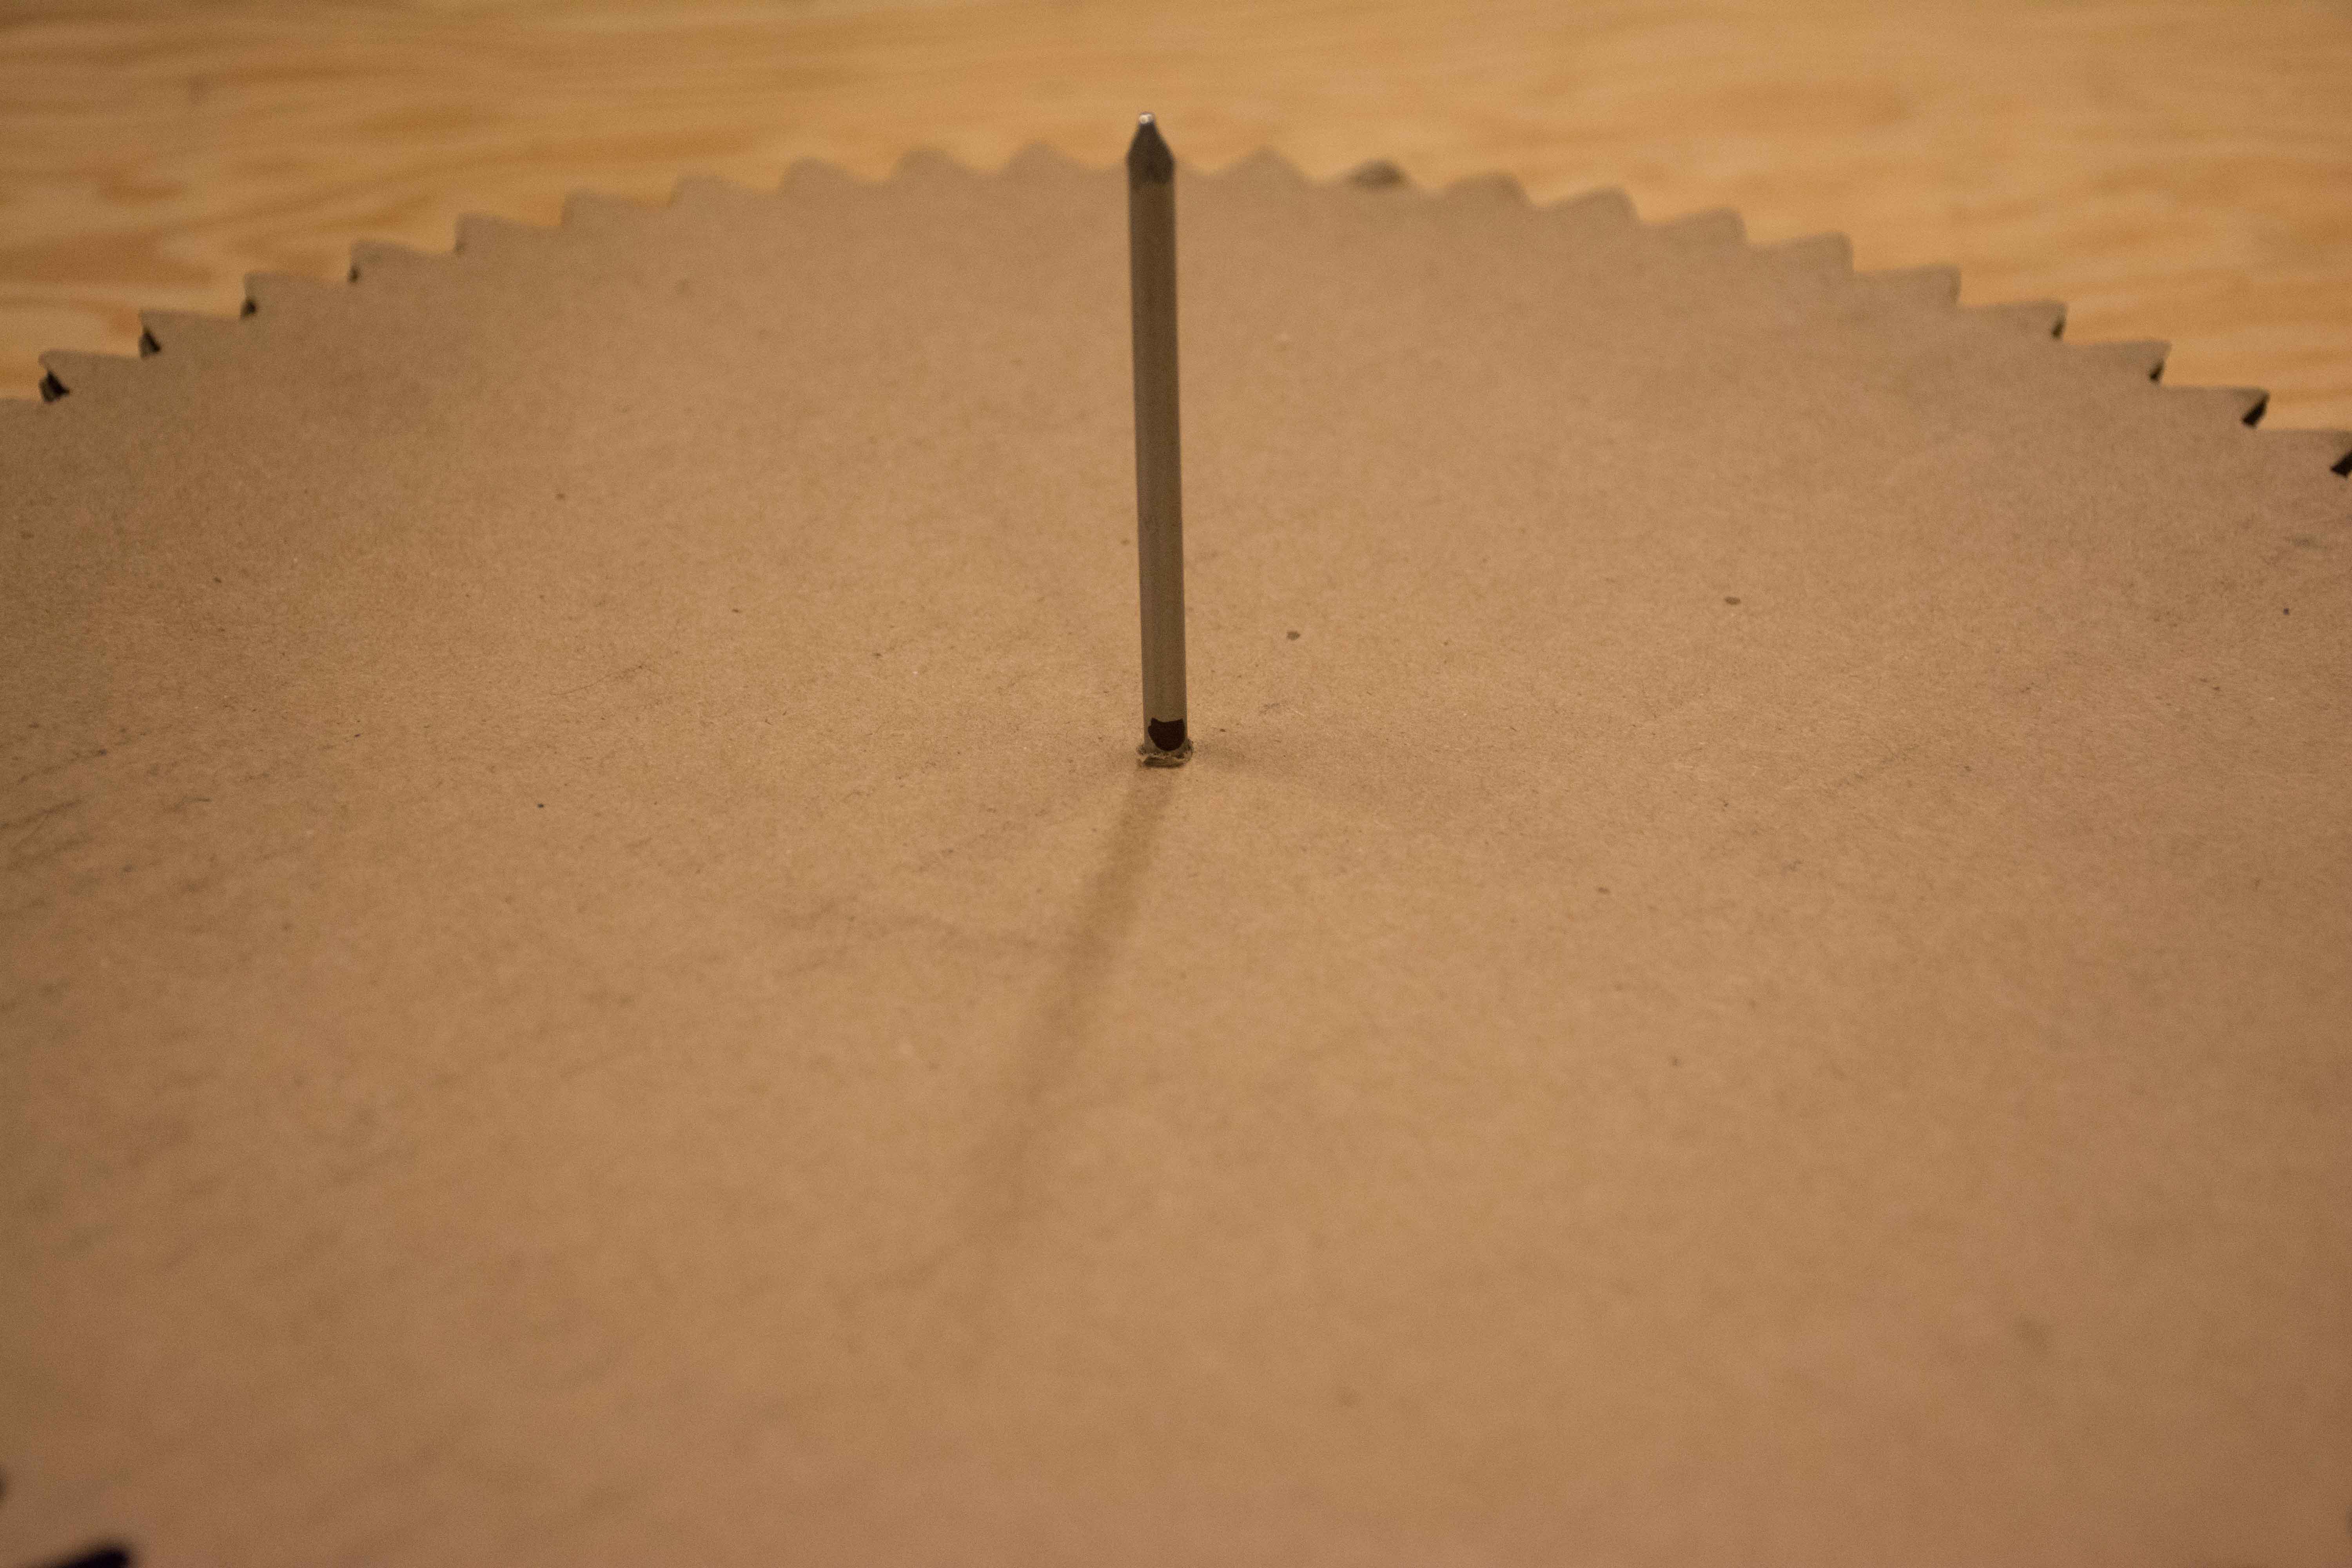
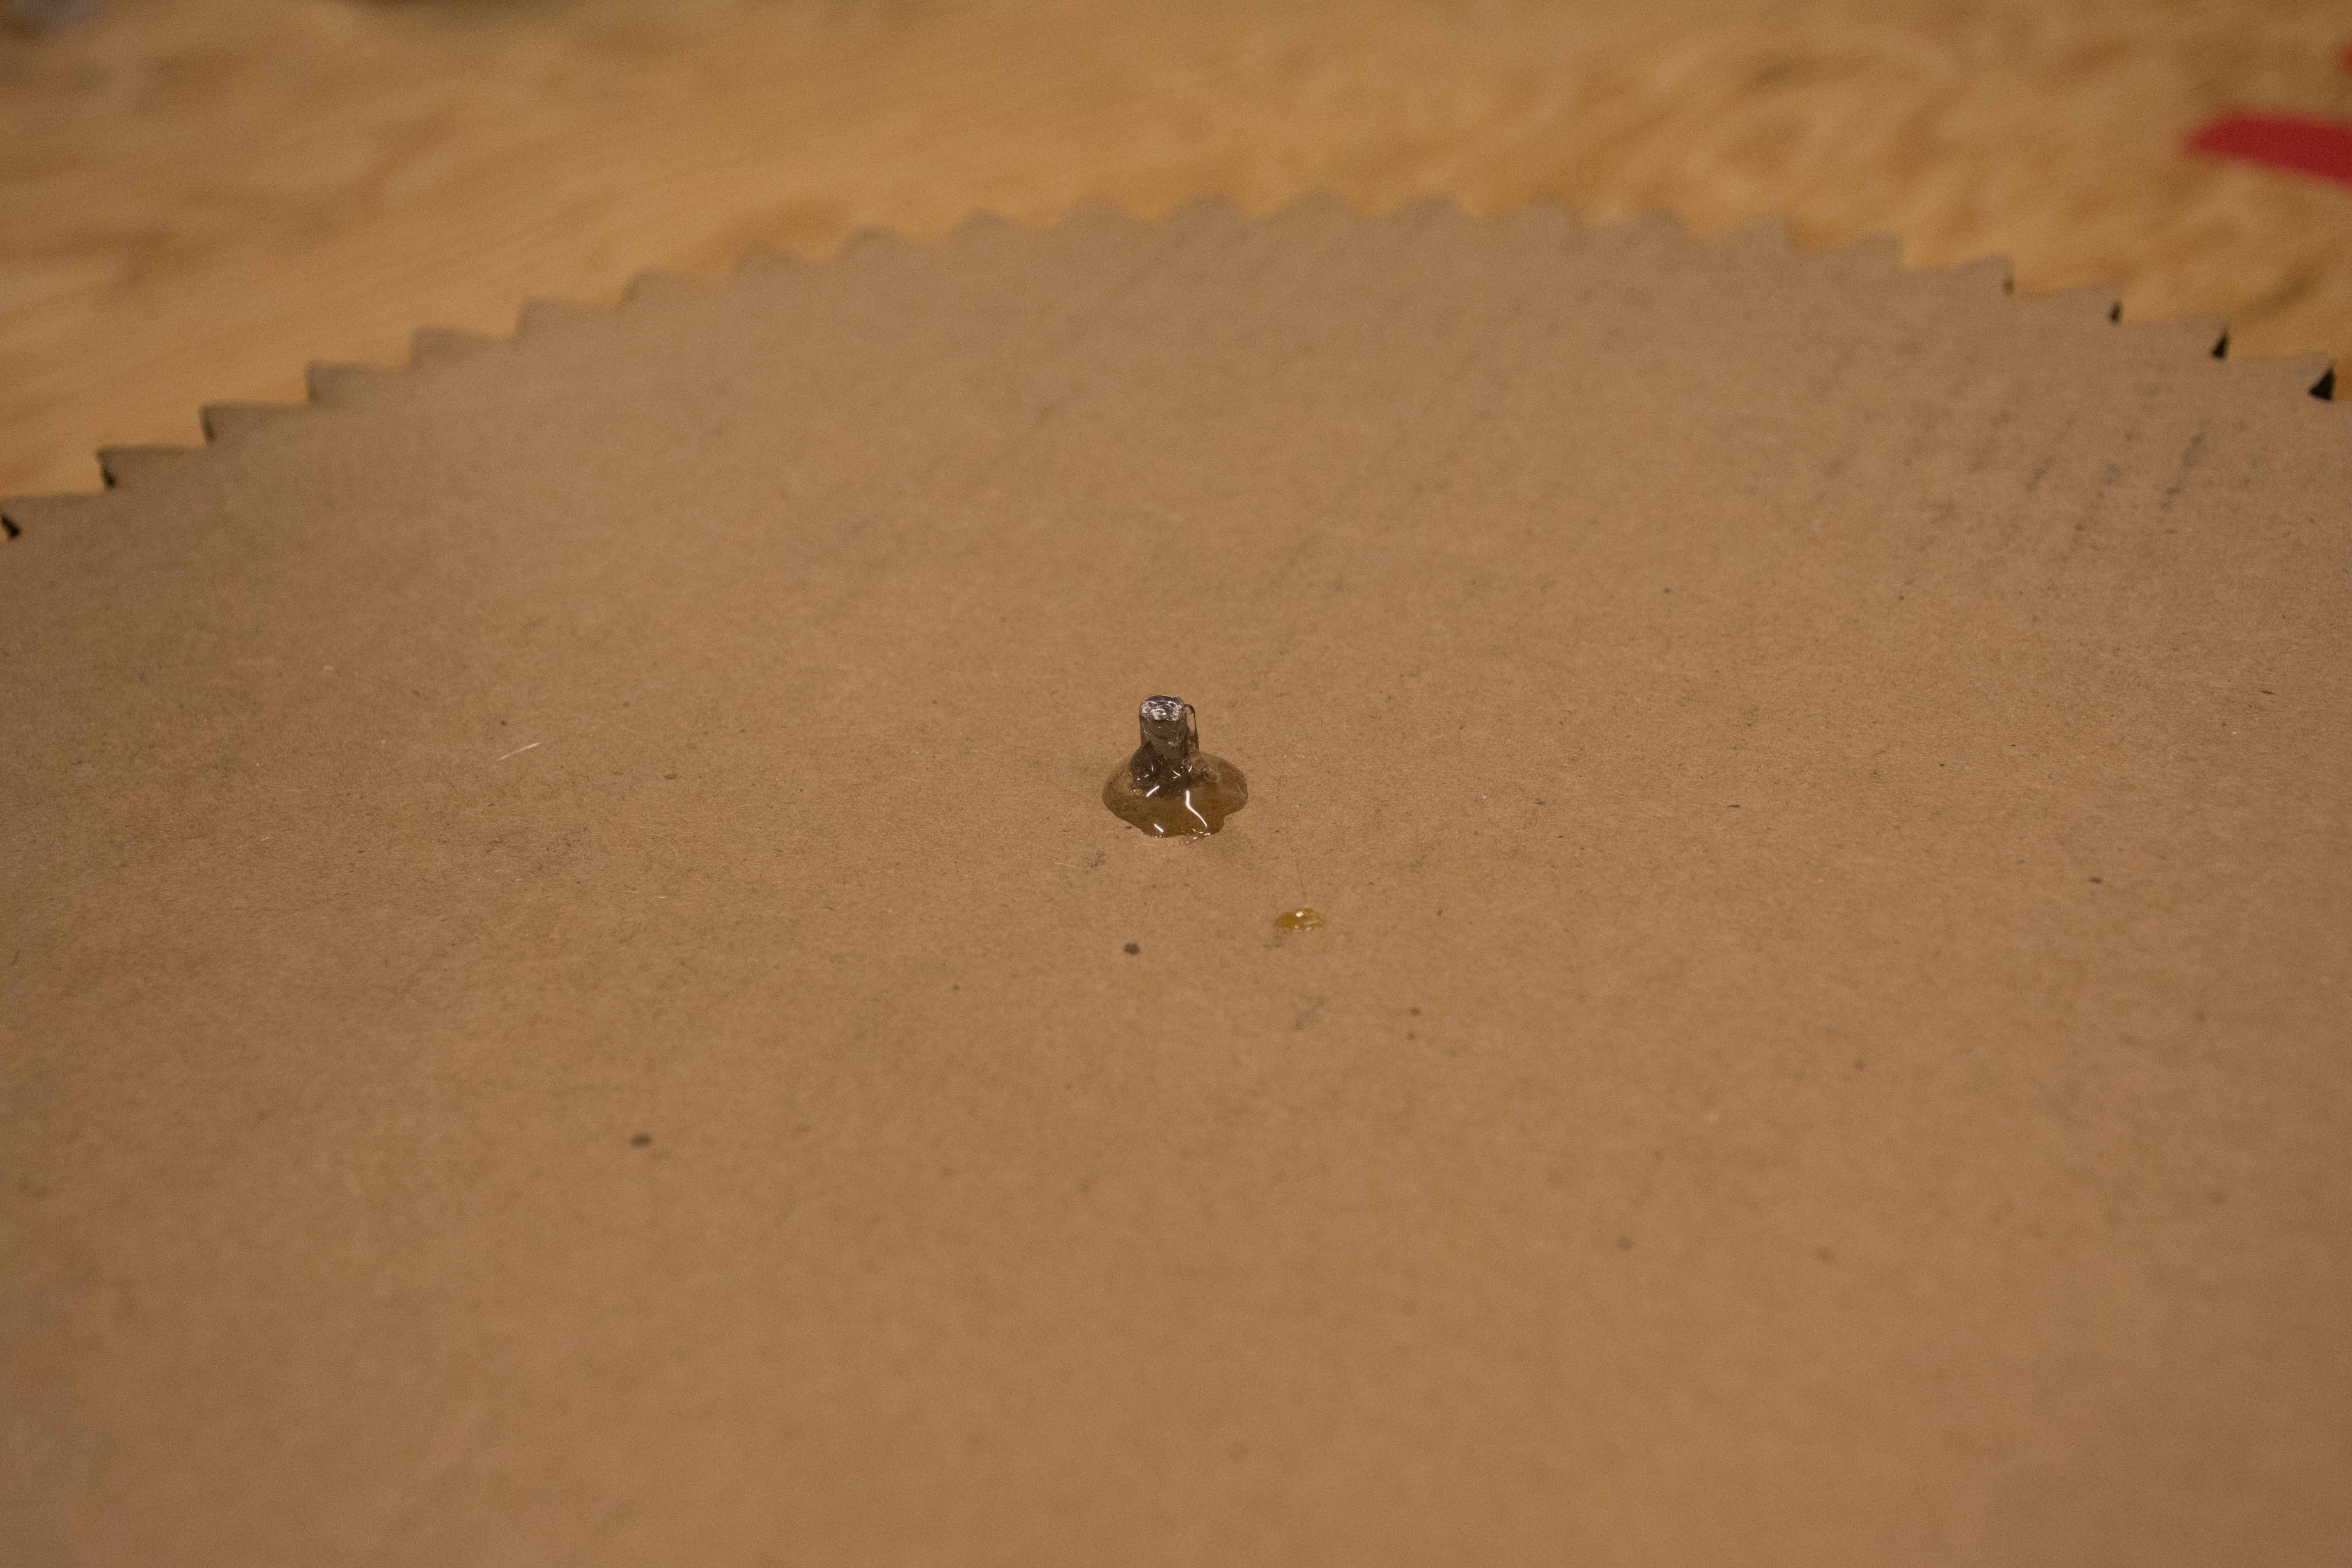
Slide the nail into its hole and attach the large gear to it. Mark the nail just below the point where the nail meets the gear. Using a handsaw or a dremel with a cutoff wheel, cut the nail to the appropriate length.

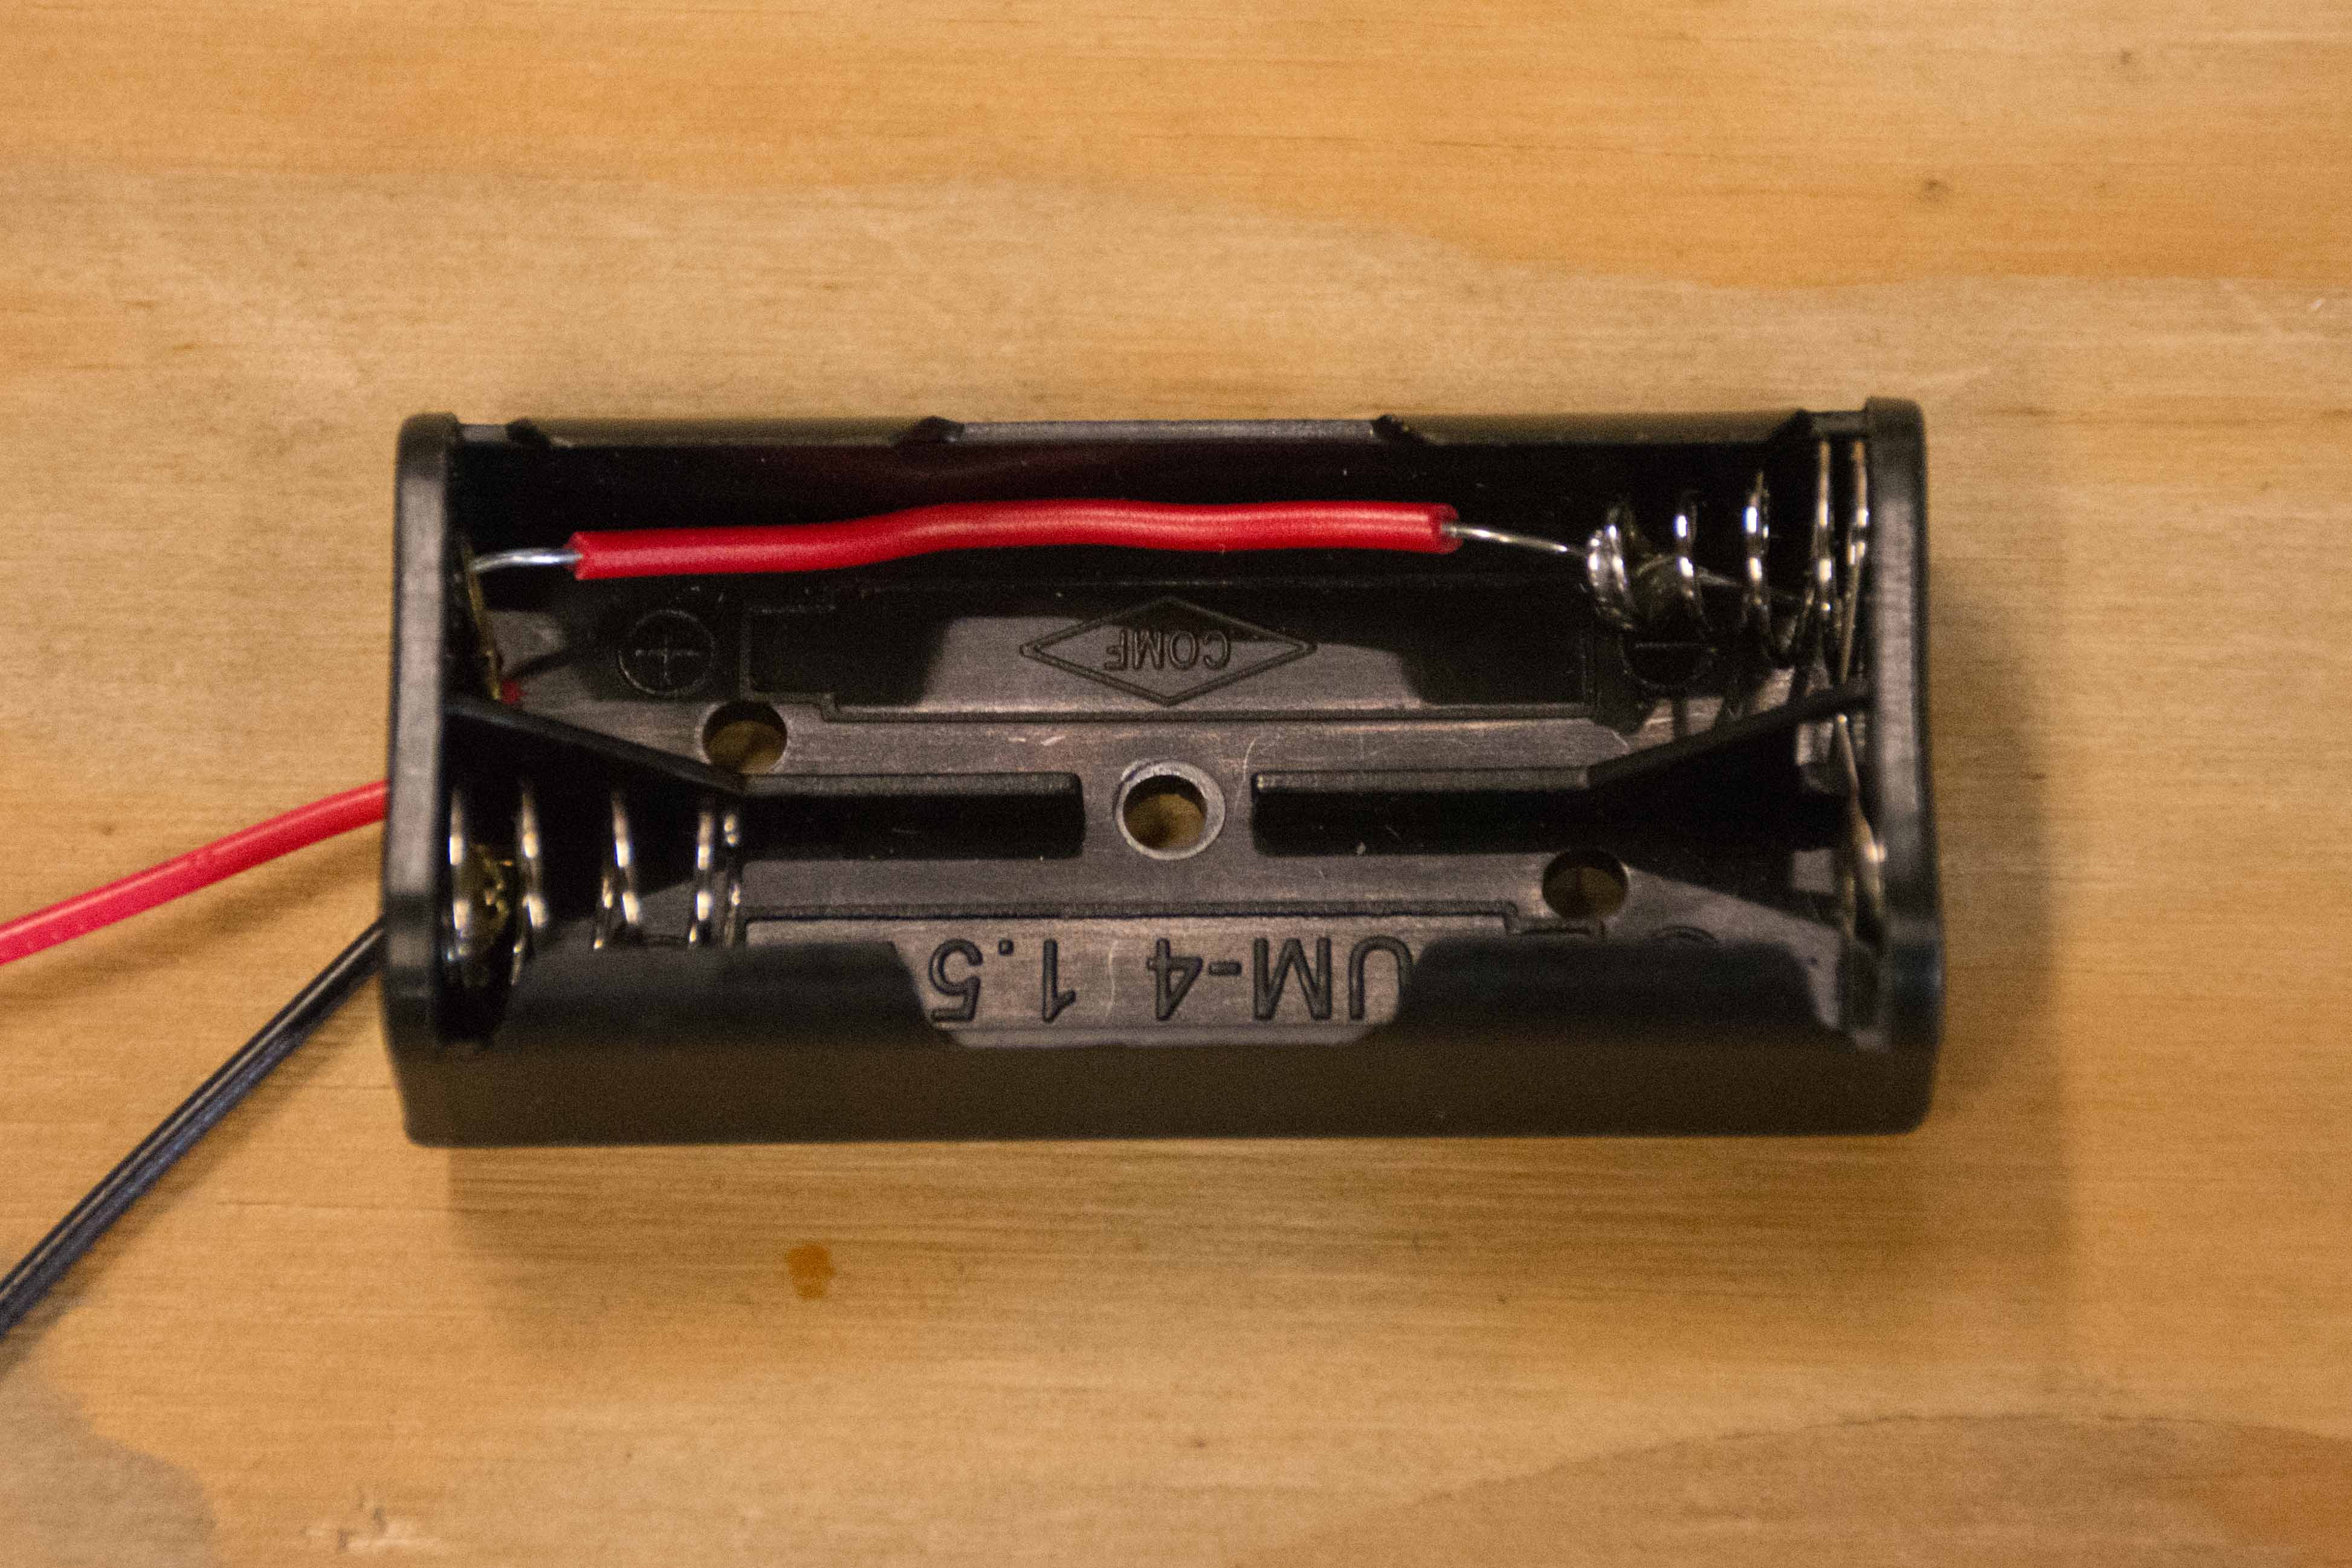
I only had a battery holder for two batteries, but I only needed one battery for the motor to spin, so I had to modify the battery pack. I soldered a length of wire to the copper pad and spring where the second battery would go.

Assemble the frame and spinning mechanism

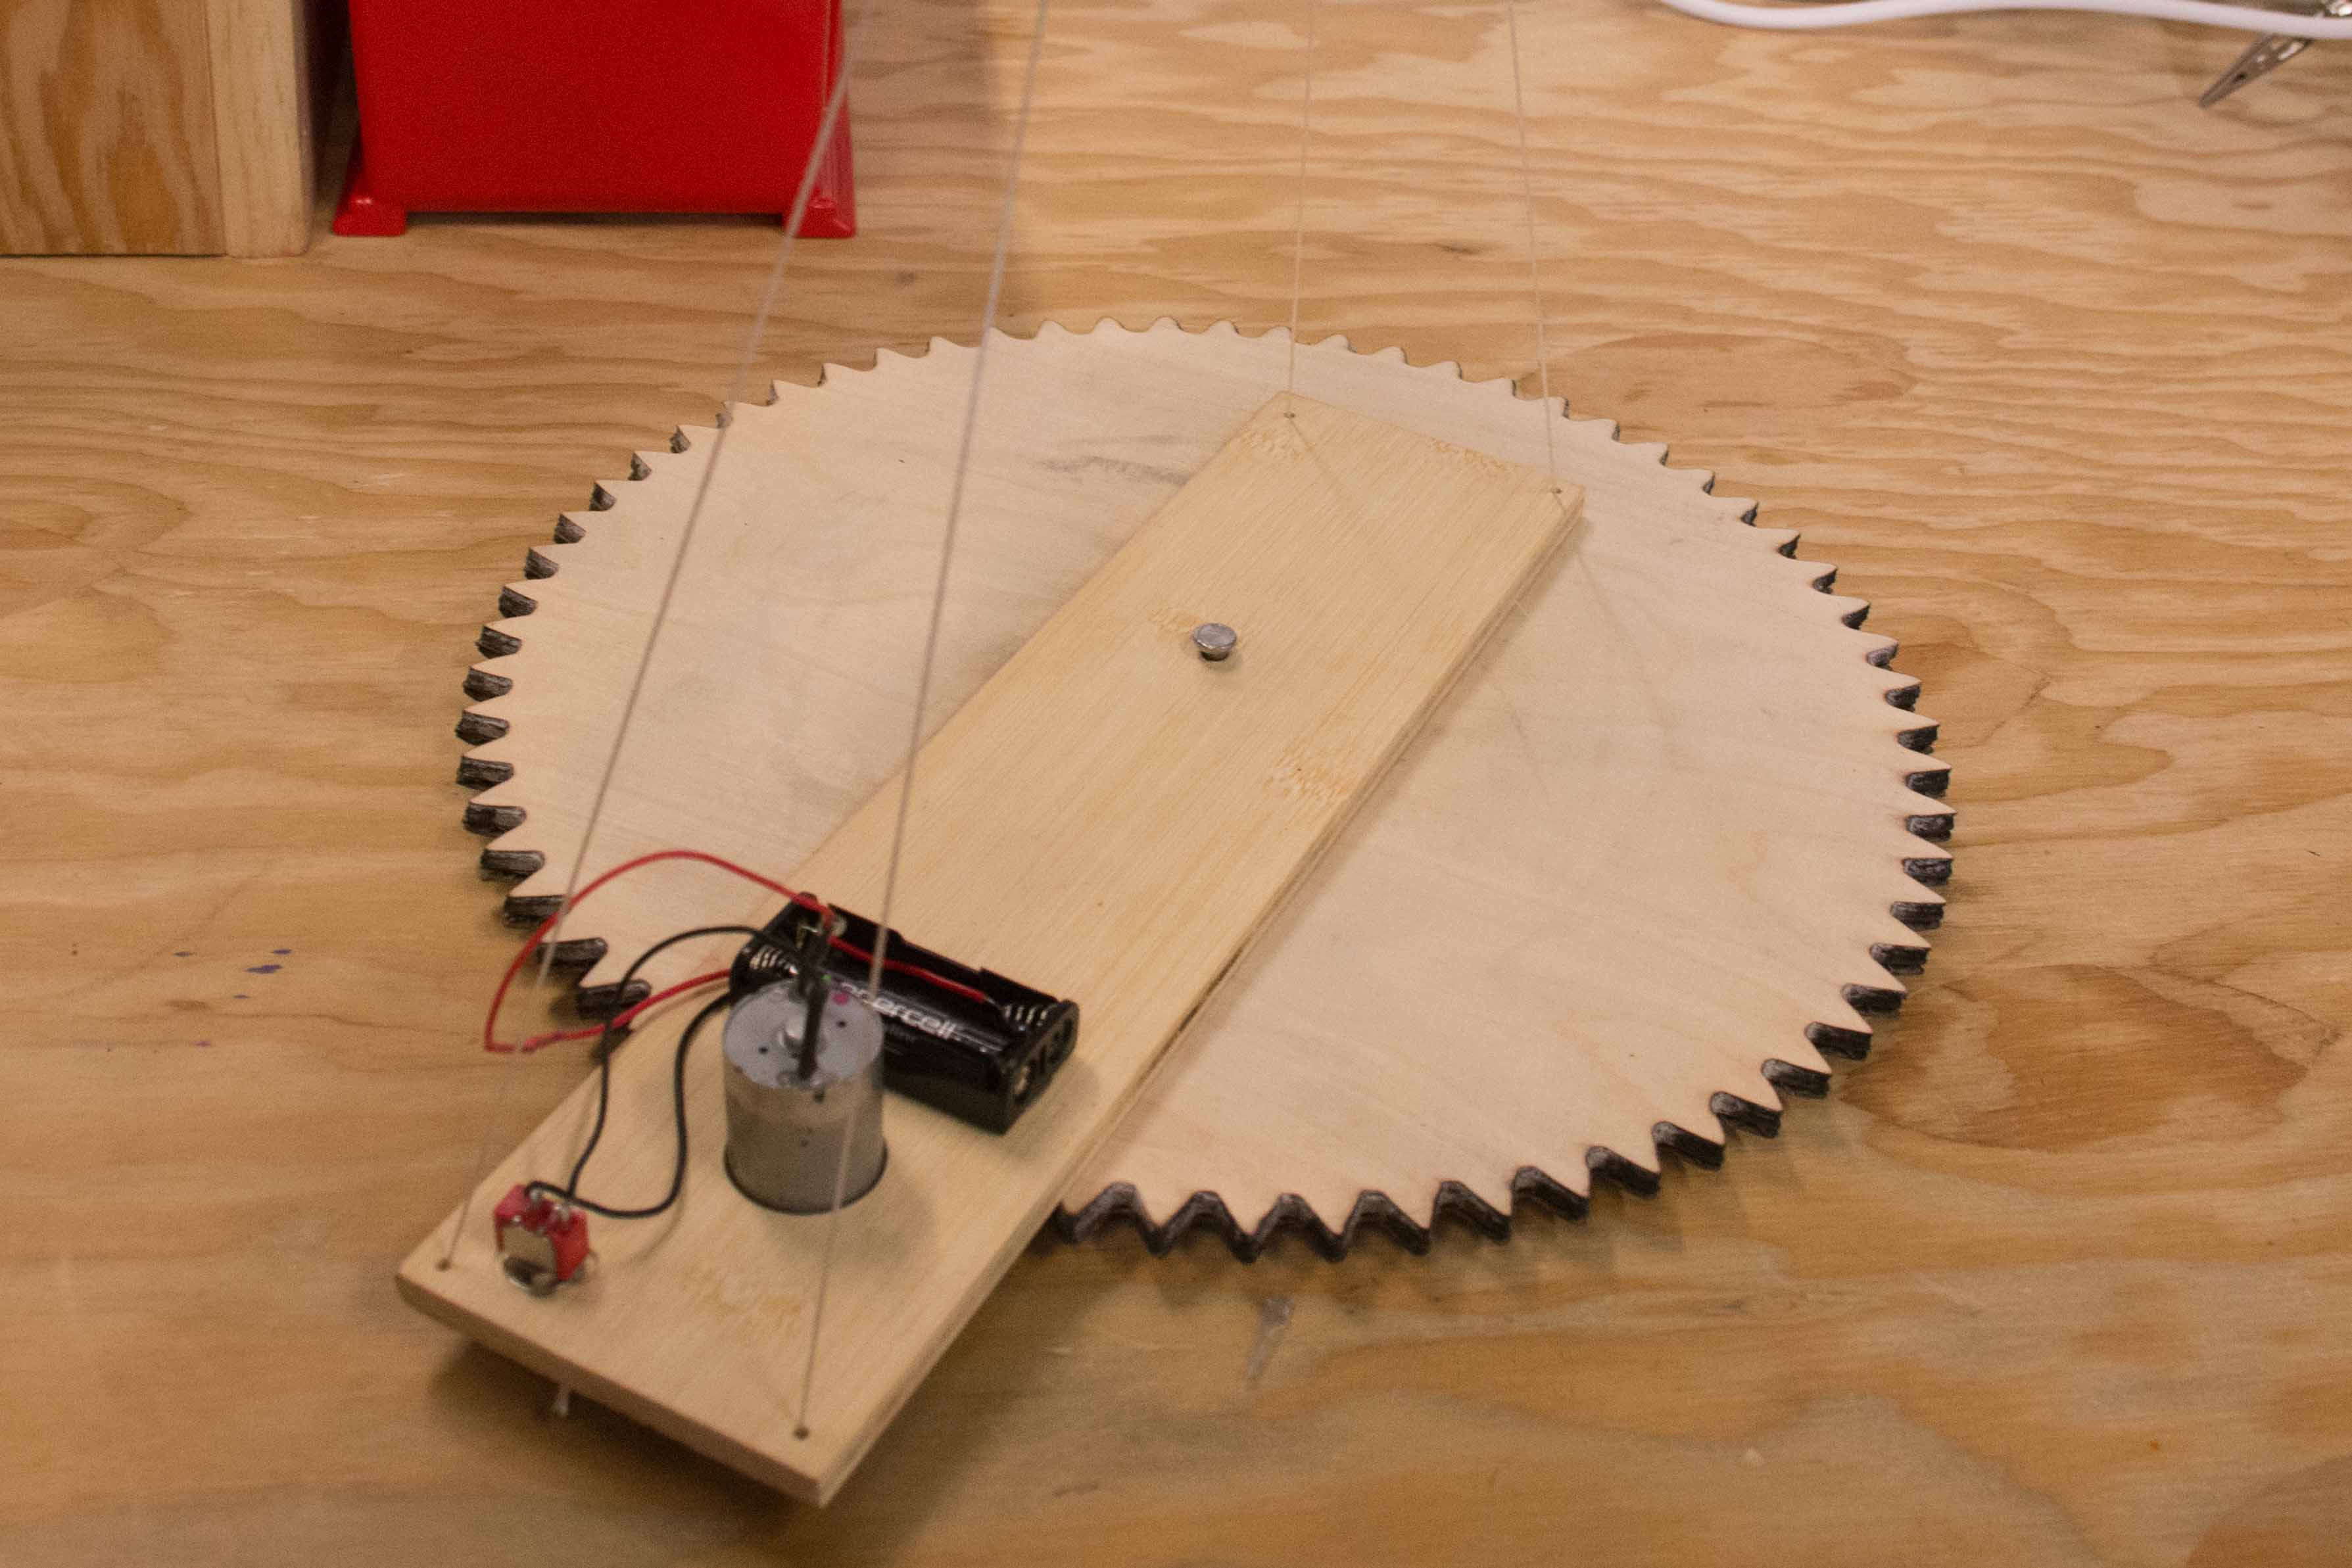
Slot the motor into it’s indentation on the frame — it might help to use hot glue to secure it in place. Once that’s mounted, put some hot glue on the shaft and slide the smaller gear onto it. While it’s drying, spin the gear a little bit so that it doesn’t get attached to the frame, just the motor shaft.

Attach the battery pack next to the motor with hot glue.

Solder the circuit. The negative wire of the battery pack goes to one terminal on the switch, the positive wire goes to a wire on the motor, and the remaining motor wire goes to the remaining terminal on the switch.
Optional: you can use heat shrink tubing to strengthen the connection between the motor and battery pack.

Thread one end of the string through the four corners on the frame and tie the ends together.

Slide the nail into its hole and slide the large gear into place. Use hot glue to secure the gear to the nail. At this point, the gears should spin when you flip the switch.

Create the ghost

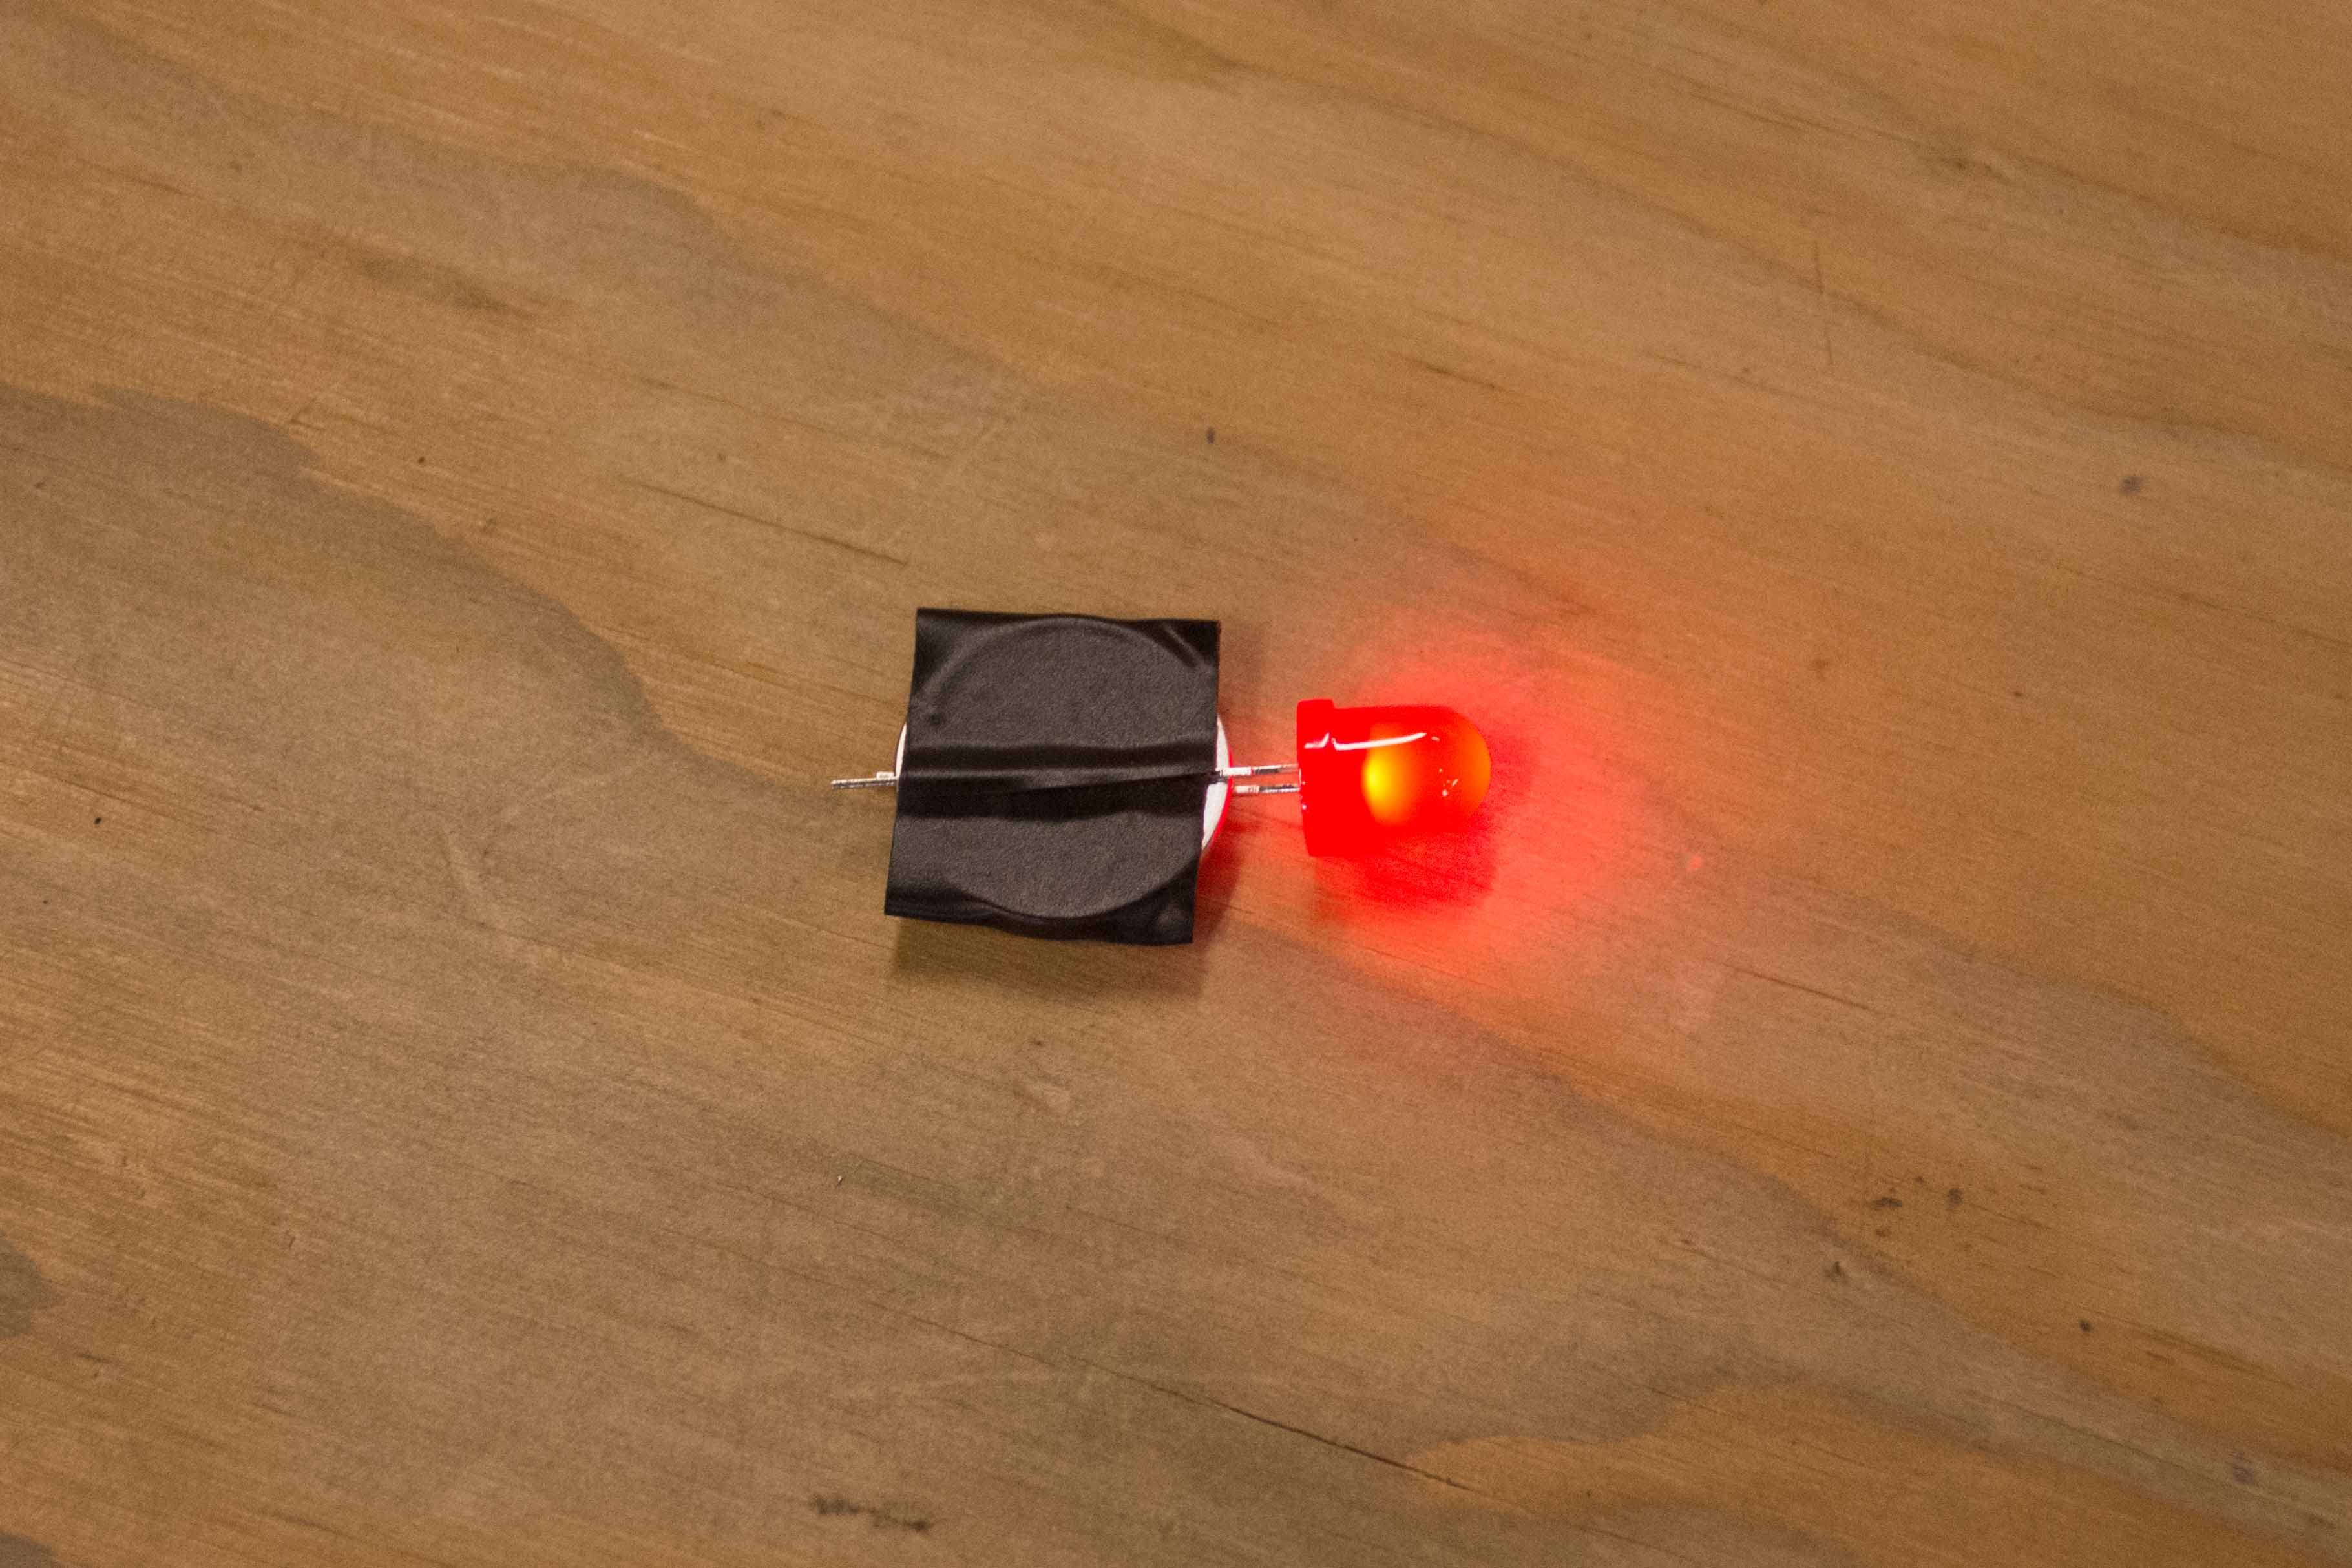
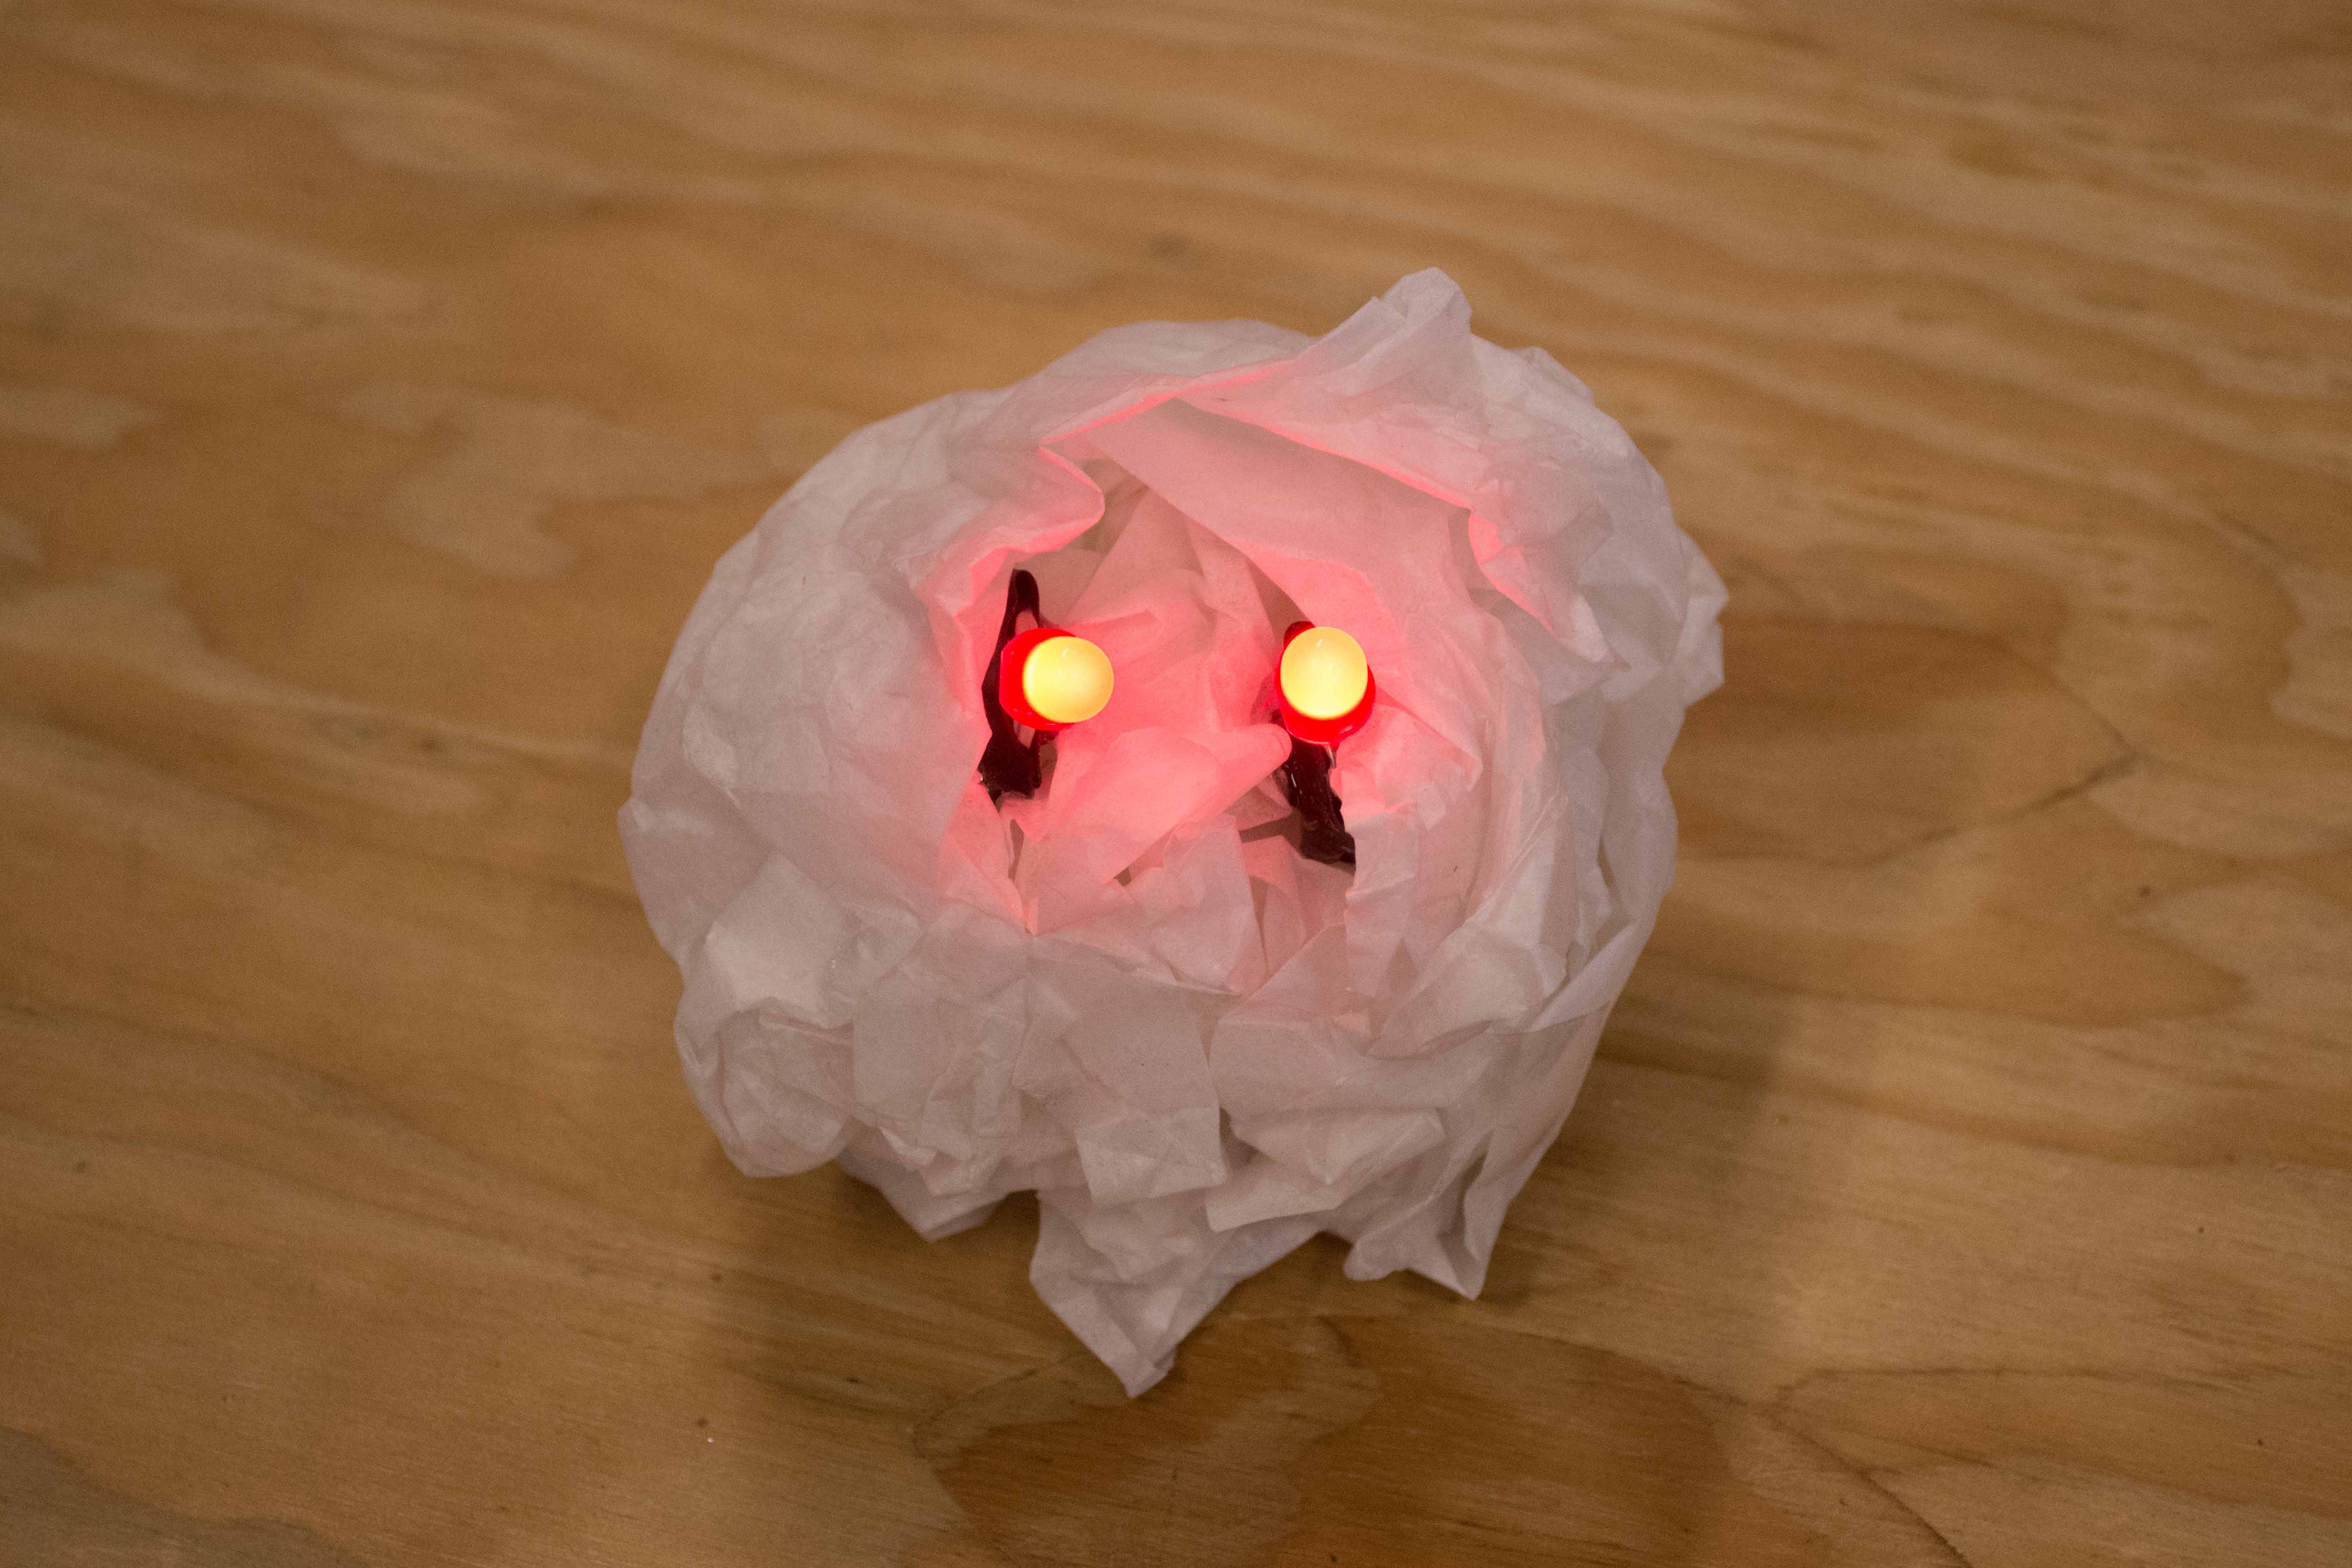
Make an LED throwie by taping a coin cell battery to the legs of an LED so that it stays on. You want to make two, unless it’s a pirate or a cyclops ghost!

Ball up a sheet of tissue paper, this will serve as the ghost’s head. Use hot glue to attach the throwies to the head of the ghost.

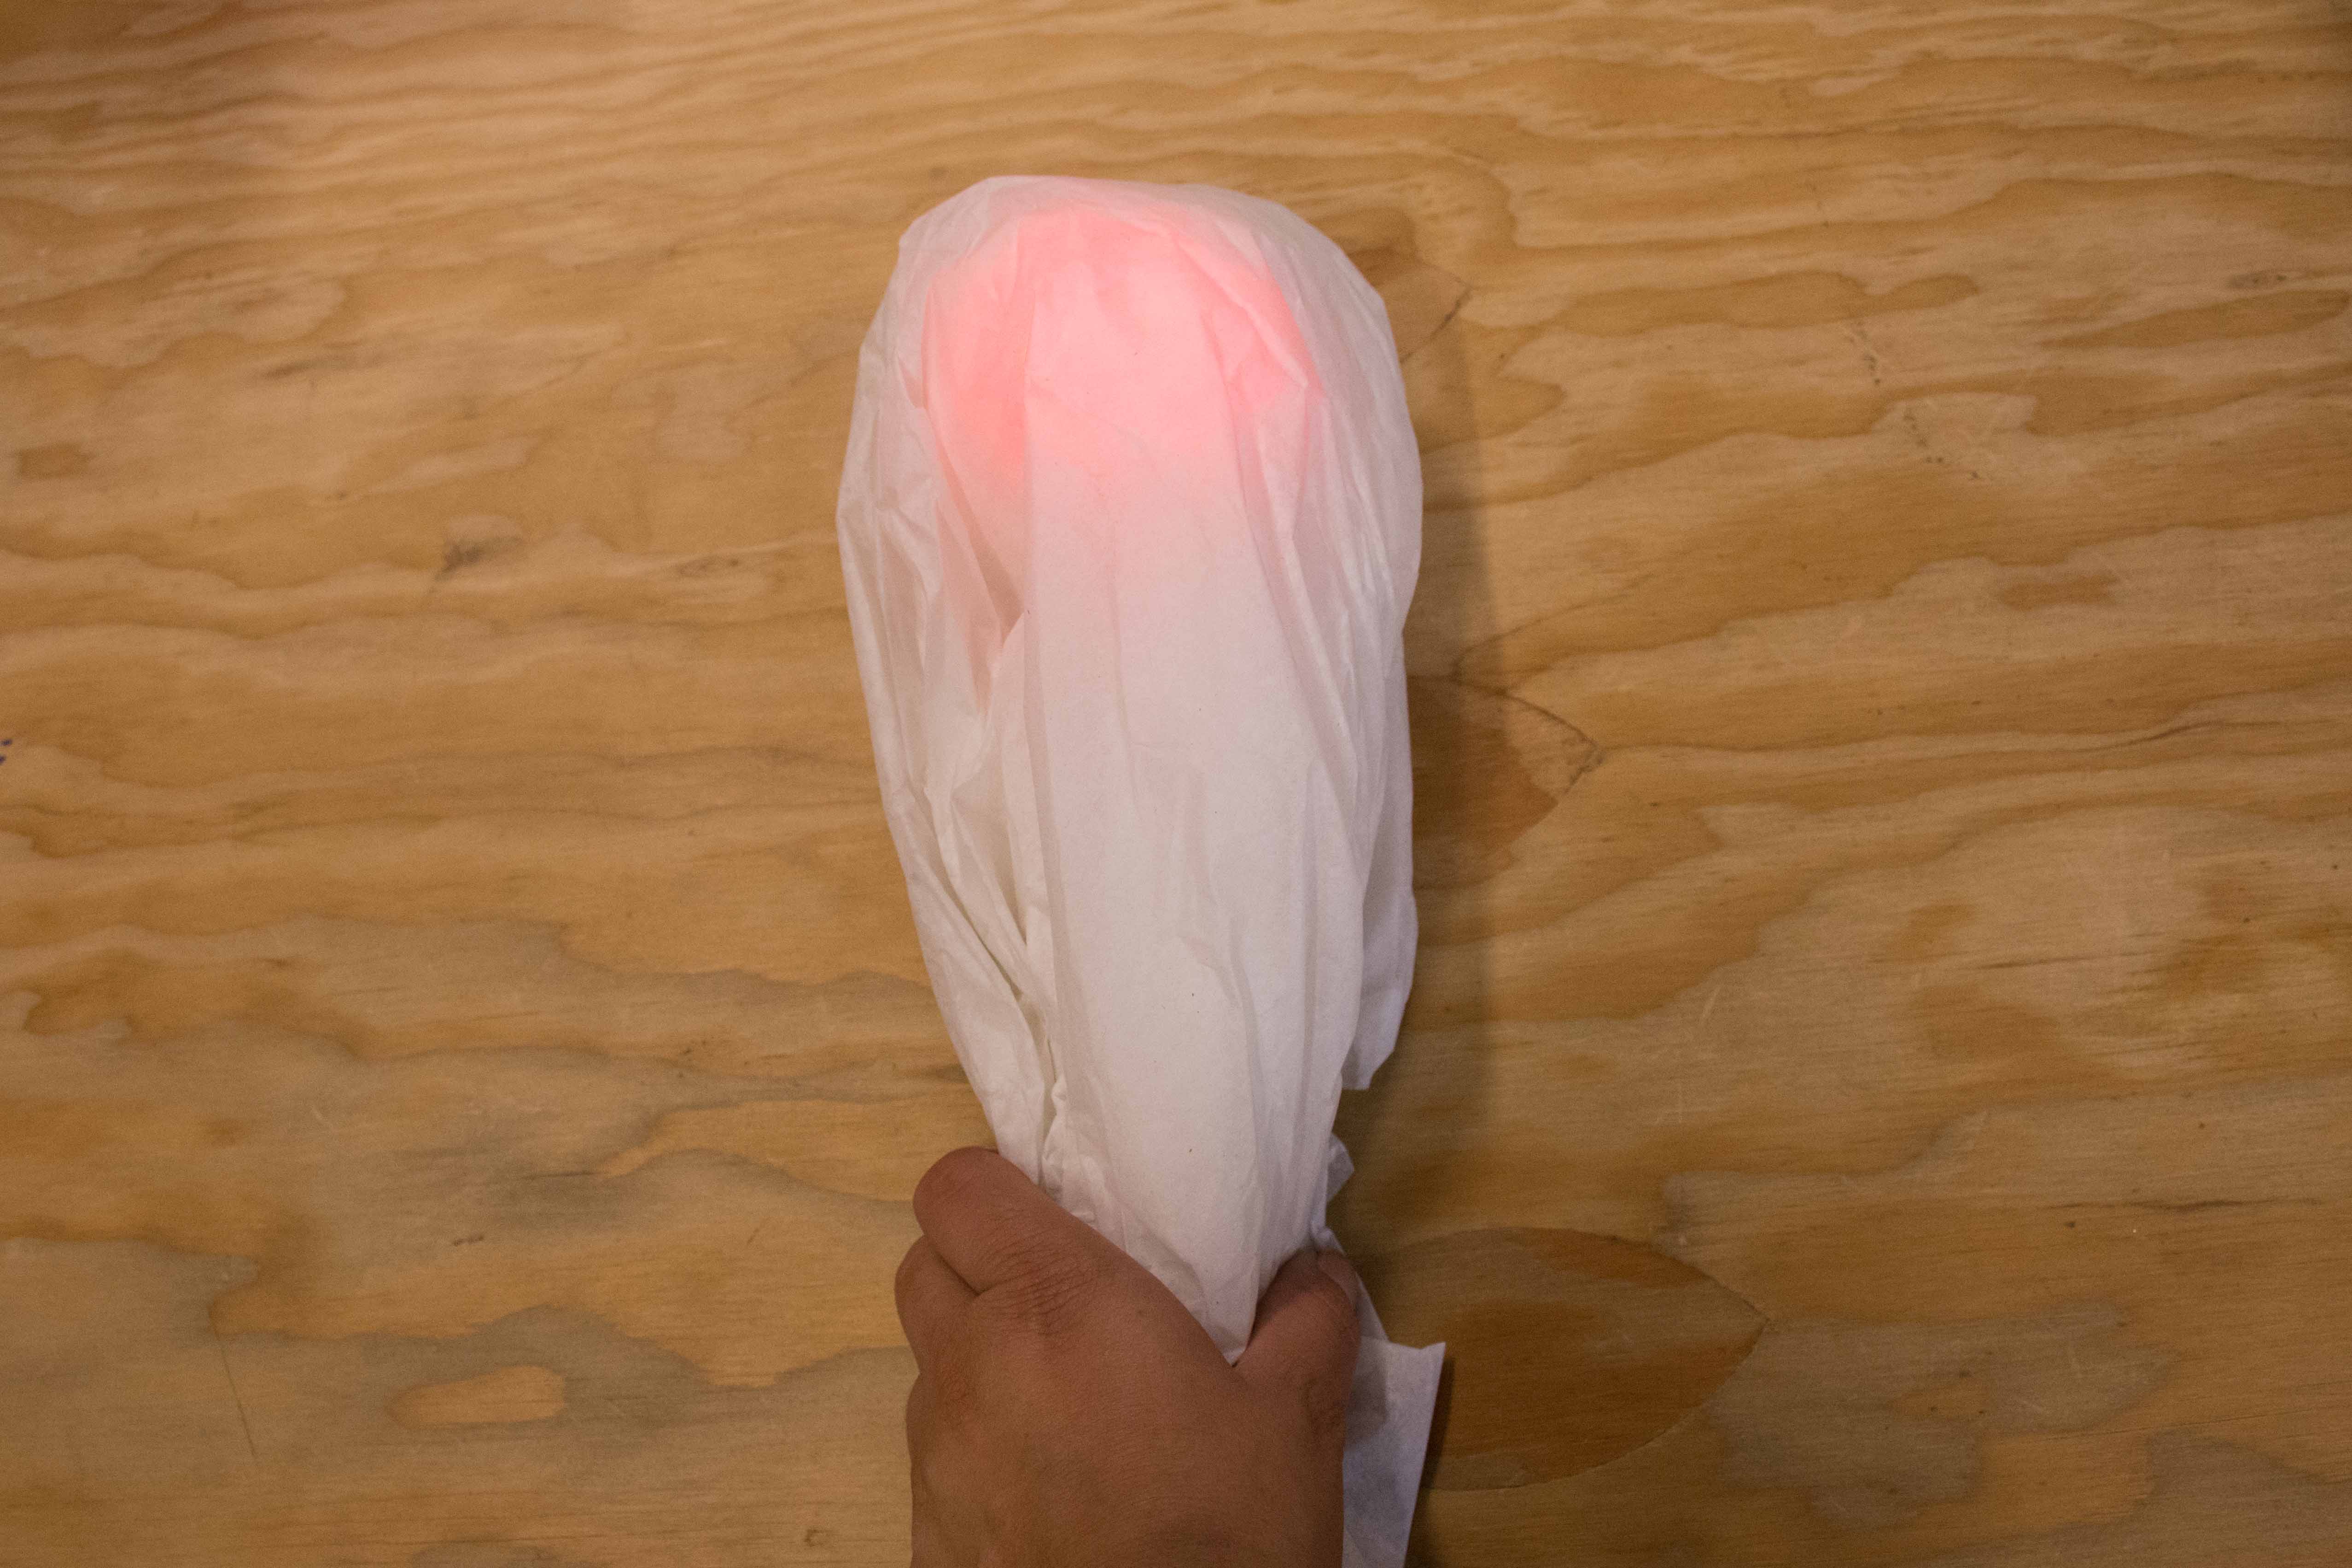
Layer the remaining two sheets of tissue paper and drape it around the ghost’s head. Slightly wring the tissue around the head.

Attach ghost to the larger gear

Remove the tissue paper body from the ghost’s head. Hot glue one end of the fishing line to the top of the head.

Using a pencil or another sharp object, pierce a hole through the top of the tissue paper body. Thread the other end of the fishing line through the top of the ghost’s body.

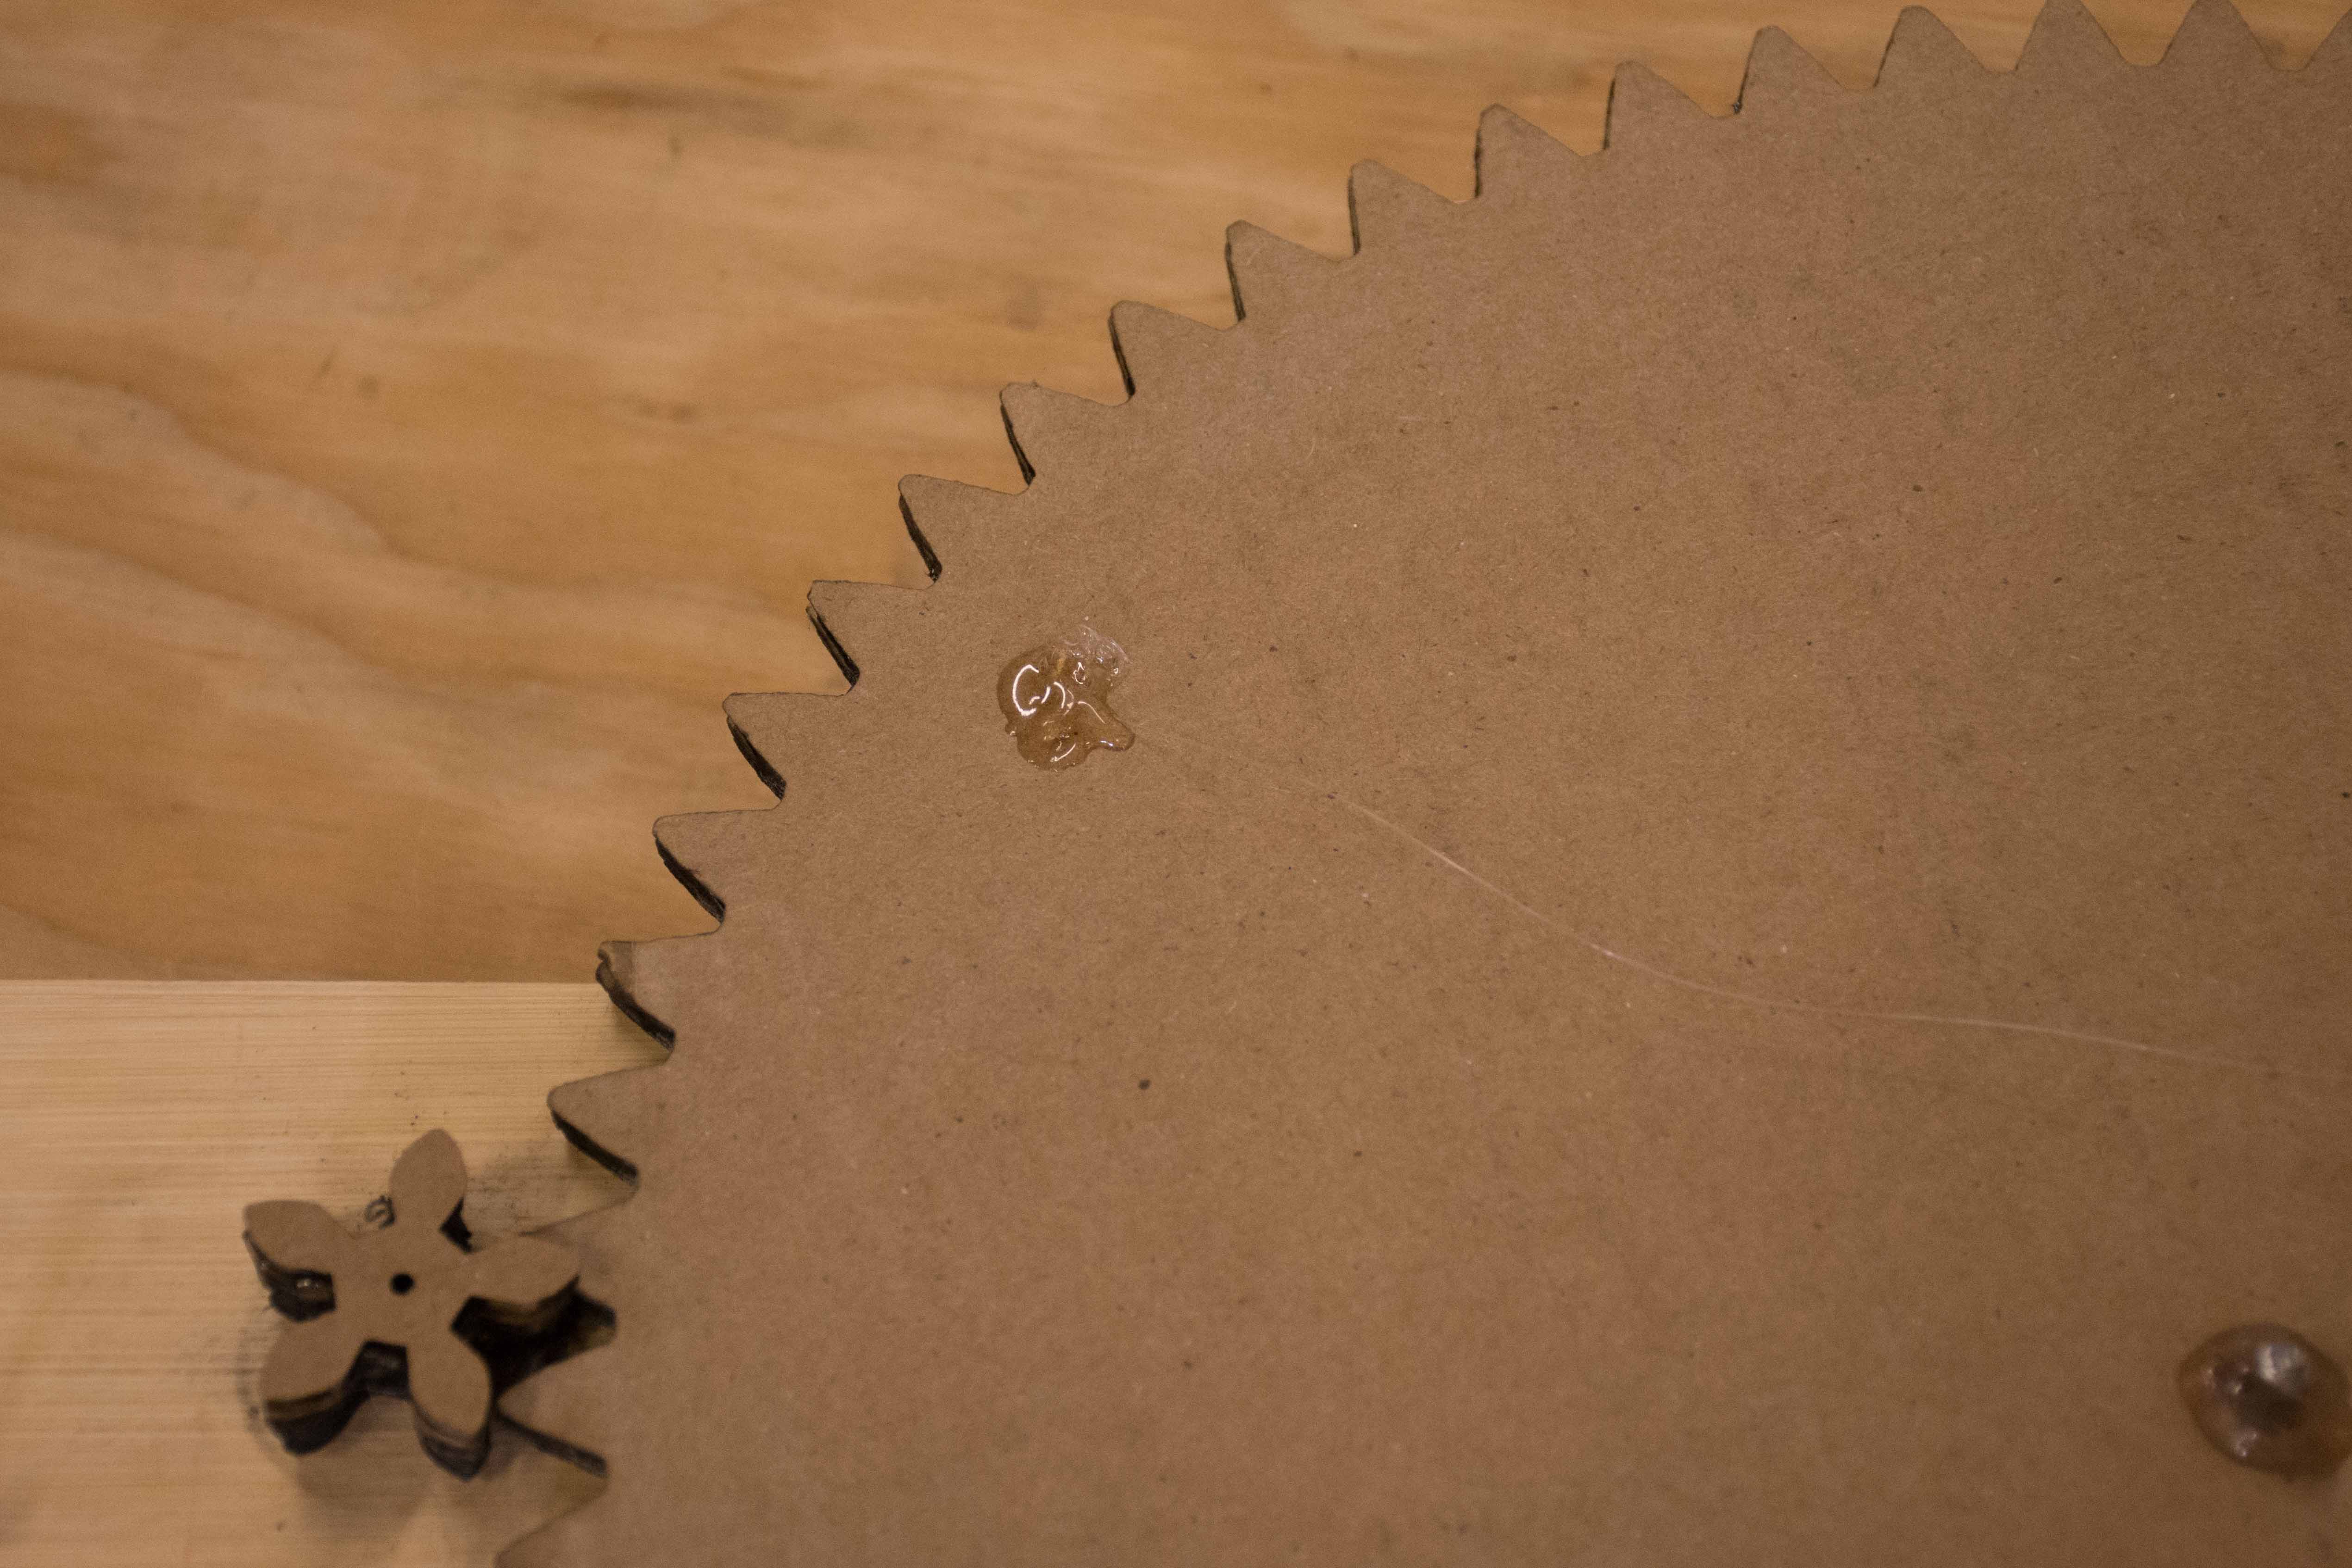
Hot glue the remaining end of fishing line near the edge of the largest gear.

Hang your ghost-mobile

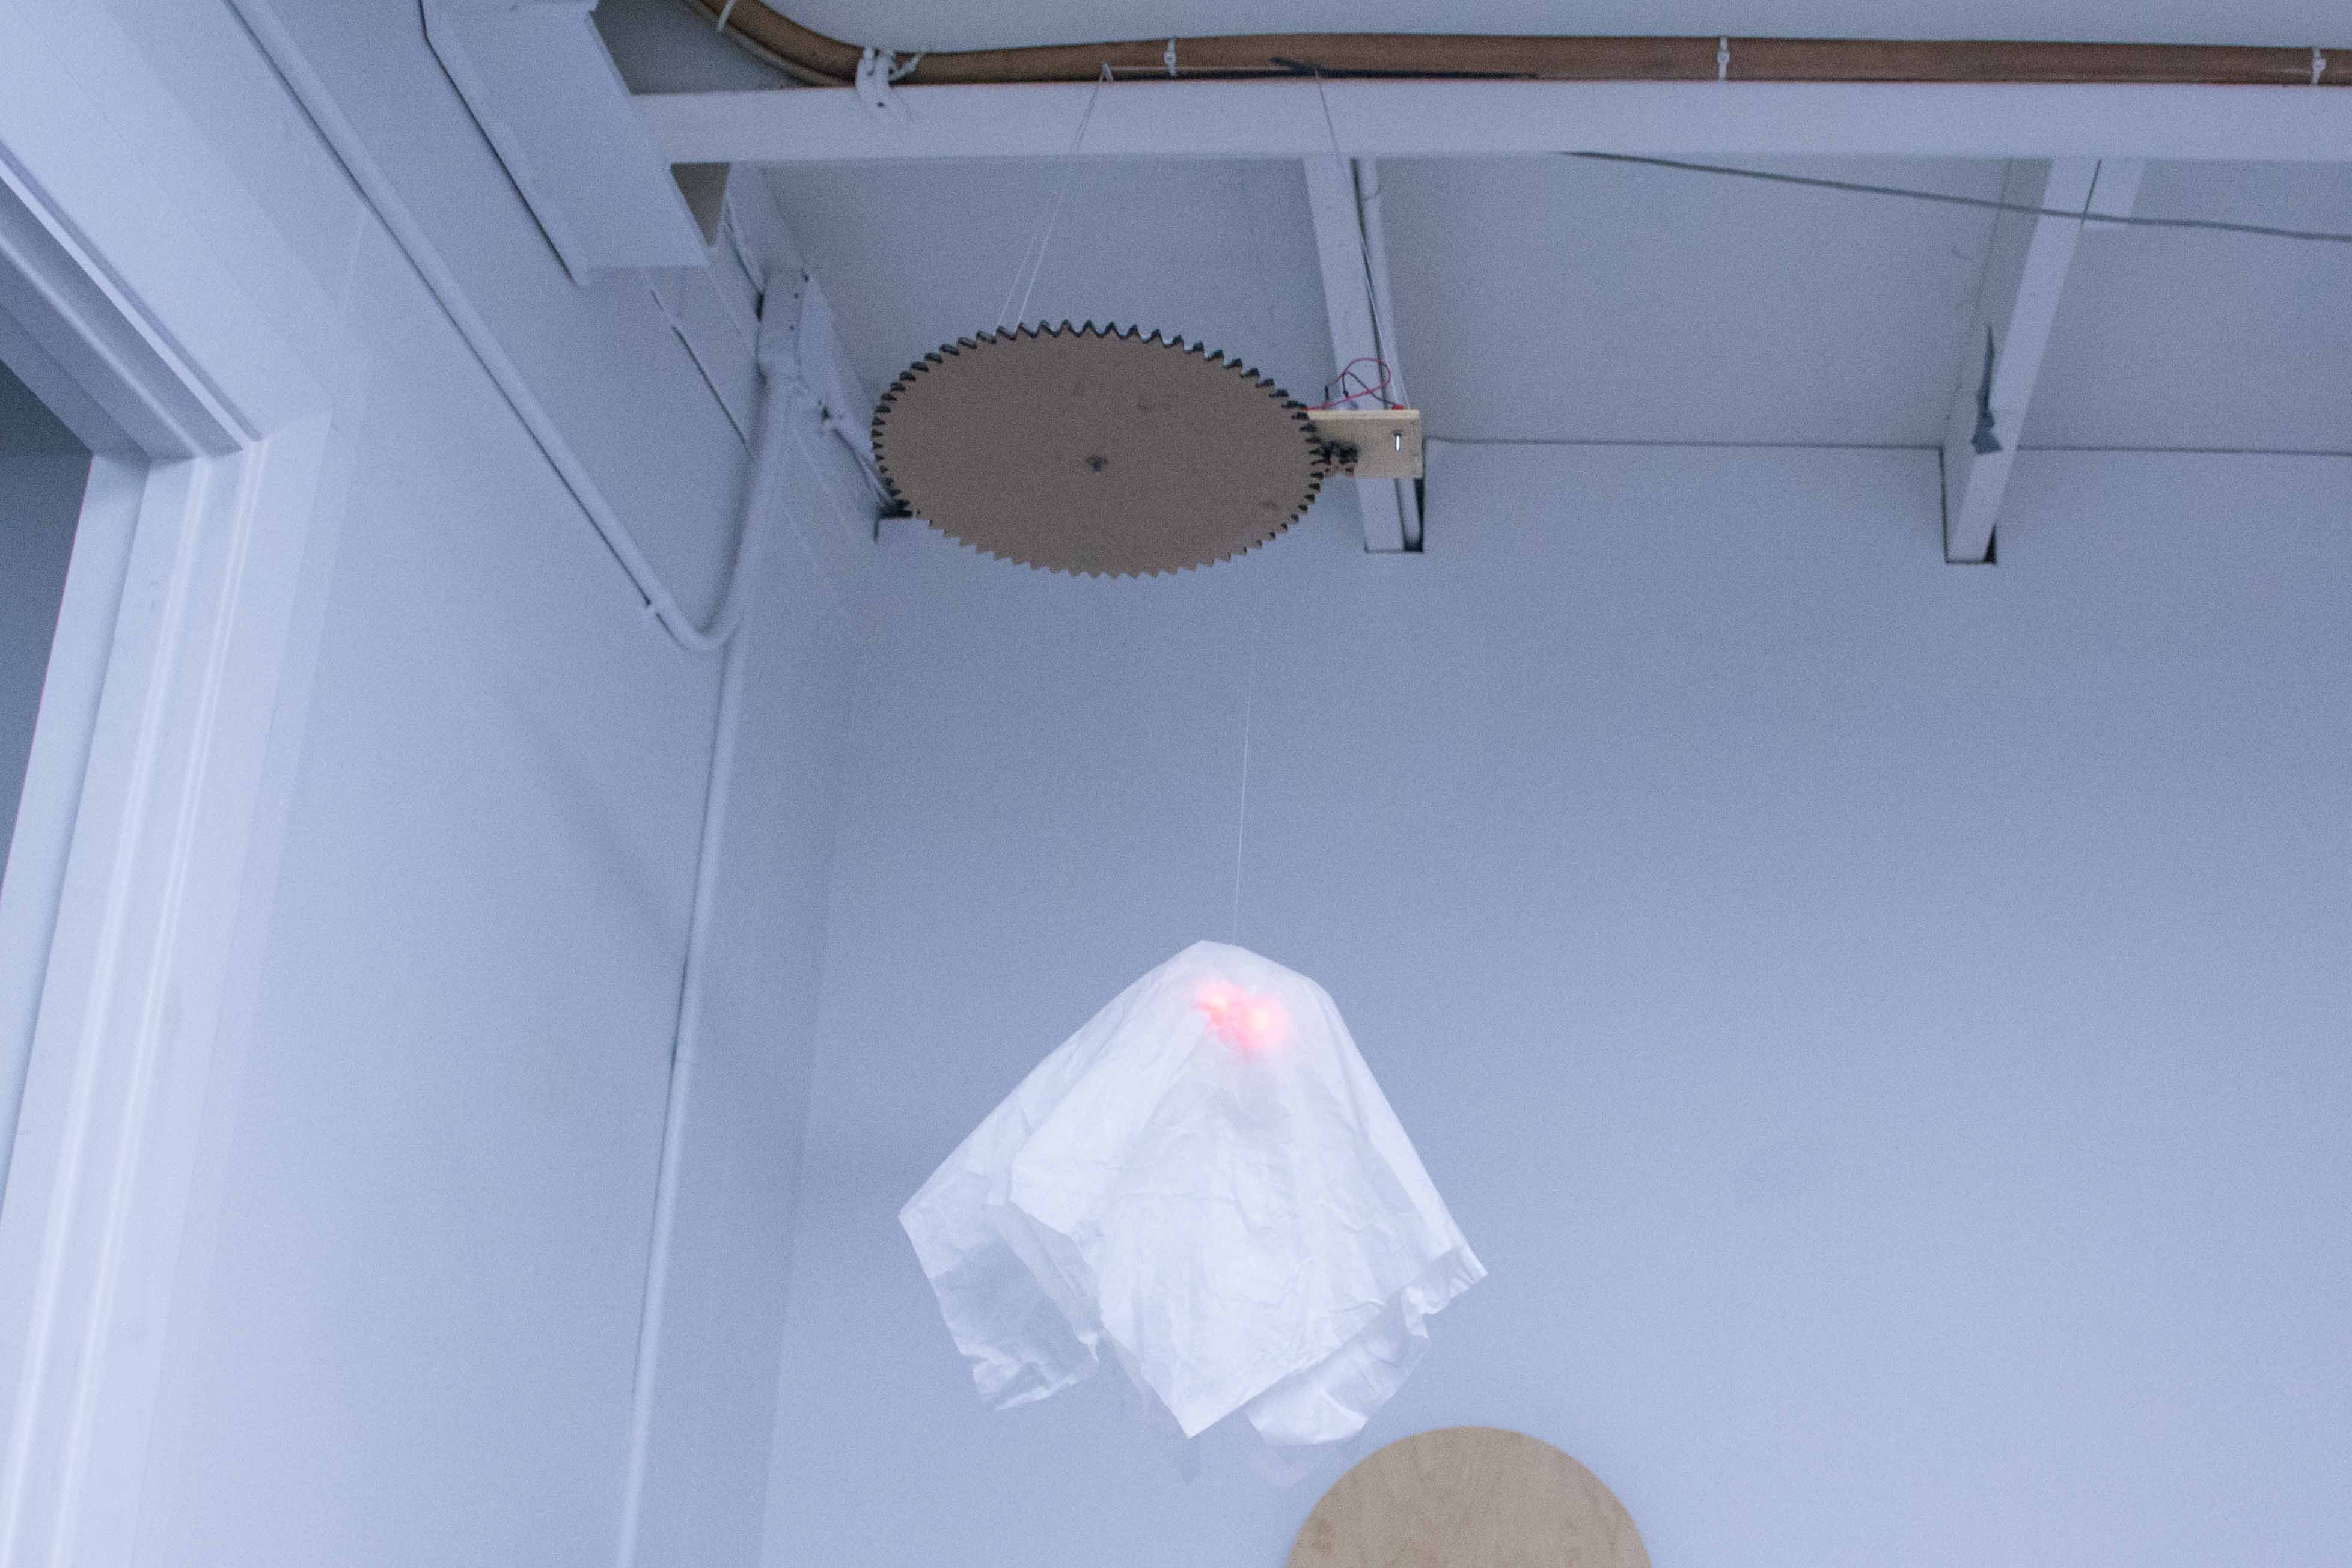
Place your ghost-mobile wherever you want him to haunt. Adjust the frame so that it’s parallel to the ground.

Flip the switch and watch the ghost spin!