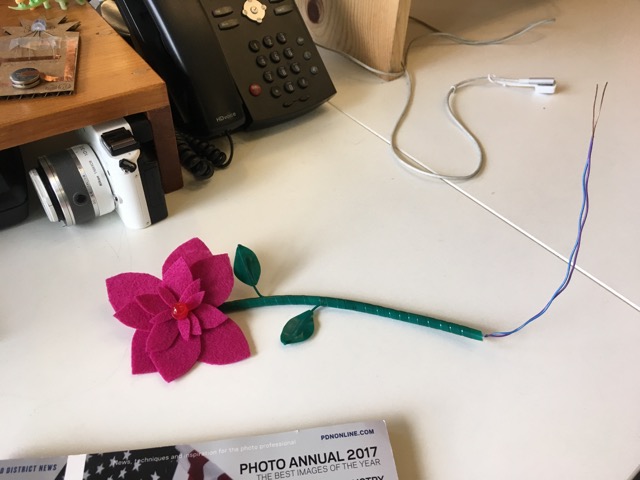
Looking for a quick and easy last minute Mother’s Day gift for mom? Make her special day bright with this simple but beautiful glowing flower!
Projects from Make: Magazine
Make a Simple LED Flower for Mother’s Day


To get started, cut out various-sized petals from the felt. I cut one basic shape to start, but you could also alter them later if I wanted a more detailed petal.
Cut the stem out of plastic tubing. Make sure your wires are long enough to pass through the other end!
Next, solder the electronic wire to each end of the LED, so you can run current from a power supply up through the flowers stem to the LED.
Put shrink tubing on at least one of the connections otherwise you risk shorting out the circuit.
Next, start glueing petals onto the back of your LED. You will want to start with small petals first, and then gradually add the bigger petals to give it a more realistic look.
I also added a pleat to the petals to give them a little bit of depth.
Next, make a few leaves for your stem using green electronic wire and green electrical tape. Cut a 3″-4″ wire for your leaf stem. Then, make a flat rectangle out of tape, making sure to include the wire inside. Cut the rectangle into your desired leaf shape, and repeat for as many leaves as you want.
Then, wrap your stem (tube) in green electrical tape, adding in the leaves where you’d like. To do this, wrap the wire under the tape a few times, and then fold the leaf back so you can continue wrapping past it.
Finally, slide your leads through the stem and glue your flower in place at the opening.
You’re done! To light your flower up you can connect them all into a circuit, or simply attach the ends to a coin cell battery.