Throwie-based modification of hoop earrings to illuminate them with LEDs.
Projects from Make: Magazine
LED Hoop Earring, Mk I
Throwie-based modification of hoop earrings to illuminate them with LEDs.
Throwie-based modification of hoop earrings to illuminate them with LEDs.


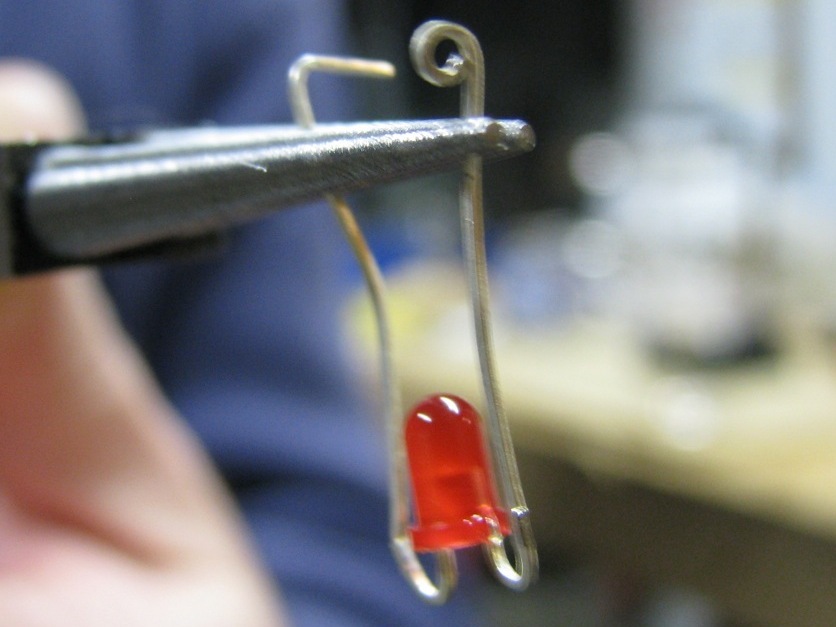
Note which lead is longer. Using the jeweler’s pliers, carefully bend both leads 180 degrees. The idea is to illuminate the earring and the wearer, not the wearer’s shoulder.
Bend the longer lead 90 degrees to one side.
Bend the shorter lead into a circle.
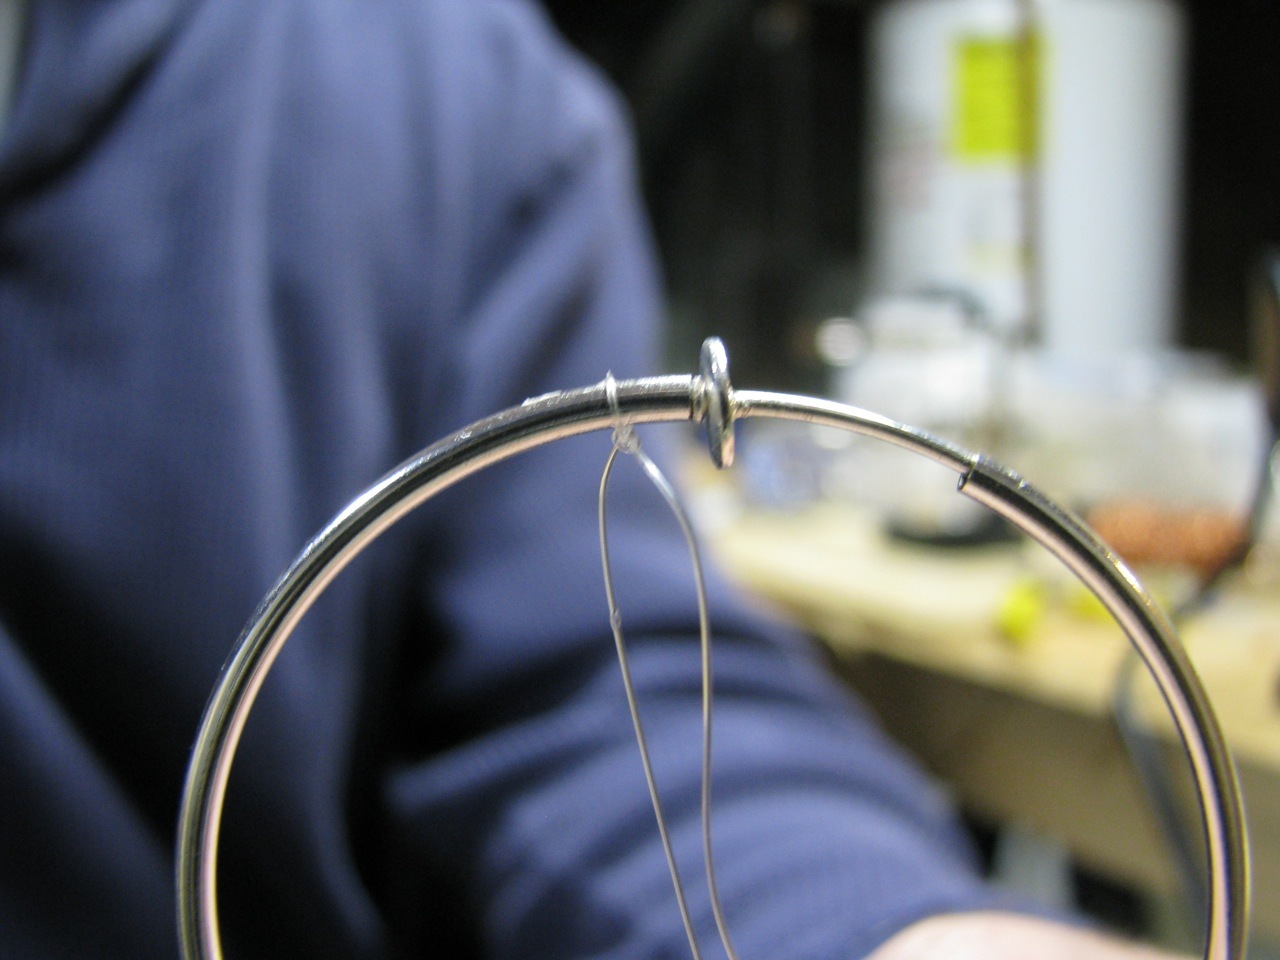
Cut a generous length of monofilament (8-12″).
Tie the center of the monofilament around the hoop. Use a Round-Turn and 2 Half-Hitches.
Make sure the knot is near the “top” of the earring. The battery and LED will hang from the knot.
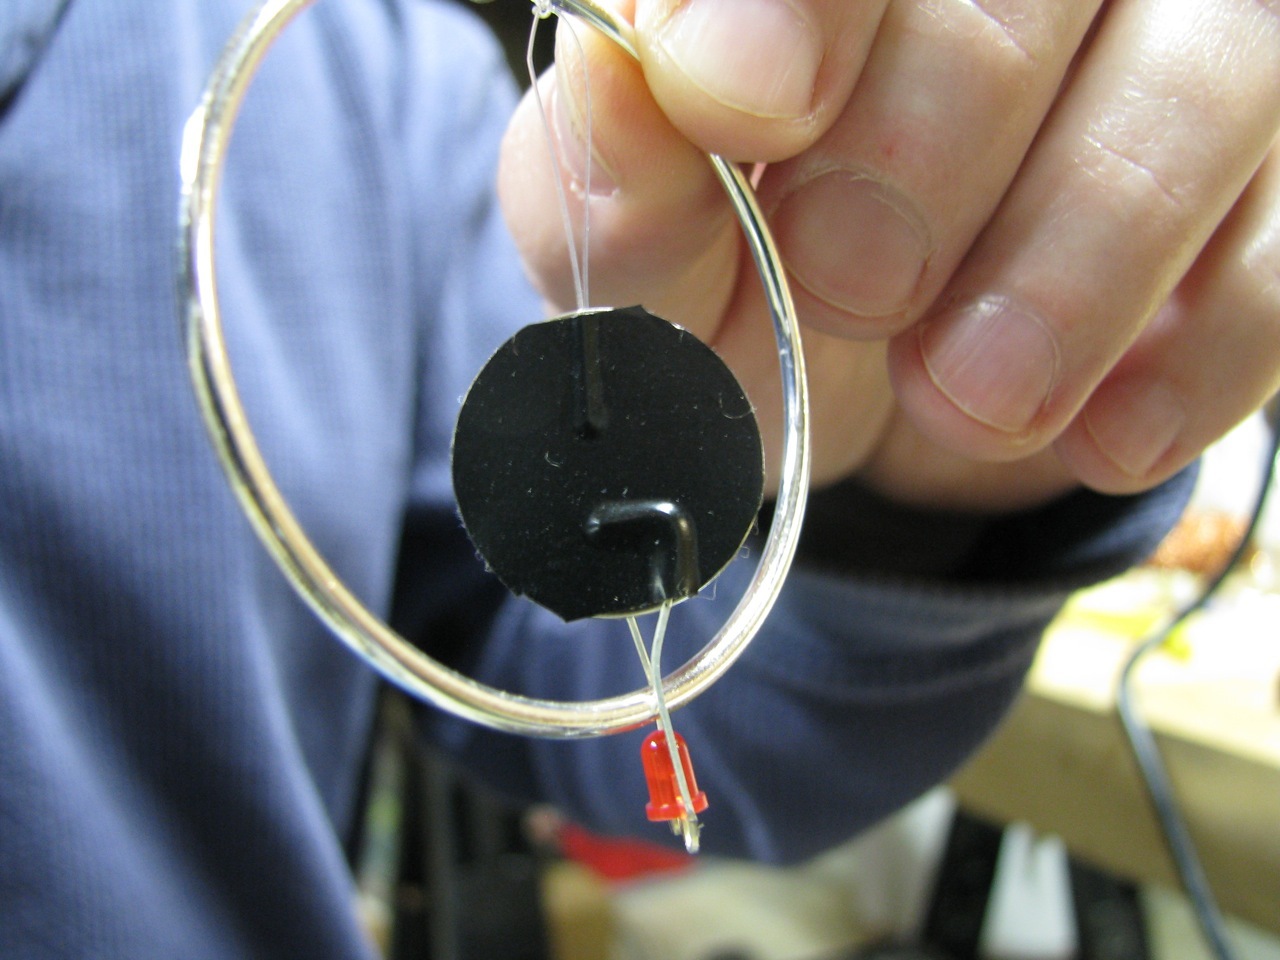
Cut a length of electrical tape, sufficient to cover one side of the battery.
Cut one side of the monofilament at a length where the LED will hang below the hoop.
Tape the cut monofilament and the longer (90° bend) LED lead to the positive face of the battery. Completely cover the battery’s face.
If you want to get fancy, you can bend the lead in such a way that you can tie the monofilament to the lead. Don’t let the monofilament interfere with good contact between the battery and lead.
Trim the tape to the edge of the battery.
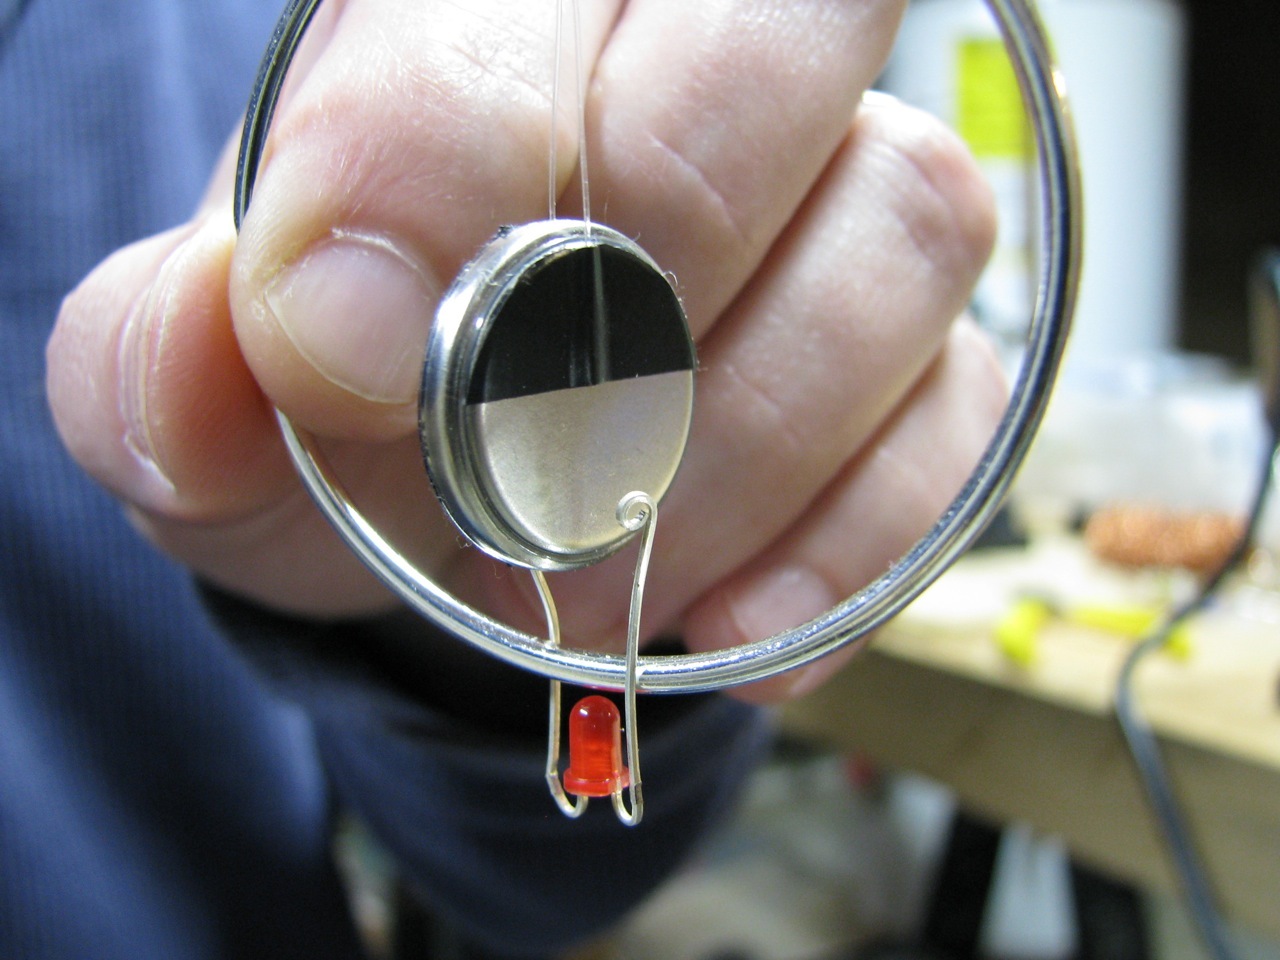
Cut a length of electrical tape that will cover half of the other battery surface.
Position the LED such that a lead falls on each side of the hoop. Tape the monofilament so the battery hangs evenly from both lengths.
Trim the monofilament to the edge of the tape.
Trim the tape to the edge of the battery.
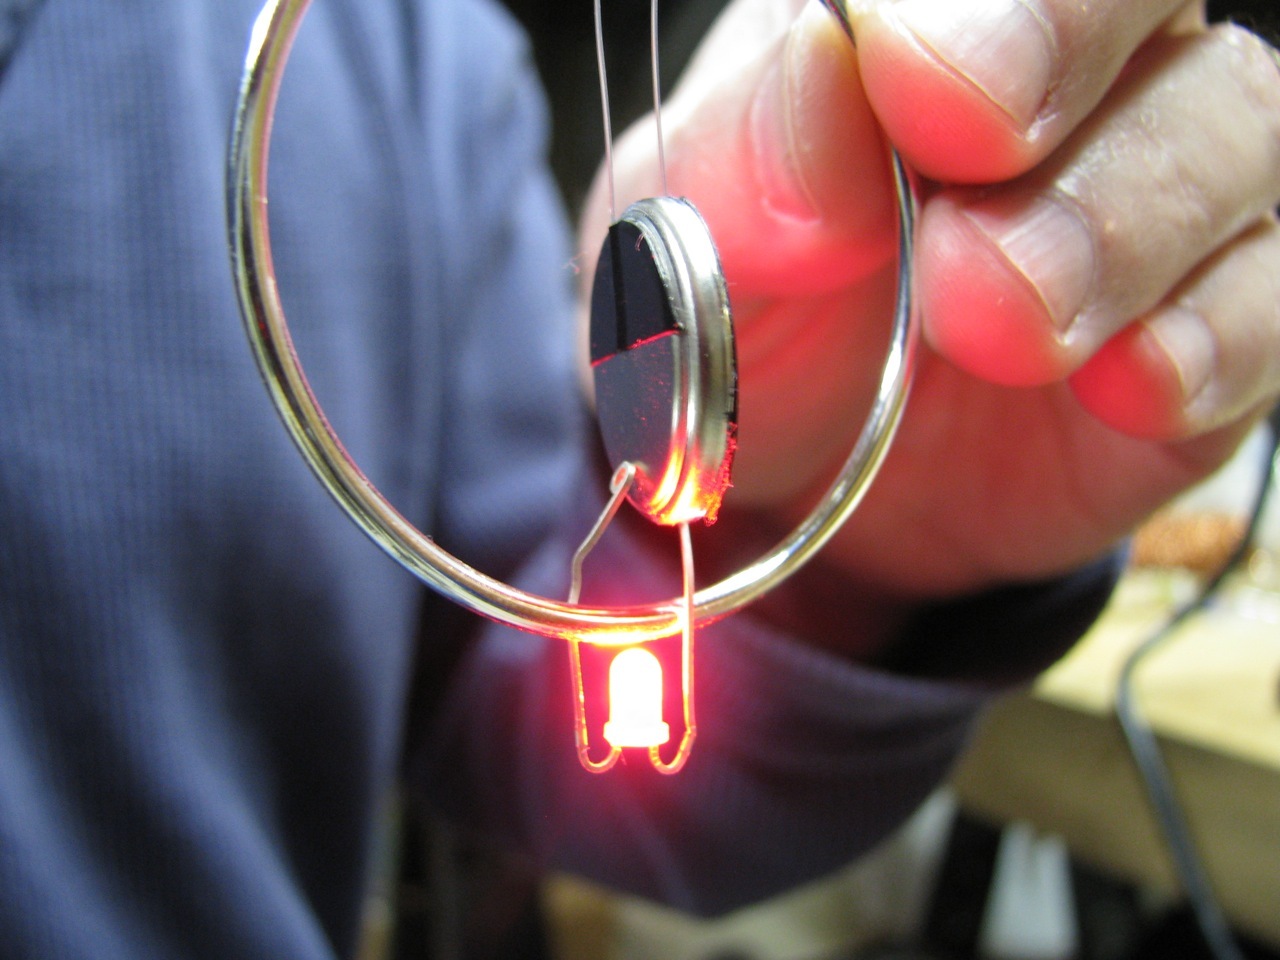
Bend the short lead into good contact with the battery. Do not let the lead touch the edge of the battery — that’s part of the positive contact.
A third-hand is really useful, also.