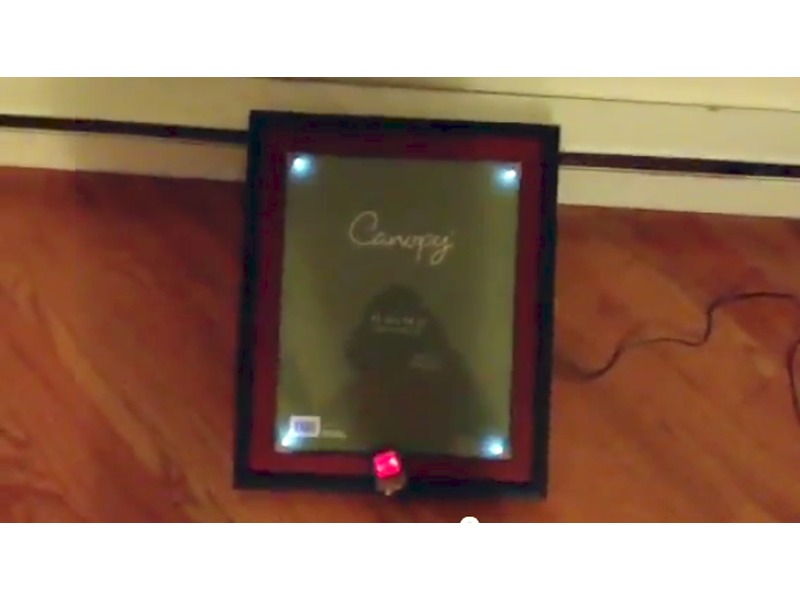
You may have the most beautiful picture, diploma, or award that’s hiding in the dark. Now you can illuminate it with the LED LilyPad Frame, and bring it to life.
Here are the materials you will need to build this beautiful project:


Take the padded cardboard and cut out two squares .75 inches by .75 inches. (It has to be .30 inch thick.) Then cut each of the squares across the diagonal to make triangles.
You will need four of these triangles.

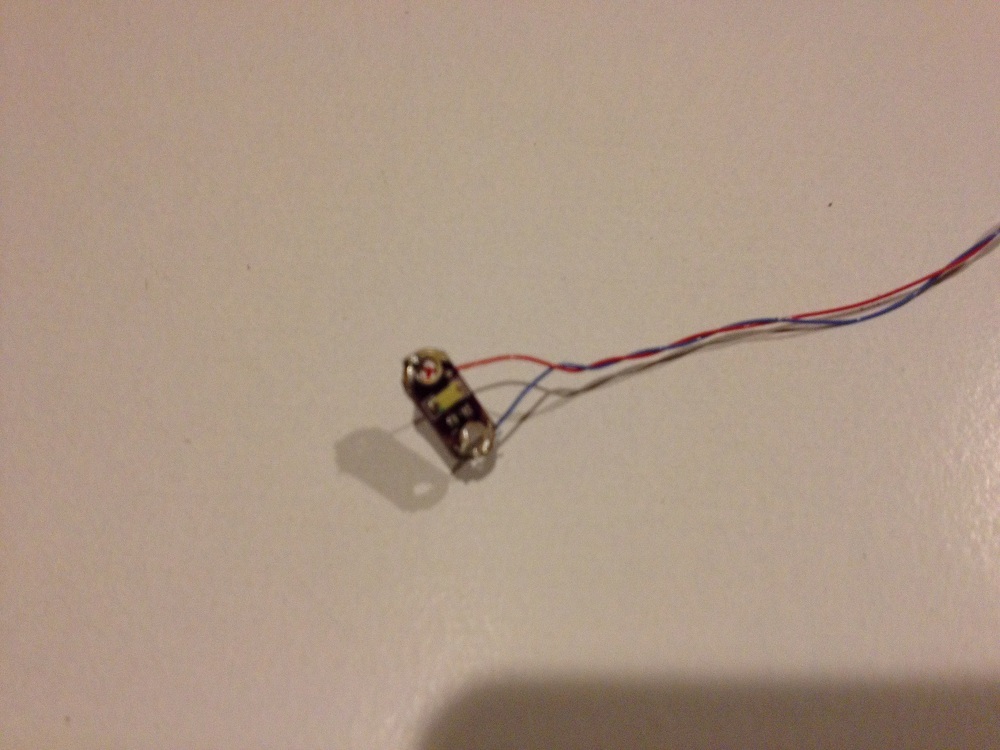
Solder a white or red wire to the positive side of a LilyPad and the black wire to the negative side.
Do this for all four of the LilyPads.

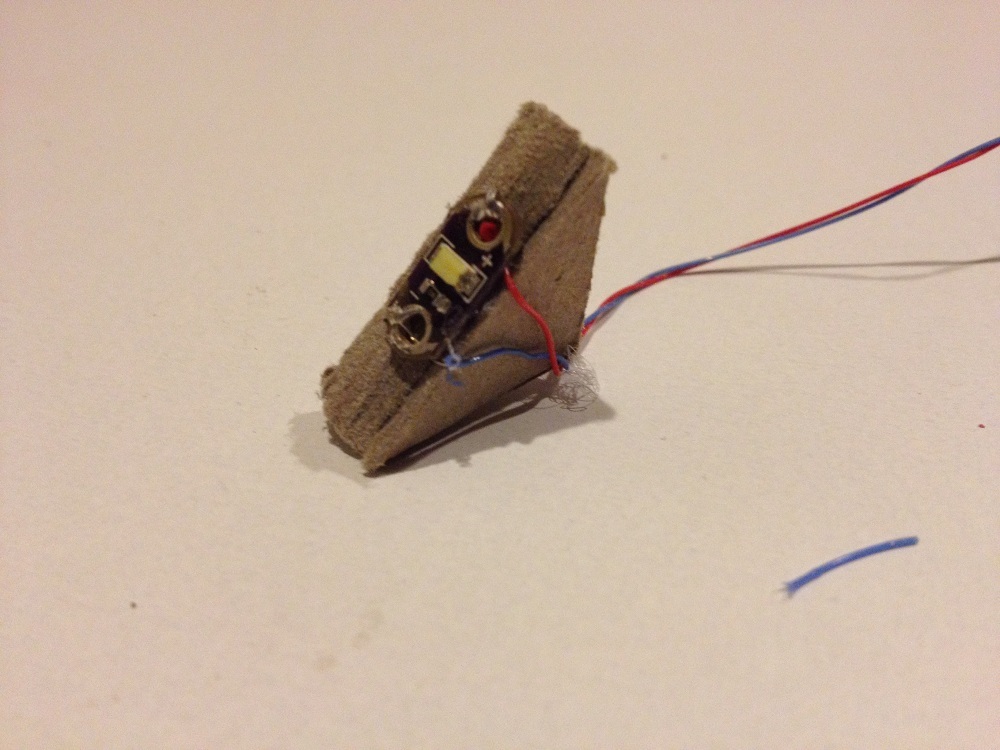
Glue the the LilyPad to the hypotenuse of one of the triangles.
Then take a piece of the double-sided tape and apply it to one side,
Repeat for all four corners.

This is the circuit that makes everything work.
Make sure you have a breadboard to test out everything before you solder it together.

After you are done with all the connections, then glue a triangle into each corner of the frame.
Enjoyyyyyyyyyyyyy :)