

The most interesting part of this project was coming up with ways to create a switch out of paper.
Projects from Make: Magazine
LED Night-Light Cube
Make an LED night-light cube using things you probably have lying around.
Make an LED night-light cube using things you probably have lying around.
The most interesting part of this project was coming up with ways to create a switch out of paper.
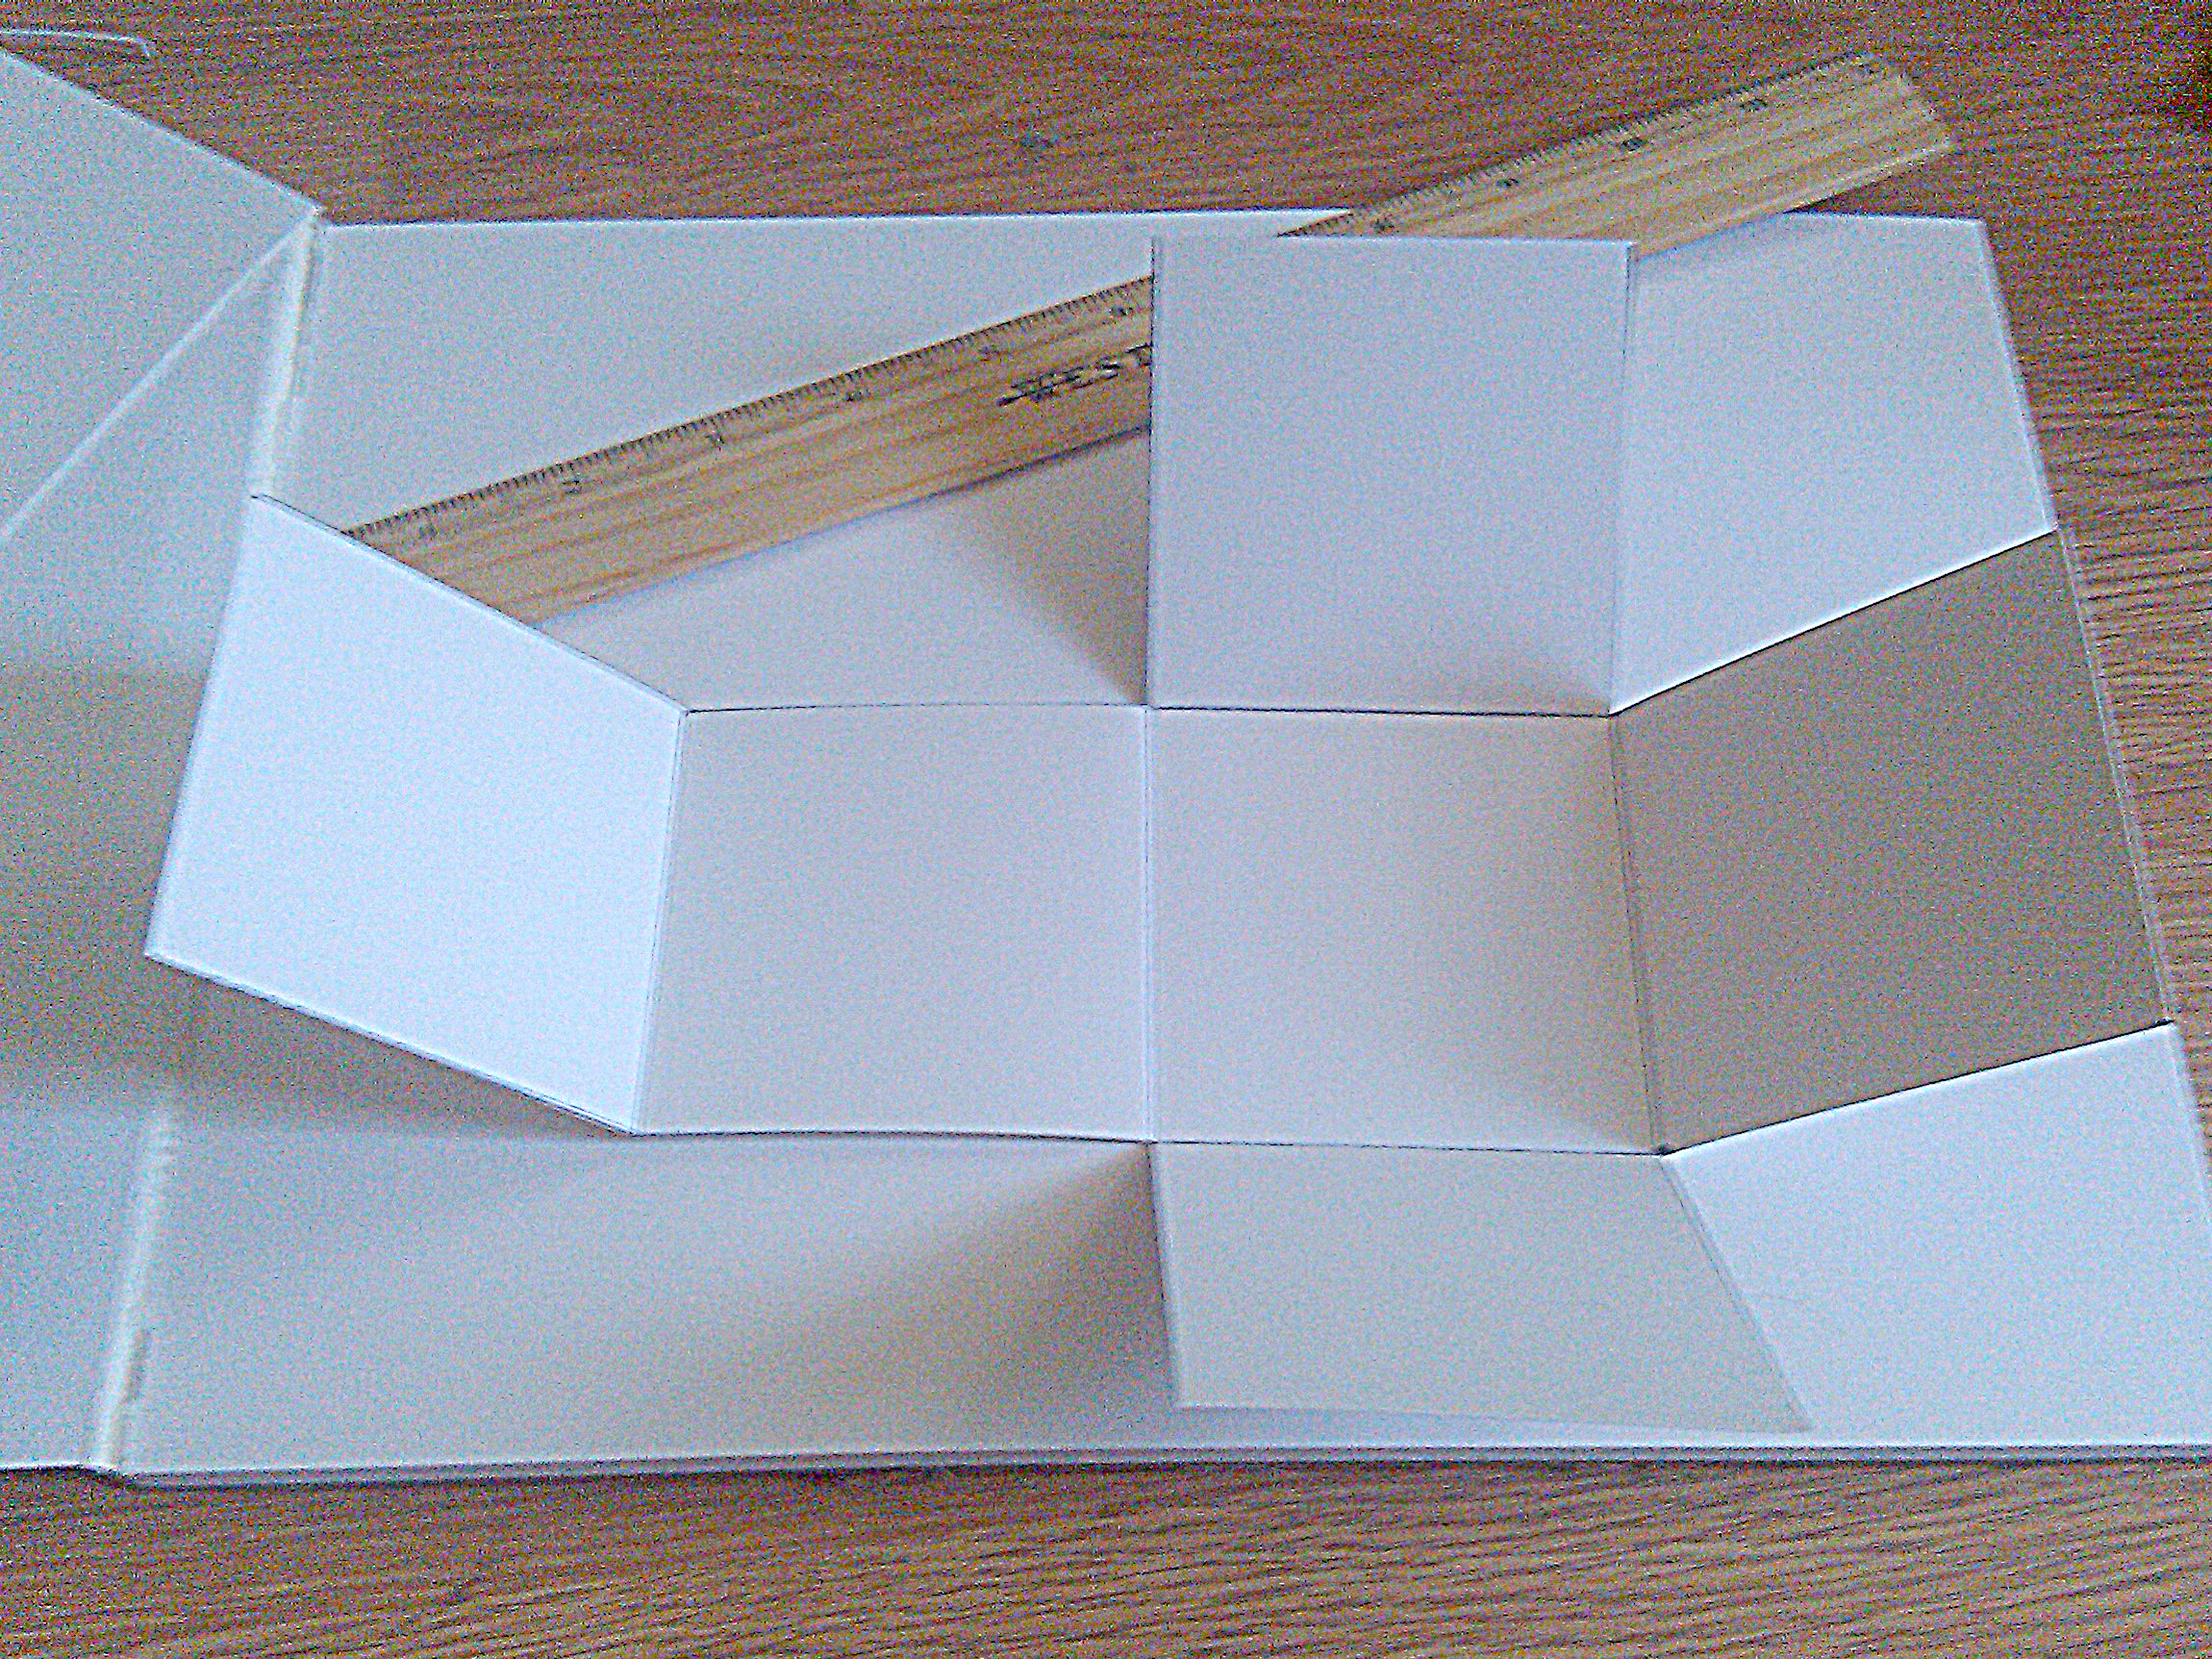
Cut a cube pattern out of bristol board. This pattern uses 3-inch by 3-inch squares. You could make them larger or smaller. Once it’s cut out, use a ruler to make a crease at each 3-inch mark.
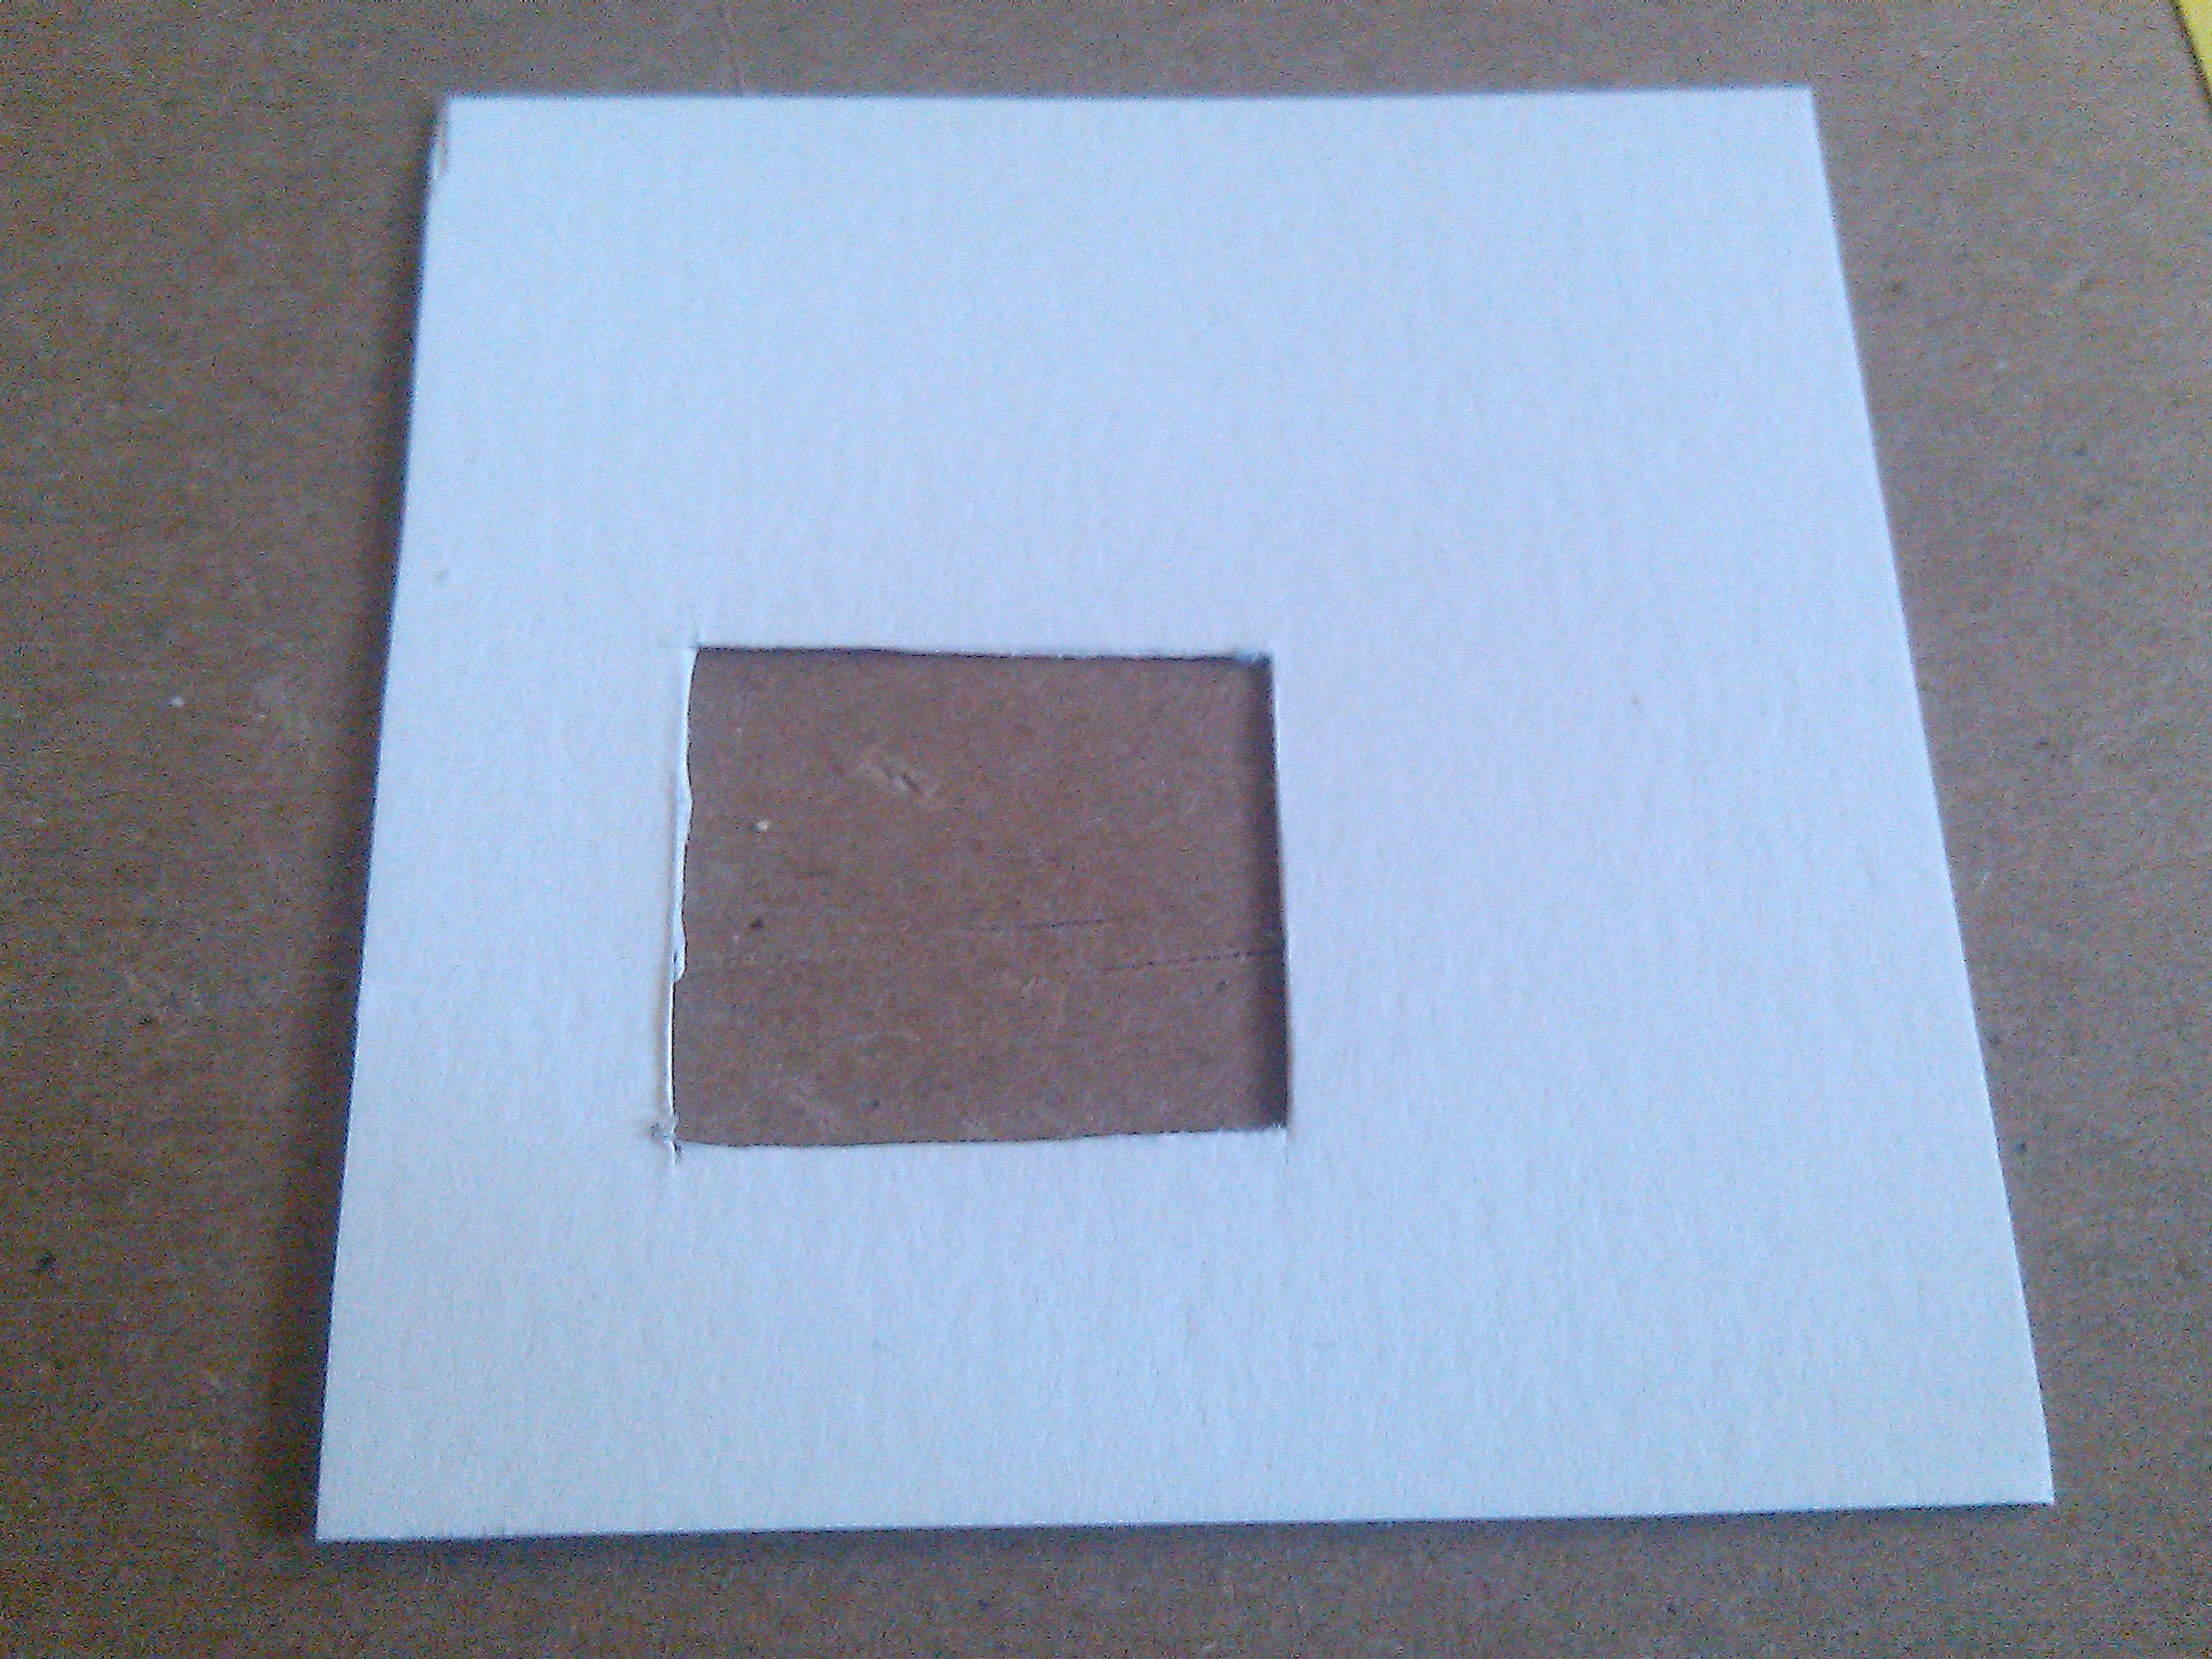
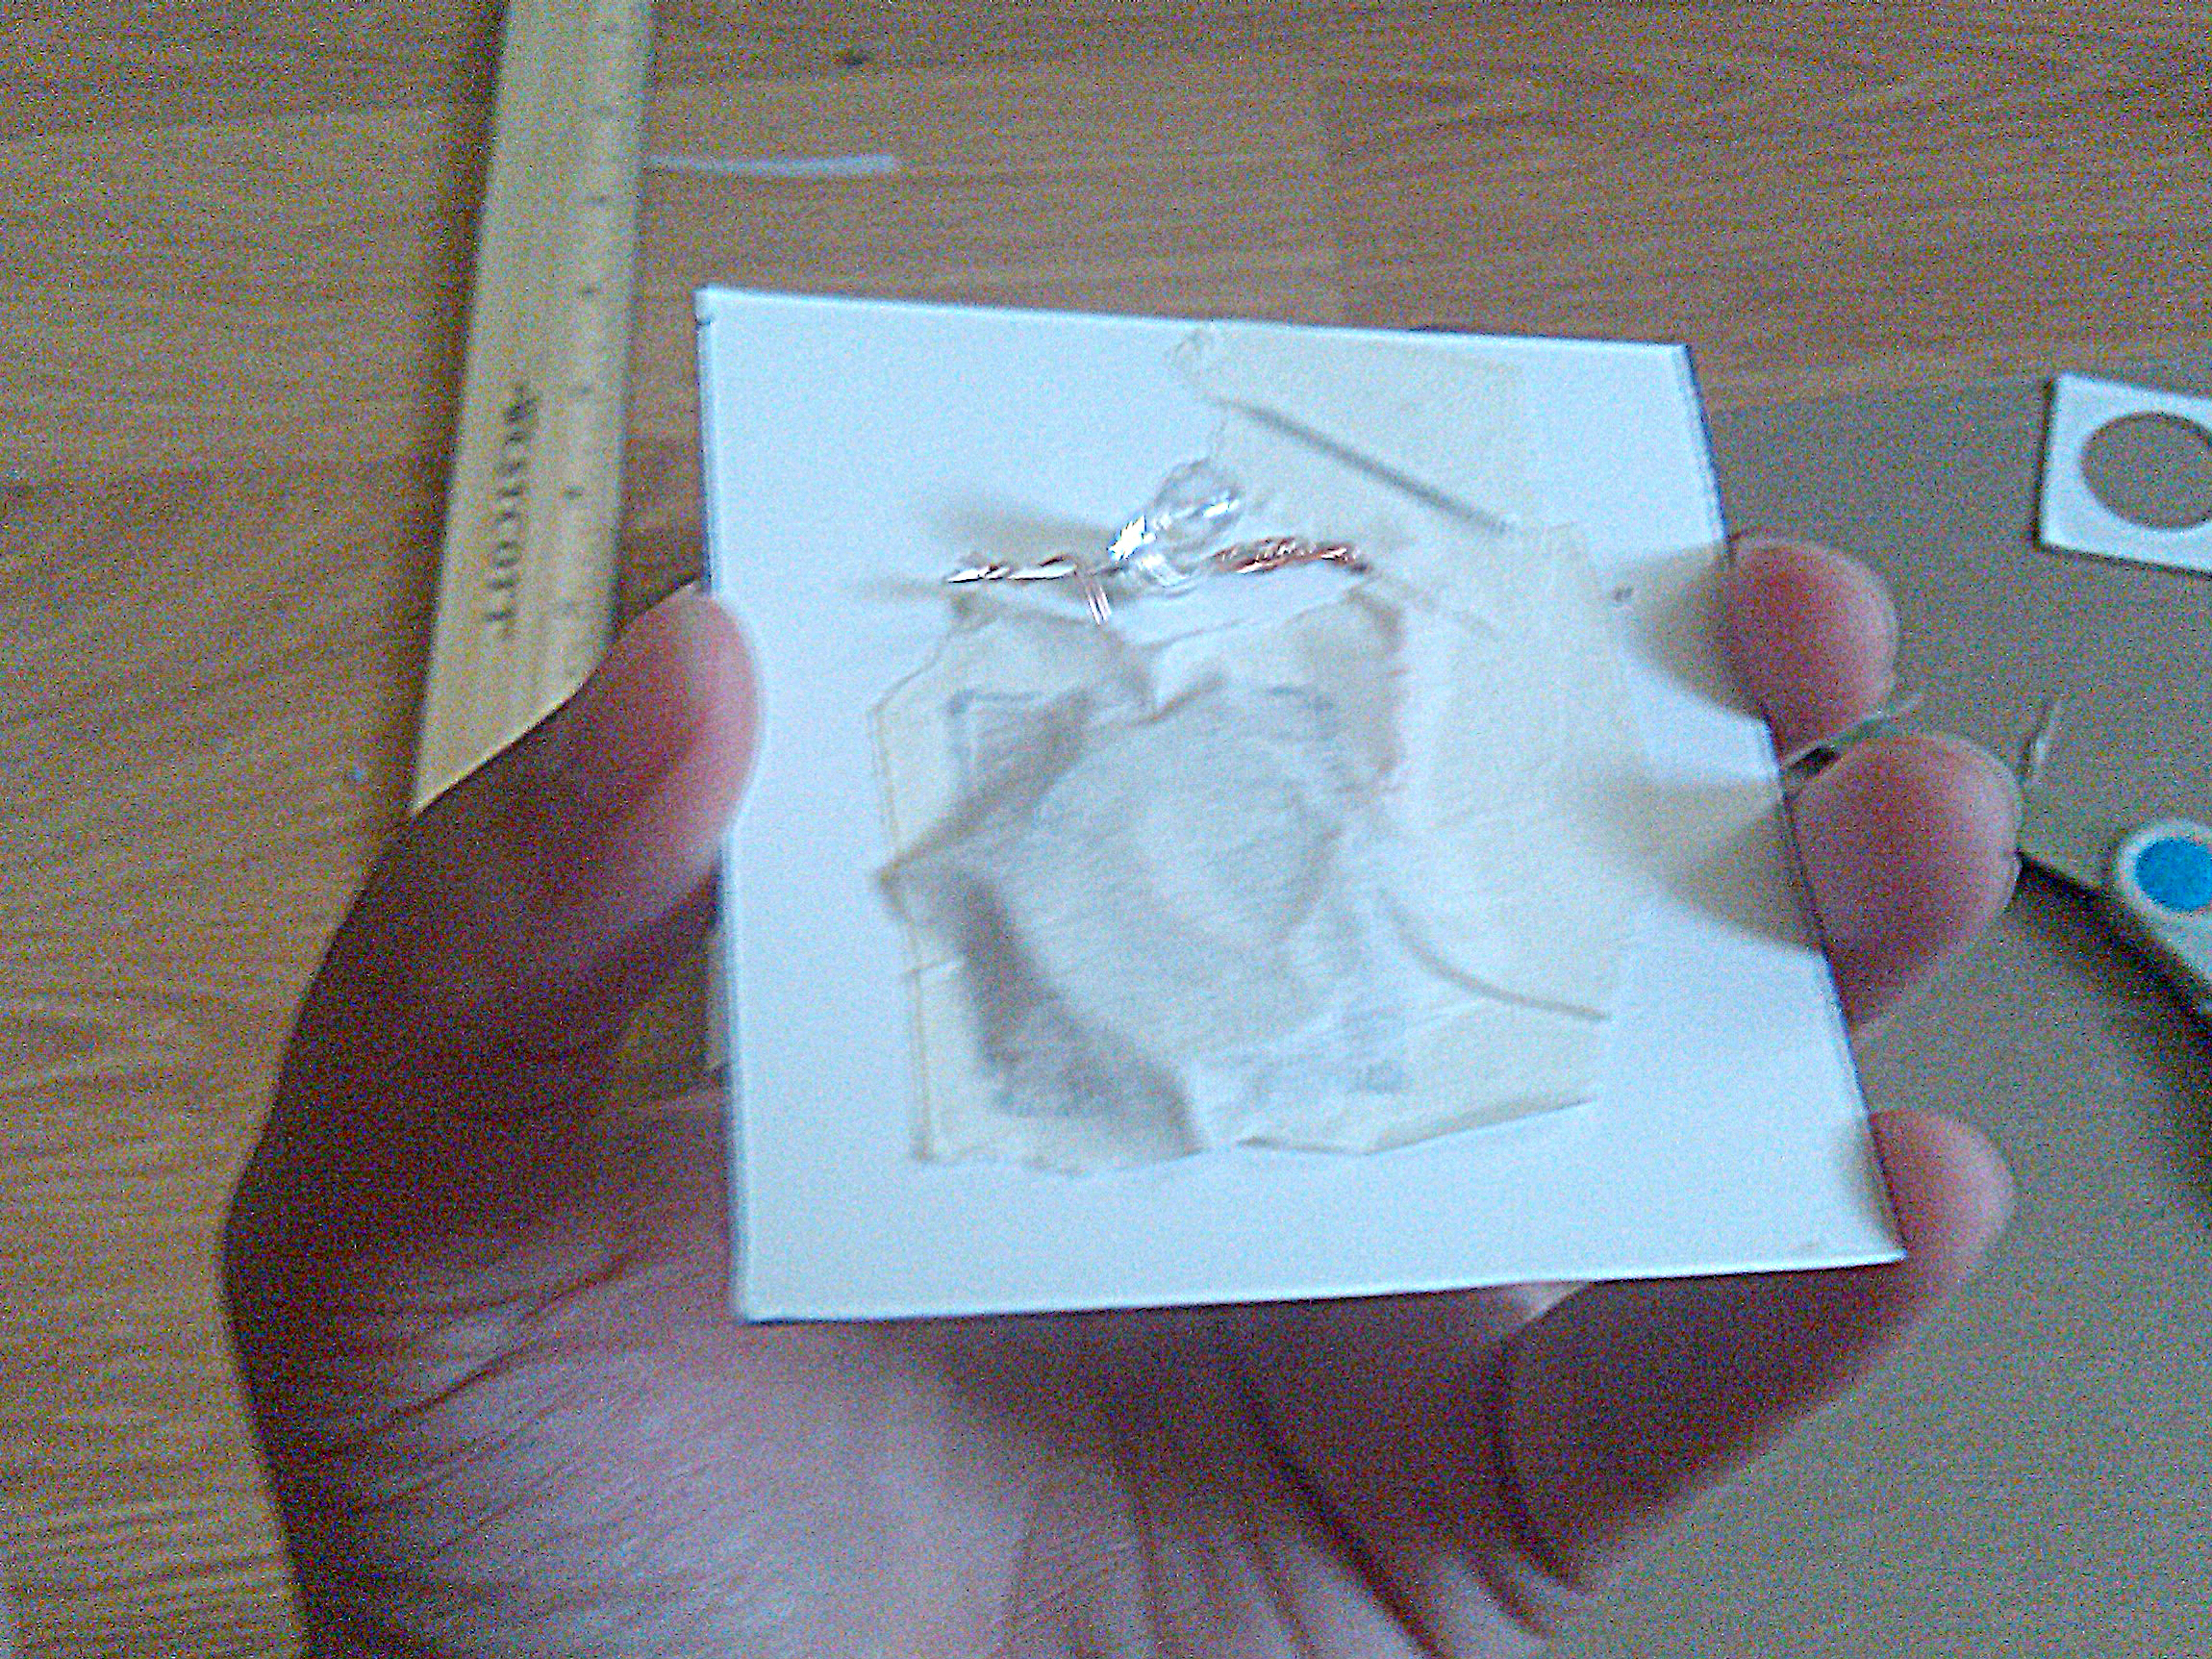
On a separate piece of bristol board, cut a 2.5 x 2.5 inch square. Then cut a smaller square in the bottom left corner. This opening should be just large enough to fit the coin cell batteries (stacked).
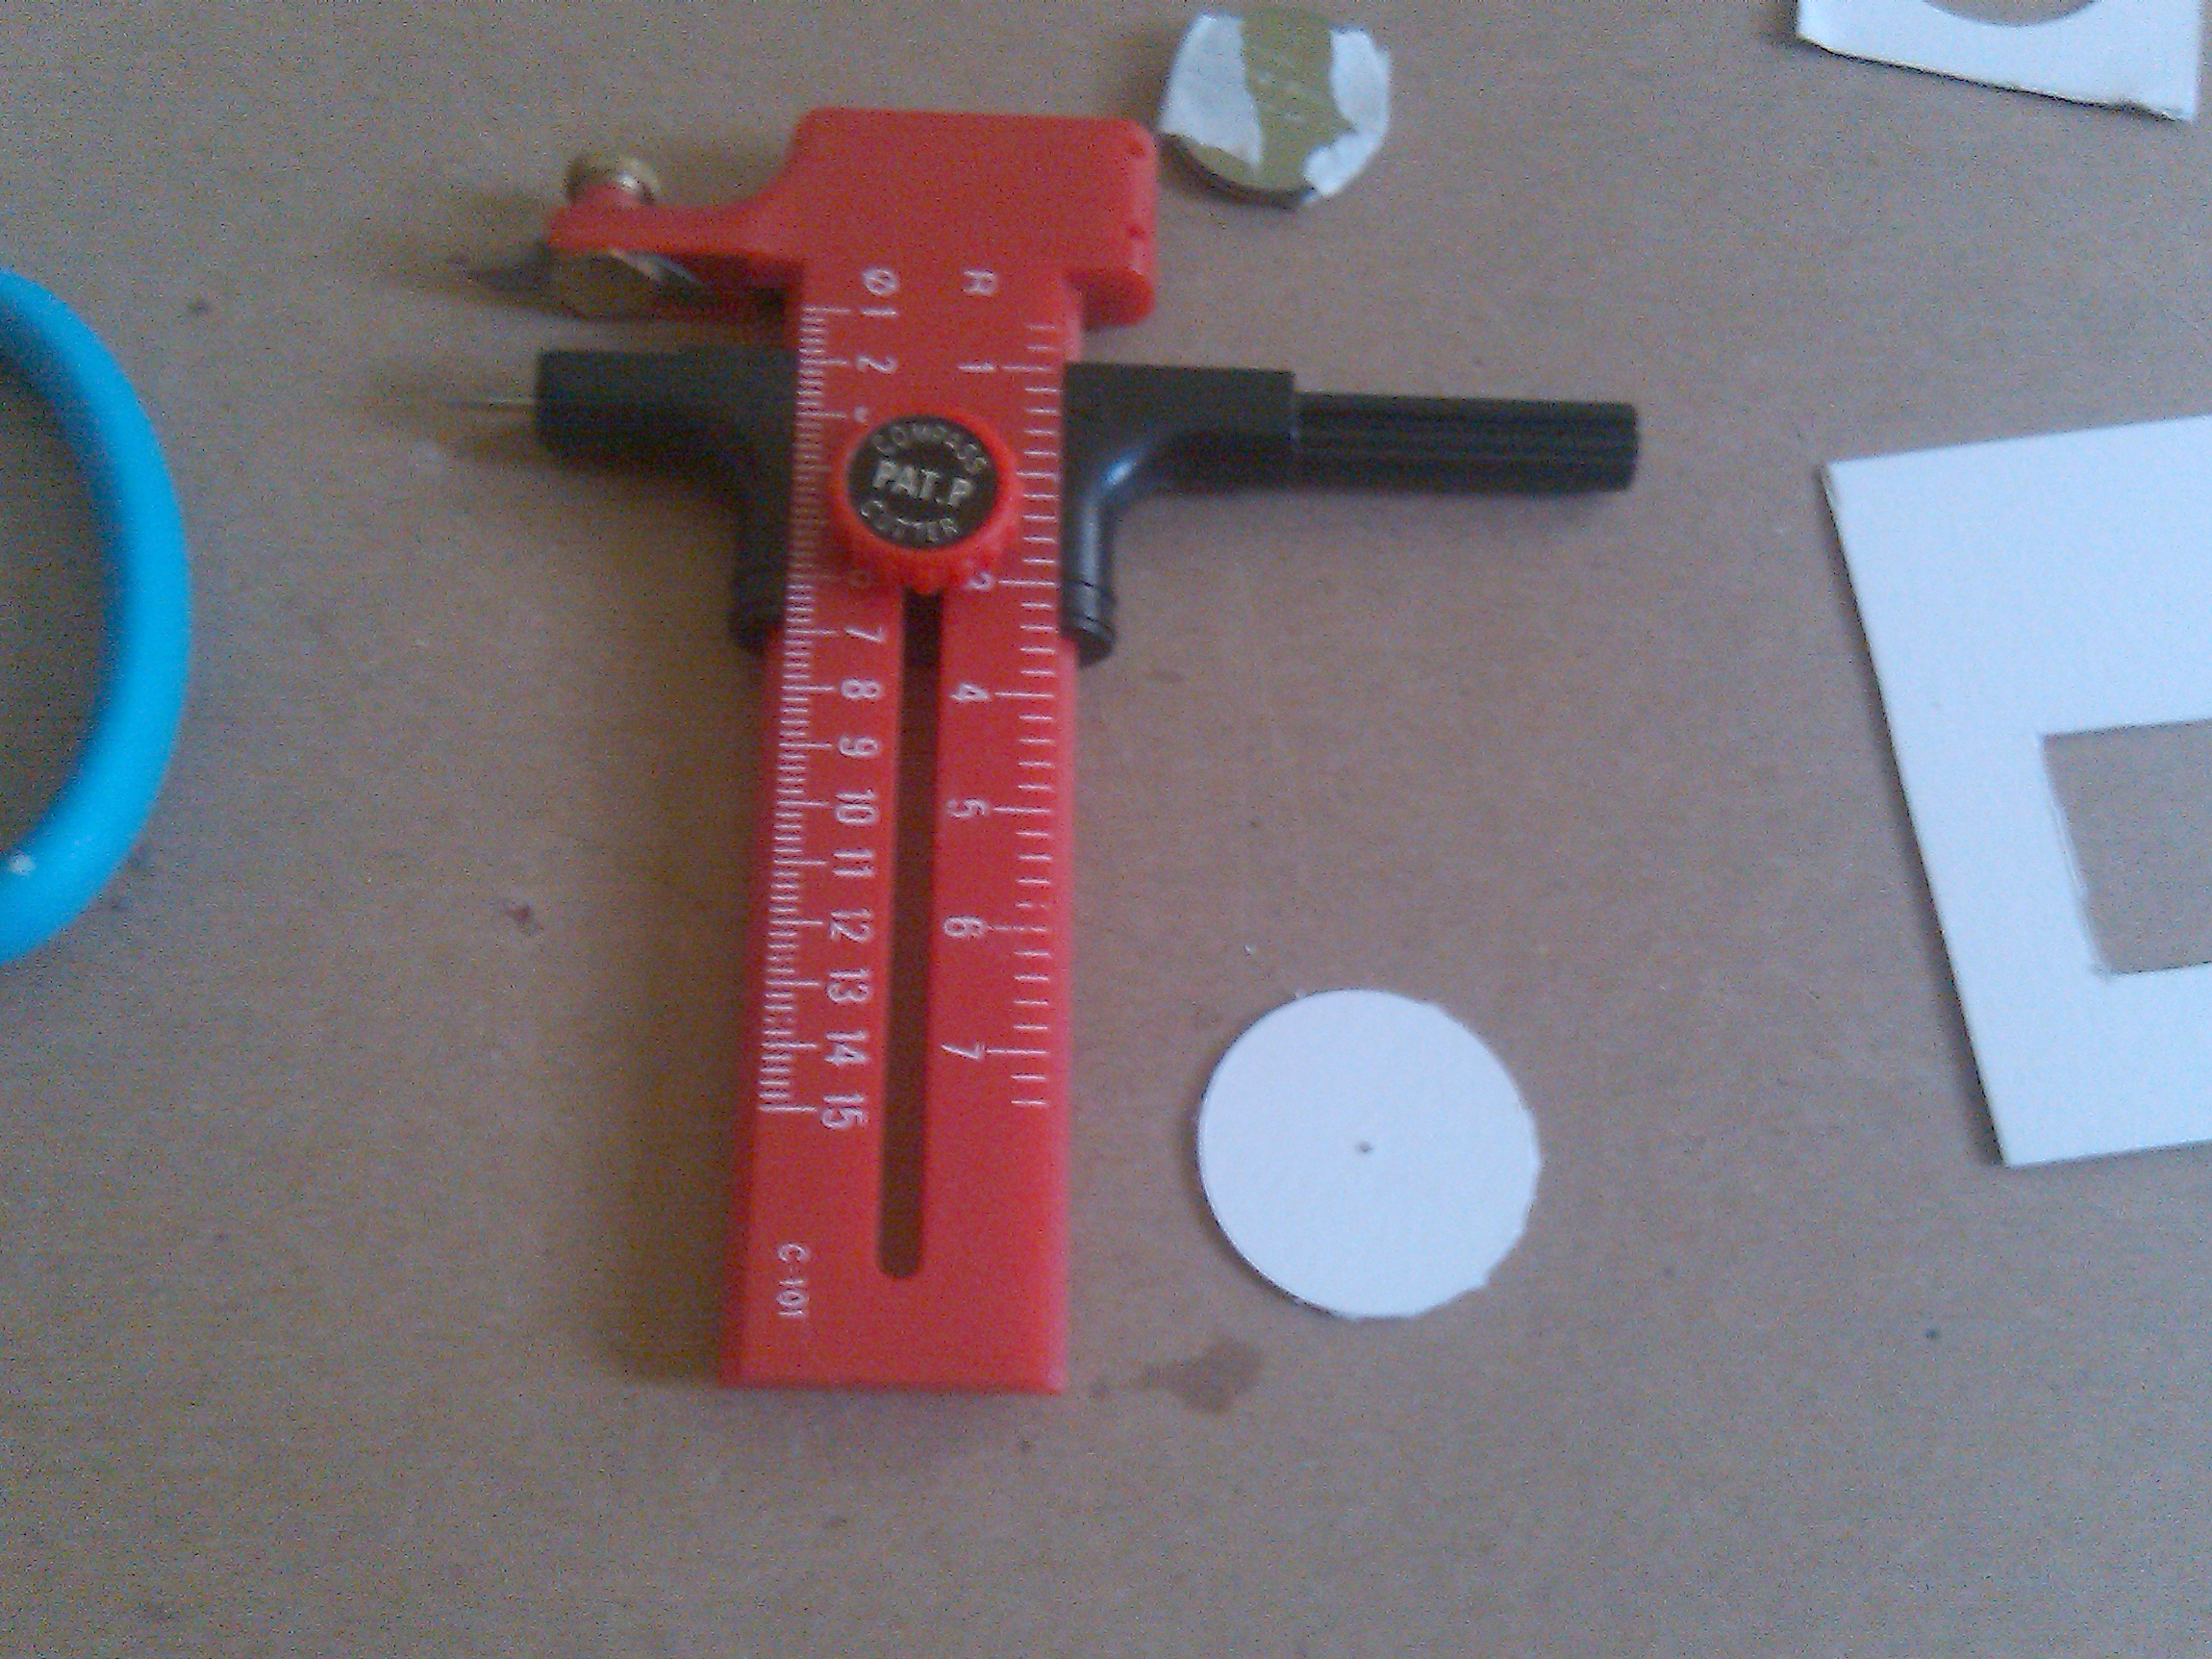
Using an X-Acto compass, cut a small circle, roughly 1.5 inches in diameter.
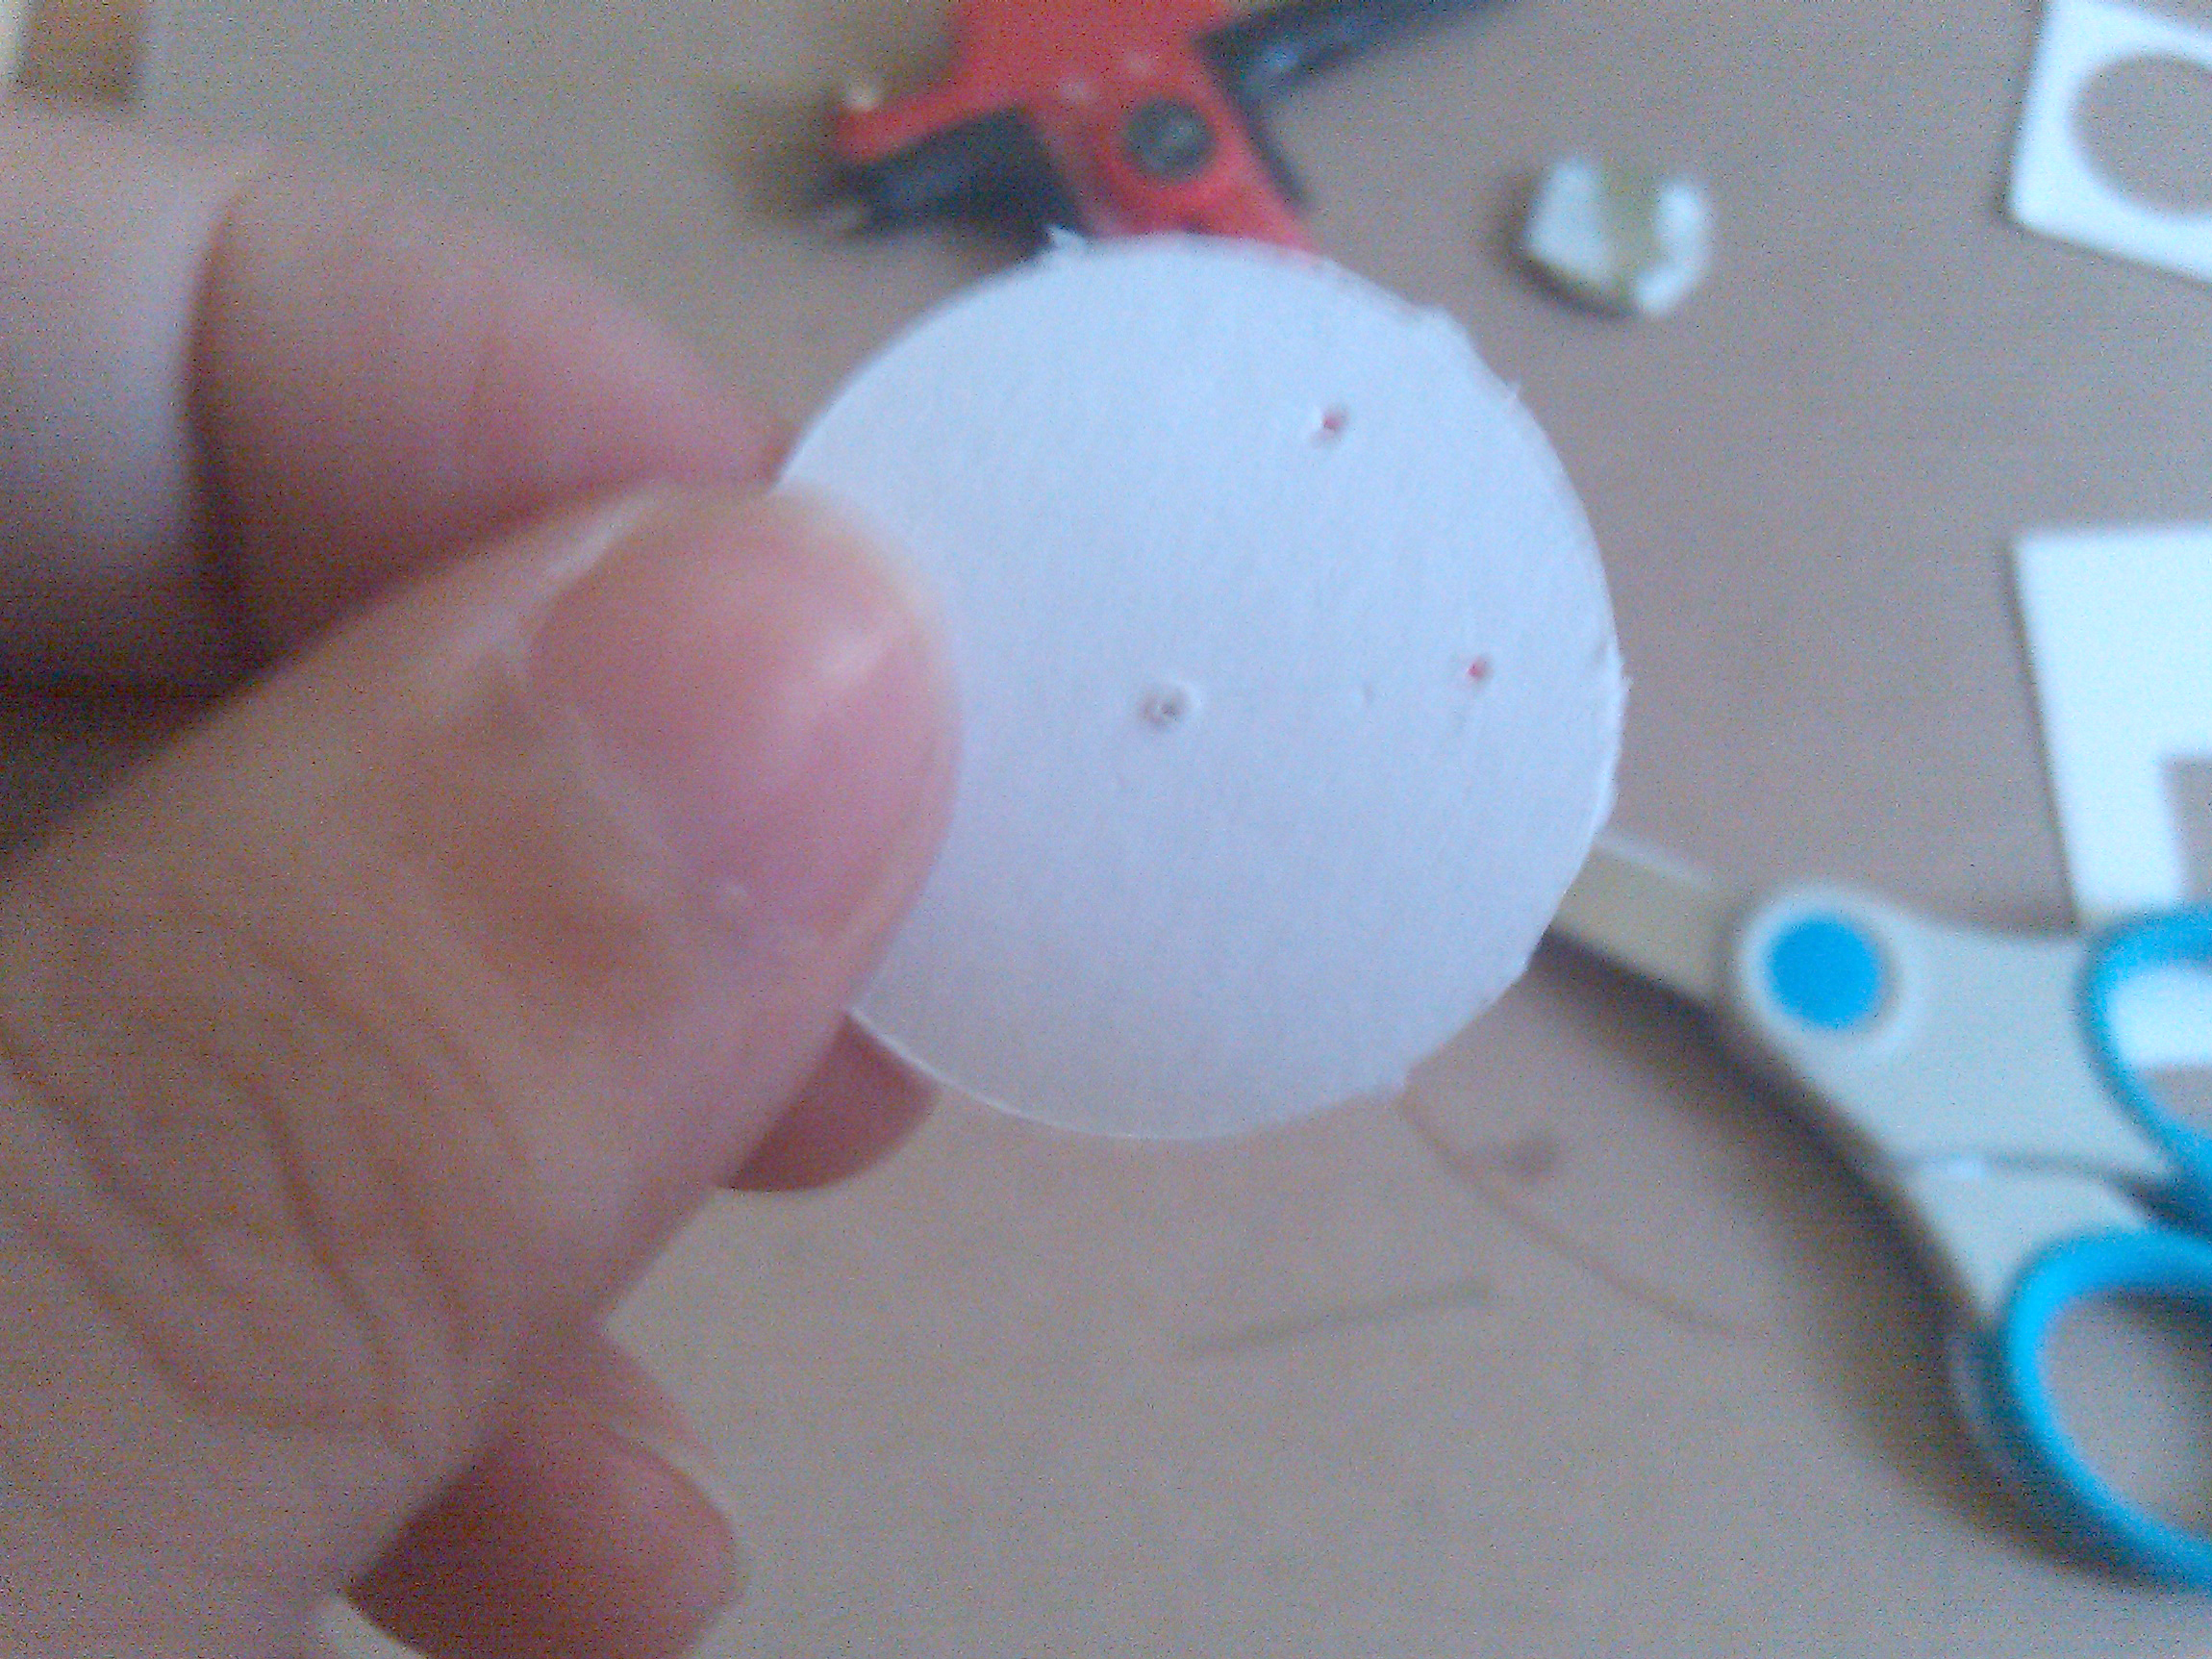
Using a pin, poke three holes in the circle. Place one hole in the center and two near the outer edge. Run a piece of uninsulated wire between the two outer holes, so that a straight line of copper wire is formed on the back of the circle. Twist the wires together on the front of the circle (perhaps twist them into a bow or flower shape). This will become a switch to turn the light on and off.
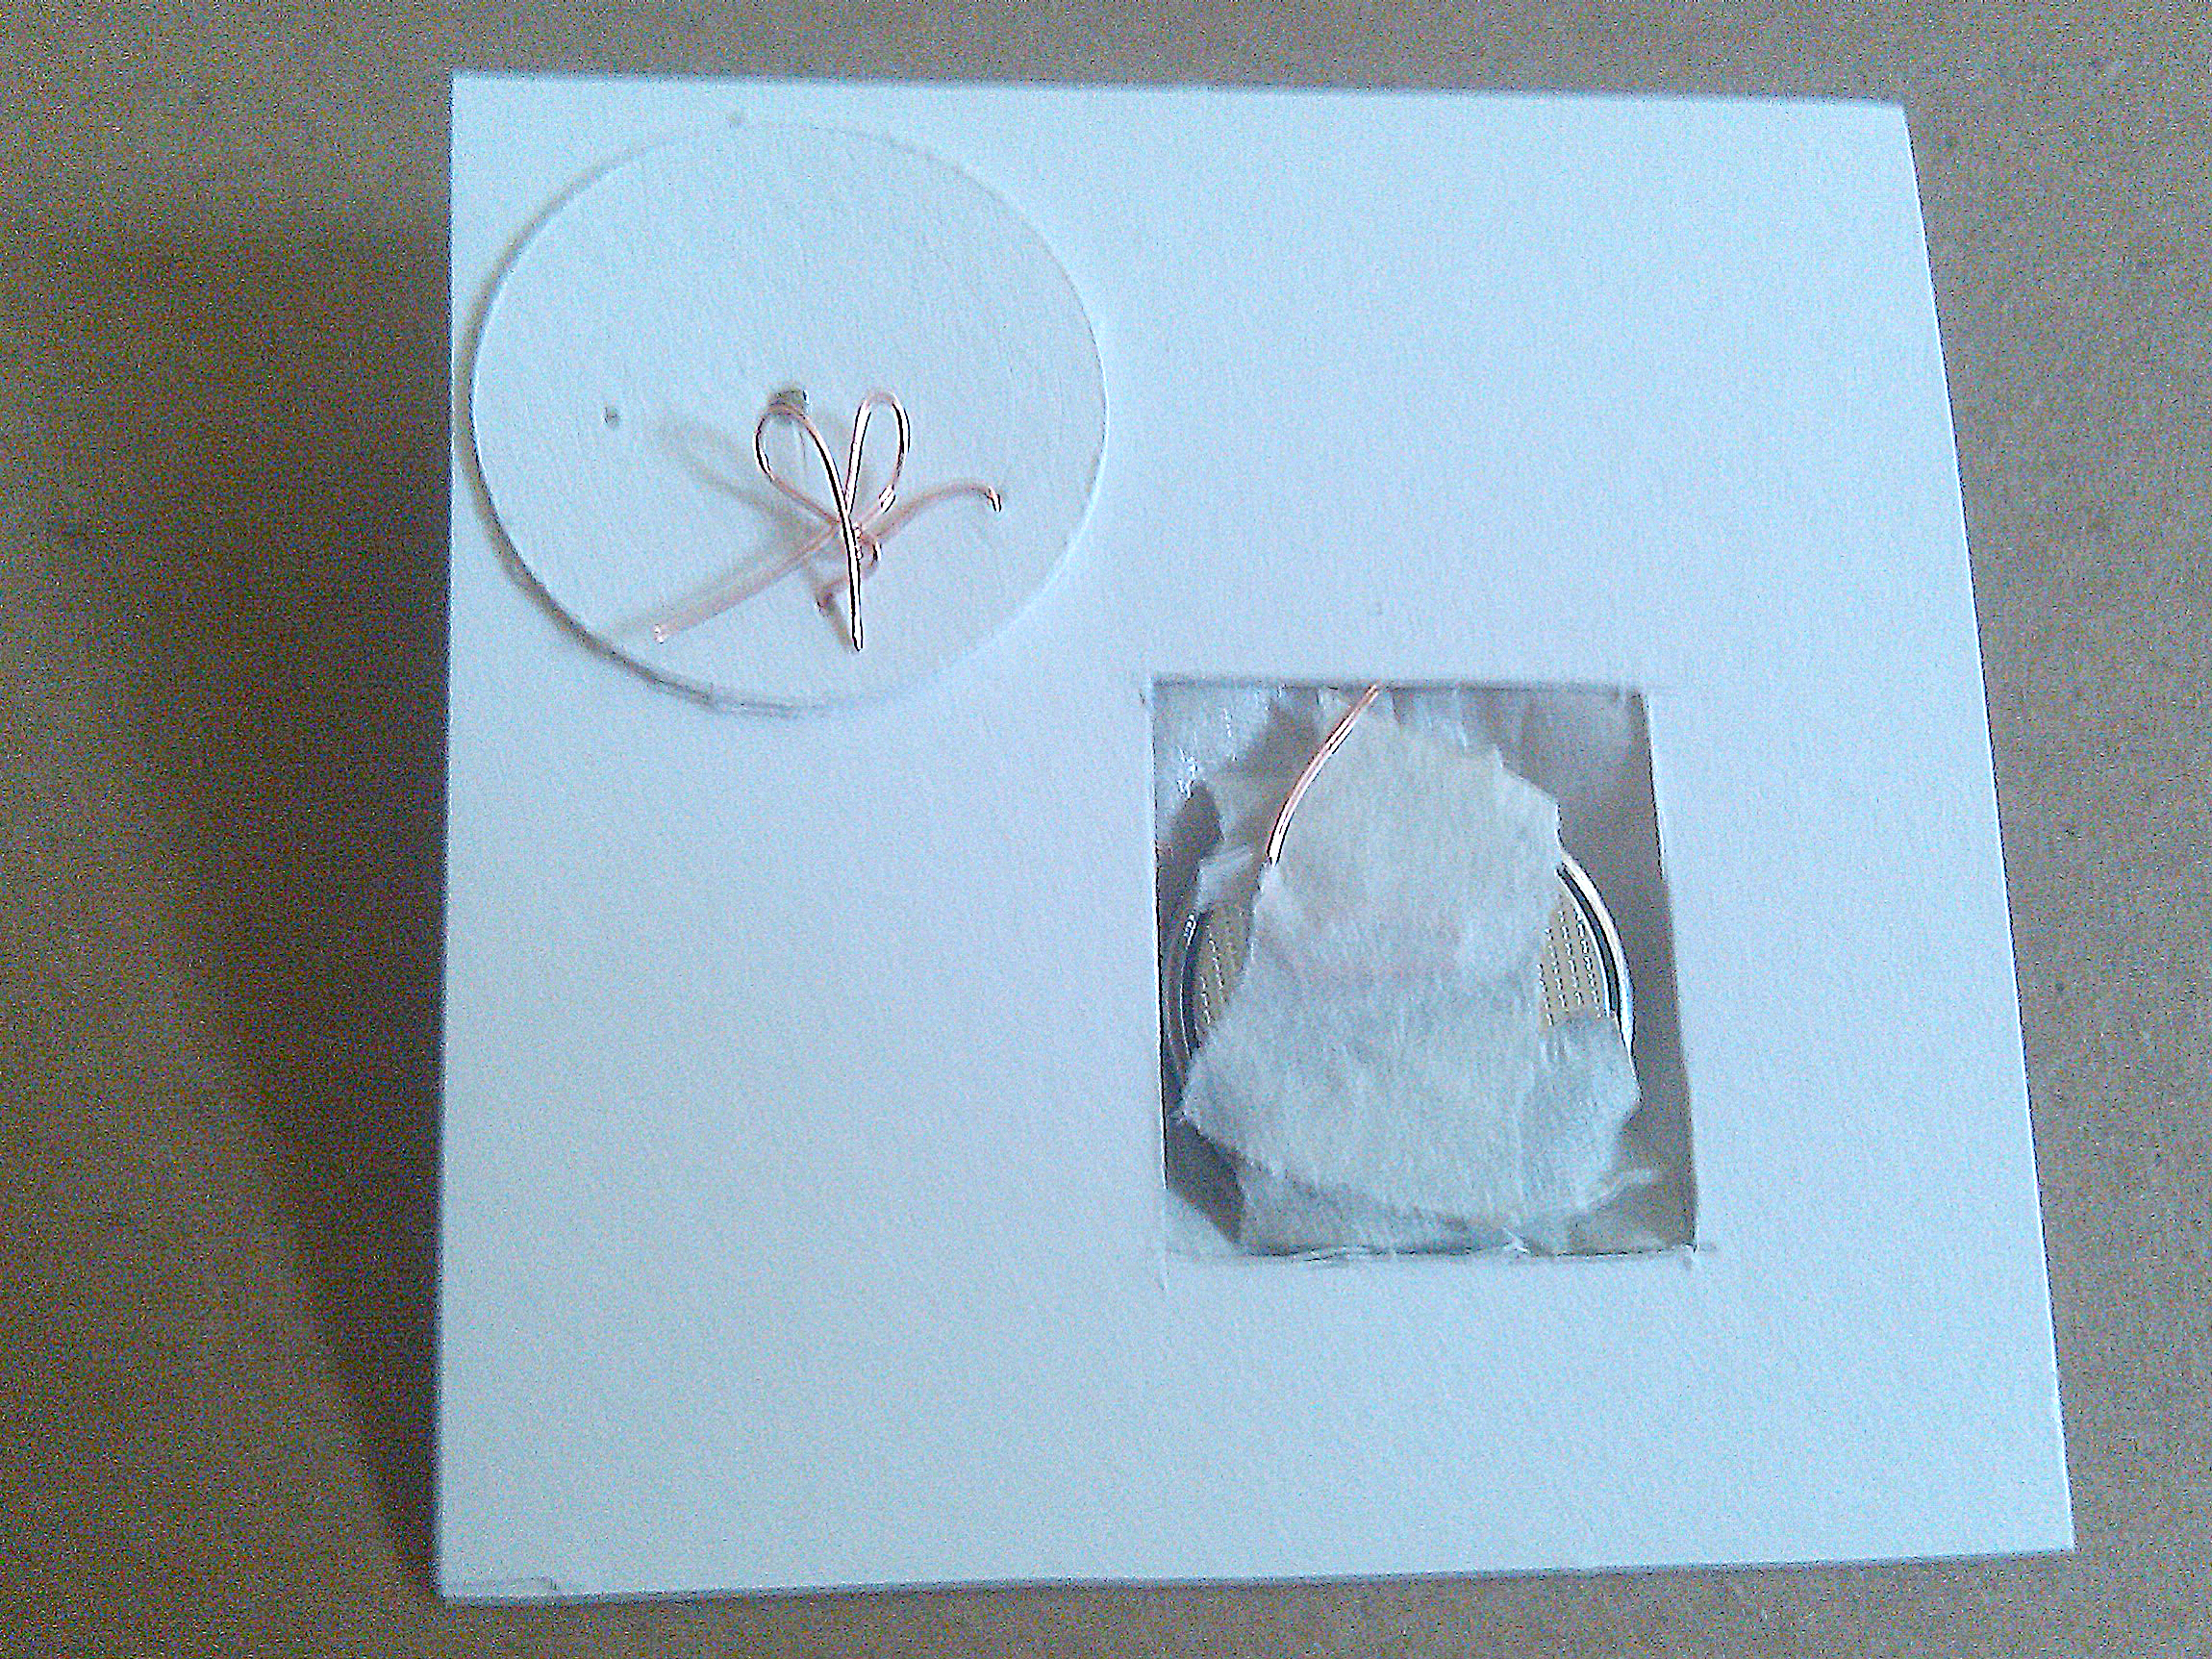
In the image on the left, you can see the circle is in the corner opposite the batteries. Place the circle, and mark where the copper line you made in the last step is. On the paper behind the circle, poke four holes underneath the copper line. Here you will run two more copper lines, perpendicular to the copper line on the back of the circle. The idea here is that when the circle rotates, the copper wire on the circle will cross over the two copper wires underneath, creating a closed connection between the two of them.
I’ve taped two 3v coin-cell batteries together (in series), and attached the positive side of the battery to the positive leg of the LED, the negative leg of the LED to one side of the circle switch, and the other side of the switch to the negative connection on the battery.
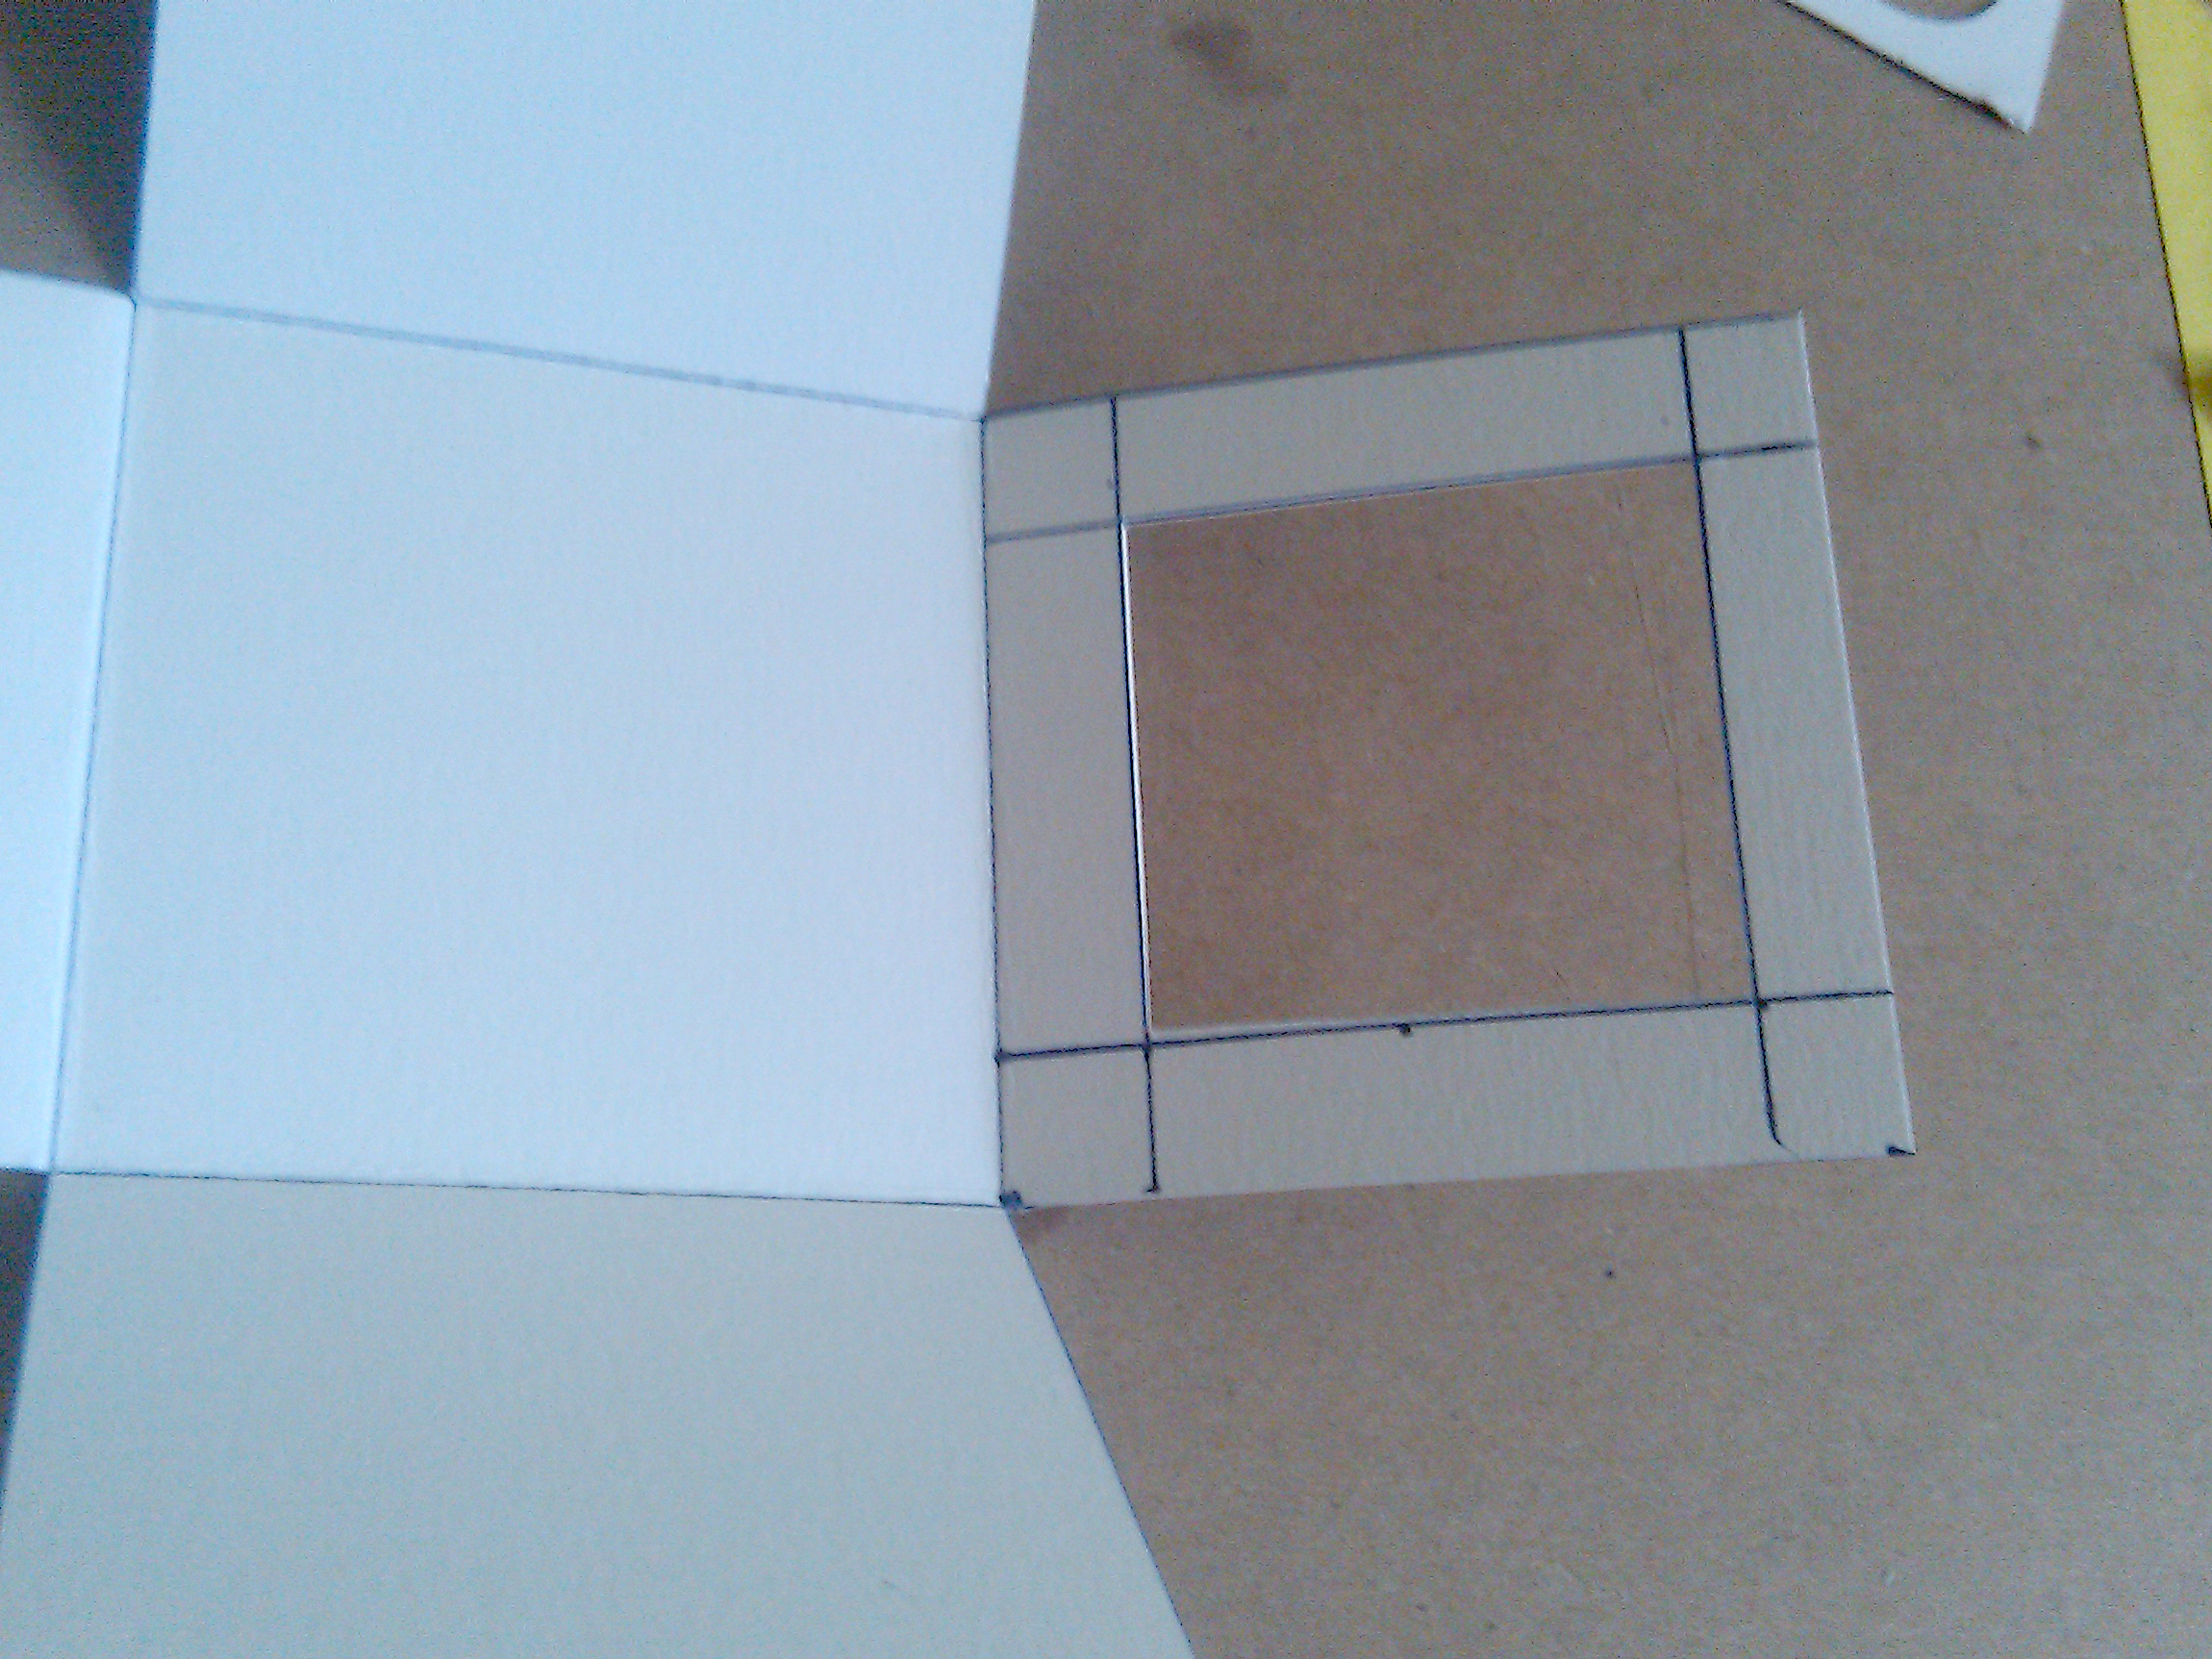
Choose one square from your cube to be the base of your light. This is where you will attach your circuit. Measure .5″ in from each edge, and cut out the inner square.
Tape the circuit in place over the empty square, so that the circle is on what will be the outside of your cube, and the LED is on what will be the inside of your cube.
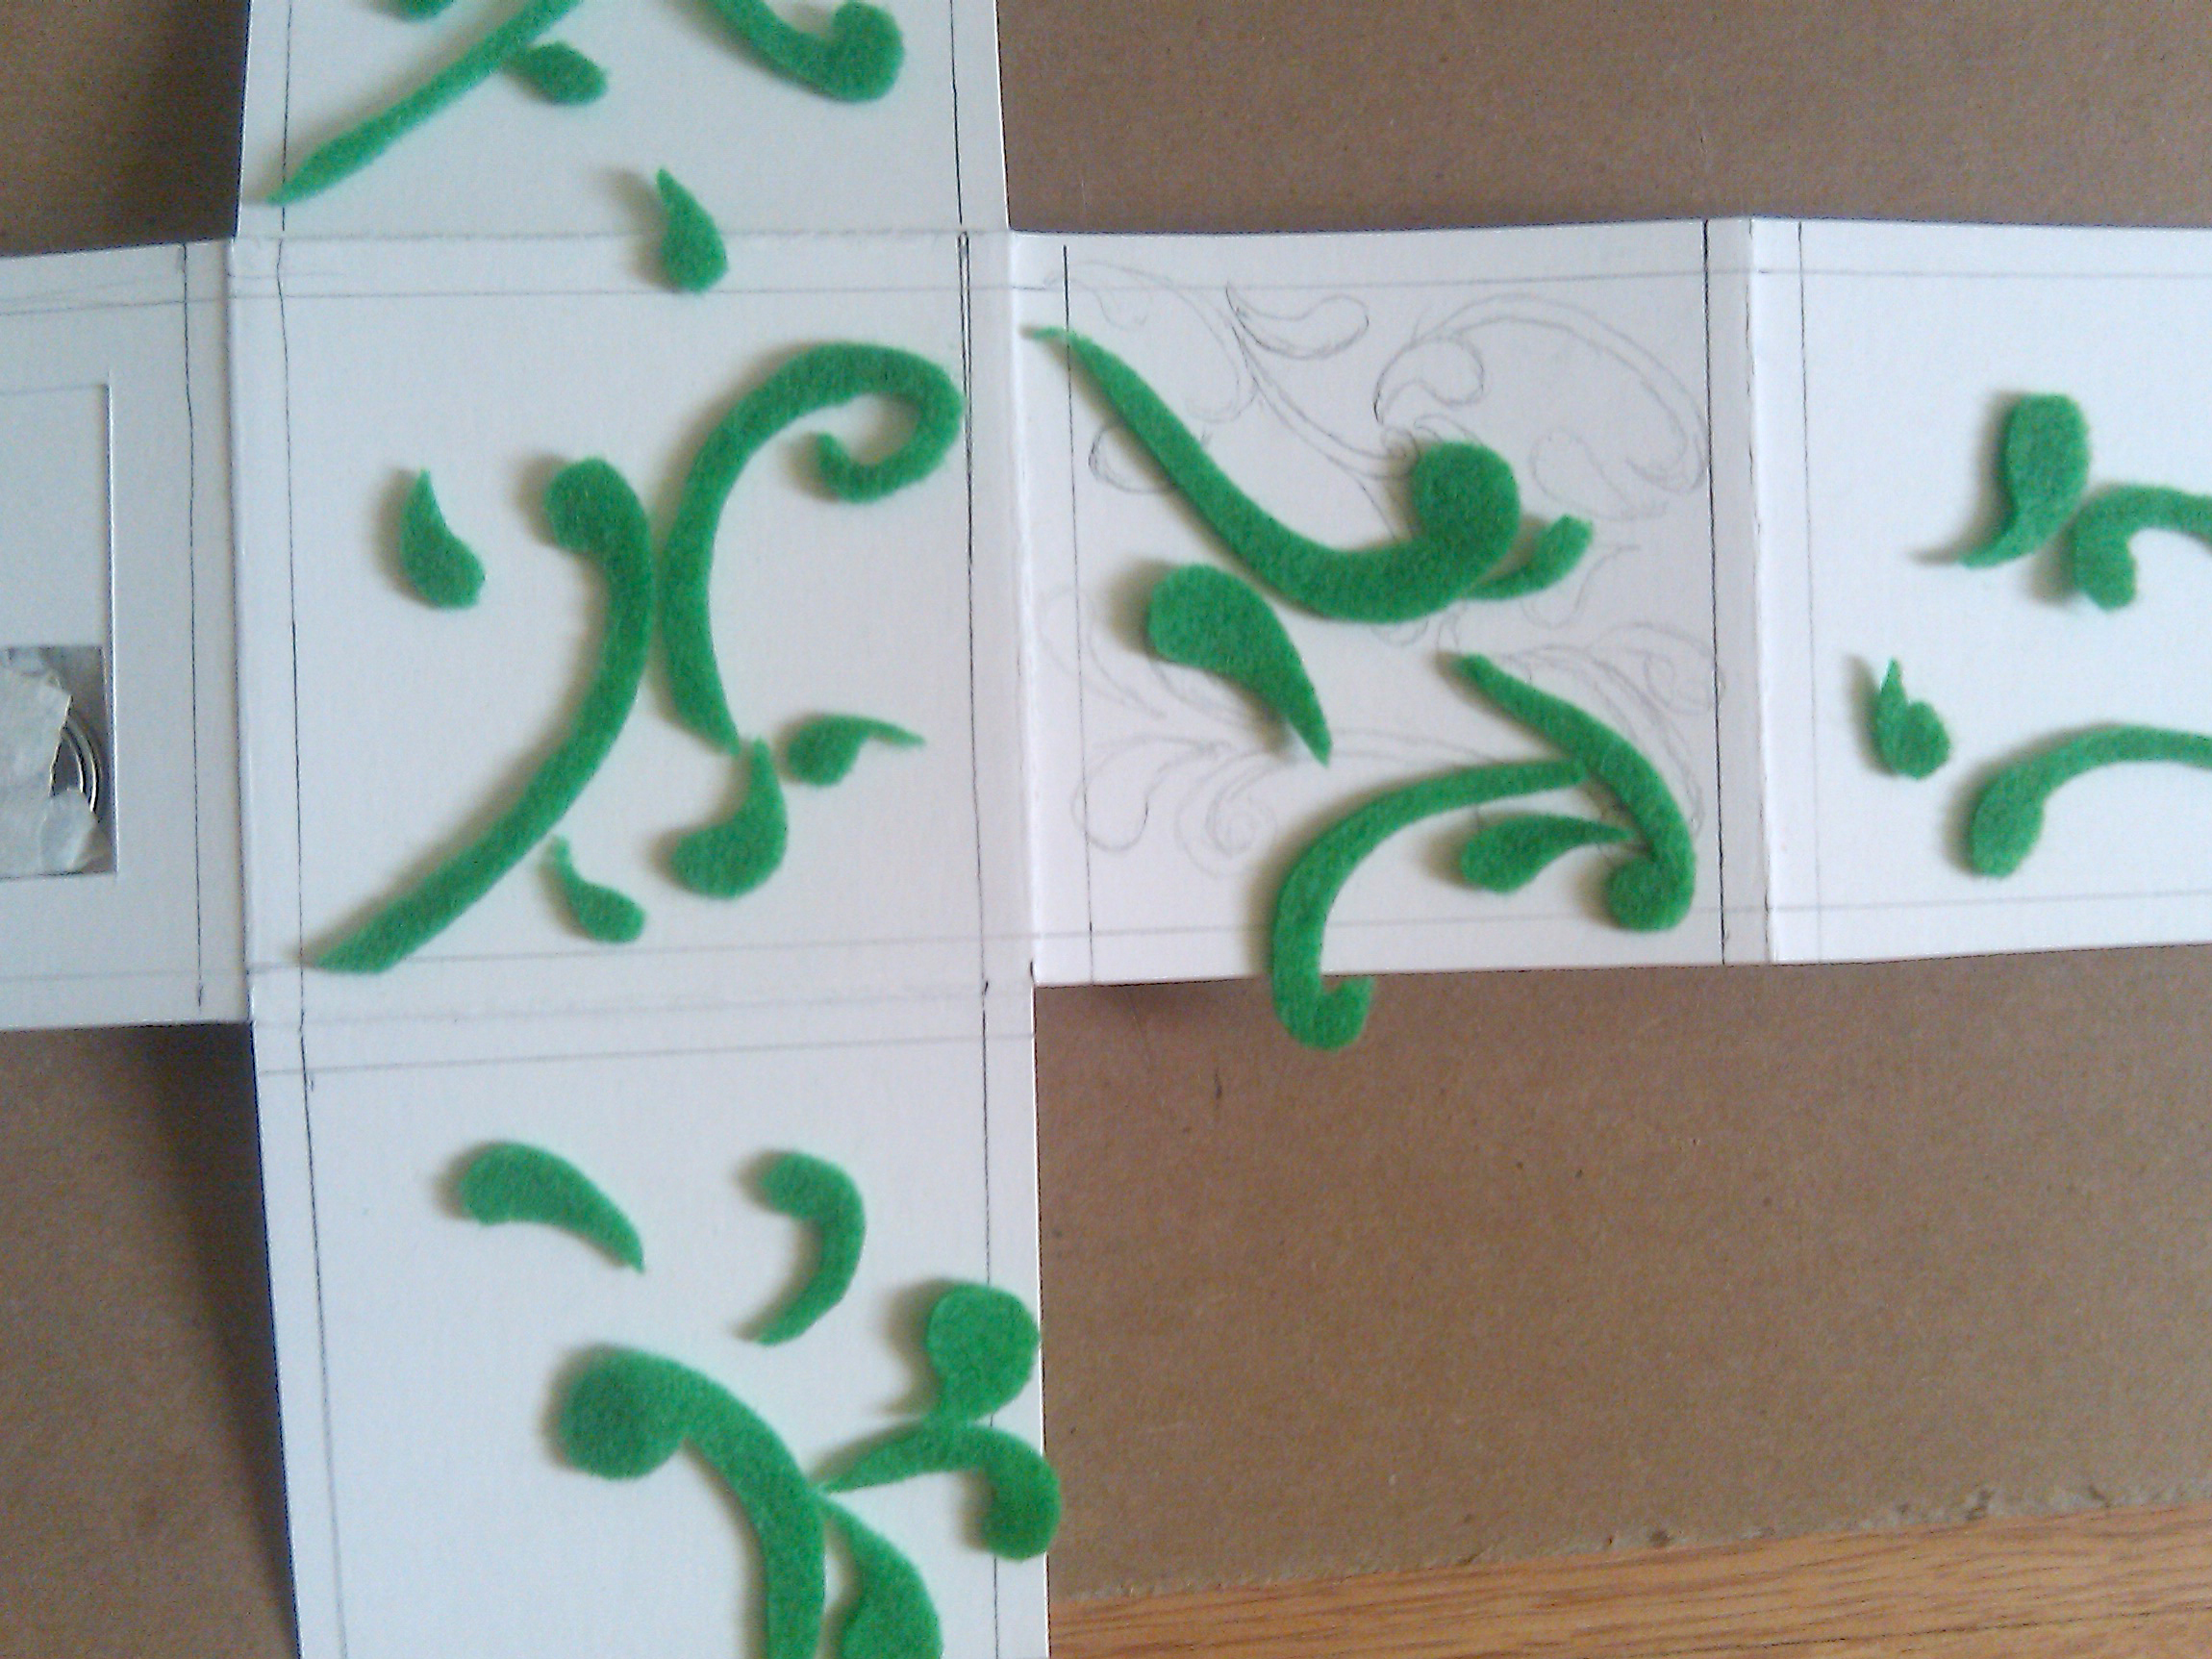
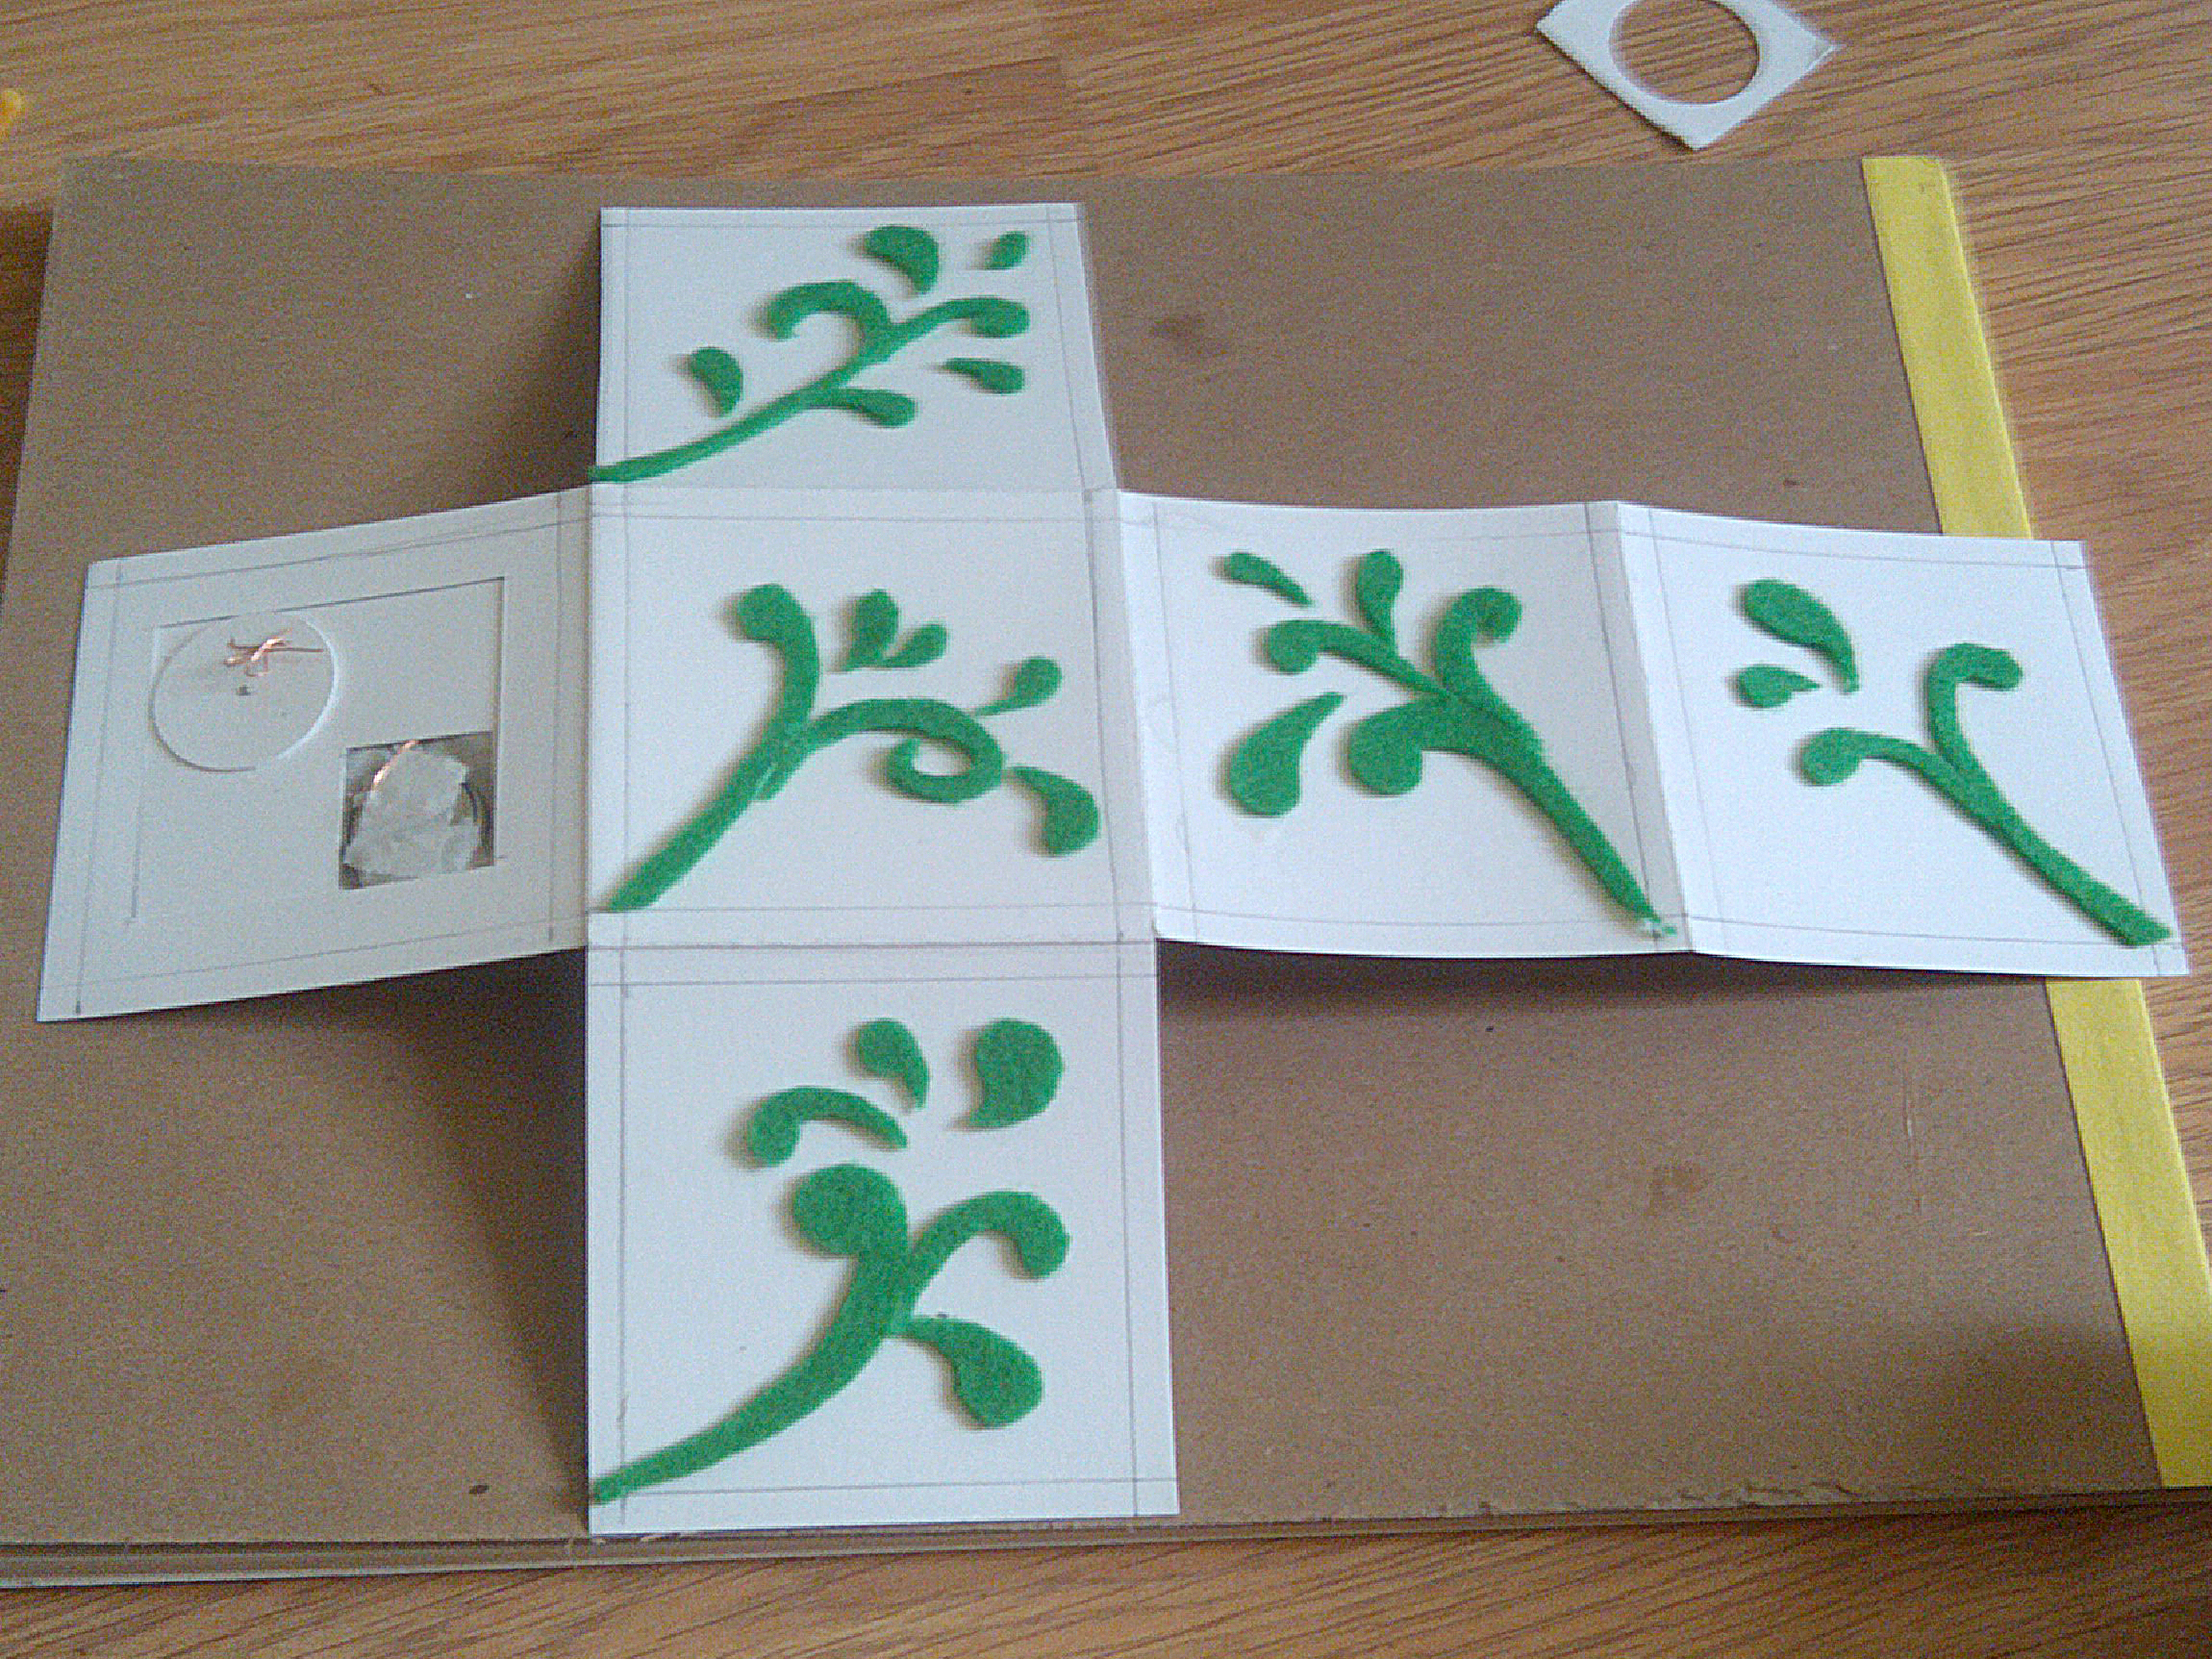
Grab your felt and cut out decorative shapes. Then glue them in place.
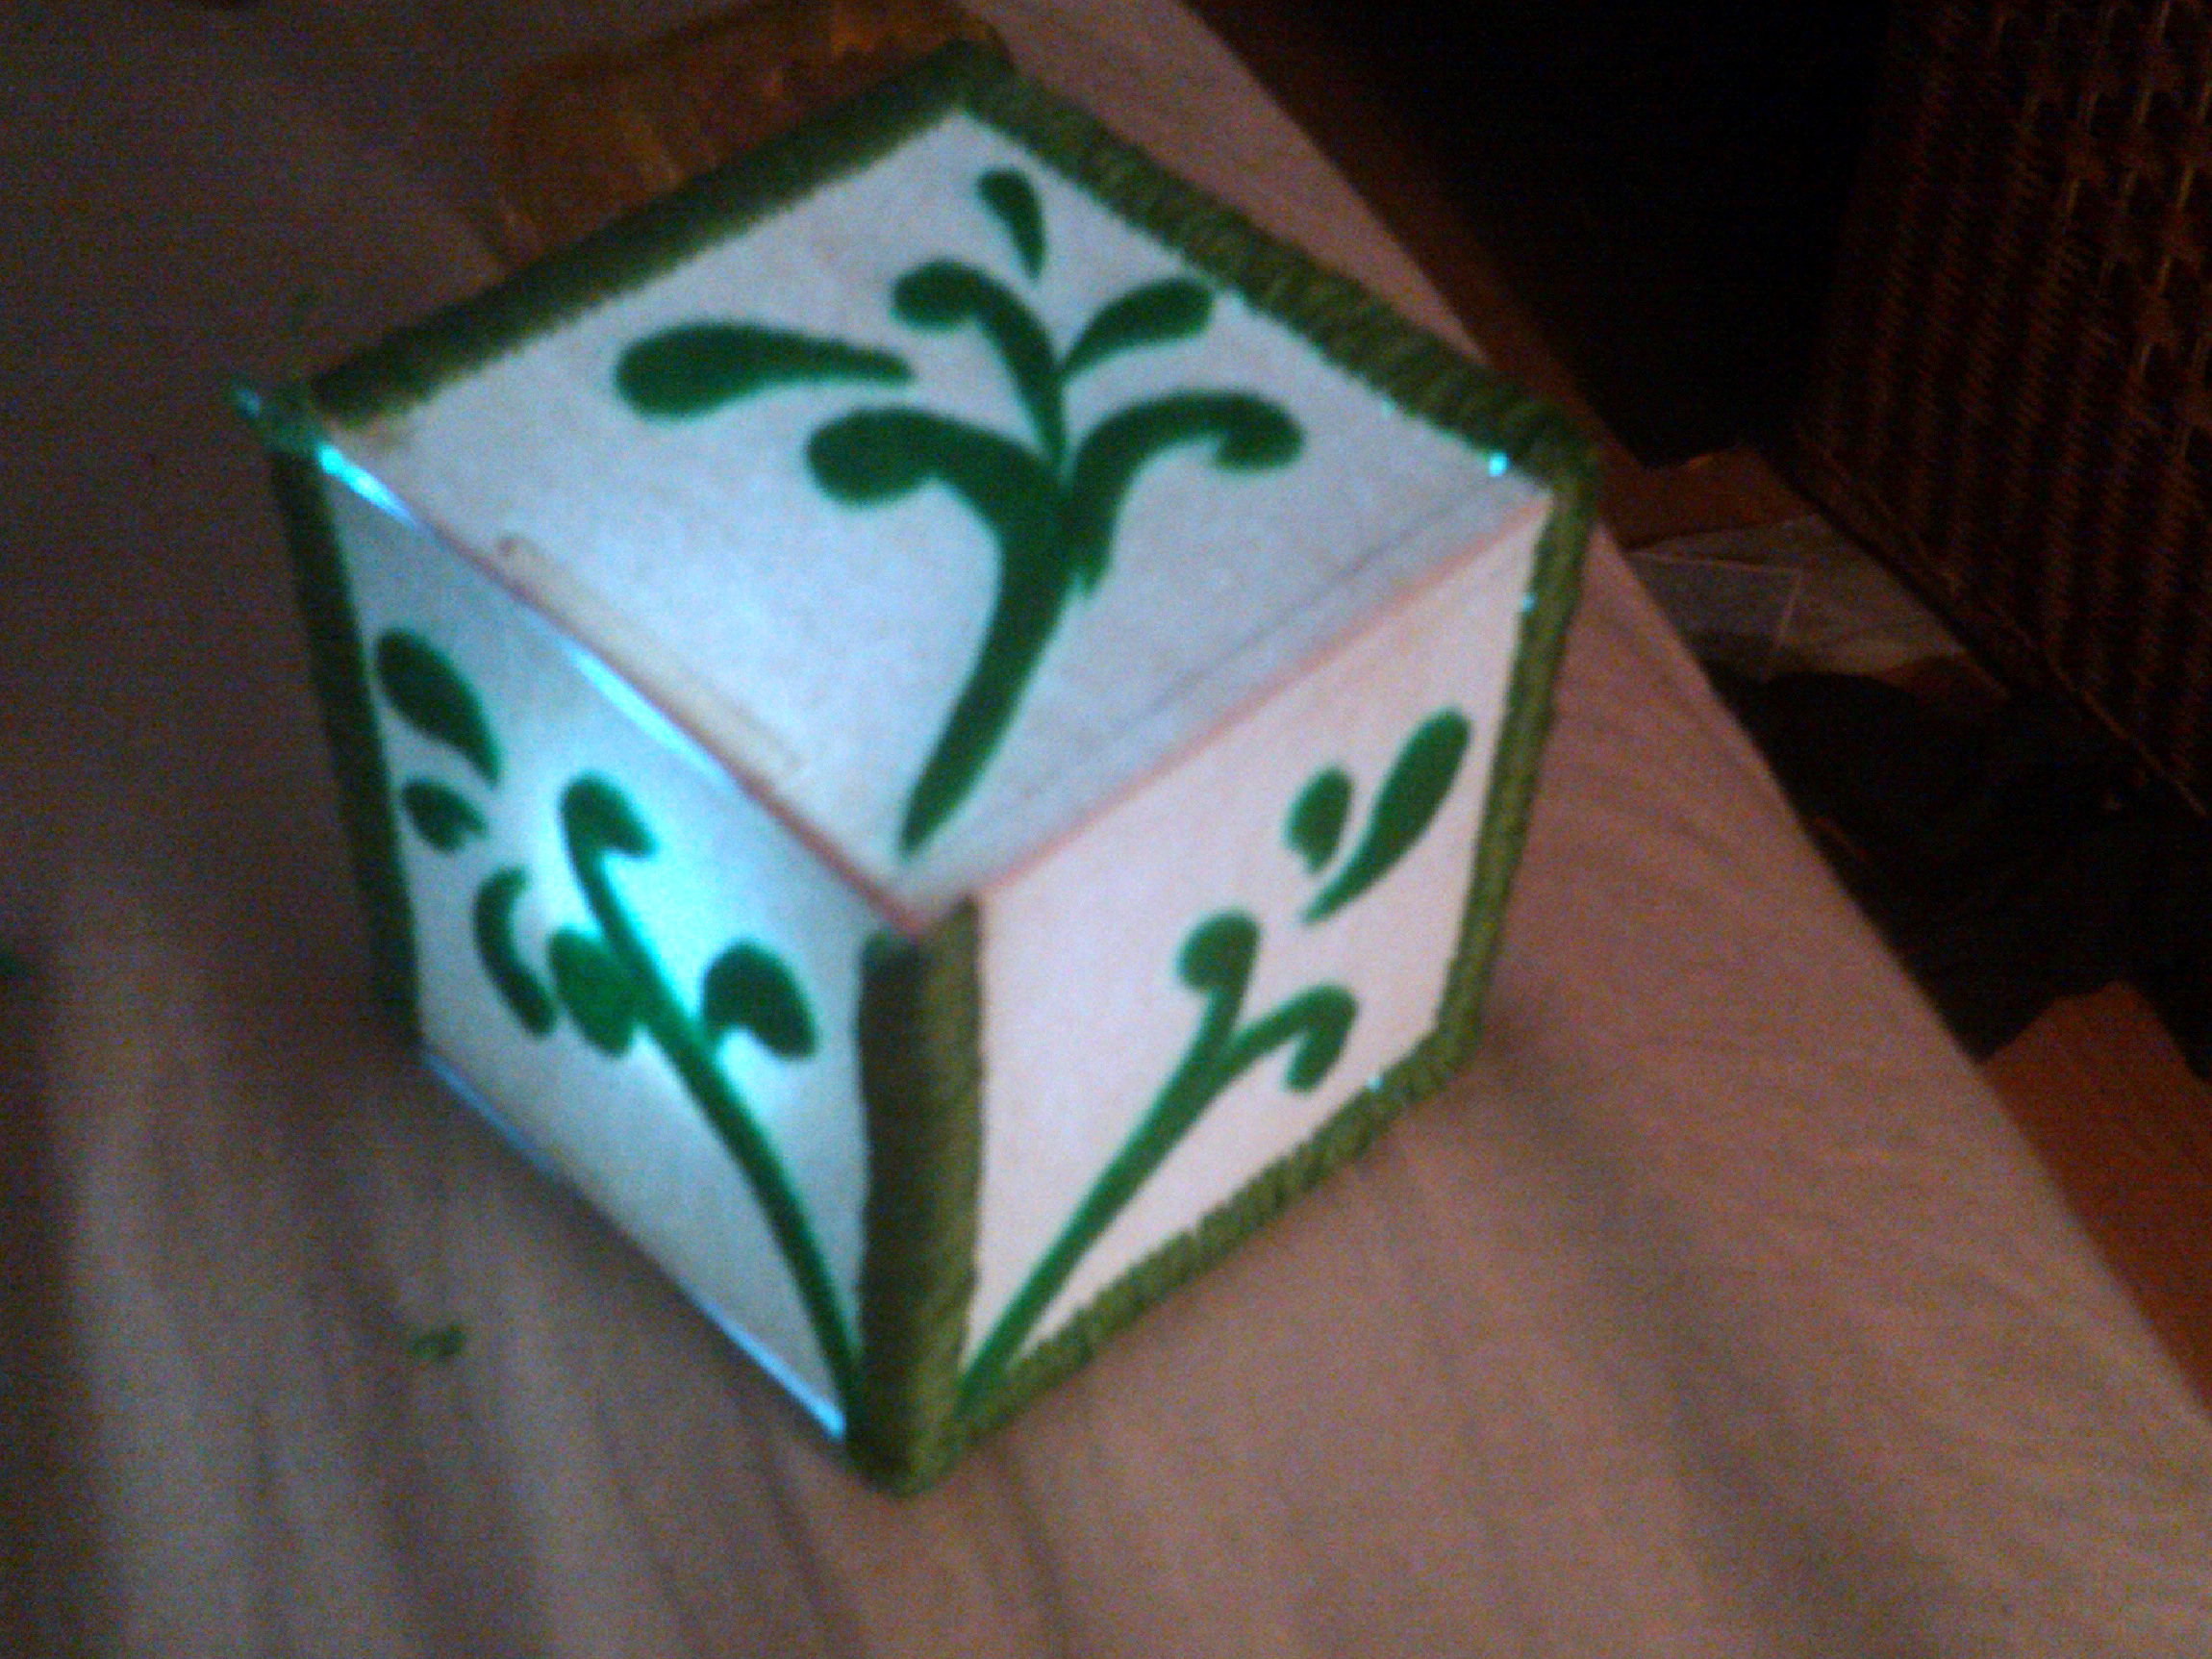
Using embroidery thread, sew the edges of your cube together. As you can see in the image, two of the edges of the top face of the cube have been completed, while the other two edges have not.

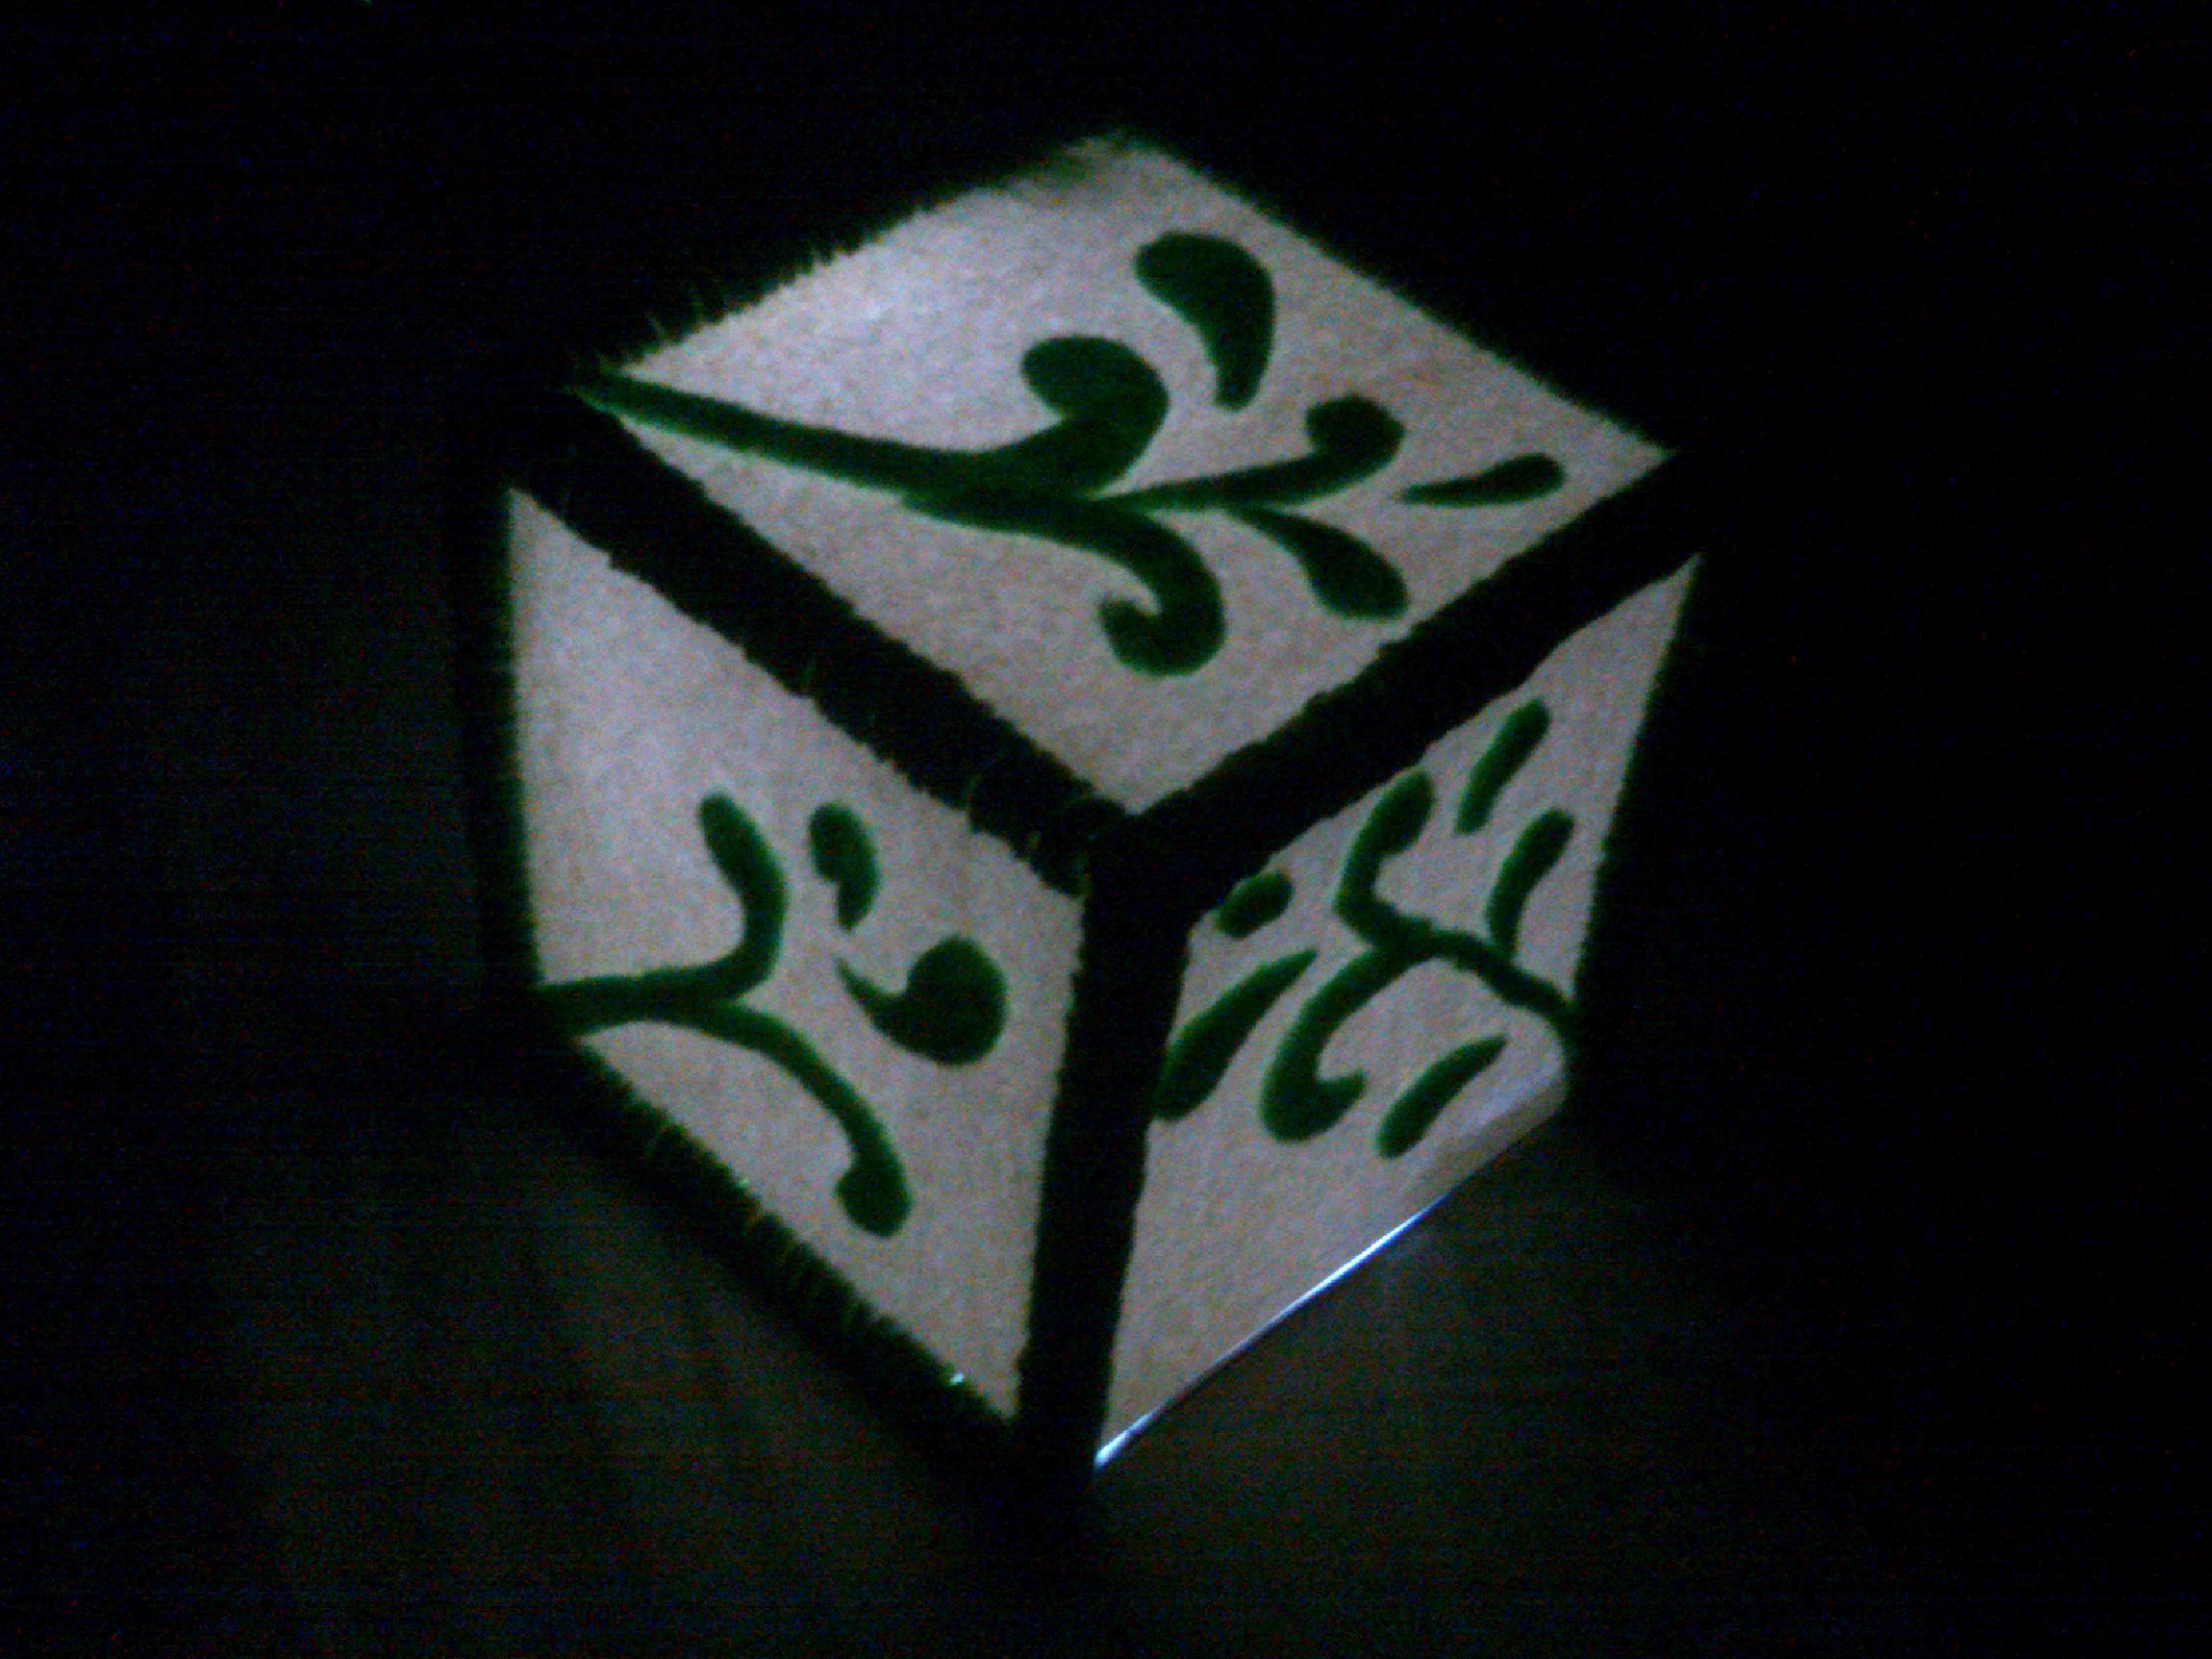
You’re done! Turn it on and scare all the monsters away!


