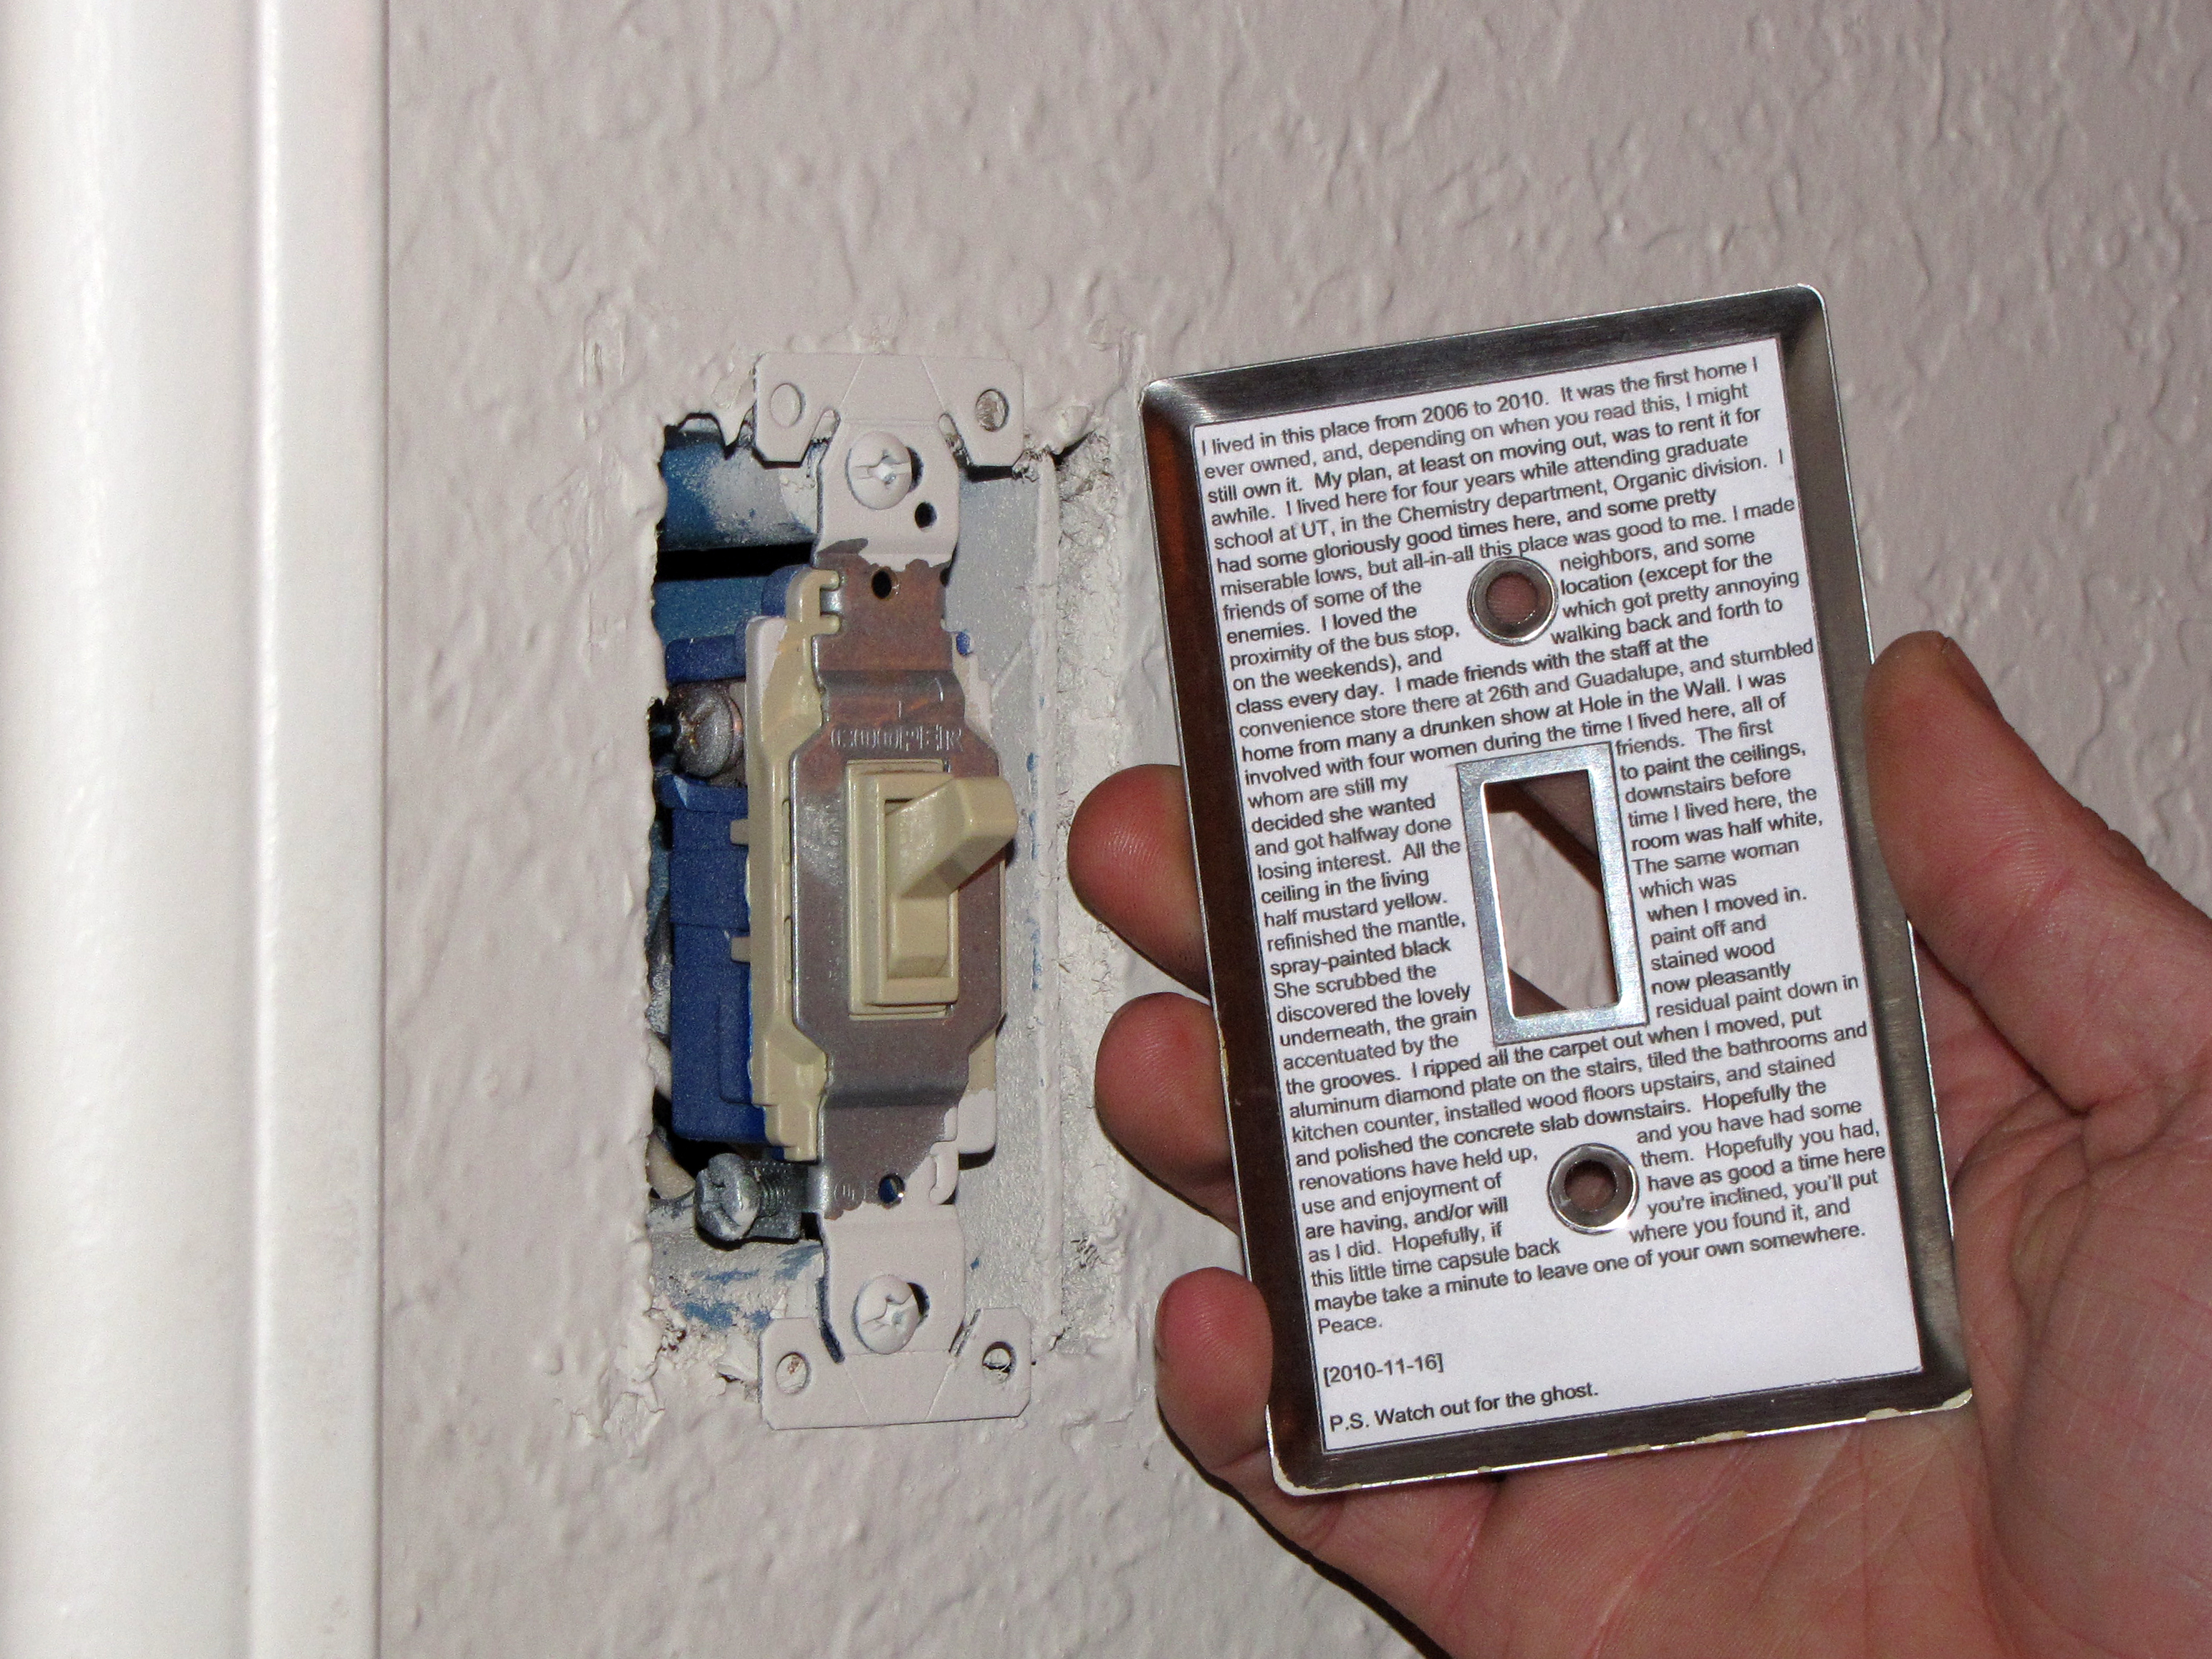
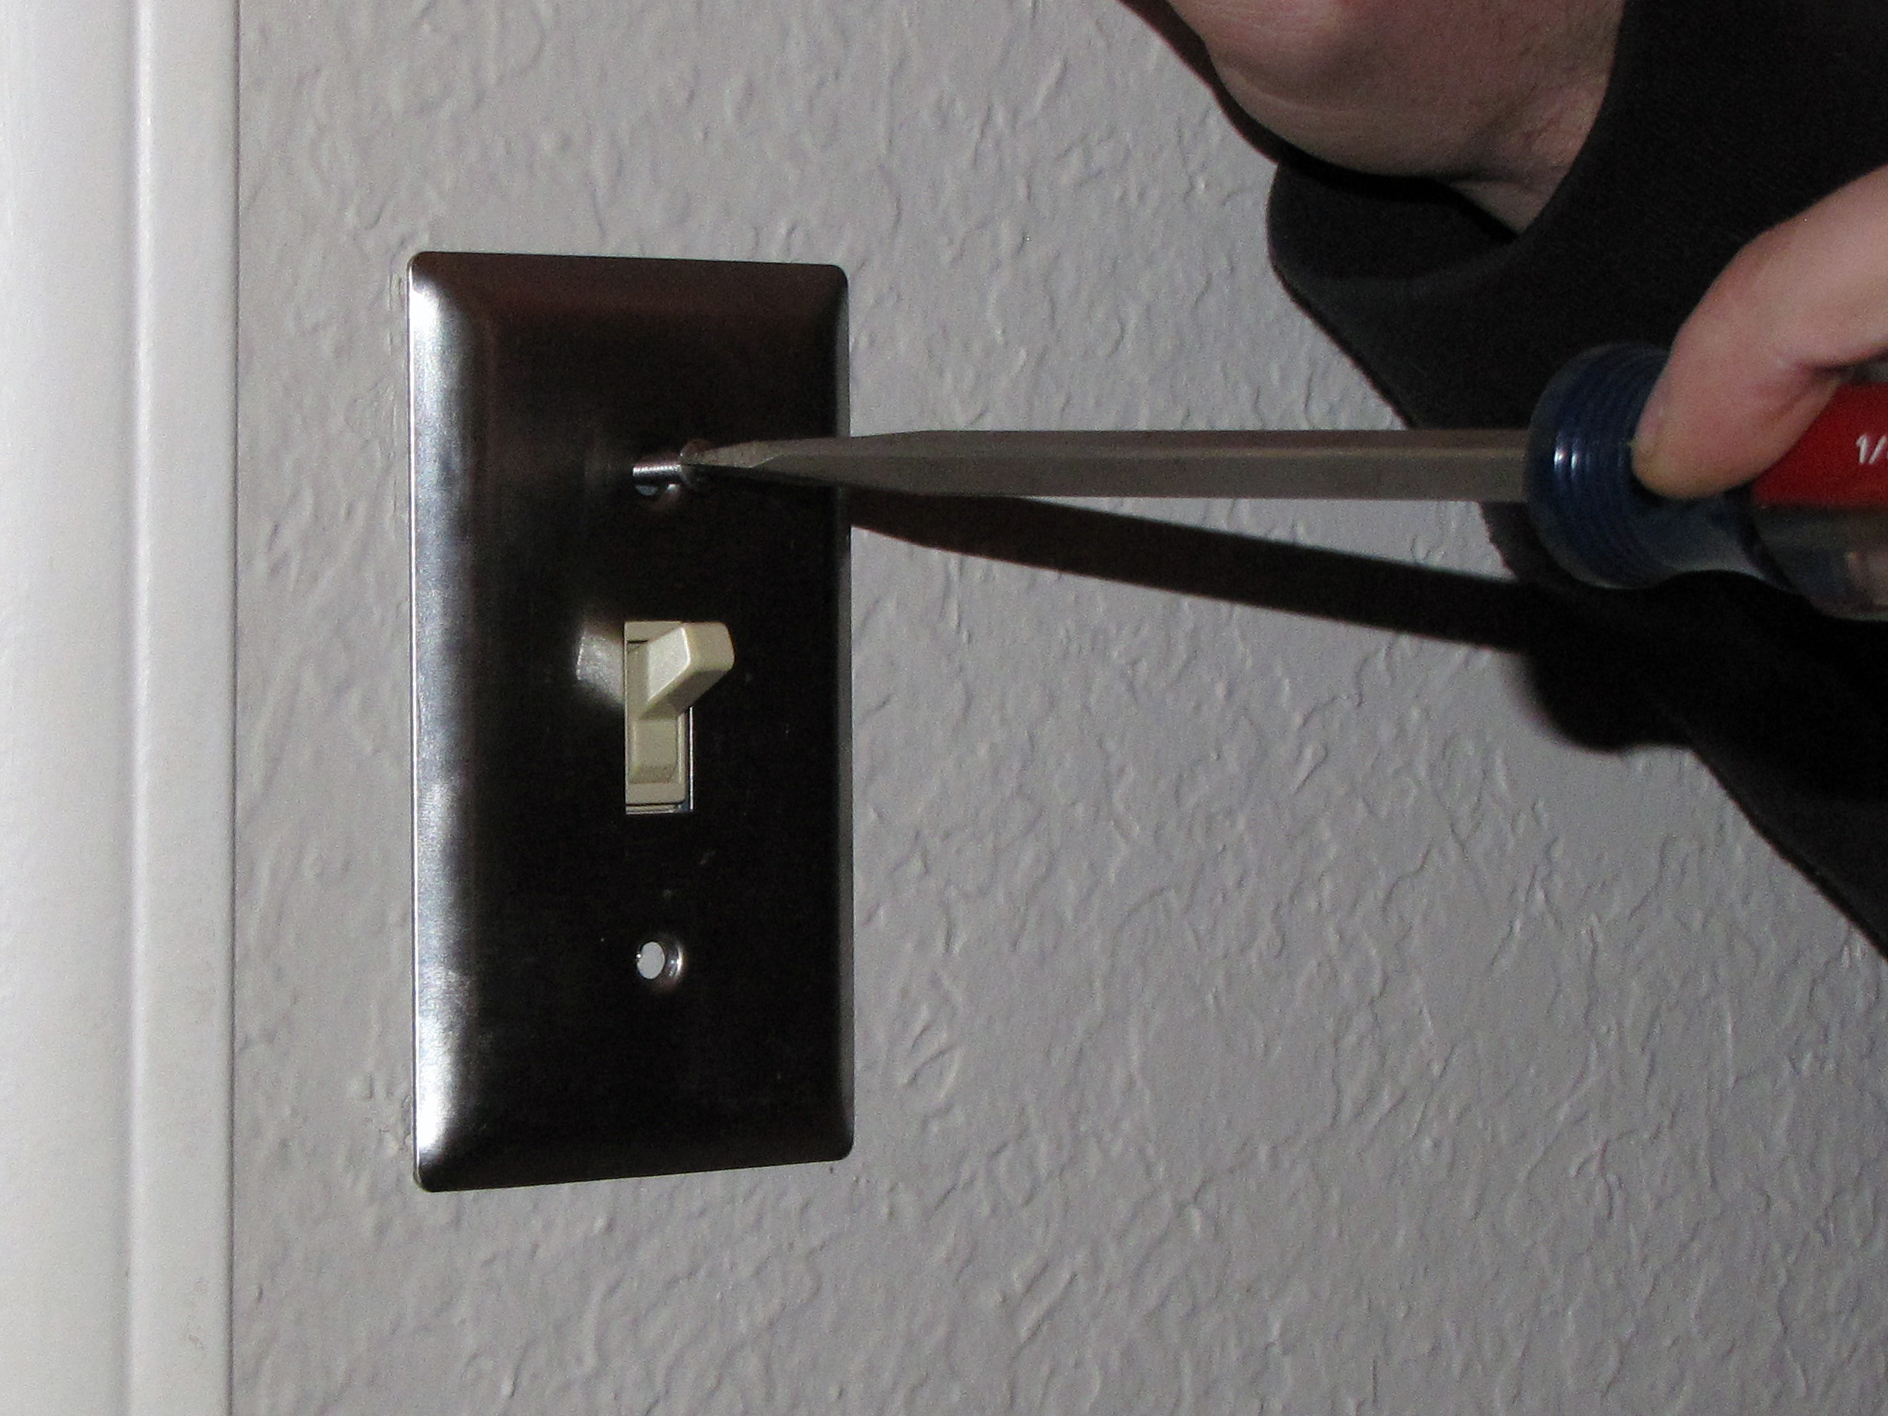
I get nostalgic when I move out of a home, especially if it’s one I’ve lived in awhile. Leaving a secret treasure or two, stashed here and there, seems to help me get closure. Unlike, say, dropping a note down inside the wall, a note on the back of a switch plate is likely to be found sooner or later, but not right away. I’ve included a PDF template with a tiny font that makes it easy to fit a 500-word message on the back of a standard light switch plate.

Update: Thanks to reader Cornflower who created an OpenOffice version of the template for those of you who prefer it. Also, his version automatically wraps text across the openings!

What will the next generation of Make: look like? We’re inviting you to shape the future by investing in Make:. By becoming an investor, you help decide what’s next. The future of Make: is in your hands. Learn More.

Project Steps

Write message

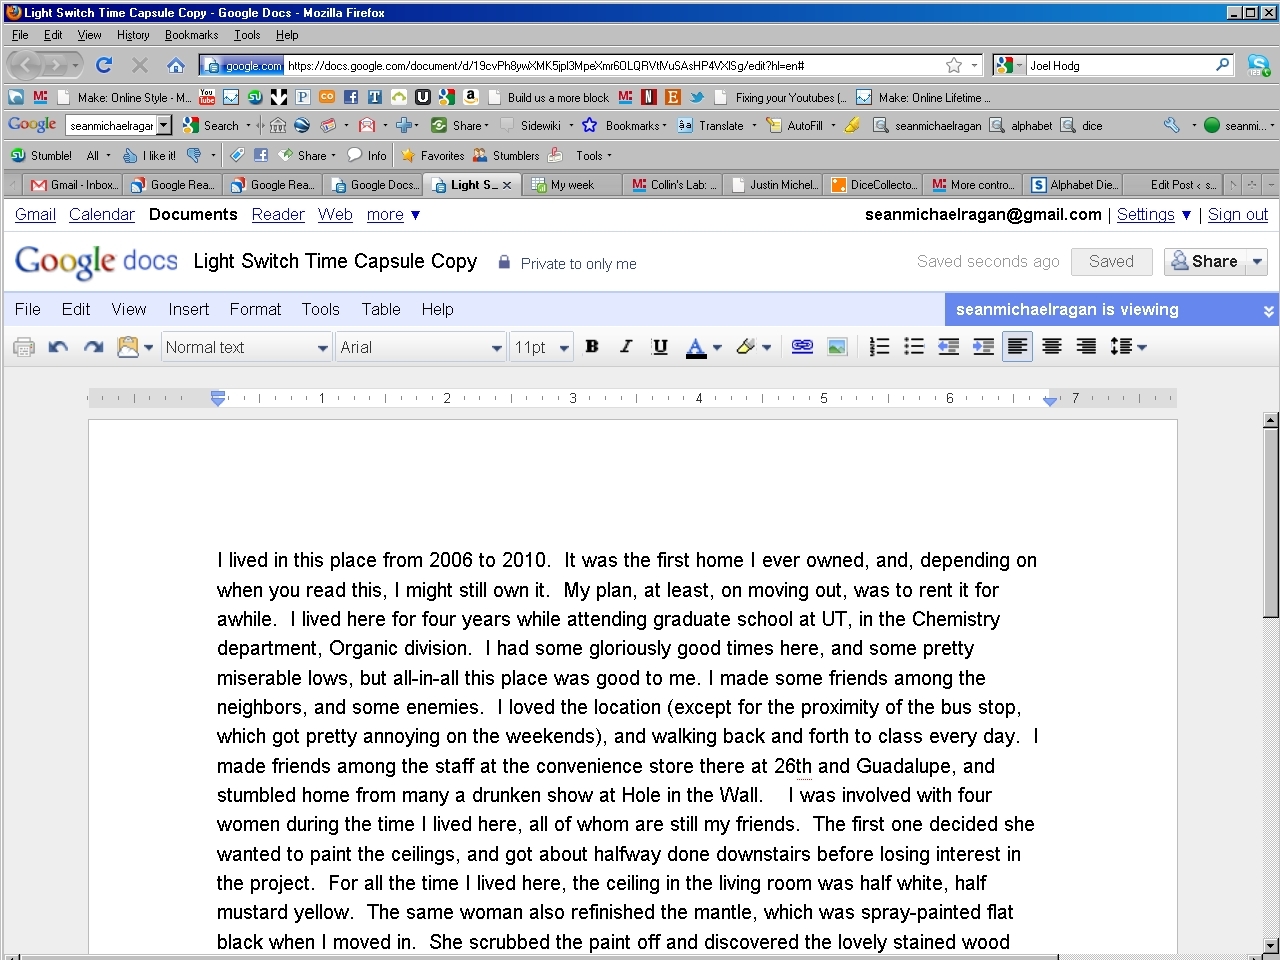
Write your note to the future in your text editor of choice. The template should accept about 500 words.

Be sure to include the date!

Copy, paste, and format text

In your text editor, select all text, and copy it to the clipboard.

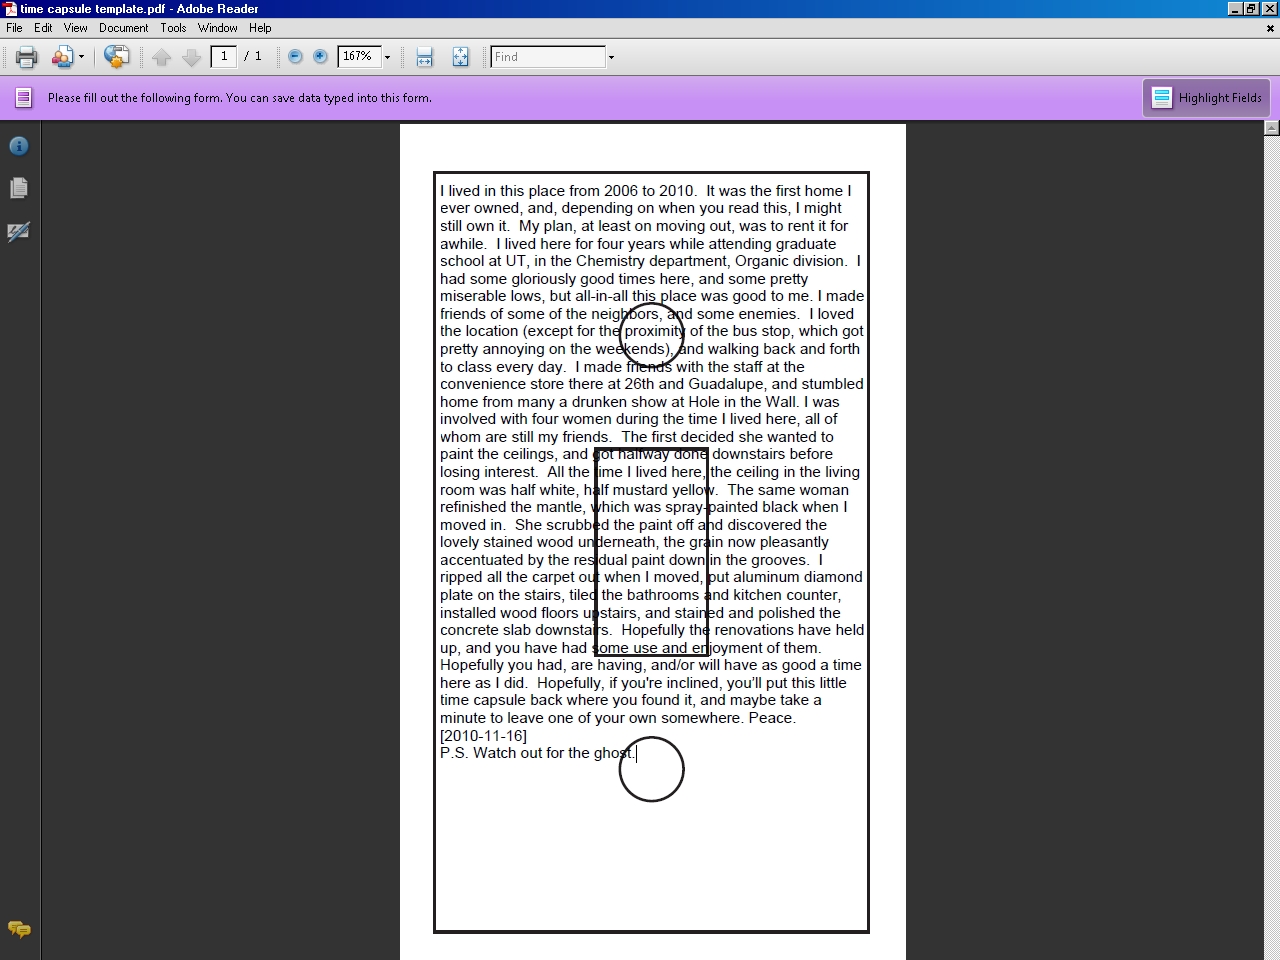
Open the PDF template attached to this project in Adobe Reader, click on the form, and paste the text into the single field.

Try as I might, I couldn’t figure out how to make the form text wrap around the screw and switch holes in the template. So you’ll have to space your text around them manually using the space bar.

Thanks to reader Cornflower, who produced an OpenOffice version of this template that automatically wraps text across the holes. See link above.

Print template

Open the print dialogue in Adobe Reader.

Make sure “Print Scaling” is set to “None.”

Print the PDF onto a full-page, adhesive-backed mailing label.

Cut out label

Use a hobby knife with a straightedge to cut around the perimeter of the template, and to cut out the switch hole.

Use the knife free-hand to cut out the circular holes for the mounting screws.

Remove plate

If the plate is sealed in place with paint, first cut through the paint around the edge with a hobby knife.

Remove the screws from the light switch plate and set them aside.

The plate should come off the wall with very little prying. If it appears stuck, check again for a bead of paint around the edge.

Apply label

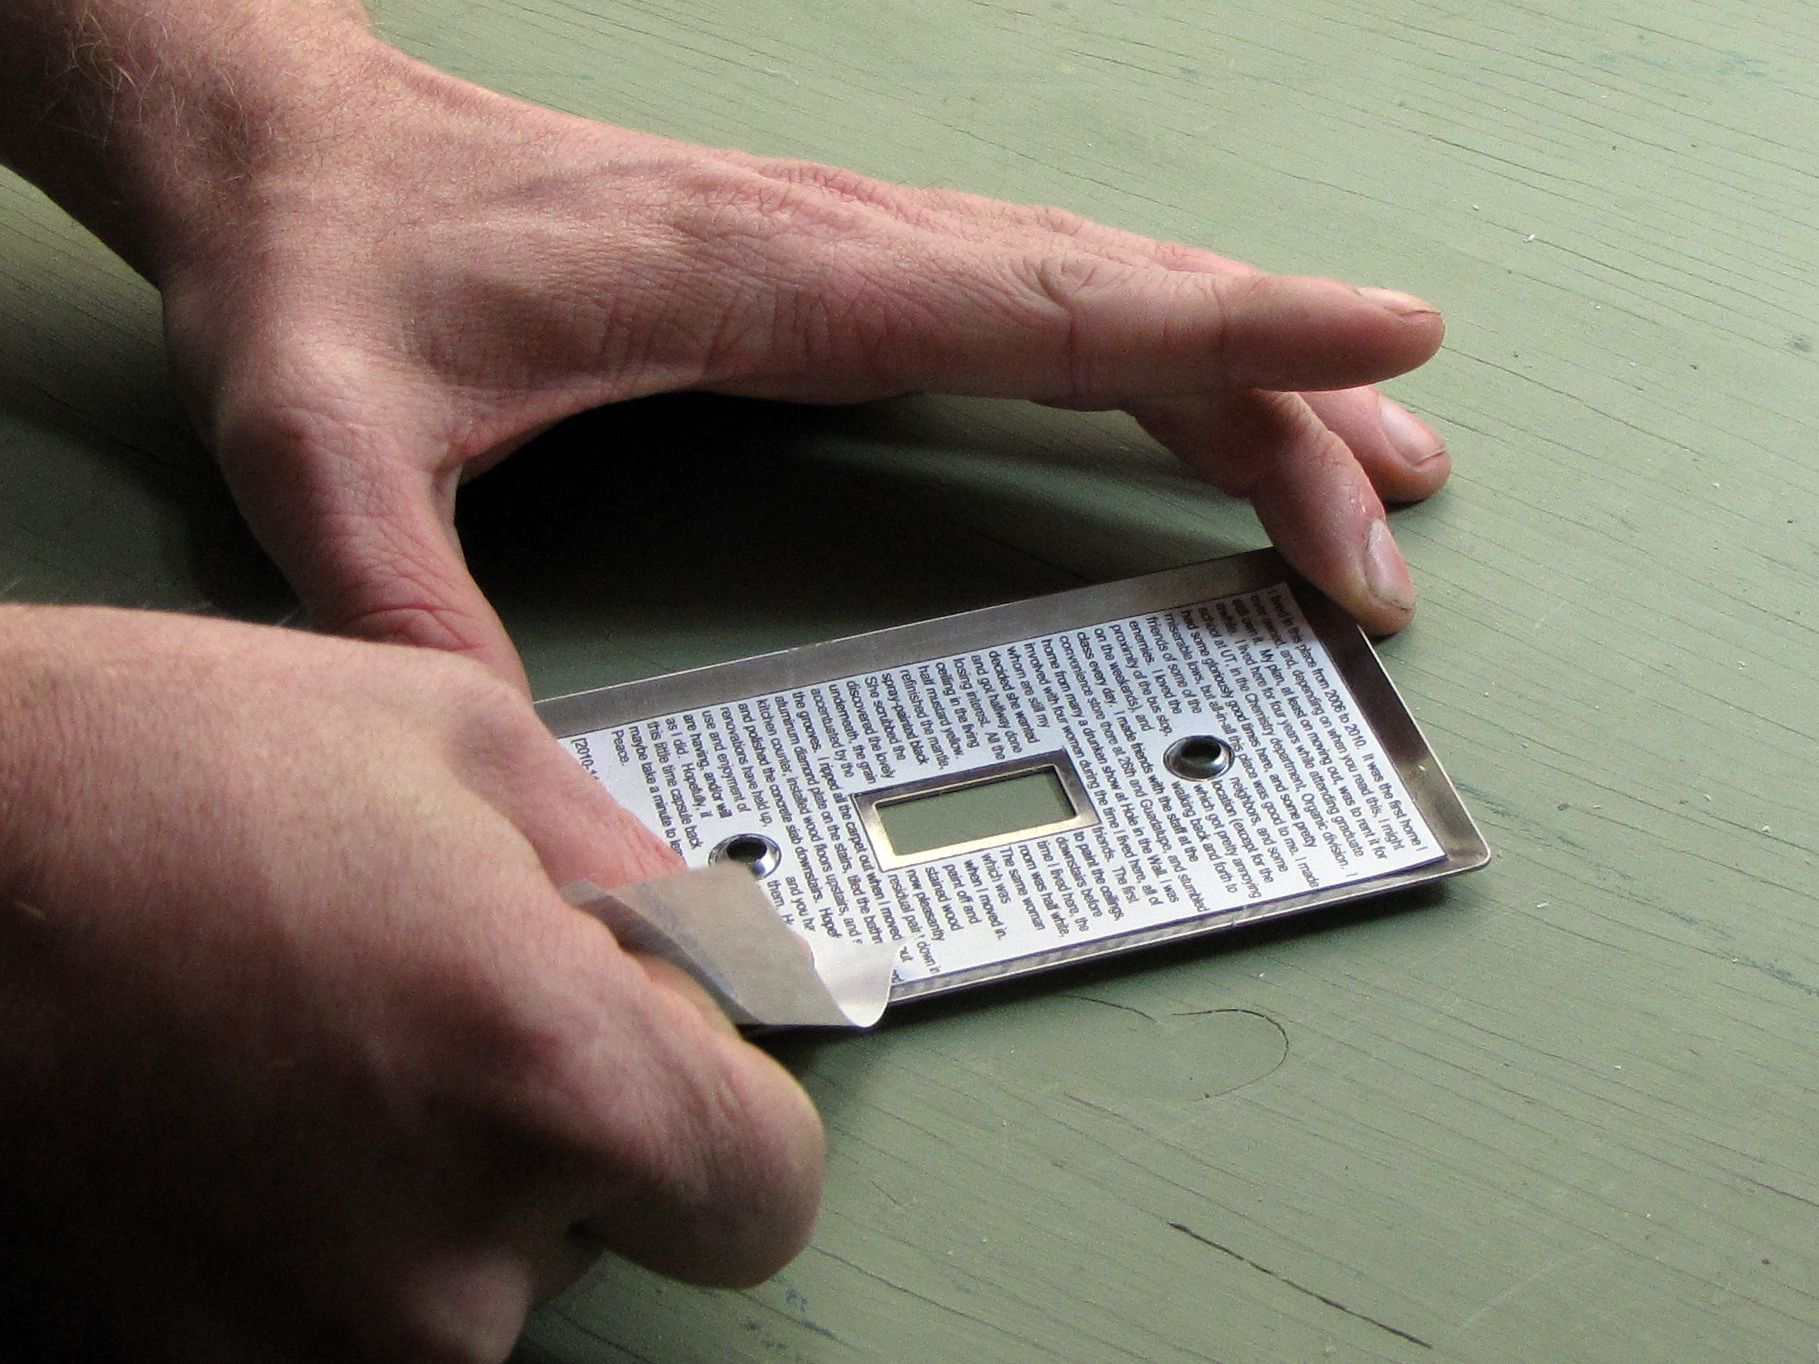
Remove the backing from the cut-out label and set it aside.

Carefully apply the label to the back of the switch plate, being sure to avoid wrinkles.

Smooth the label down using the waxy side of the scrap backing; this will help to prevent smearing the ink or toner.

Reinstall plate

Put the plate back in place over the switch.

Insert the screws and tighten down.